Breakfast
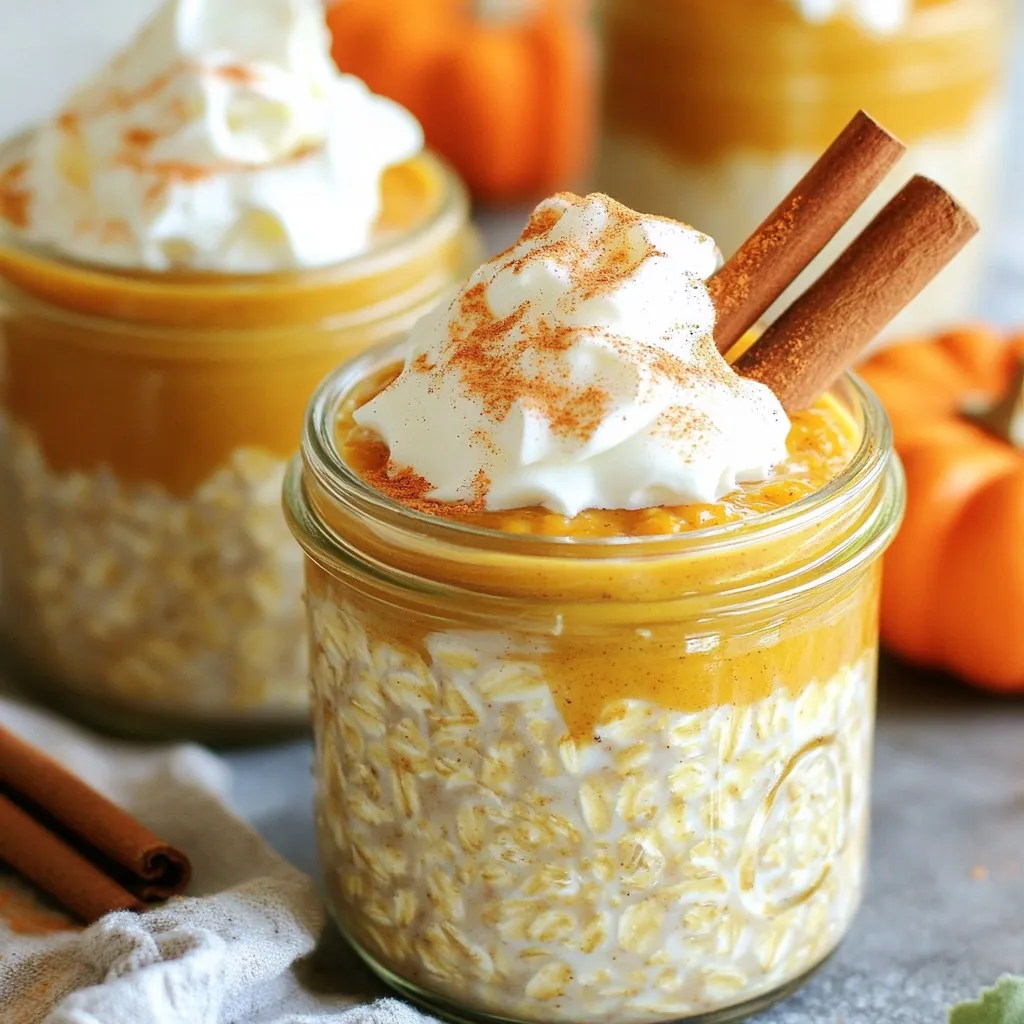
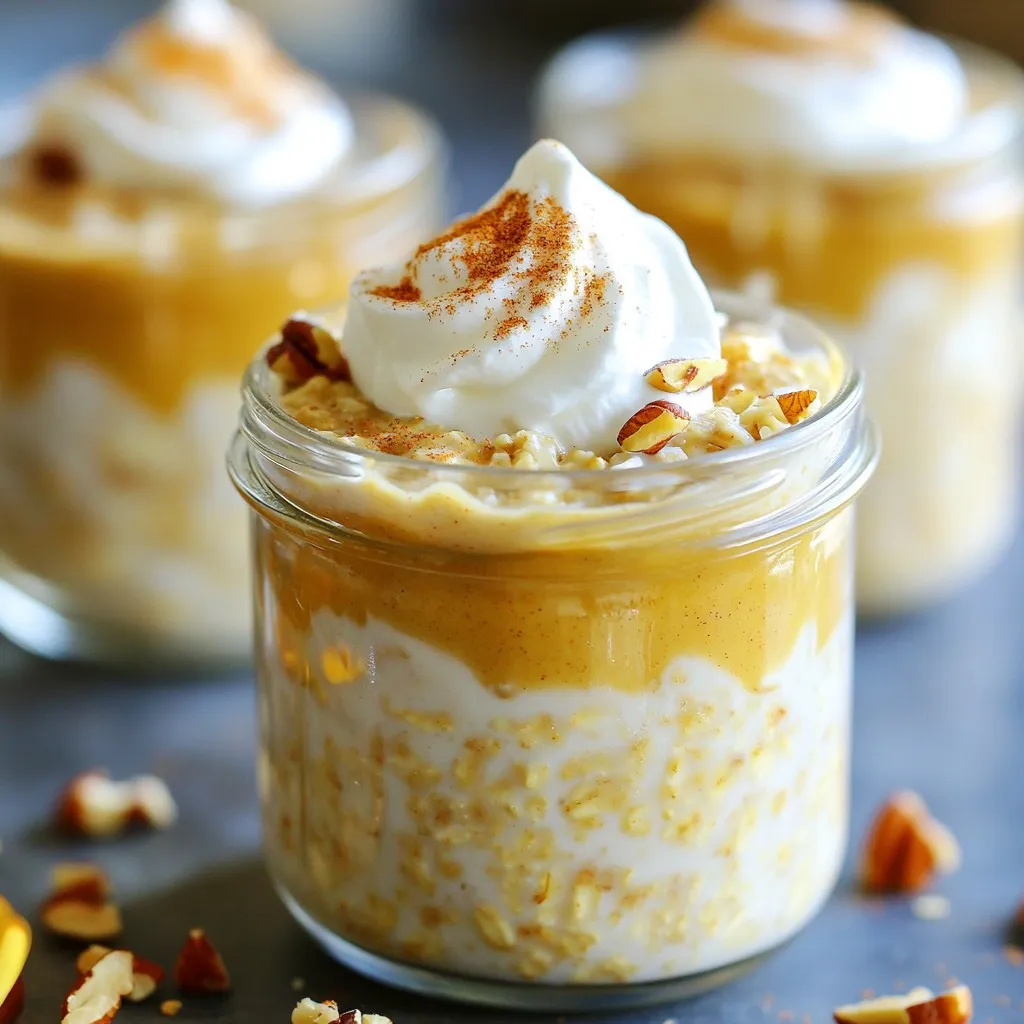
Pumpkin Spice Latte Overnight Oats Delicious Recipe
Are you ready to kickstart your mornings with a burst of fall flavors? My Pumpkin Spice Latte Overnight Oats recipe hits all the right notes.
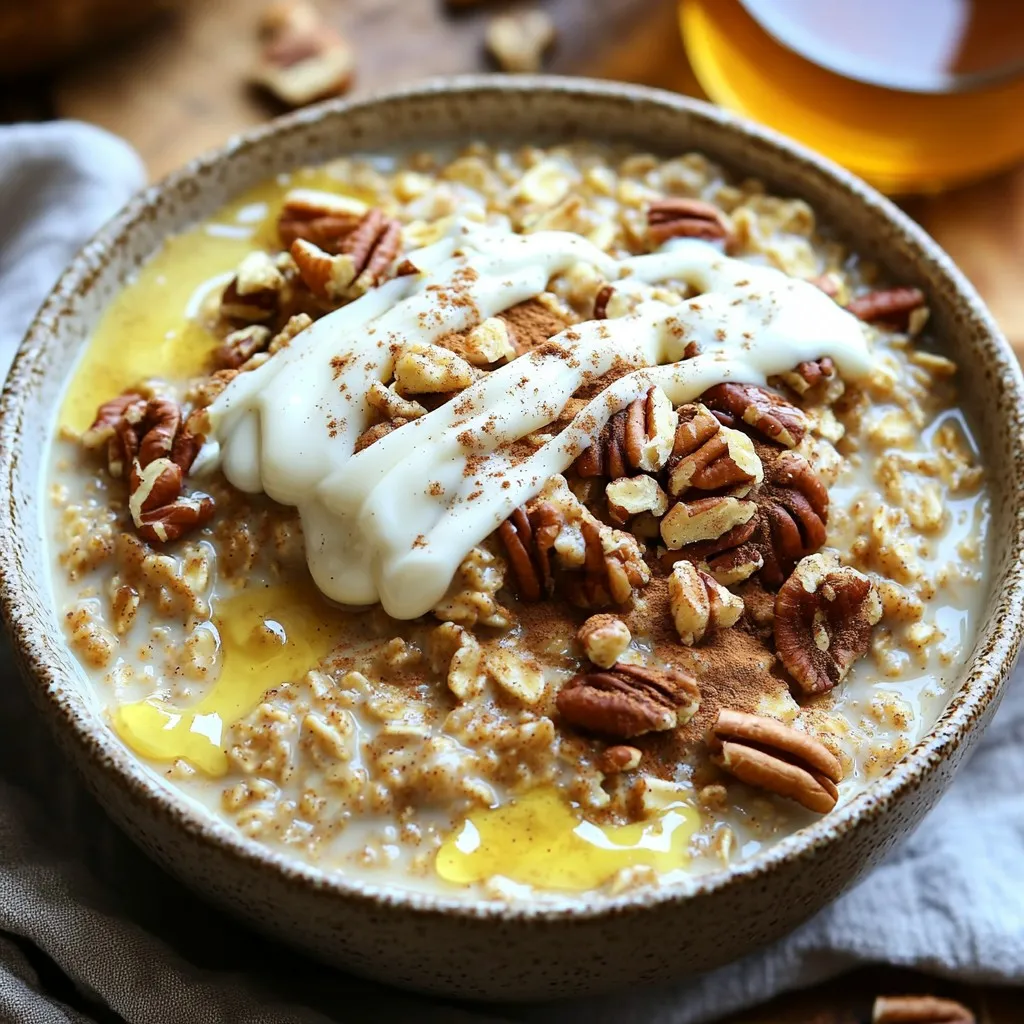
Slow Cooker Cinnamon Roll Oatmeal Delight
Wake up to a warm bowl of Slow Cooker Cinnamon Roll Oatmeal Delight! This easy recipe combines rolled oats and almond milk with sweet spices
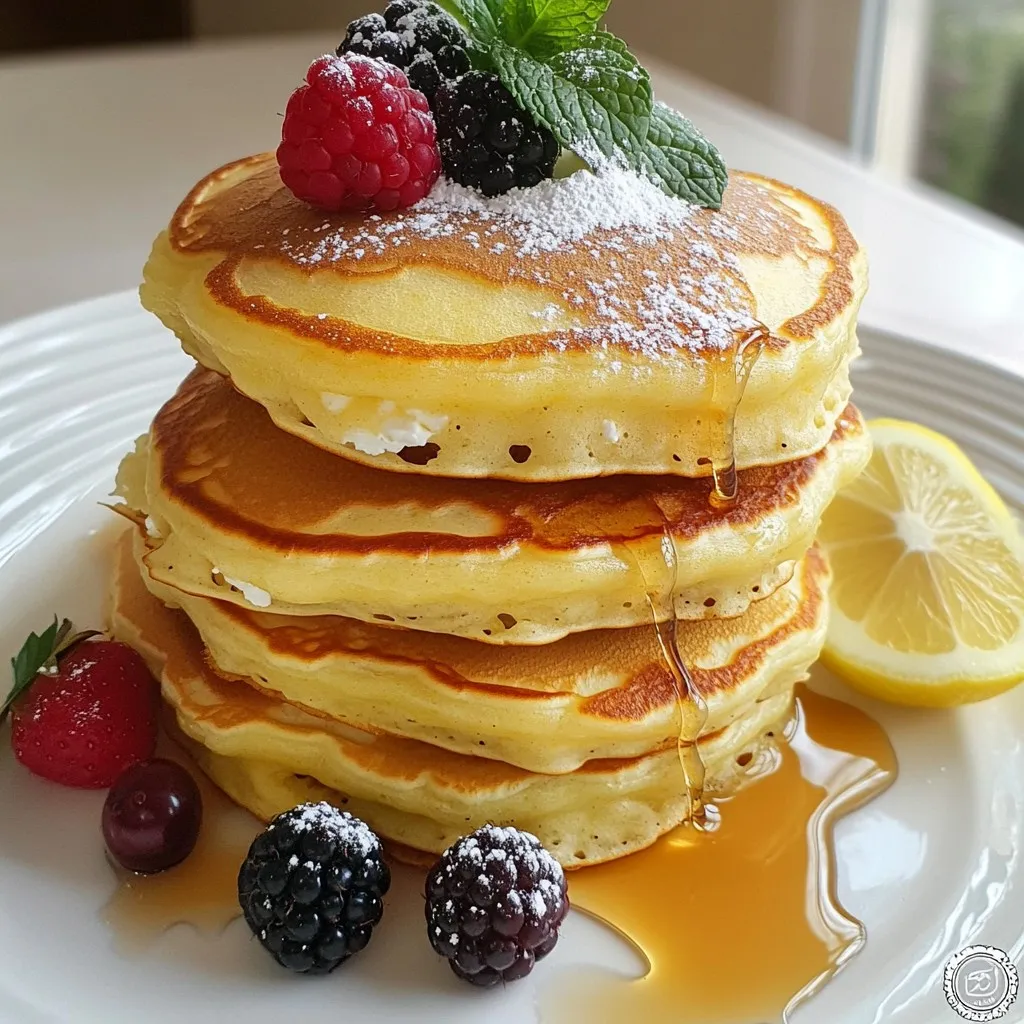
Fluffy Lemon Ricotta Pancakes Simple and Tasty Recipe
Get ready to delight your taste buds with these Fluffy Lemon Ricotta Pancakes! This simple and tasty recipe combines creamy ricotta and bright lemon zest
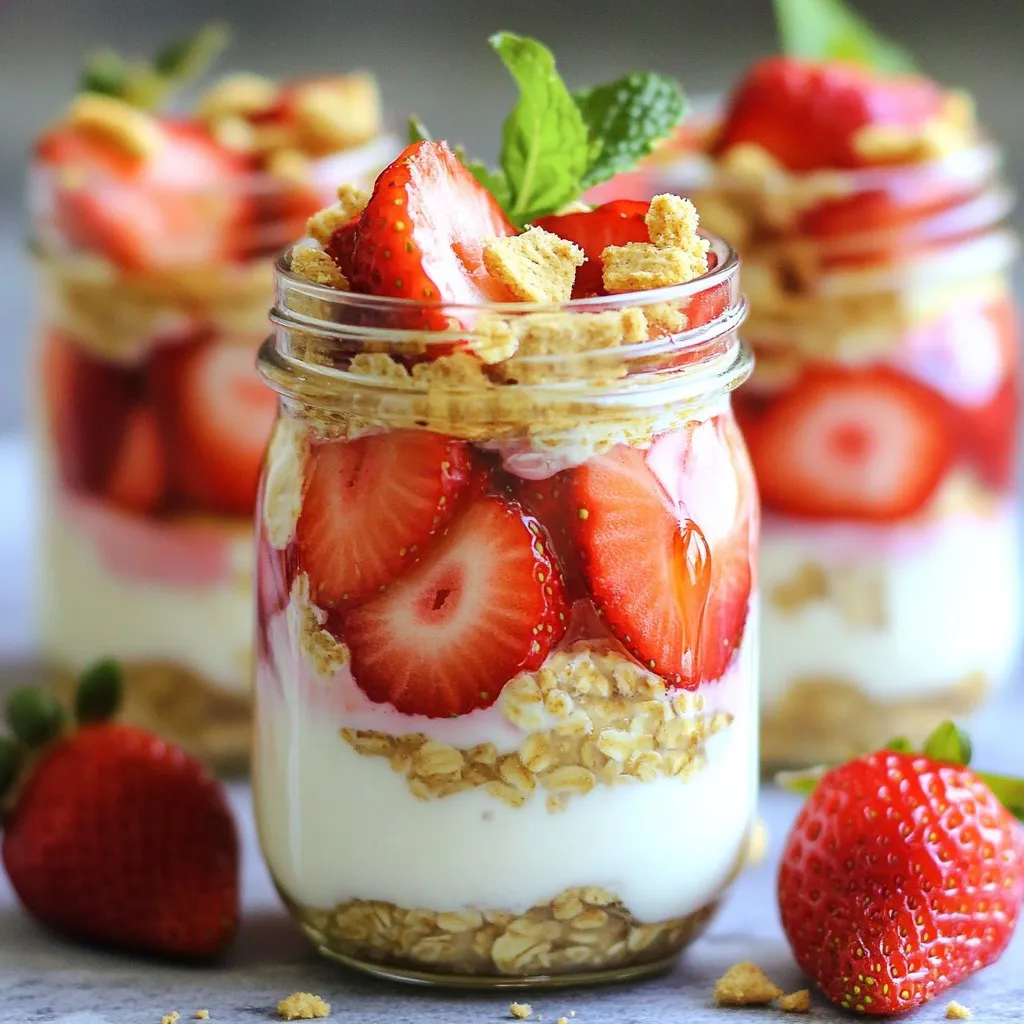
Strawberry Shortcake Overnight Oats Simple Recipe
Are you ready for a tasty breakfast that’s as easy as can be? Strawberry Shortcake Overnight Oats are the perfect mix of creamy, fruity, and
Pumpkin Spice Latte Overnight Oats Cozy Breakfast Recipe
Fall is here, and it’s the perfect time for Pumpkin Spice Latte Overnight Oats! This cozy breakfast is packed with warm flavors and is easy
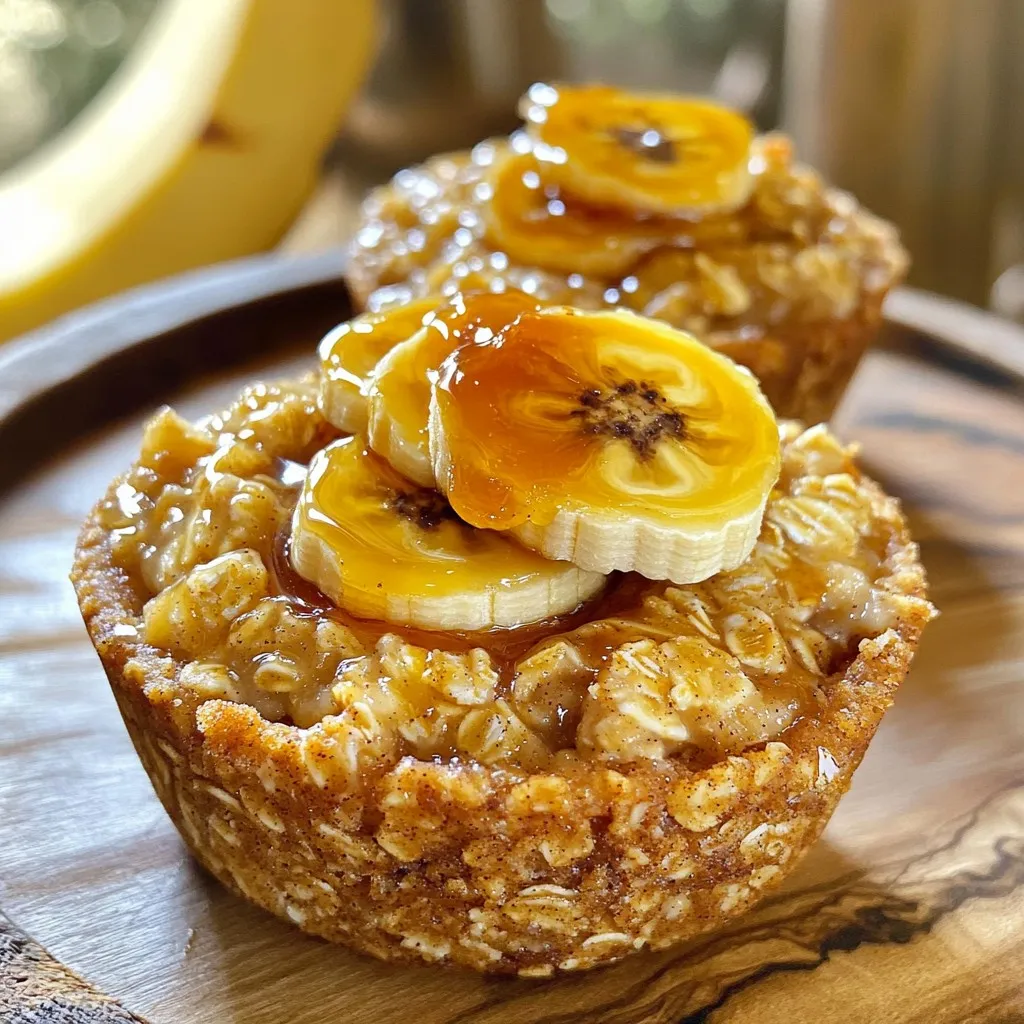
Caramelized Banana Bread Oatmeal Cups Delicious Recipe
Craving a warm, cozy breakfast that’s both delicious and easy to make? I’ve got the perfect treat for you: Caramelized Banana Bread Oatmeal Cups! This
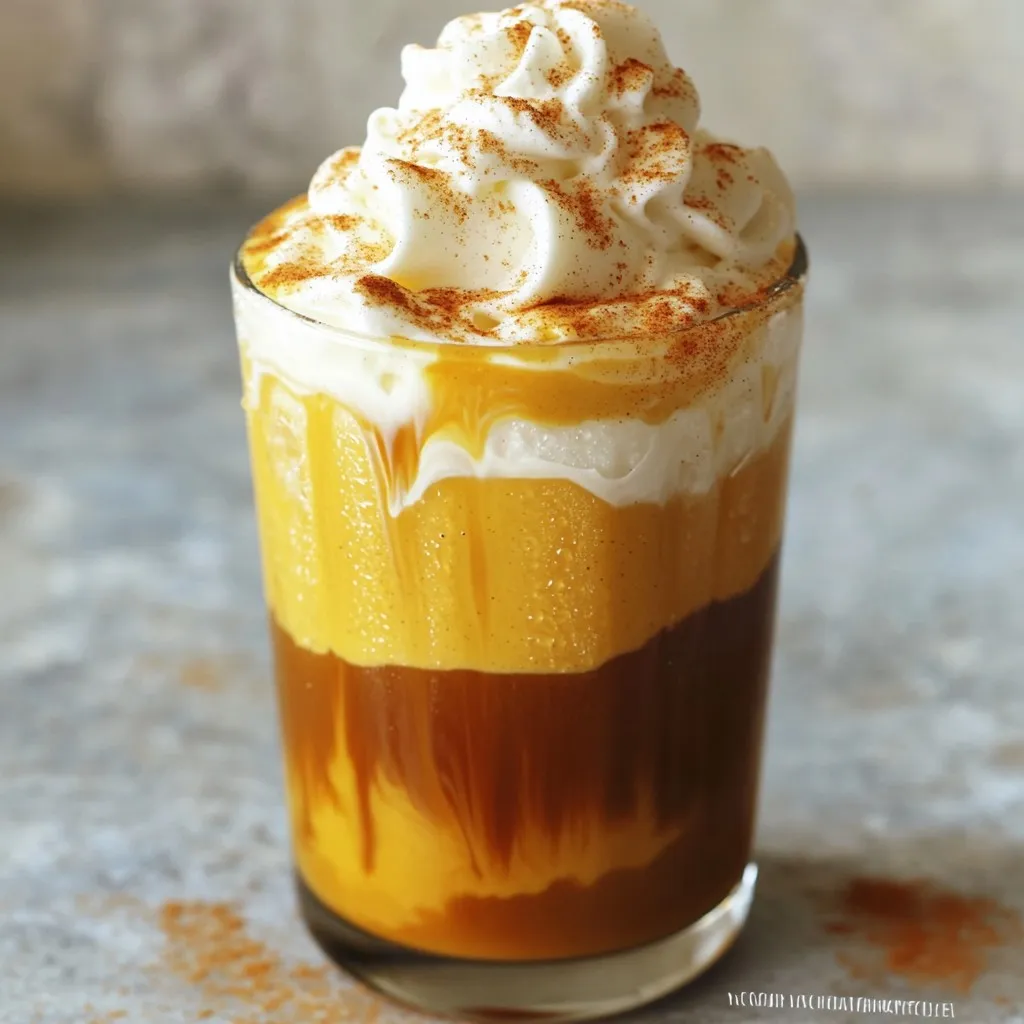
Pumpkin Cream Cold Brew Copycat Tasty and Easy Recipe
Are you craving that cozy, fall-inspired Pumpkin Cream Cold Brew? You’re in luck! In this post, I’ll share my easy recipe that captures all the
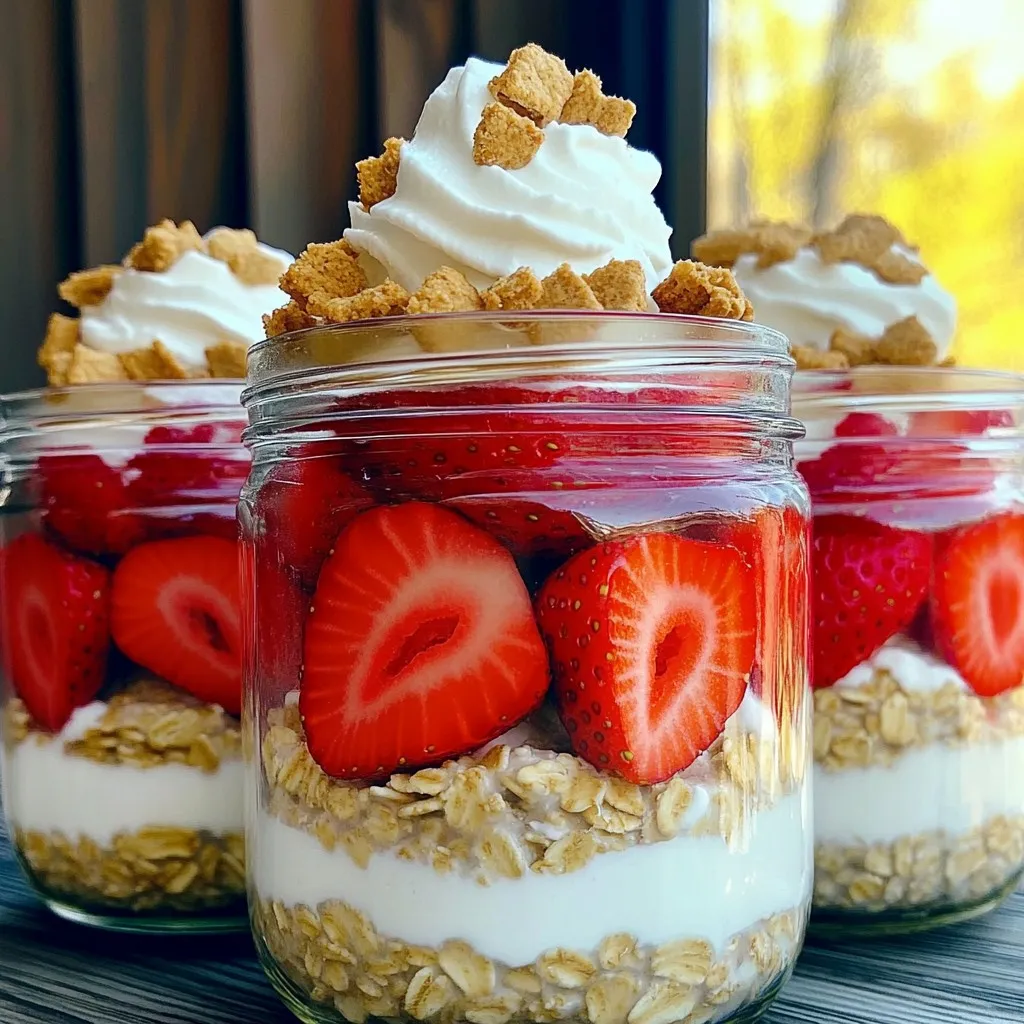
Strawberry Shortcake Overnight Oats Quick and Easy Recipe
Are you ready to transform breakfast into a delicious treat? My Strawberry Shortcake Overnight Oats recipe is quick, easy, and oh-so-satisfying. With creamy yogurt, sweet
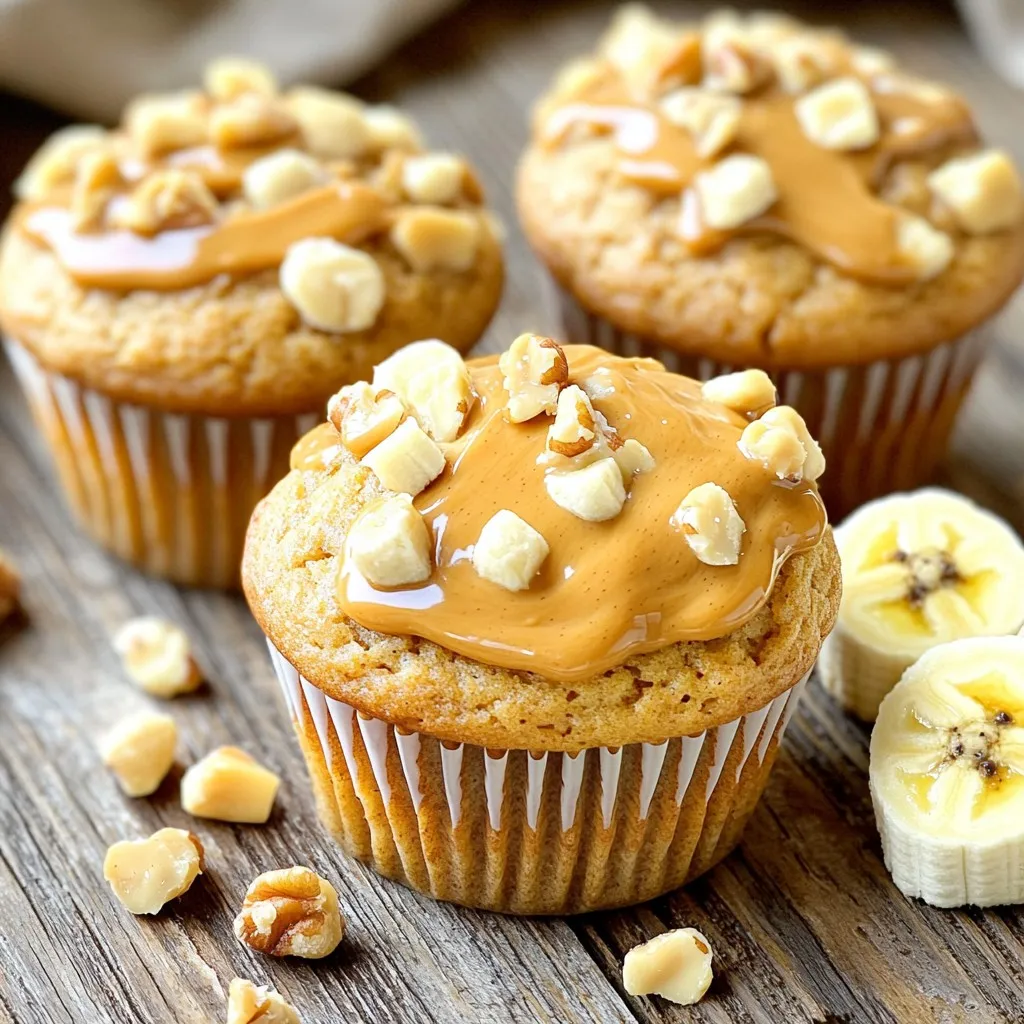
Peanut Butter Banana Blender Muffins Easy and Tasty
Are you ready to whip up a treat that’s both easy and delicious? Peanut Butter Banana Blender Muffins are a fantastic way to start your
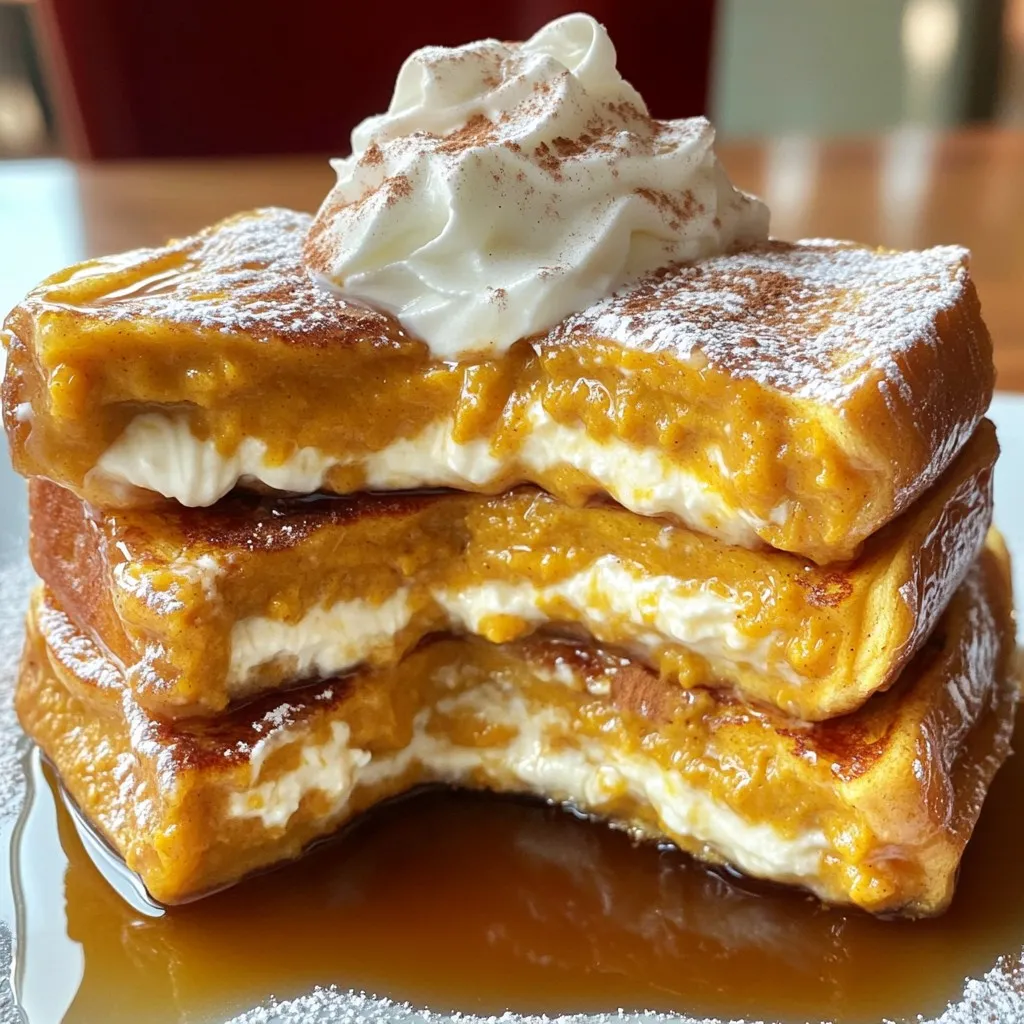
Pumpkin Spice Cream Cheese French Toast Delight
Are you ready for a cozy, fall-inspired breakfast? My Pumpkin Spice Cream Cheese French Toast Delight combines rich cream cheese with pumpkin puree and warm