Breakfast
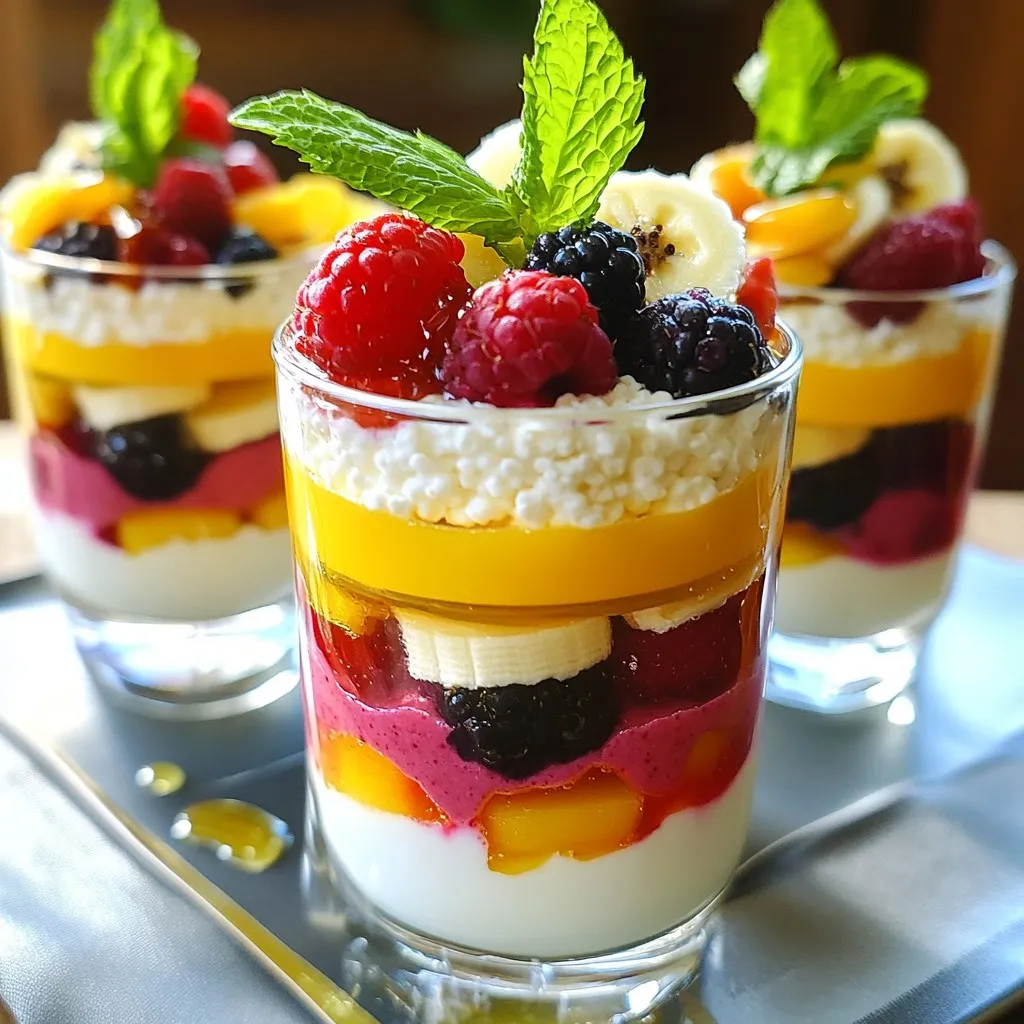
Minute Protein Cottage Cheese Smoothie Cups Delight
Get ready to enjoy a tasty, healthy treat with my Minute Protein Cottage Cheese Smoothie Cups Delight! These easy-to-make smoothie cups blend cottage cheese, bananas,
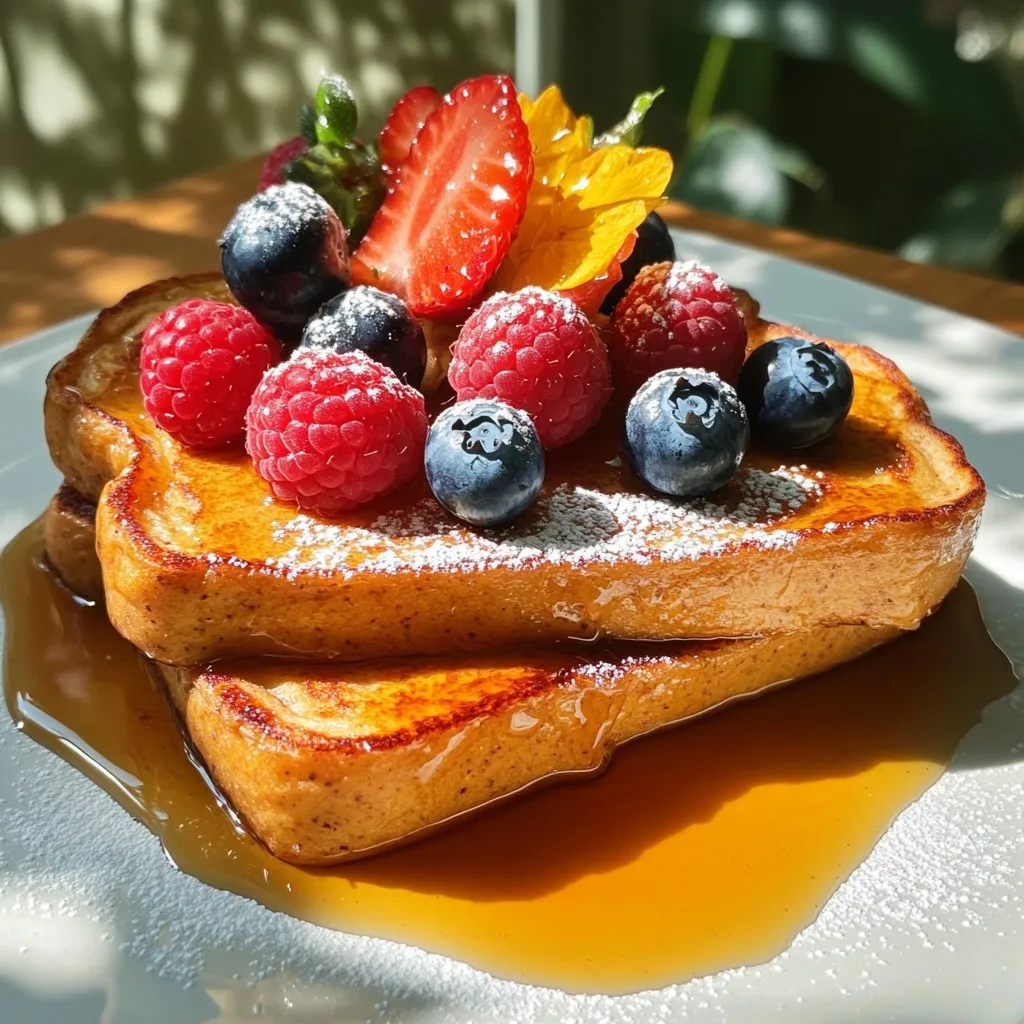
Minute Protein French Toast Quick and Easy Recipe
Are you ready to whip up a quick and tasty breakfast? My Minute Protein French Toast is perfect for busy mornings. This recipe is not
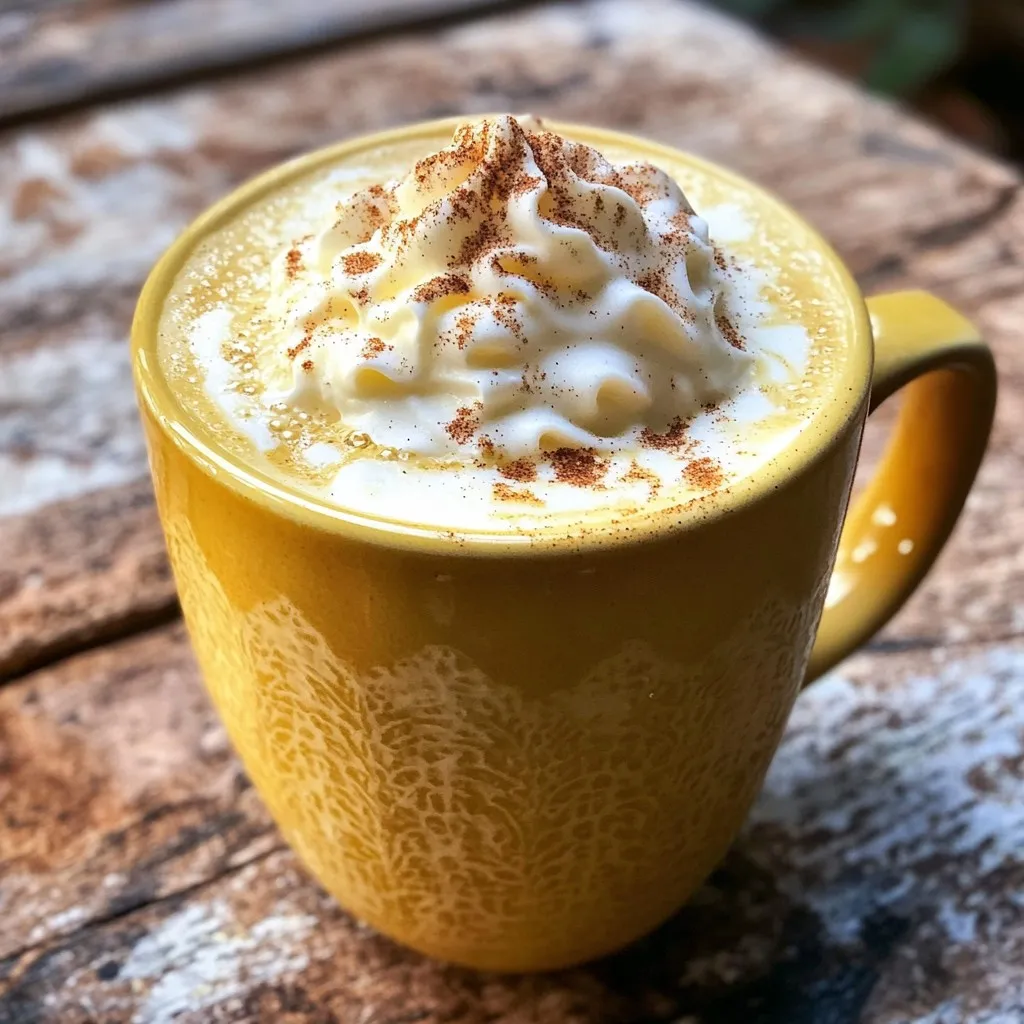
Maple Brown Sugar Latte Boost Your Coffee Routine
Looking to upgrade your coffee routine? Try a Maple Brown Sugar Latte! This warm drink combines rich espresso with the sweet notes of maple syrup
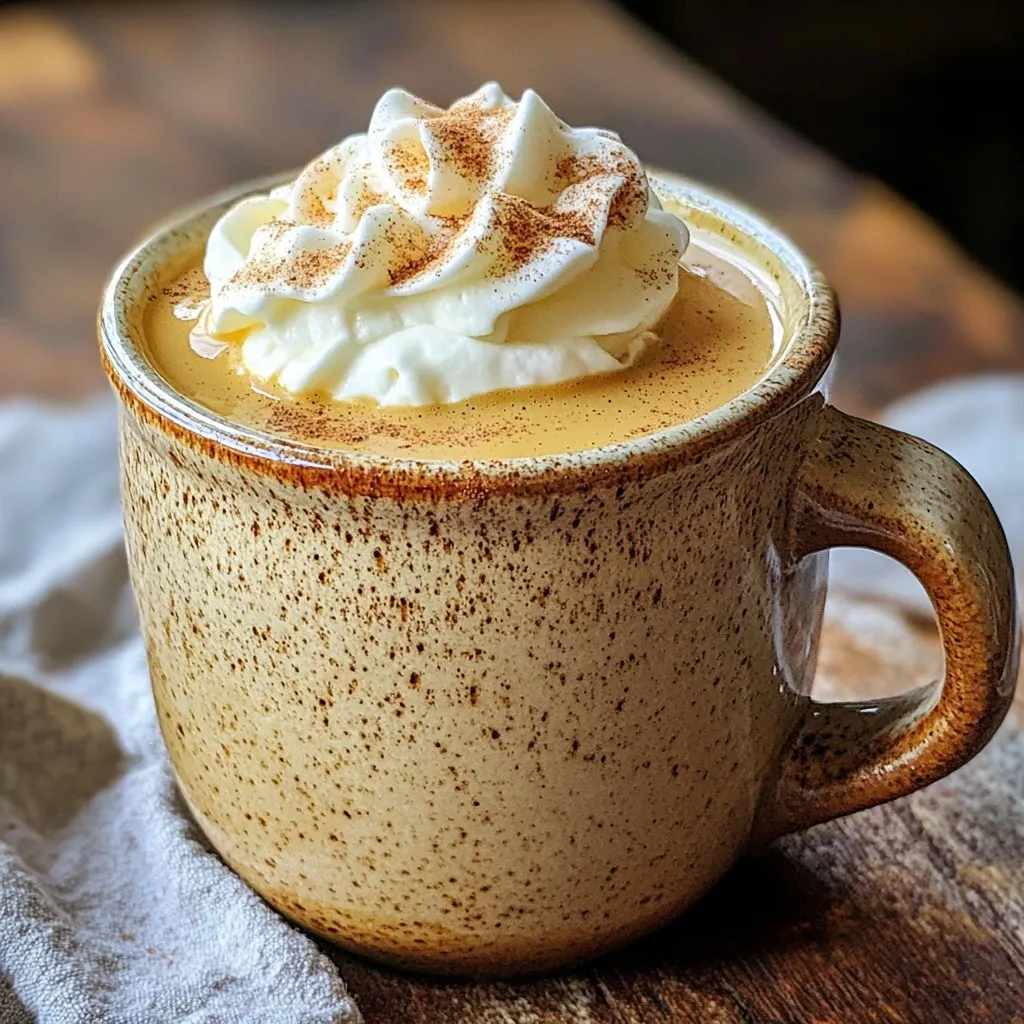
Spiced Maple Latte with Whipped Cream Delight
Welcome to my Spiced Maple Latte with Whipped Cream Delight! If you crave a cozy drink that warms you up and excites your taste buds,
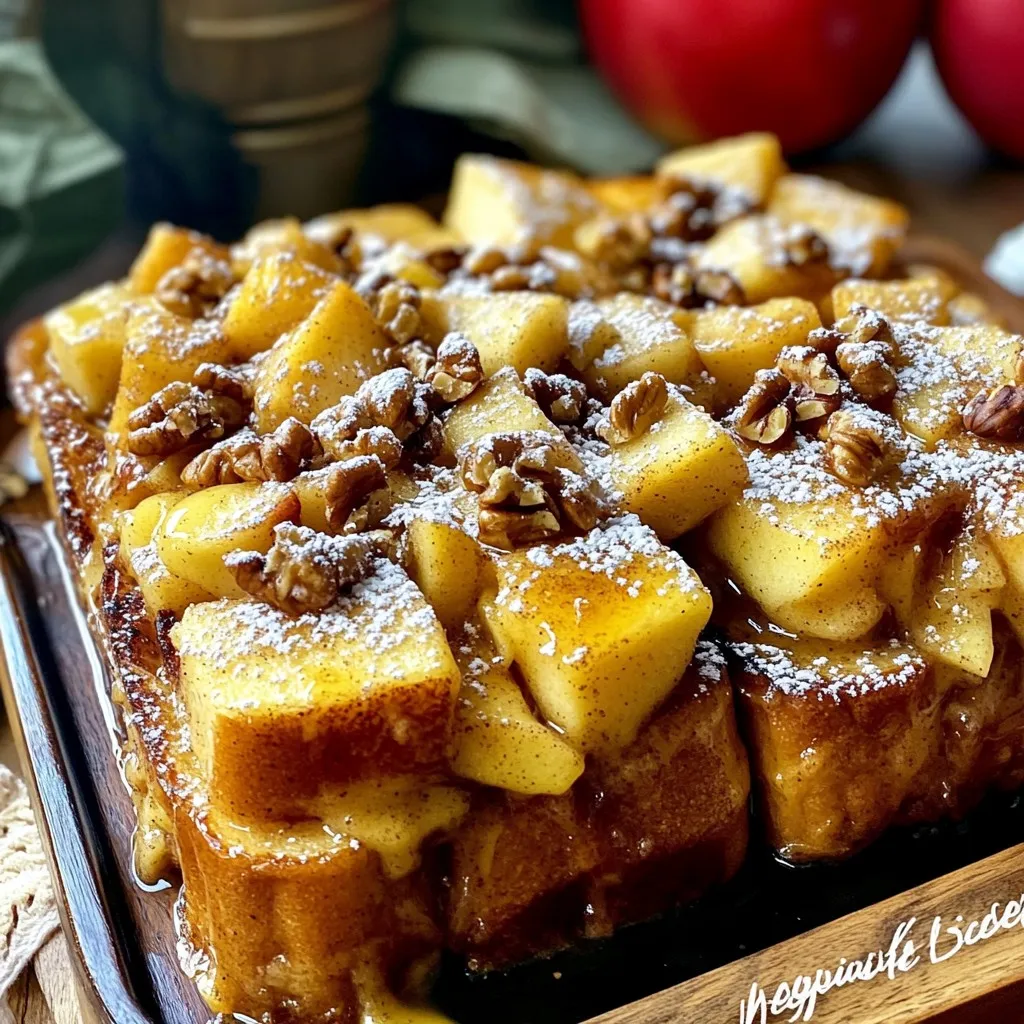
Slow Cooker Cinnamon Apple French Toast Bake Delight
Imagine waking up to the sweet scent of cinnamon and apples wafting through your home. With my Slow Cooker Cinnamon Apple French Toast Bake, you
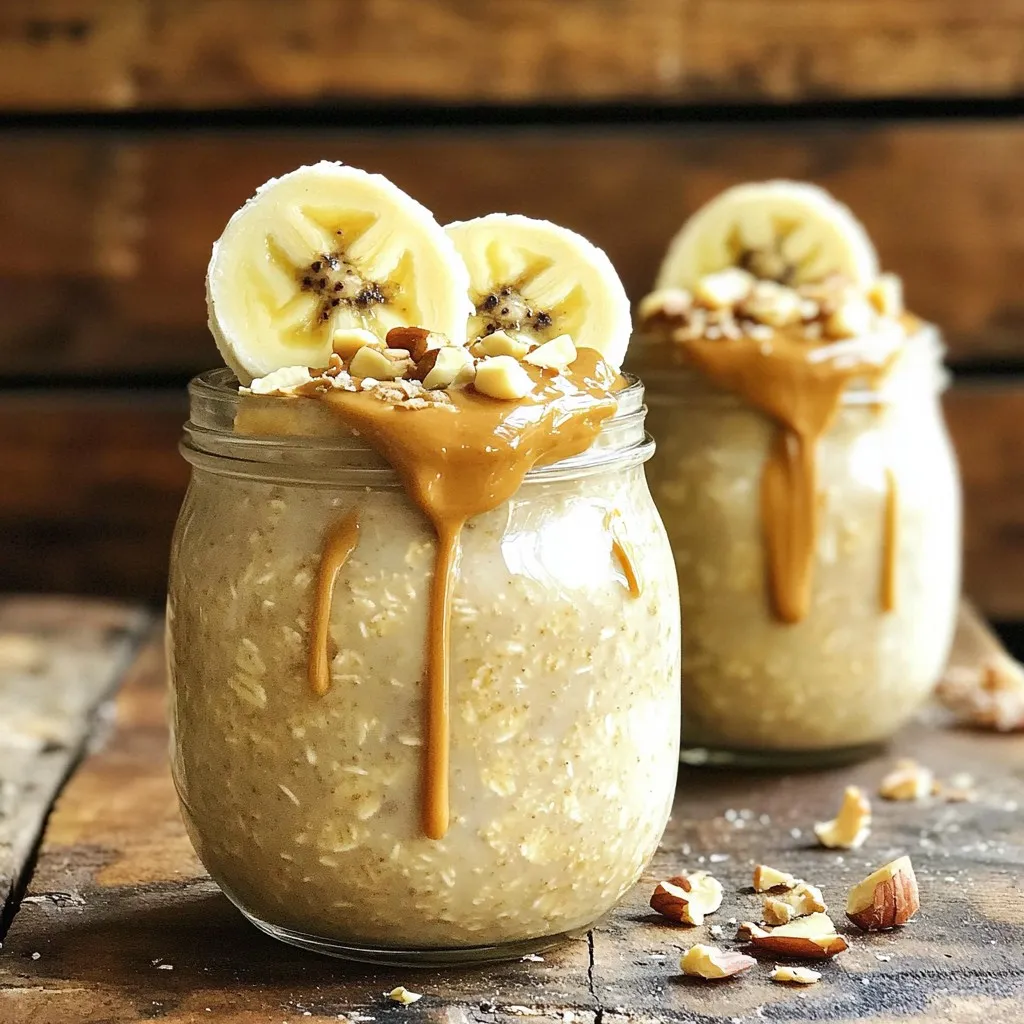
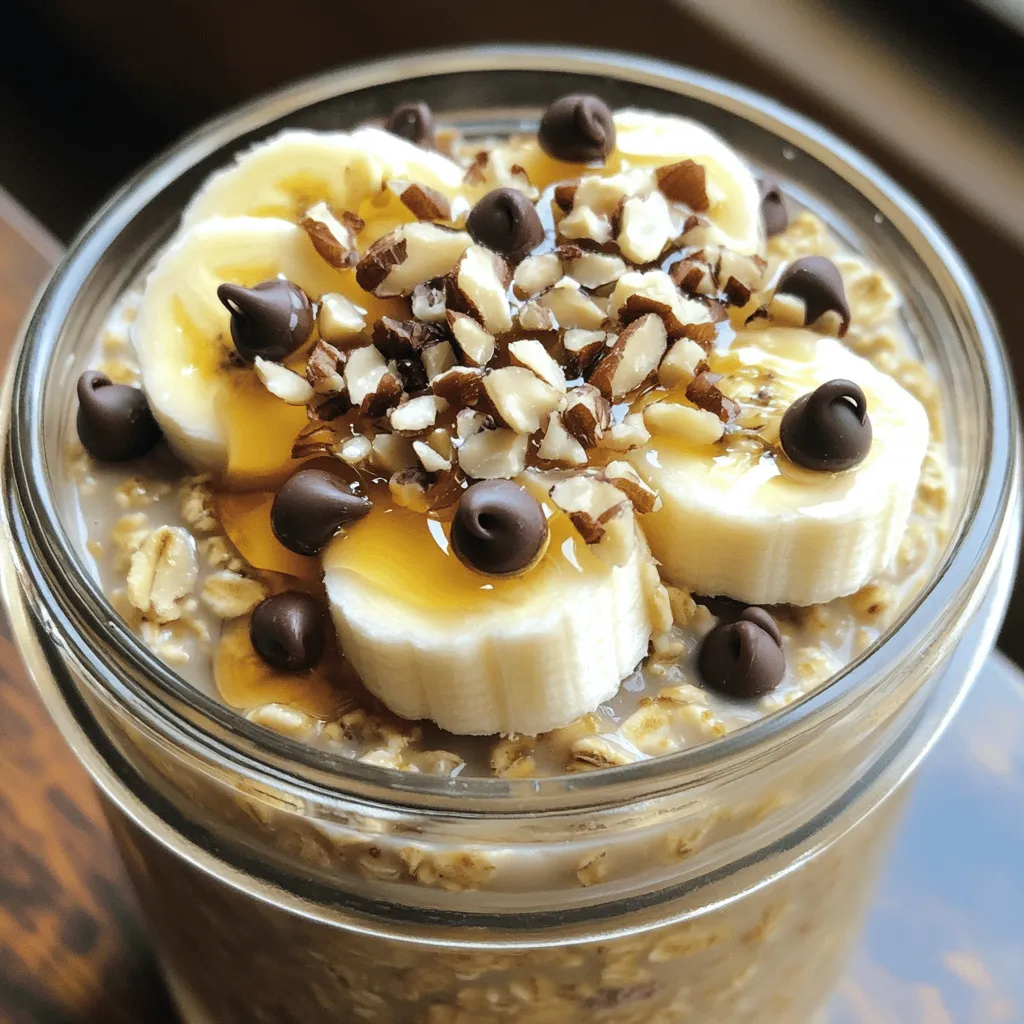
Peanut Butter Banana Overnight Oats Simple Breakfast
If you’re looking for a quick and tasty breakfast, let me introduce you to Peanut Butter Banana Overnight Oats. This simple recipe combines creamy peanut
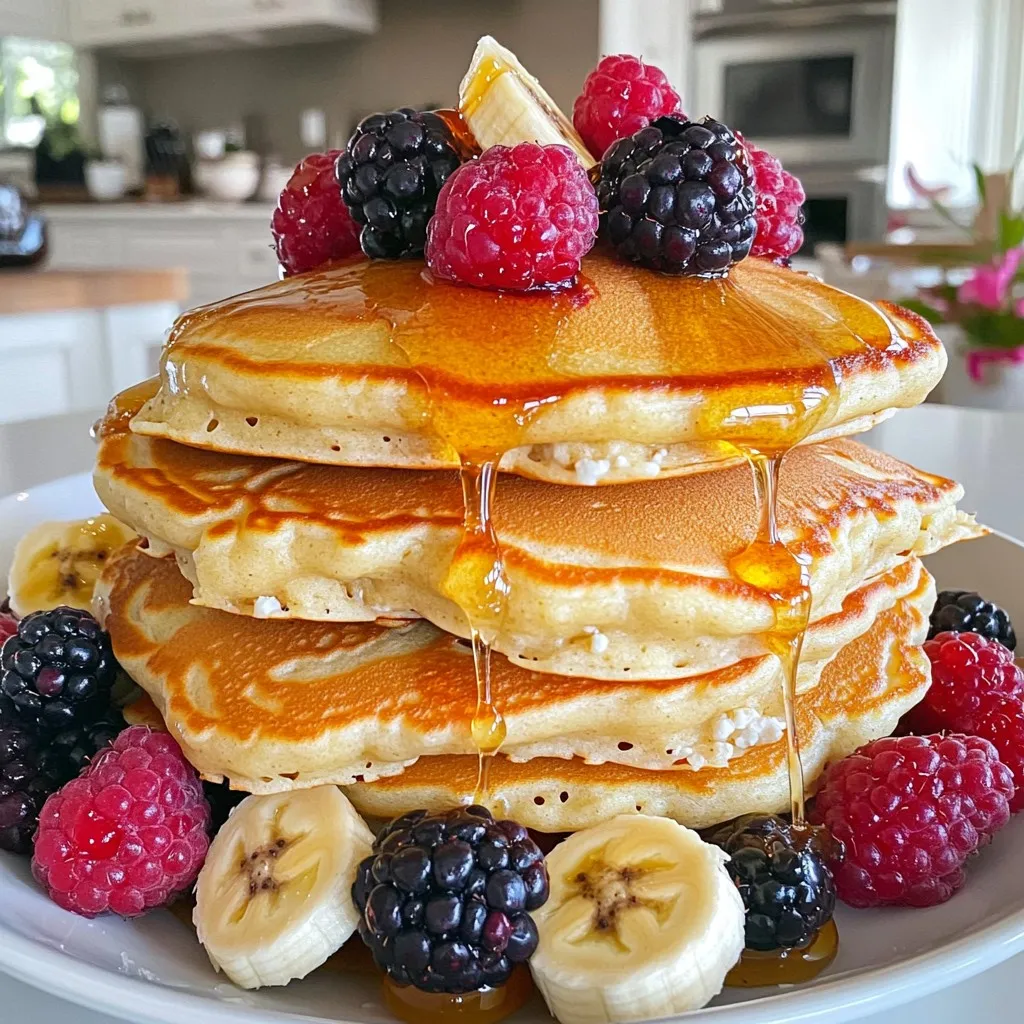
Protein Cottage Cheese Pancake Bowl Simple Delight
Are you looking for a tasty and healthy breakfast? Let me introduce you to the Protein Cottage Cheese Pancake Bowl. This simple delight mixes fluffy
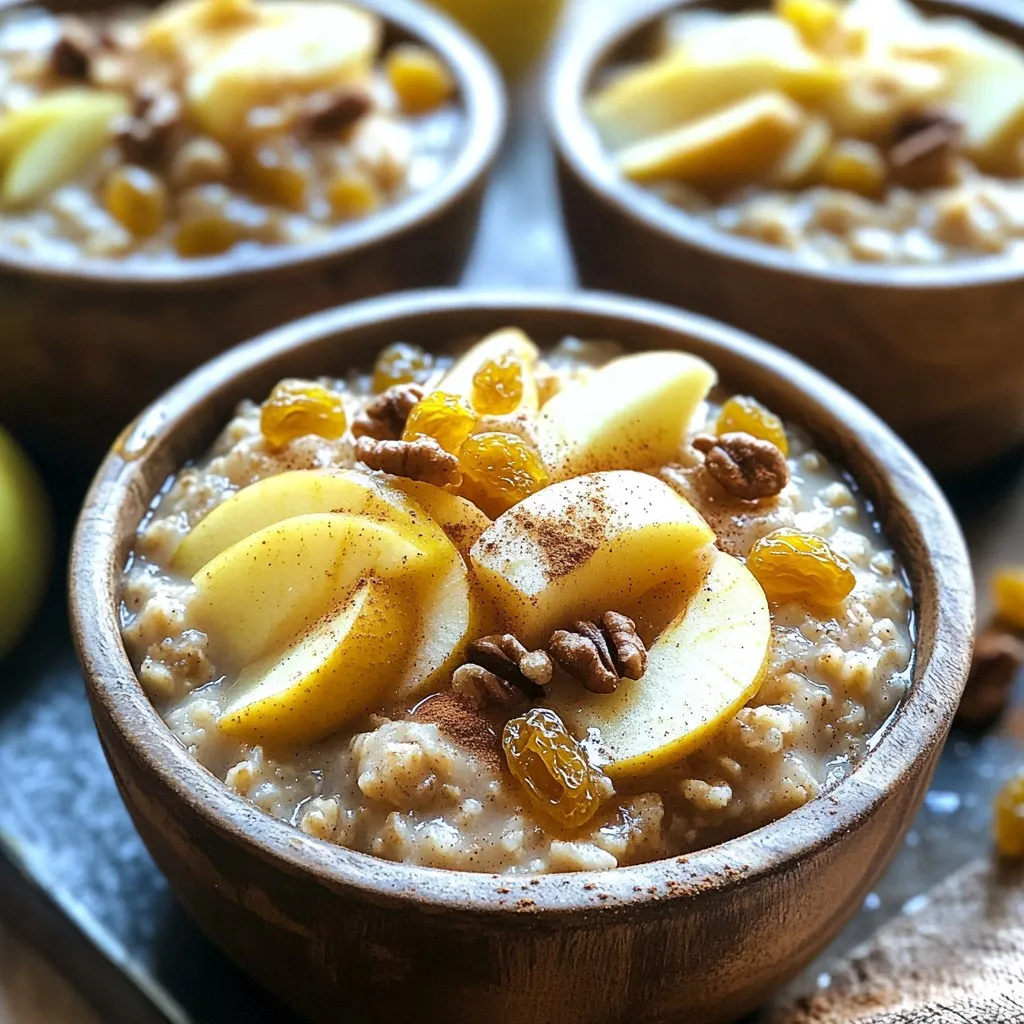
Slow Cooker Cinnamon Apple Oatmeal Tasty and Easy Dish
Looking for a warm, satisfying breakfast that cooks while you sleep? Try my Slow Cooker Cinnamon Apple Oatmeal! This dish is simple and bursting with
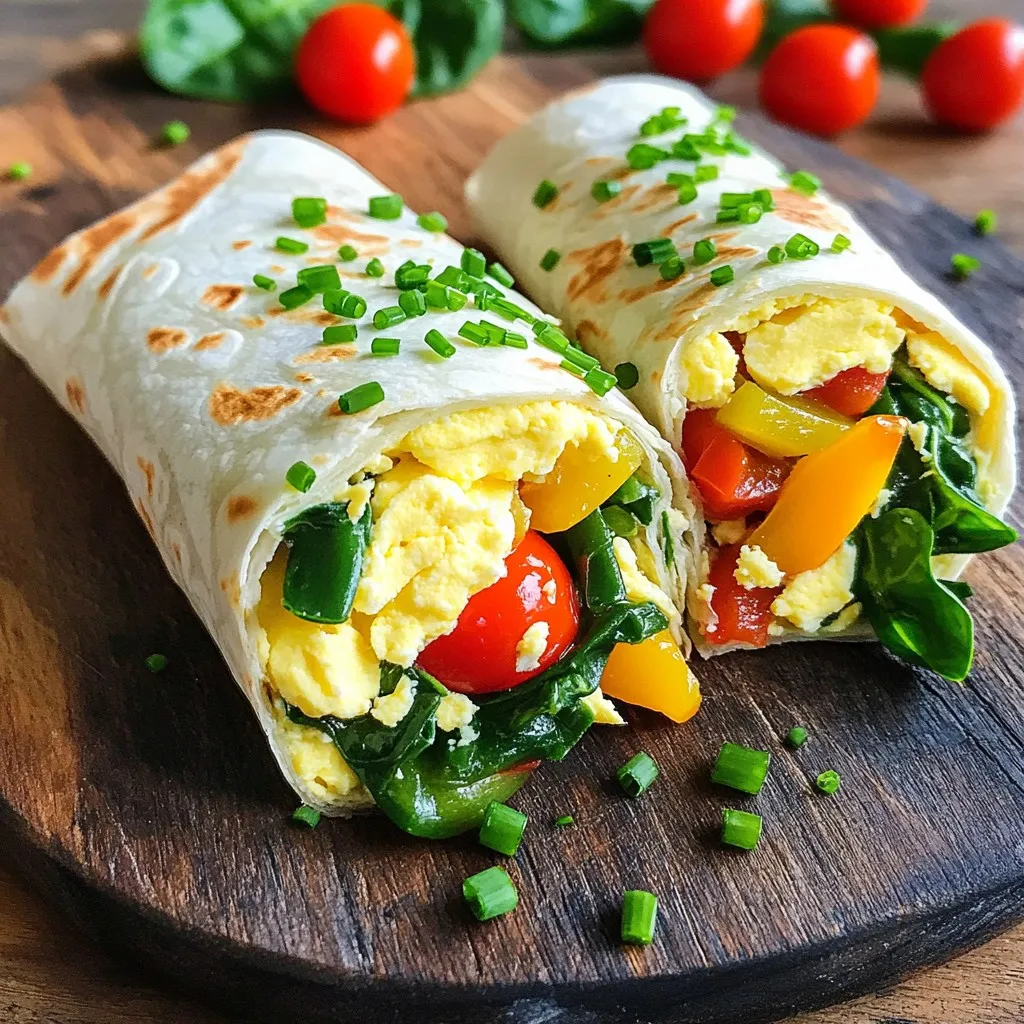
Minute Egg White Breakfast Wraps Healthy Morning Boost
Start your mornings right with my Minute Egg White Breakfast Wraps! These wraps are quick to make and packed with protein. You can enjoy a
High-Protein Cookie Dough Overnight Oats Recipe
If you’re looking for a quick and tasty breakfast, you’re in the right place! My High-Protein Cookie Dough Overnight Oats recipe combines yummy flavors with