Breakfast
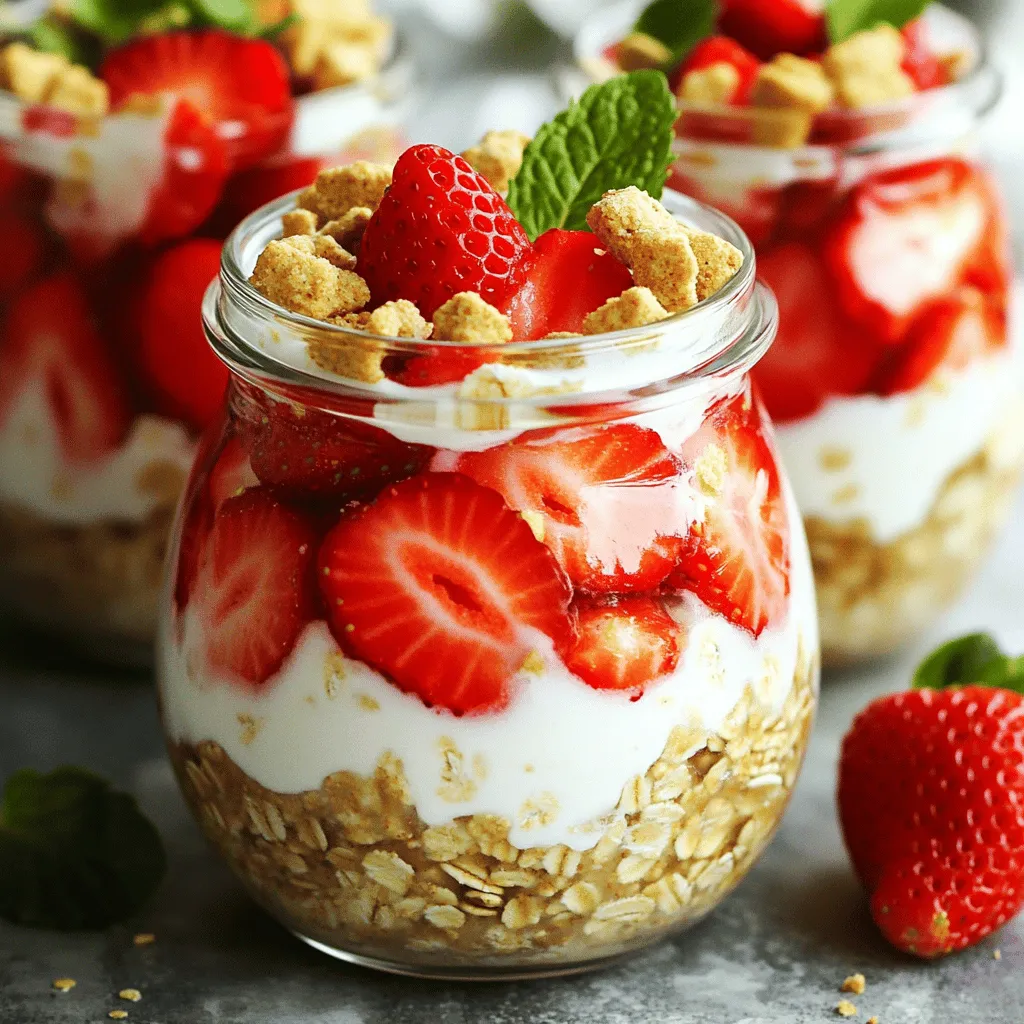
Strawberry Shortcake Overnight Oats Easy Breakfast Option
Looking for a quick, tasty breakfast? Strawberry Shortcake Overnight Oats are your answer! This easy recipe blends sweet strawberries with creamy yogurt, giving you a
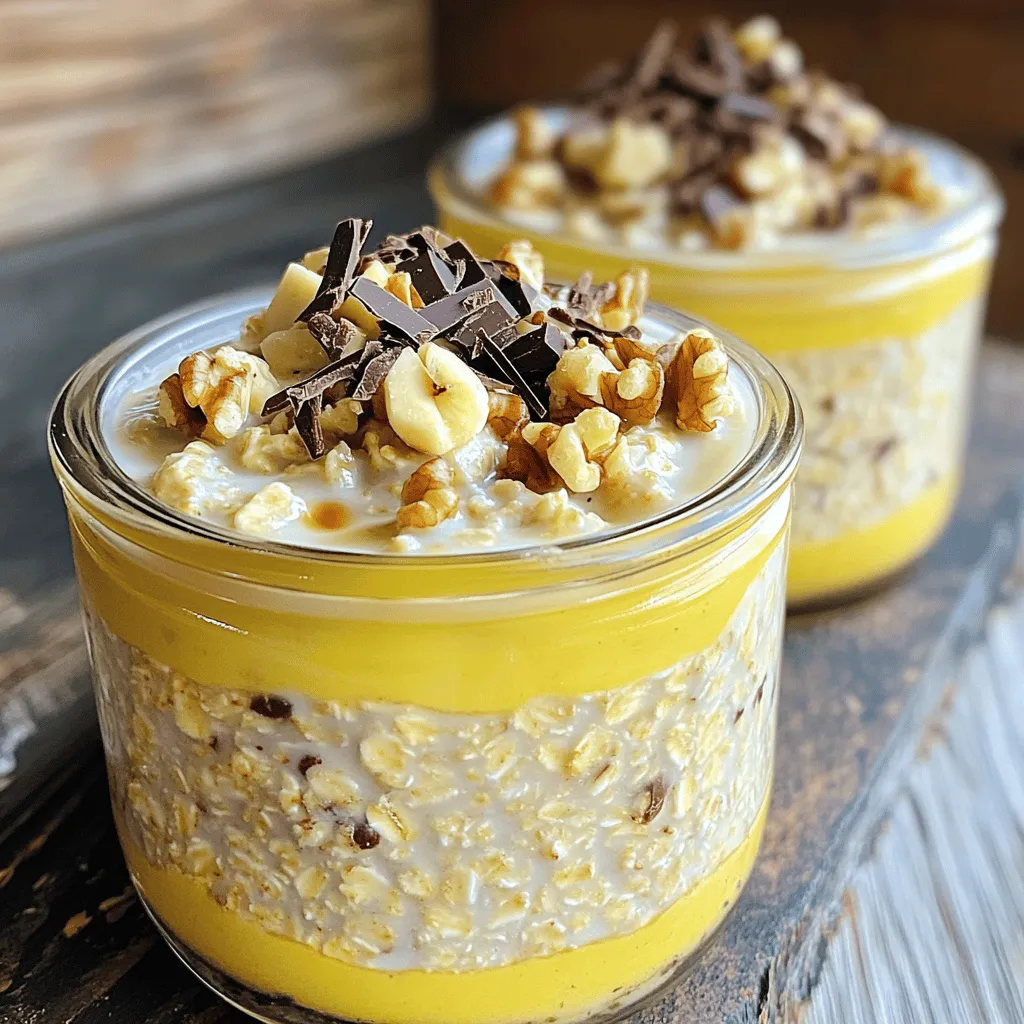
High-Protein Banana Bread Overnight Oats Recipe
Are you ready to transform your breakfast routine? Try my High-Protein Banana Bread Overnight Oats! This delicious and filling recipe combines rolled oats, ripe bananas,
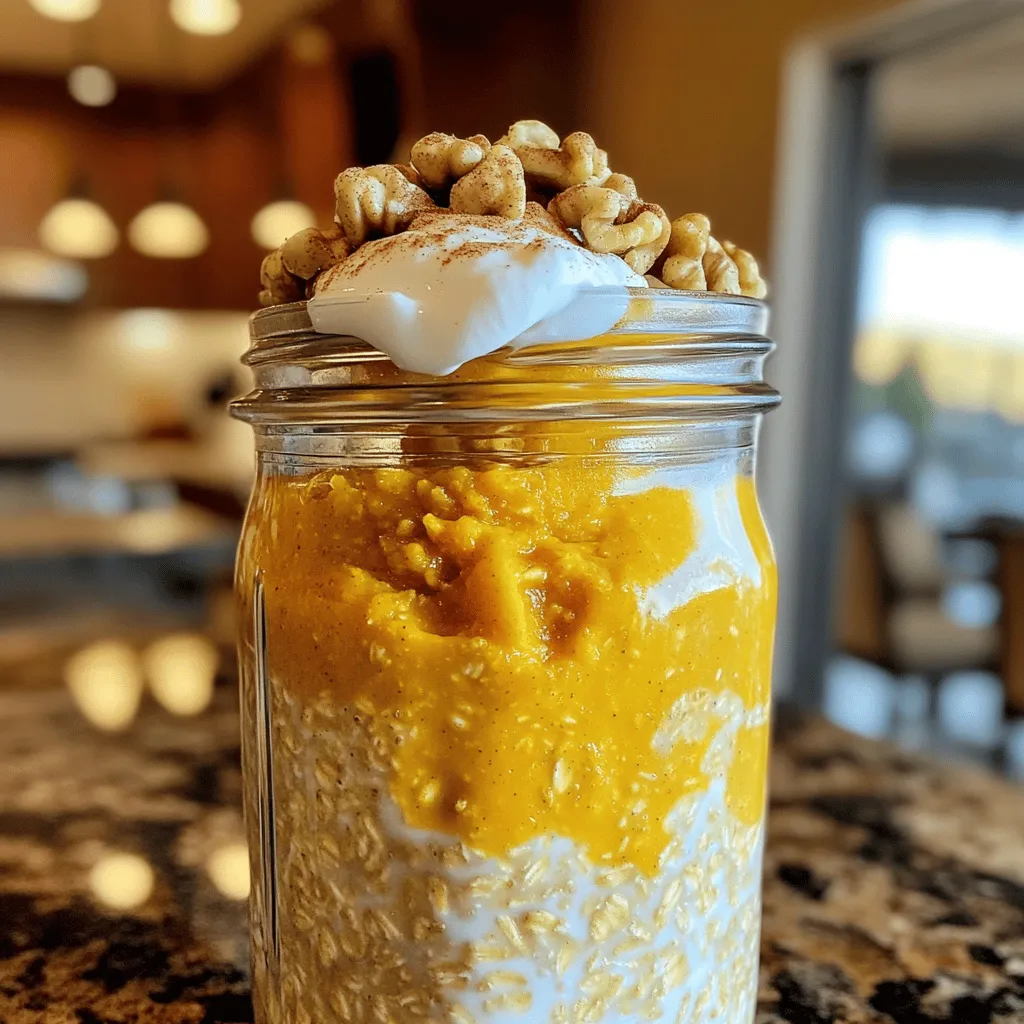
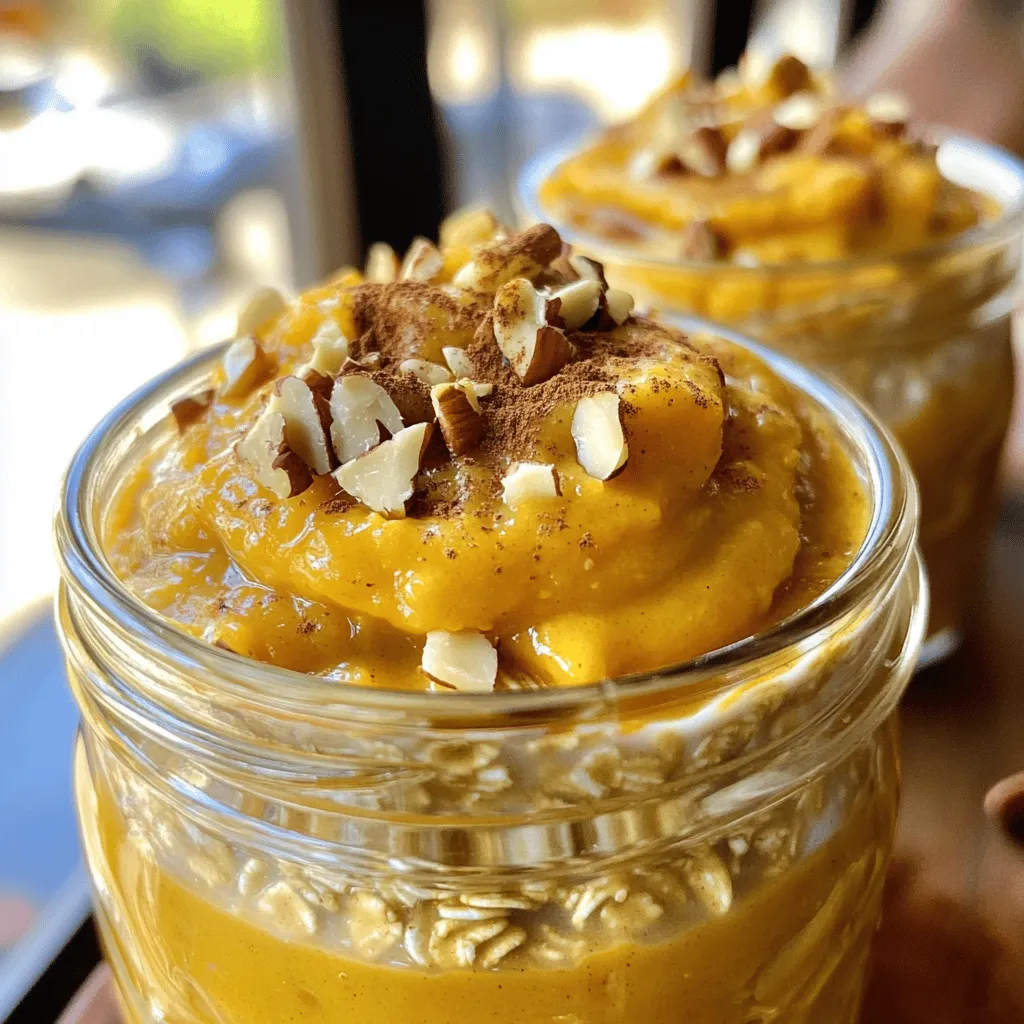
Protein Pumpkin Pie Overnight Oats Easy and Tasty Meal
Get ready to enjoy a delicious twist on breakfast with my Protein Pumpkin Pie Overnight Oats! This easy and tasty meal combines the warm flavors
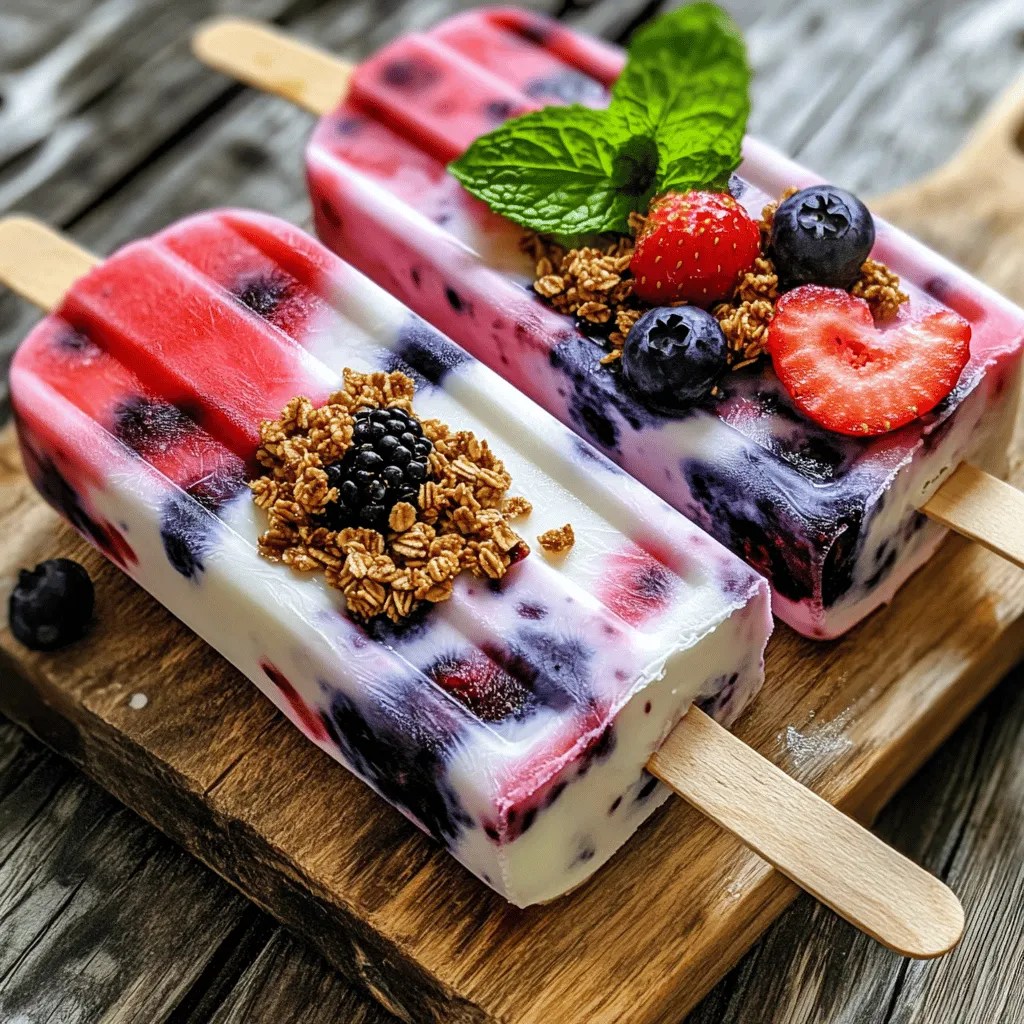
Greek Yogurt Berry Breakfast Popsicles Simple Treat
Looking for a fun and healthy breakfast option? Try my Greek Yogurt Berry Breakfast Popsicles! They’re simple to make and packed full of nutrients. You’ll
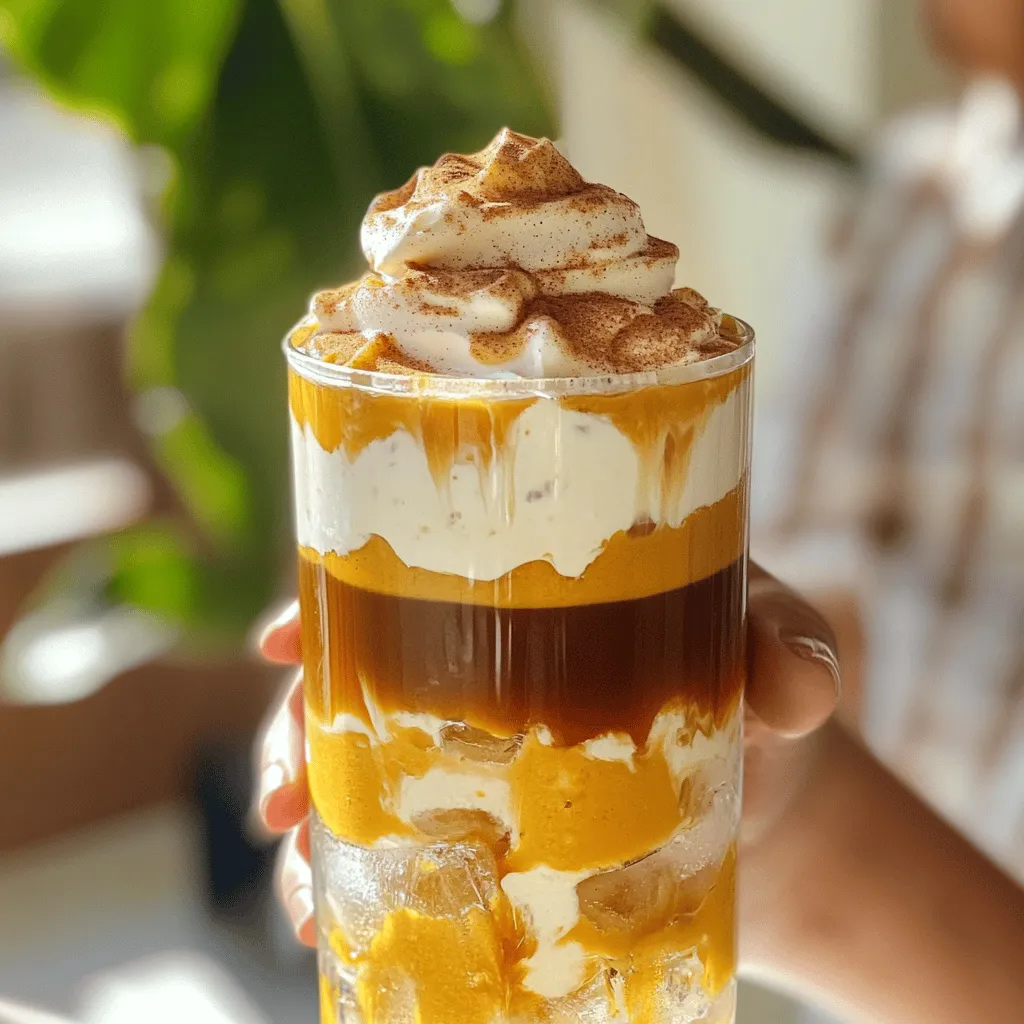
Starbucks Copycat Pumpkin Cream Cold Brew Delight
Are you ready to indulge in fall’s favorite drink without leaving your home? This Starbucks Copycat Pumpkin Cream Cold Brew Delight is your ticket to
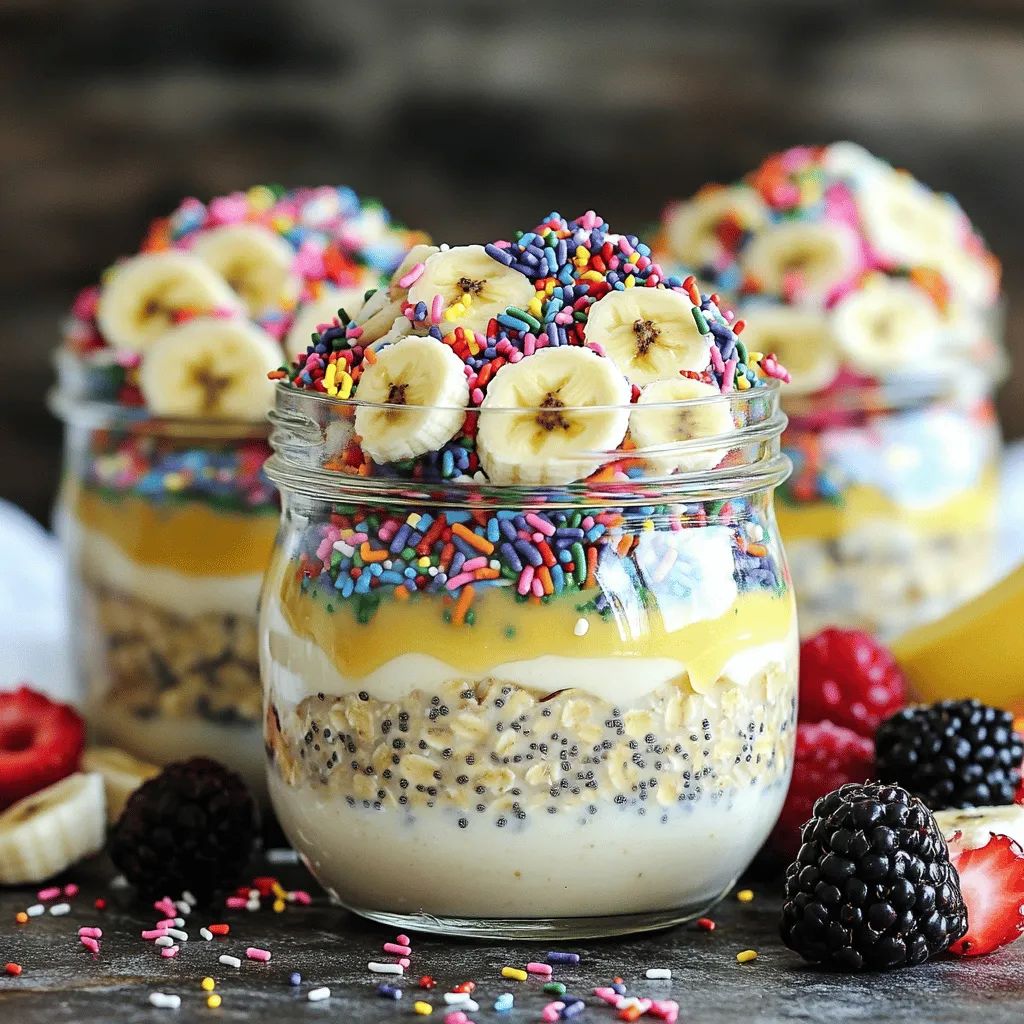
High Protein Birthday Cake Overnight Oats Recipe
Craving a delicious way to enjoy your birthday cake every day? You’re in the right place! This High Protein Birthday Cake Overnight Oats recipe blends
Pumpkin Cream Cold Brew Overnight Oats Delight
Get ready to enjoy a delicious twist on breakfast with my Pumpkin Cream Cold Brew Overnight Oats Delight! This easy recipe blends creamy pumpkin and
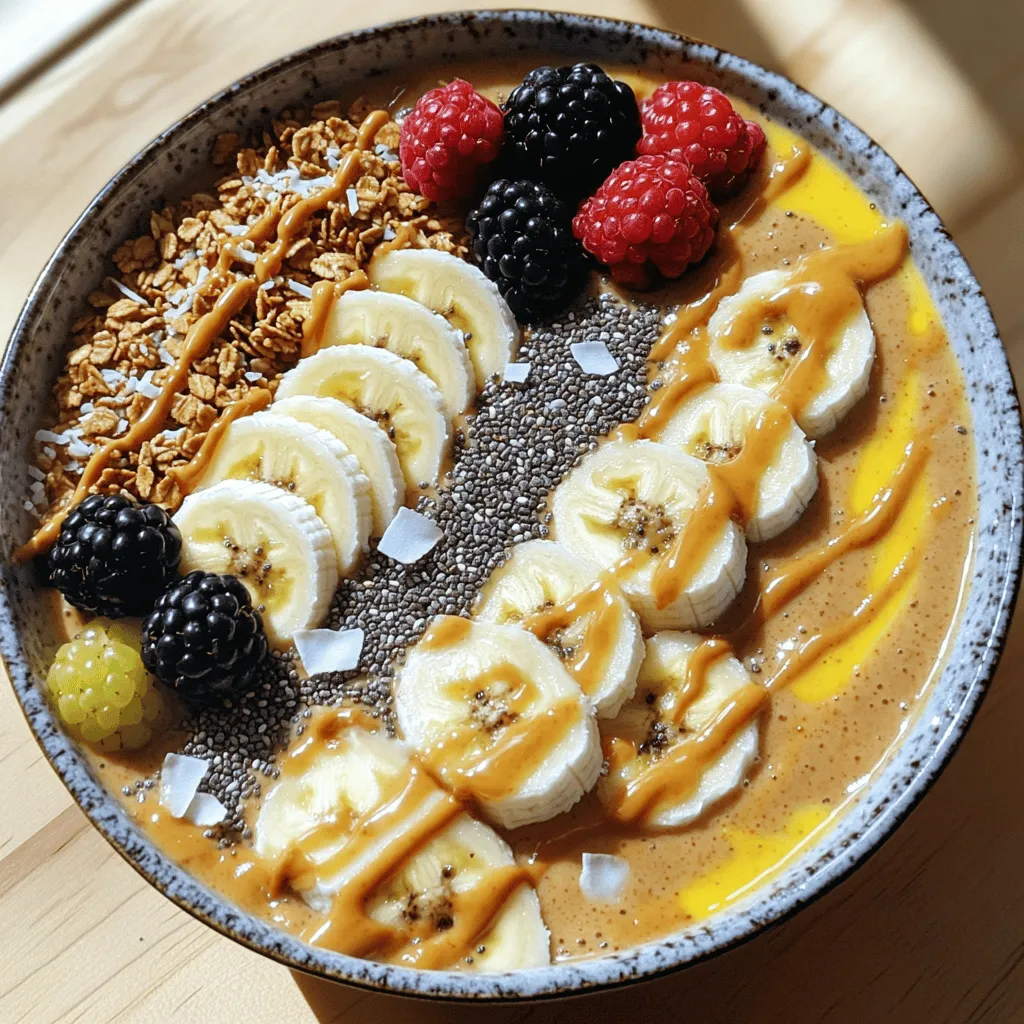
Peanut Butter Banana Smoothie Bowl Energizing Delight
Are you ready to fuel your day with a tasty twist? The Peanut Butter Banana Smoothie Bowl is a perfect blend of creamy goodness and
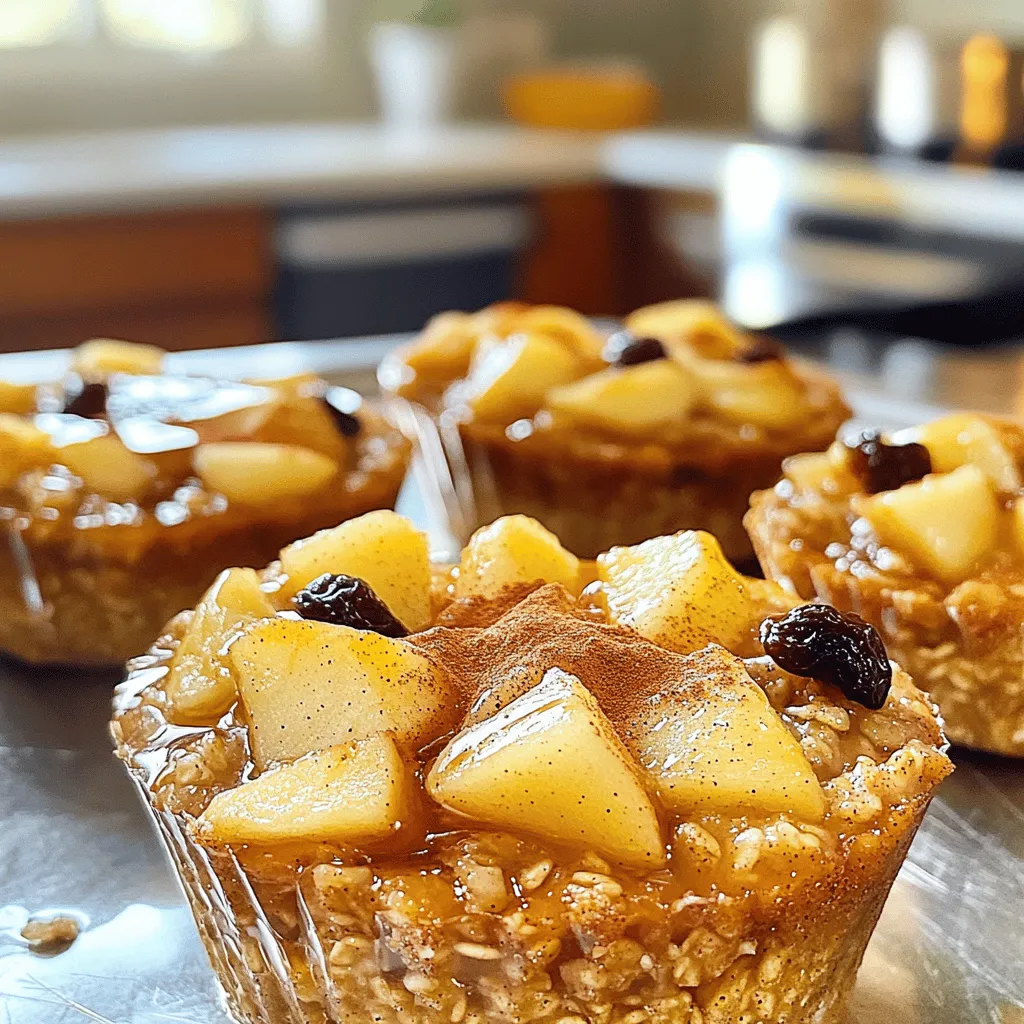
Apple Cinnamon Baked Oatmeal Cups Easy Breakfast Idea
Looking for an easy breakfast that you can make in advance? These Apple Cinnamon Baked Oatmeal Cups are just what you need! Packed with oats,
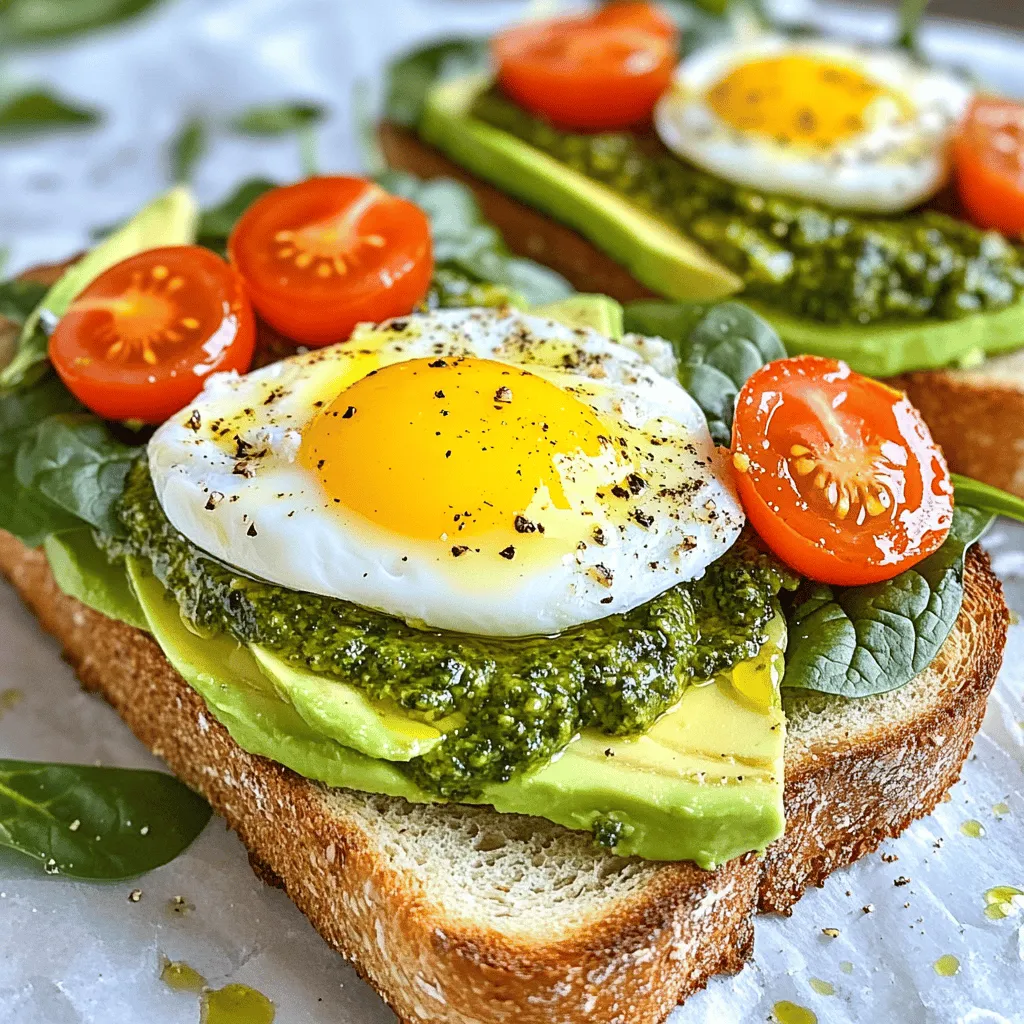
Pesto Egg Breakfast Sandwiches Easy and Tasty Meal
Start your day with a burst of flavor and energy! My Pesto Egg Breakfast Sandwiches are simple to make and full of taste. Whether you’re