Breakfast
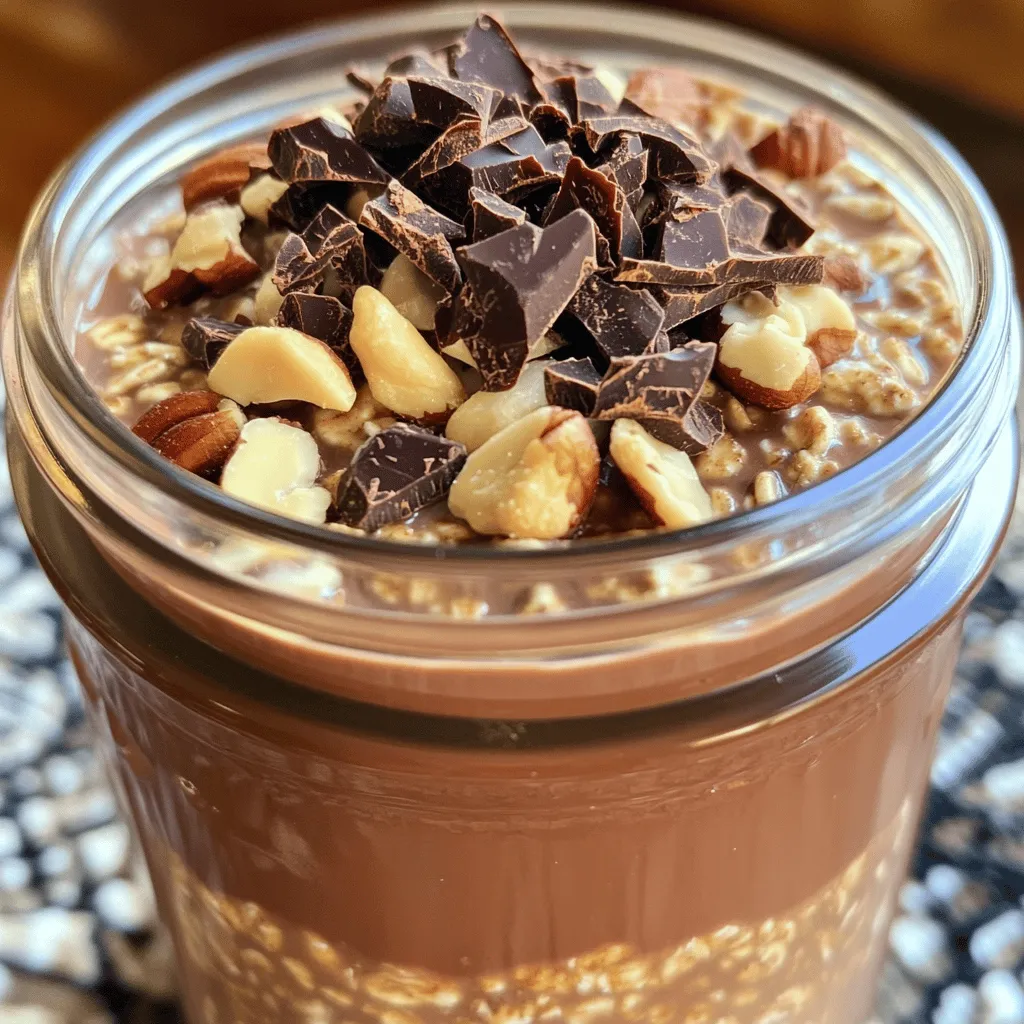
Mocha Protein Overnight Oats Easy Breakfast Boost
Start your day with a tasty lift! These Mocha Protein Overnight Oats offer a delicious boost to your morning routine. Packed with rolled oats, cocoa,
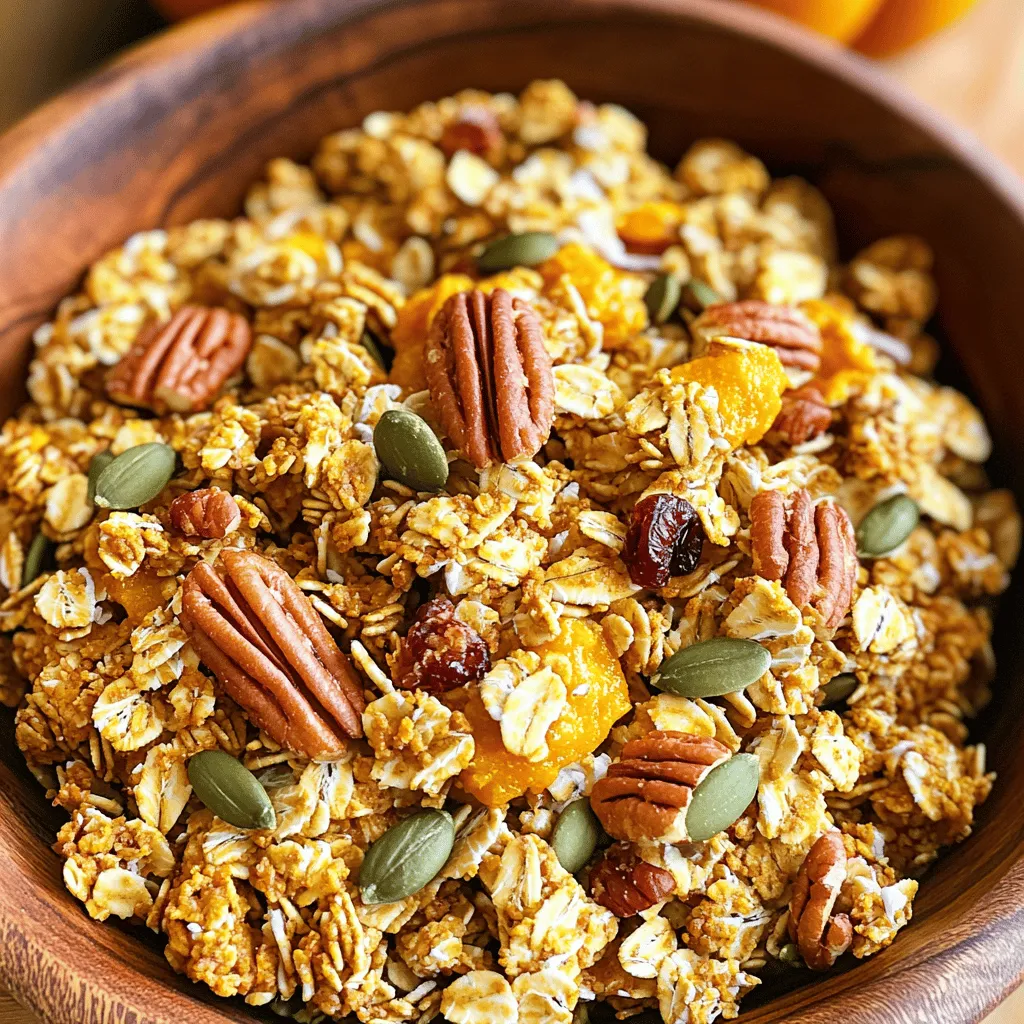
Pumpkin Spice Granola Tasty Fall Breakfast Treat
Embrace the warm flavors of fall with my Pumpkin Spice Granola. This tasty treat is not just for snacking—it’s a delicious breakfast option that’s easy
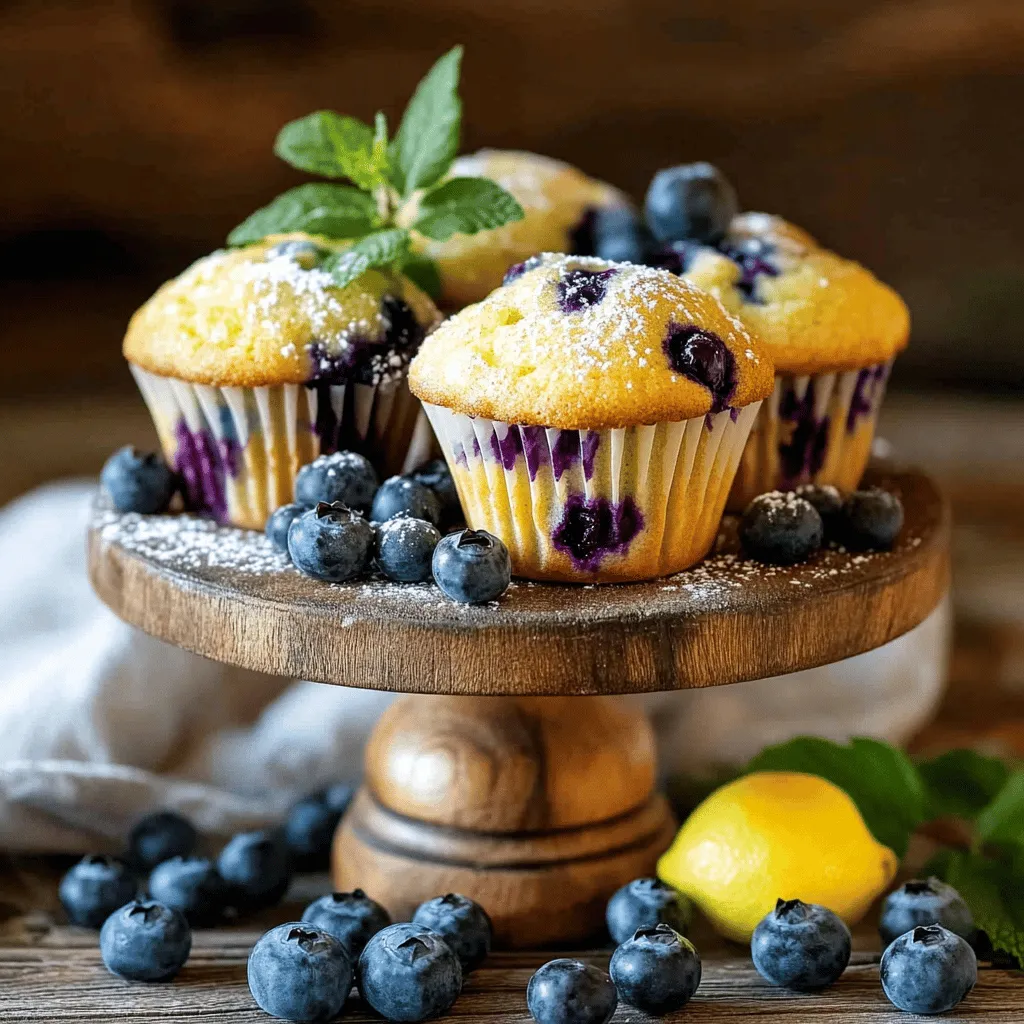
Blueberry Lemon Yogurt Muffins Fresh and Flavorful
If you’re craving a sweet, tangy treat, my Blueberry Lemon Yogurt Muffins are just the thing! Packed with juicy blueberries and zesty lemon, these muffins
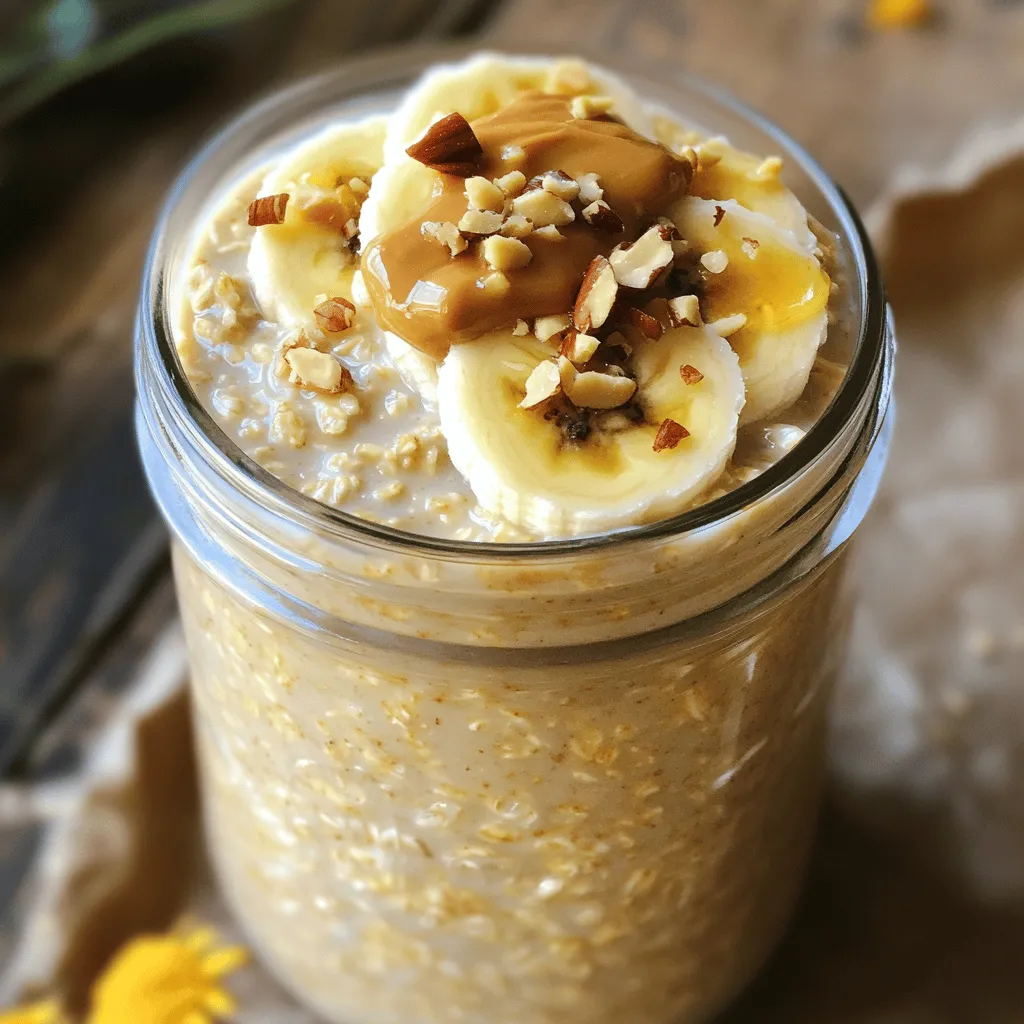
Peanut Butter Overnight Oats Easy and Flavorful Recipe
Are you ready to kickstart your mornings with a tasty and easy breakfast? Peanut Butter Overnight Oats are not only simple to make but packed
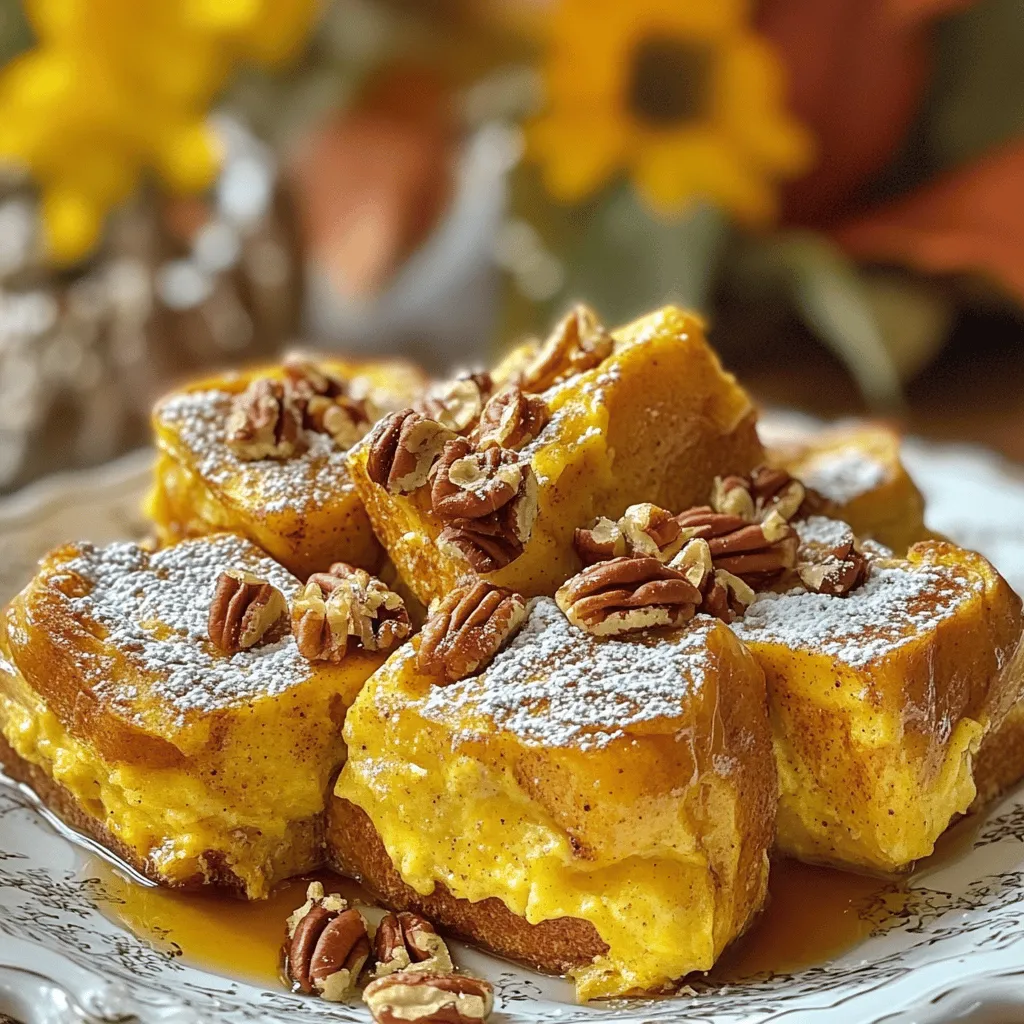
Pumpkin Spice French Toast Casserole Cozy Delight
Cozy up to fall with my Pumpkin Spice French Toast Casserole! This dish combines rich pumpkin puree, warm spices, and soft challah bread to create

Greek Yogurt Blueberry Pancakes Healthy Breakfast Treat
Start your day with a fun twist on breakfast: Greek Yogurt Blueberry Pancakes! This recipe is not just tasty but also healthy. Packed with protein
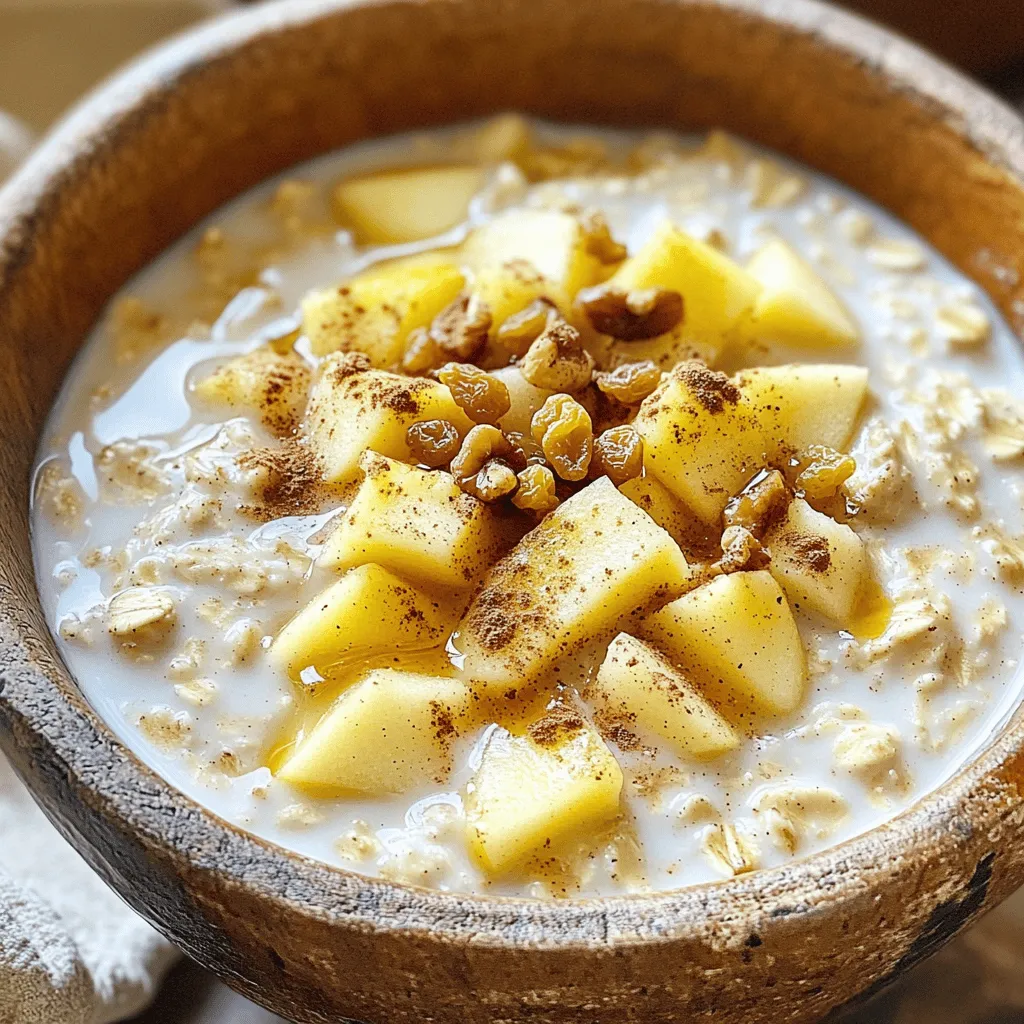
Apple Cinnamon Overnight Oats Tasty and Simple Recipe
If you’re looking for a quick and delicious breakfast, you’ve come to the right place! My Apple Cinnamon Overnight Oats recipe is both tasty and
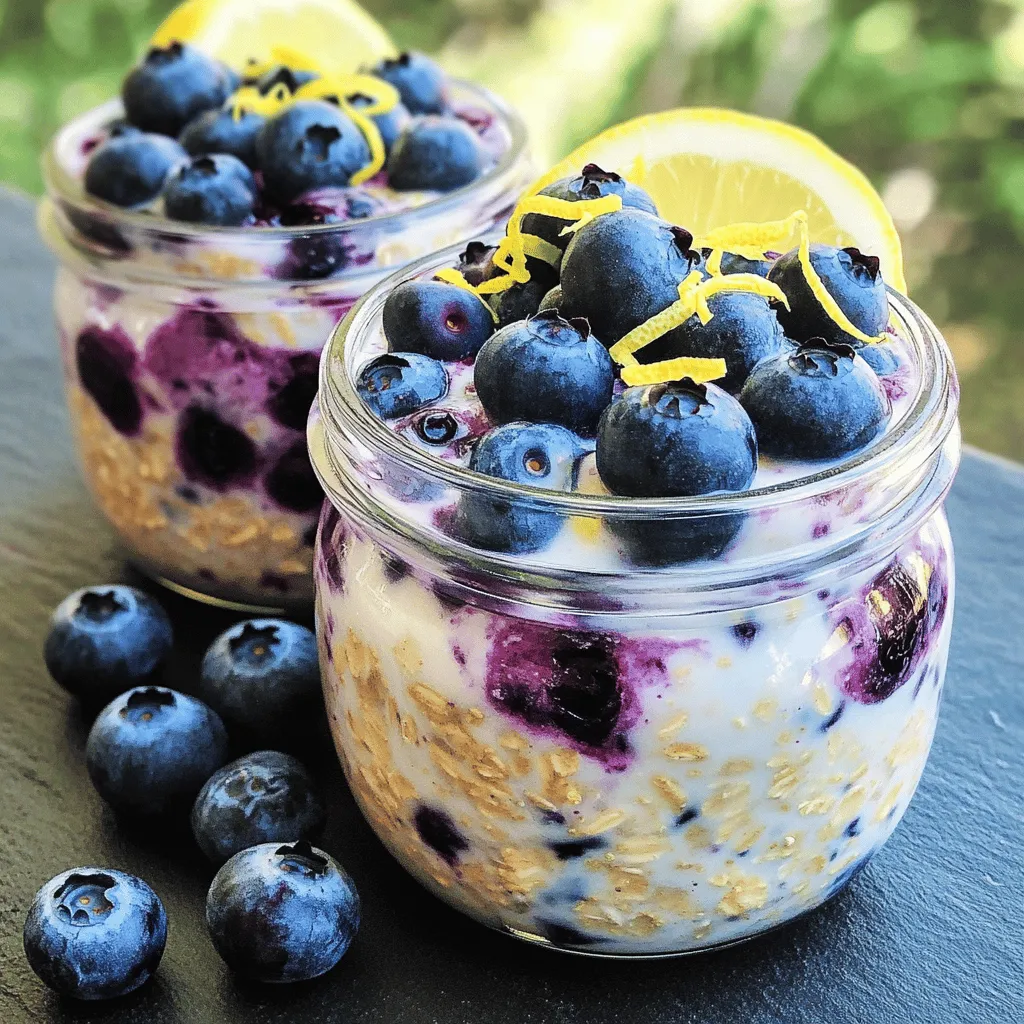
Blueberry Lemon Overnight Oats Flavorful and Easy Prep
Start your day with a burst of flavor! Blueberry lemon overnight oats are delicious and easy to prepare. These oats blend sweet blueberries with zesty
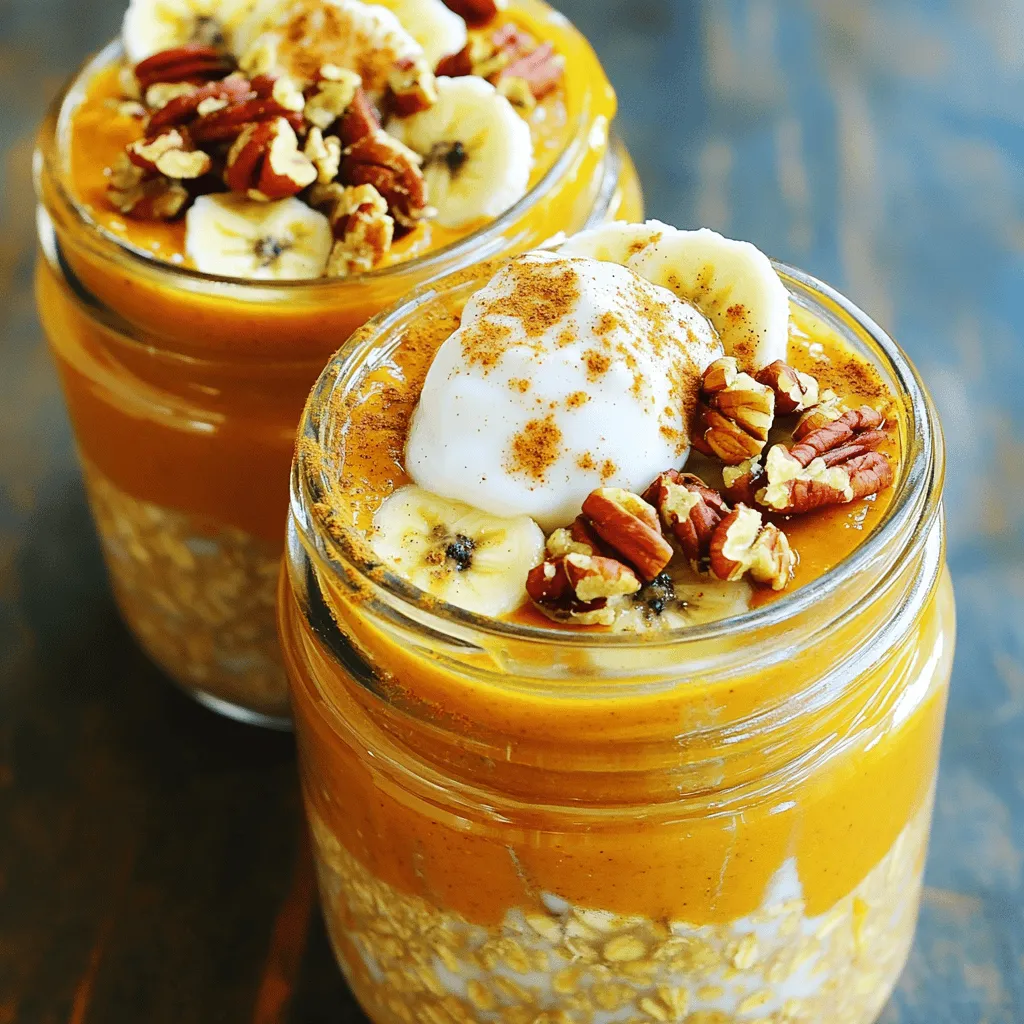
Pumpkin Spice Overnight Oats Comforting Fall Treat
Are you ready to welcome fall with open arms and a delicious treat? Pumpkin Spice Overnight Oats are a cozy way to enjoy the flavors
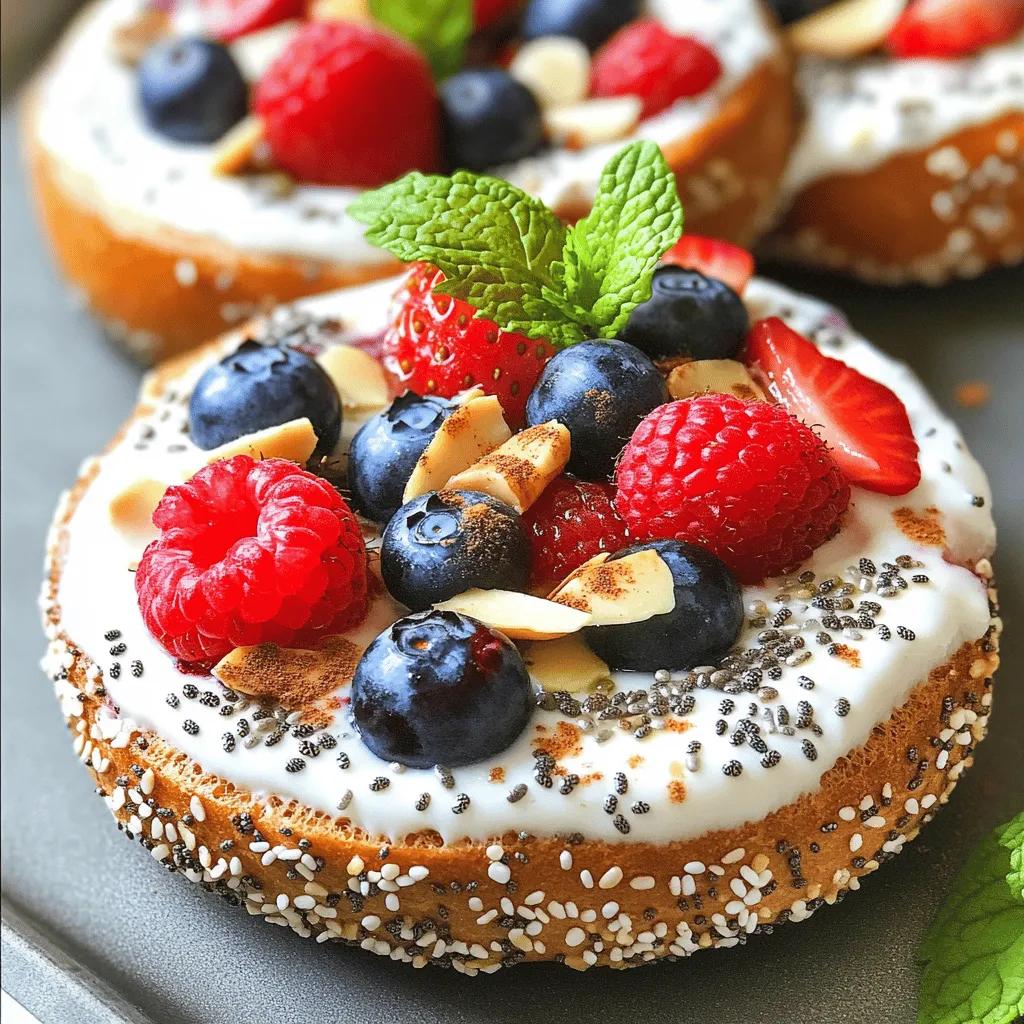
Greek Yogurt Bagel Bites Tasty Snack Idea
Looking for a fun and tasty snack? Greek Yogurt Bagel Bites are a perfect choice! They’re easy to make and packed with yummy flavors. Plus,