Breakfast
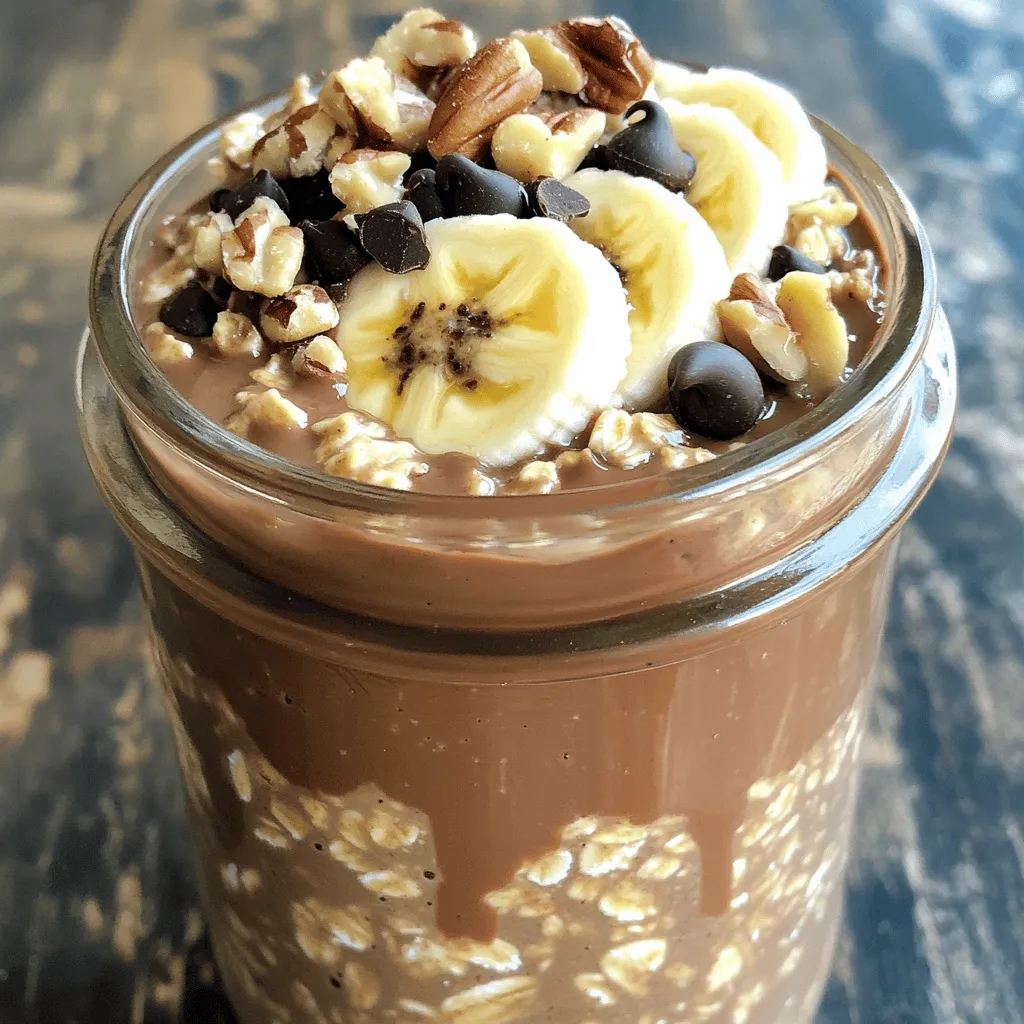
Peanut Butter Chocolate Overnight Oats Easy Recipe
Are you ready for a delicious and easy breakfast? Peanut Butter Chocolate Overnight Oats are perfect for your busy mornings. This recipe combines creamy peanut

Honey Cinnamon Cold Brew Refreshing Summer Drink
Looking for a refreshing summer drink that combines rich coffee flavor with sweet honey and spicy cinnamon? You’ve found it! In this blog post, I’ll
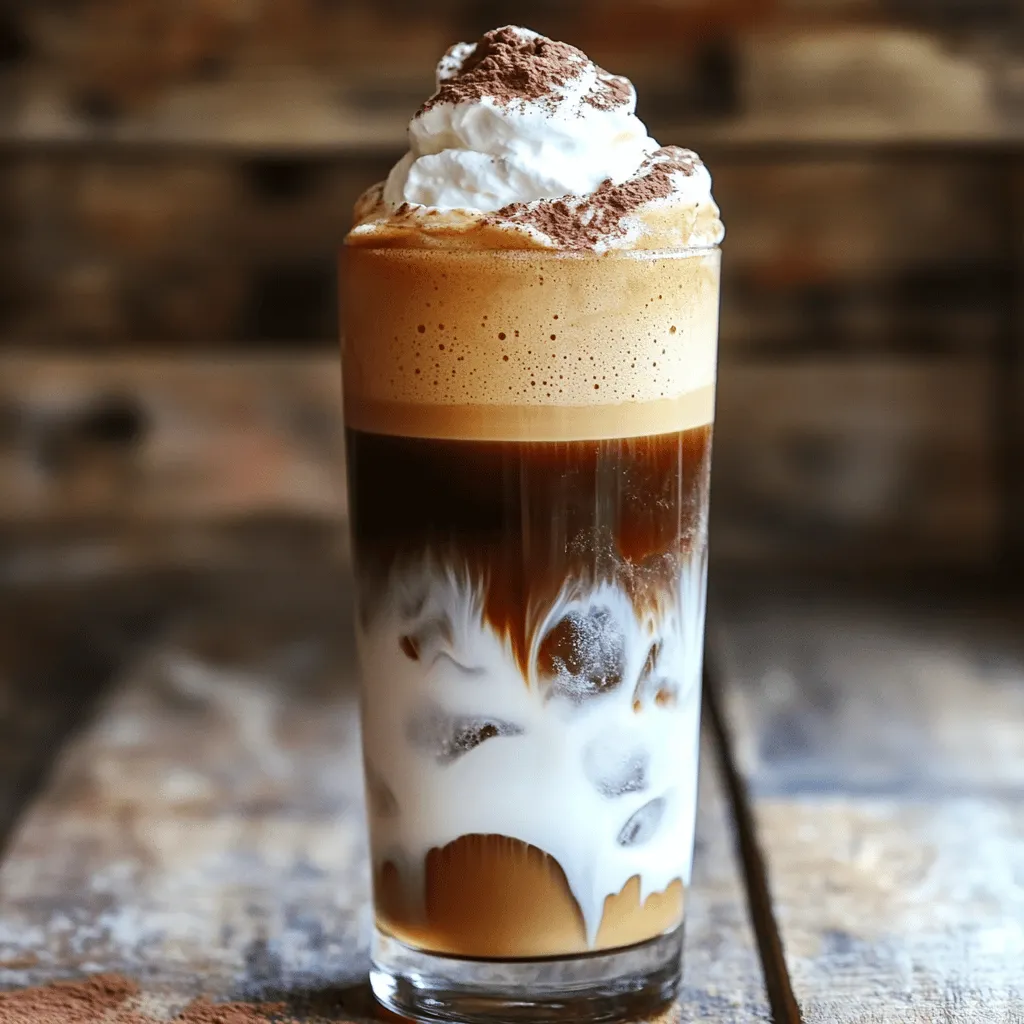
Homemade Cold Foam Coffee Refreshing and Simple Recipe
Craving a chill drink that wakes you up? Let’s make Homemade Cold Foam Coffee! This refreshing treat combines strong brewed coffee with creamy, frothy goodness.
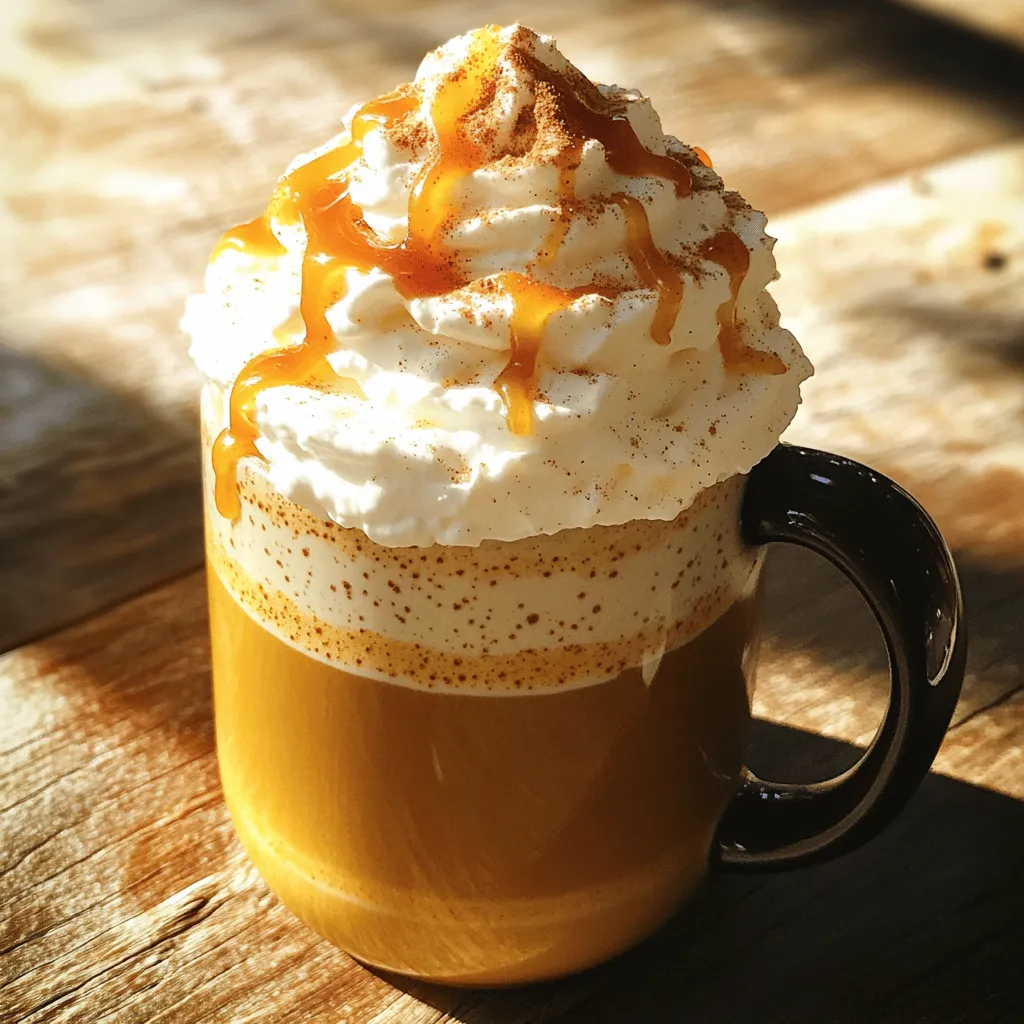
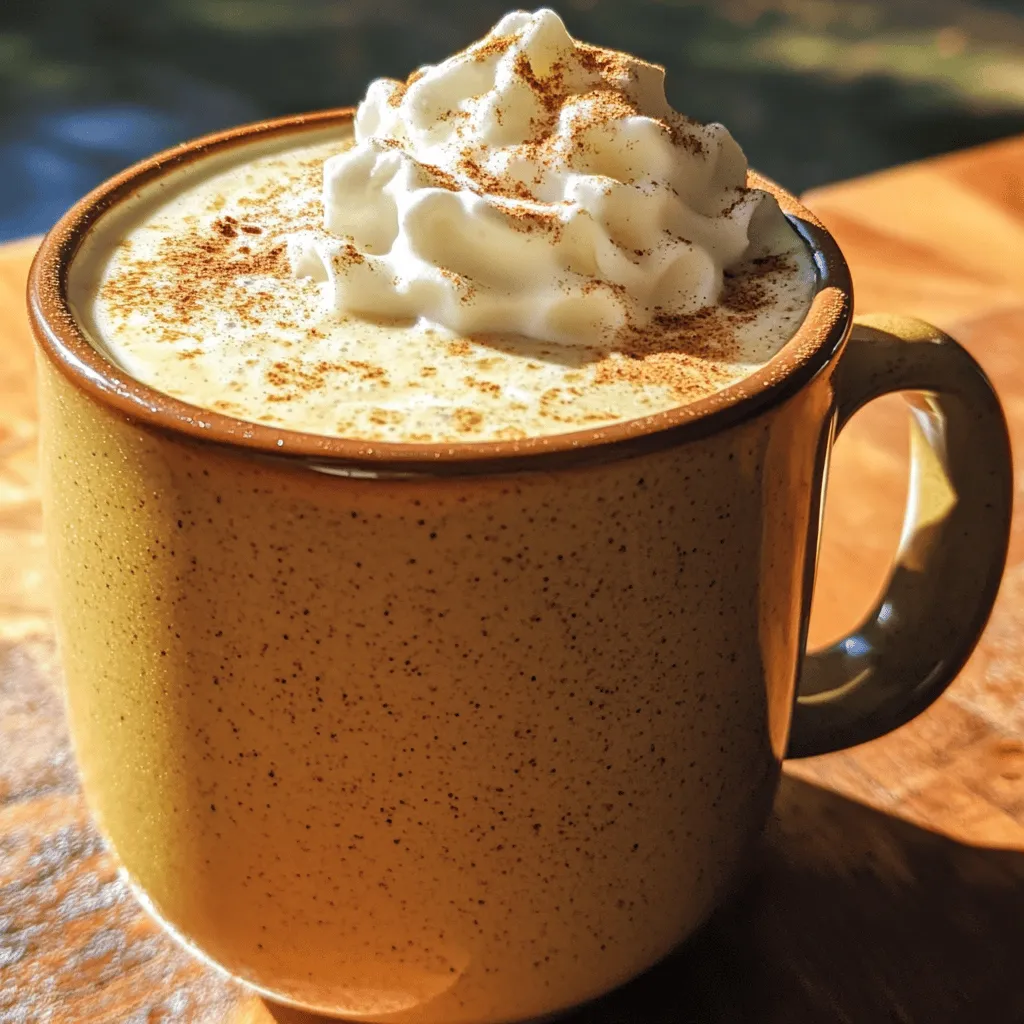
Salted Caramel Pumpkin Latte Irresistible Fall Treat
Fall is here, and that means it’s time for a treat you won’t want to miss: the Salted Caramel Pumpkin Latte! This drink combines rich
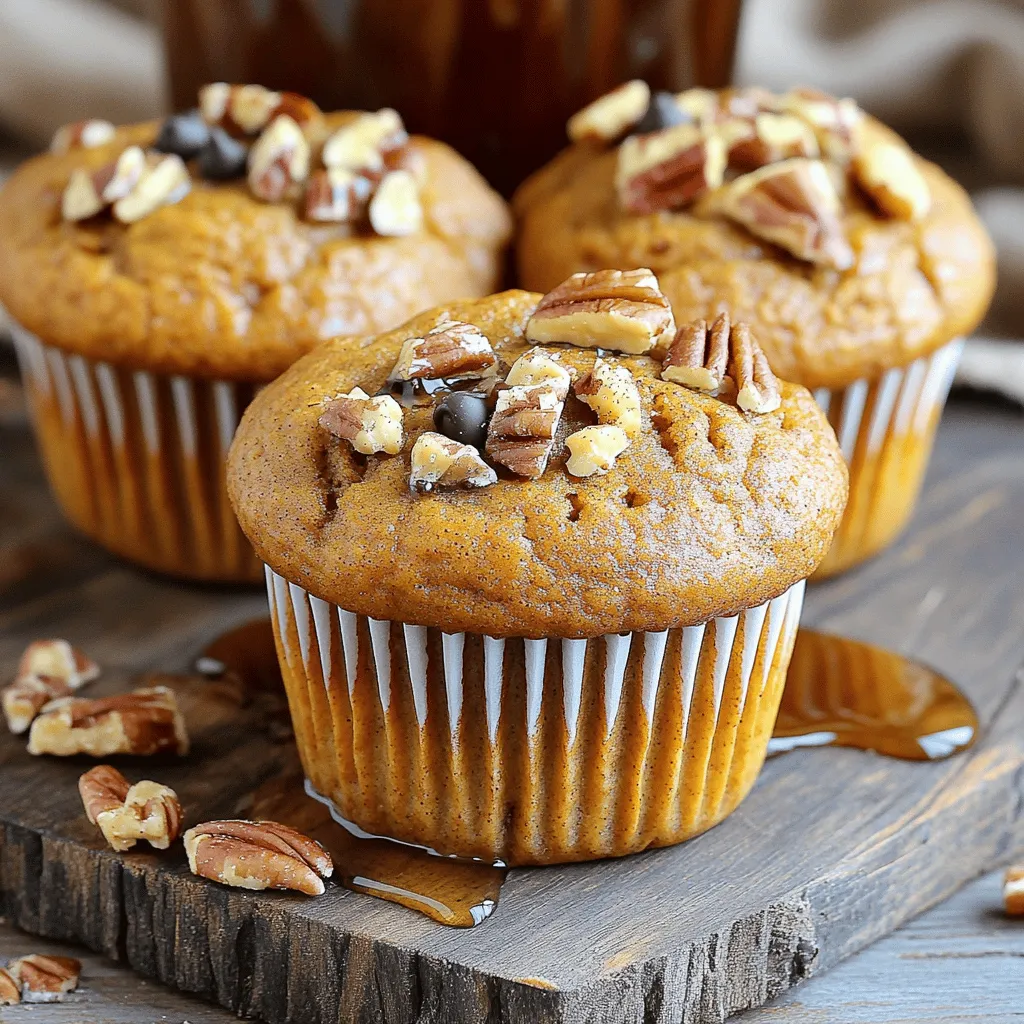
Vegan Pumpkin Muffins Flavorful and Simple Recipe
Ready to fill your kitchen with the warm scents of fall? My Vegan Pumpkin Muffins are both flavorful and easy to make. With simple ingredients
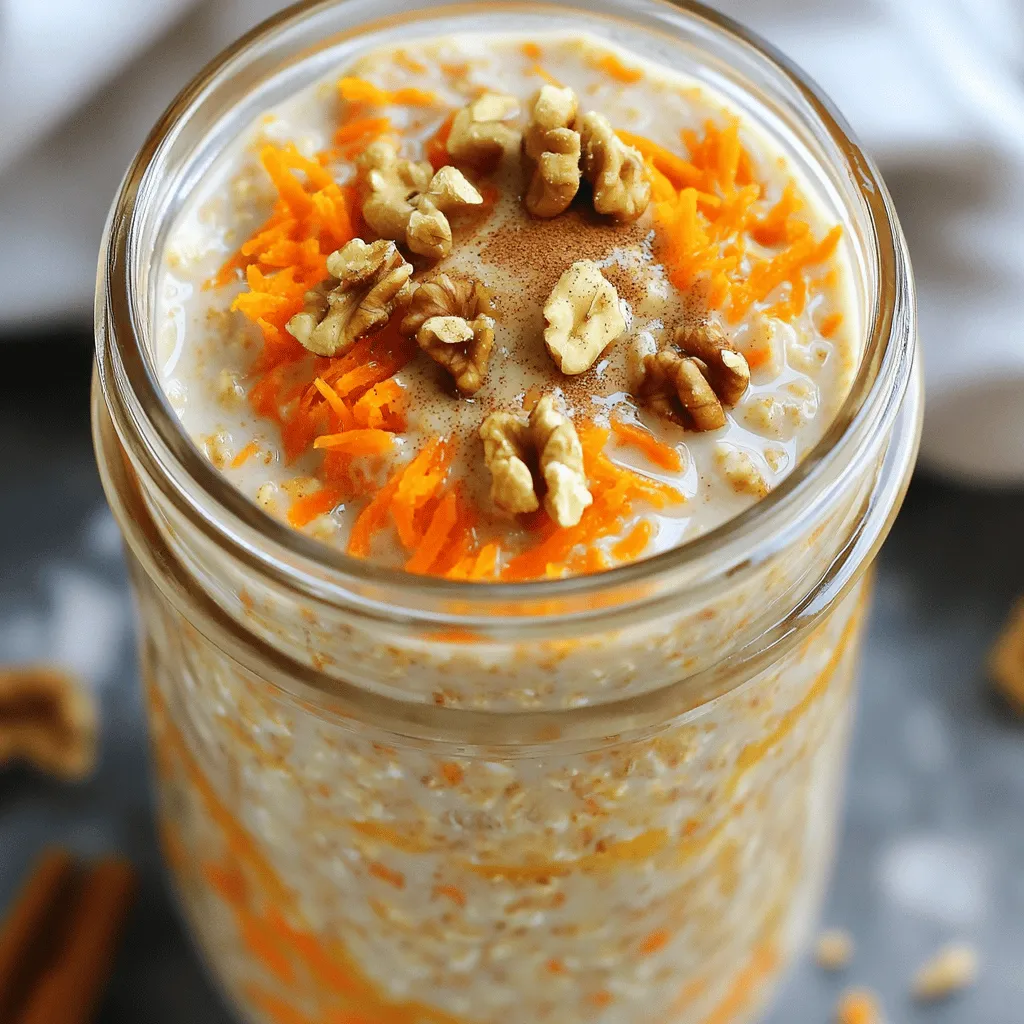
Carrot Cake Overnight Oats Tasty and Easy Recipe
Start your morning right with Carrot Cake Overnight Oats! This tasty and simple recipe combines all the flavors of your favorite dessert into a healthy
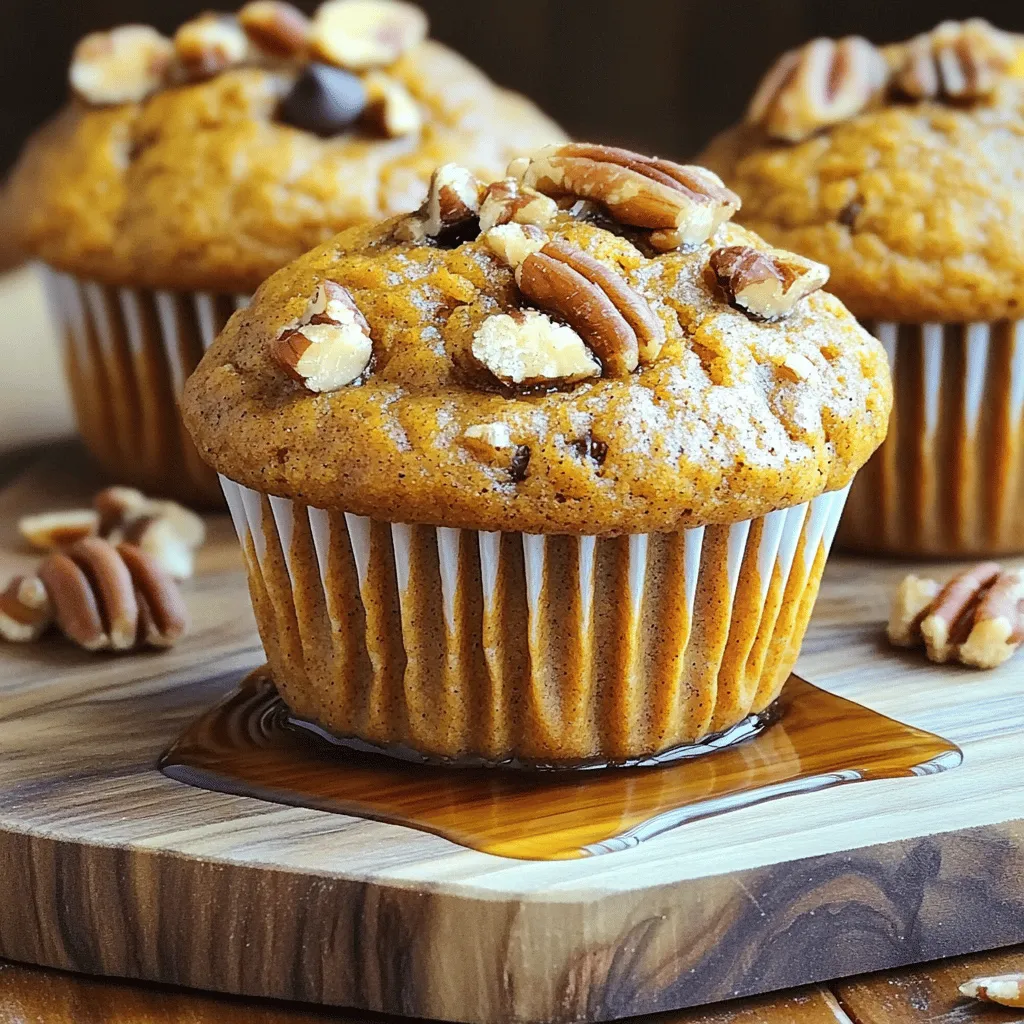
Vegan Pumpkin Muffins Delightful and Simple Recipe
Looking for a cozy and tasty treat? My Vegan Pumpkin Muffins are simple to make and super delightful. With a few common ingredients, you can
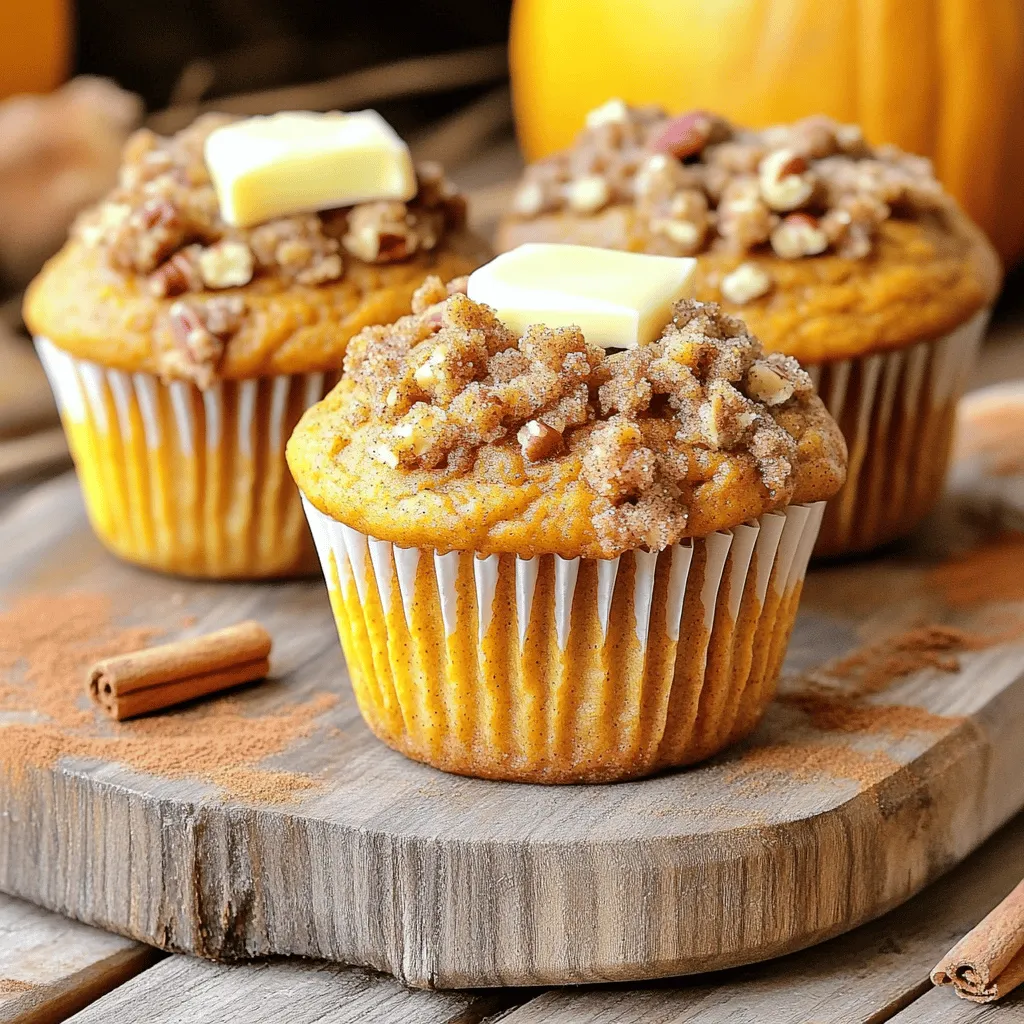
Pumpkin Streusel Muffins Irresistible Warm Treat
Fall is here, and it’s time to indulge in warm, delightful treats! If you love the cozy flavors of pumpkin, you’ll adore these Pumpkin Streusel
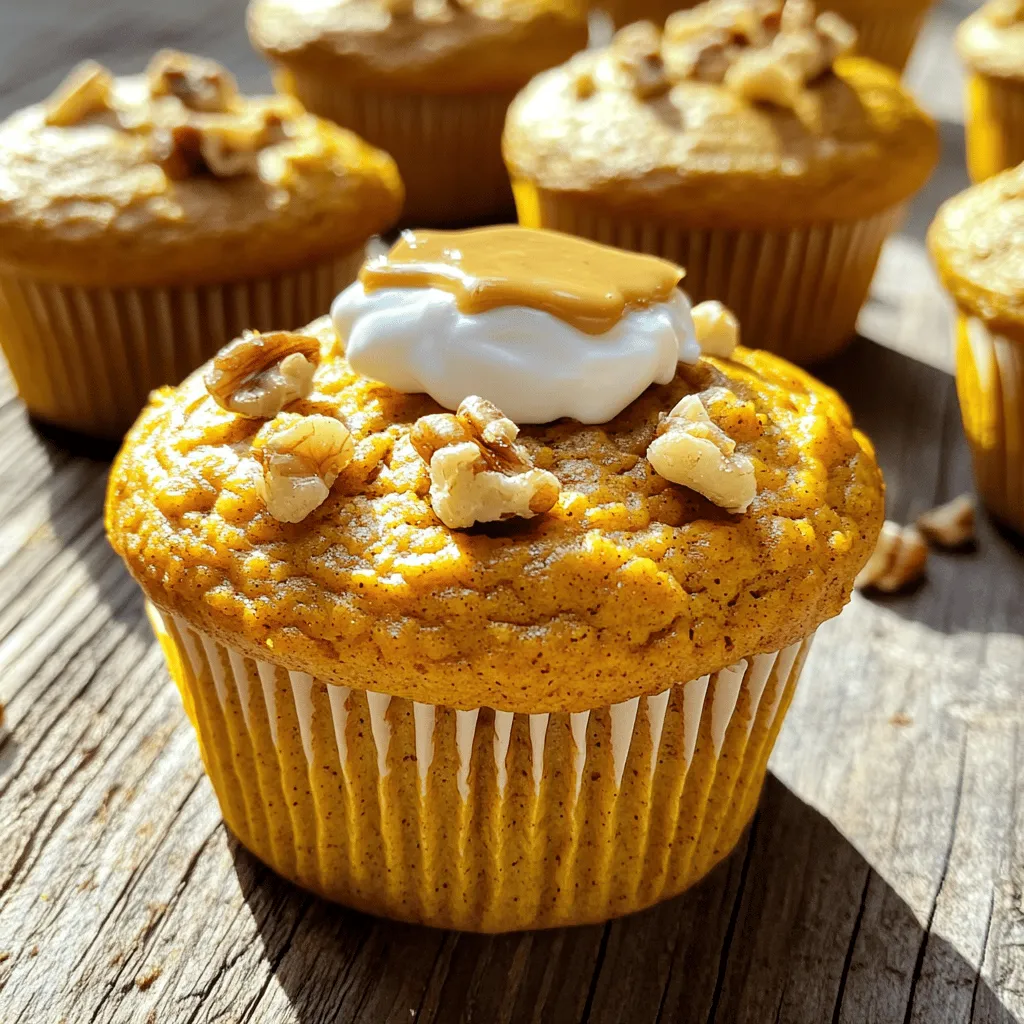
Gluten-Free Pumpkin Protein Muffins Healthy Snack Idea
Looking for a tasty snack that packs a protein punch? Try my Gluten-Free Pumpkin Protein Muffins! They’re perfect for a quick breakfast or a post-workout
Gingerbread Oatmilk Chai Latte Rich and Cozy Drink
As the weather cools down, there’s nothing like a warm drink to lift your spirits. Enter the Gingerbread Oatmilk Chai Latte! This rich and cozy