Desserts
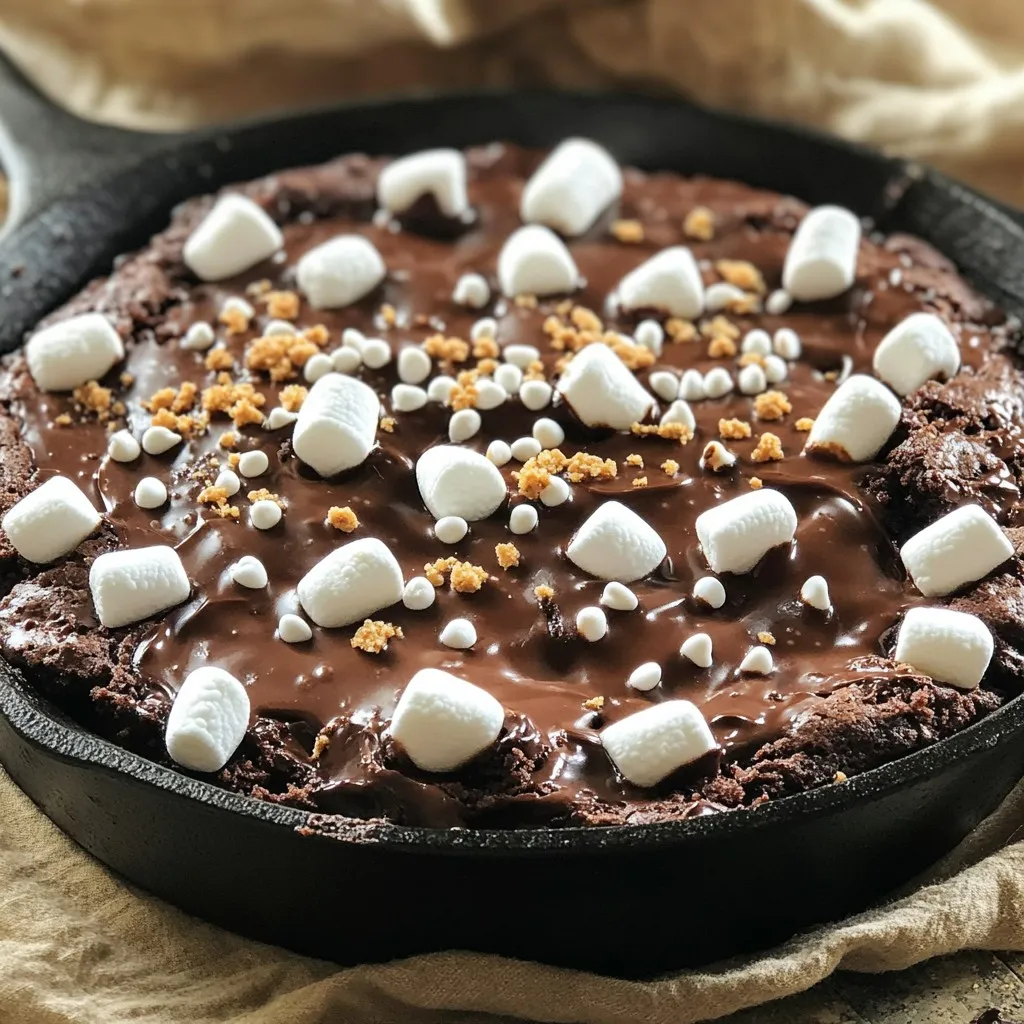
Smores Brownie Skillet Irresistibly Gooey Dessert
Get ready for a dessert that’s sure to wow your taste buds! This Smores Brownie Skillet combines gooey brownies with melty marshmallows and crunchy graham
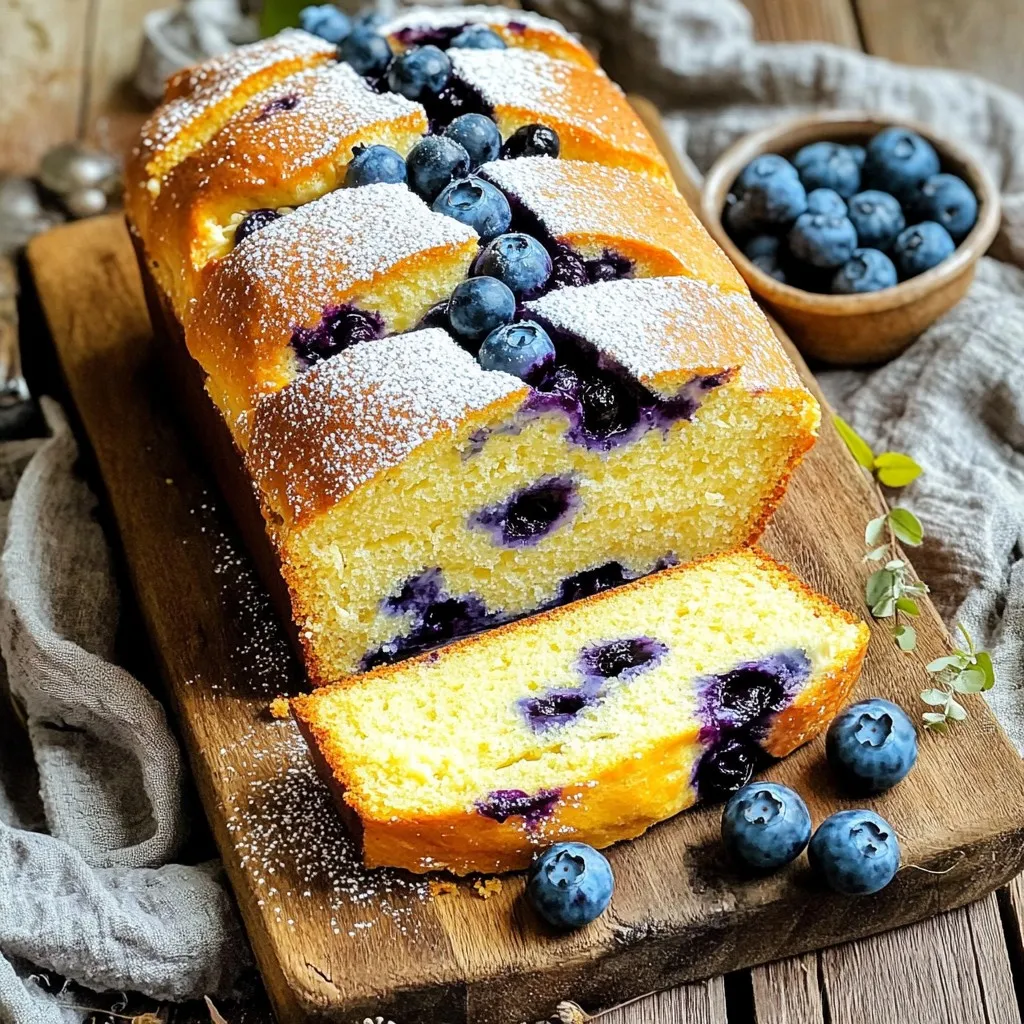
Blueberry Cream Cheese Bread Simple and Scrumptious Recipe
Are you ready to bake something delightful? This Blueberry Cream Cheese Bread recipe is simple and scrumptious! You’ll love how creamy and sweet the bread
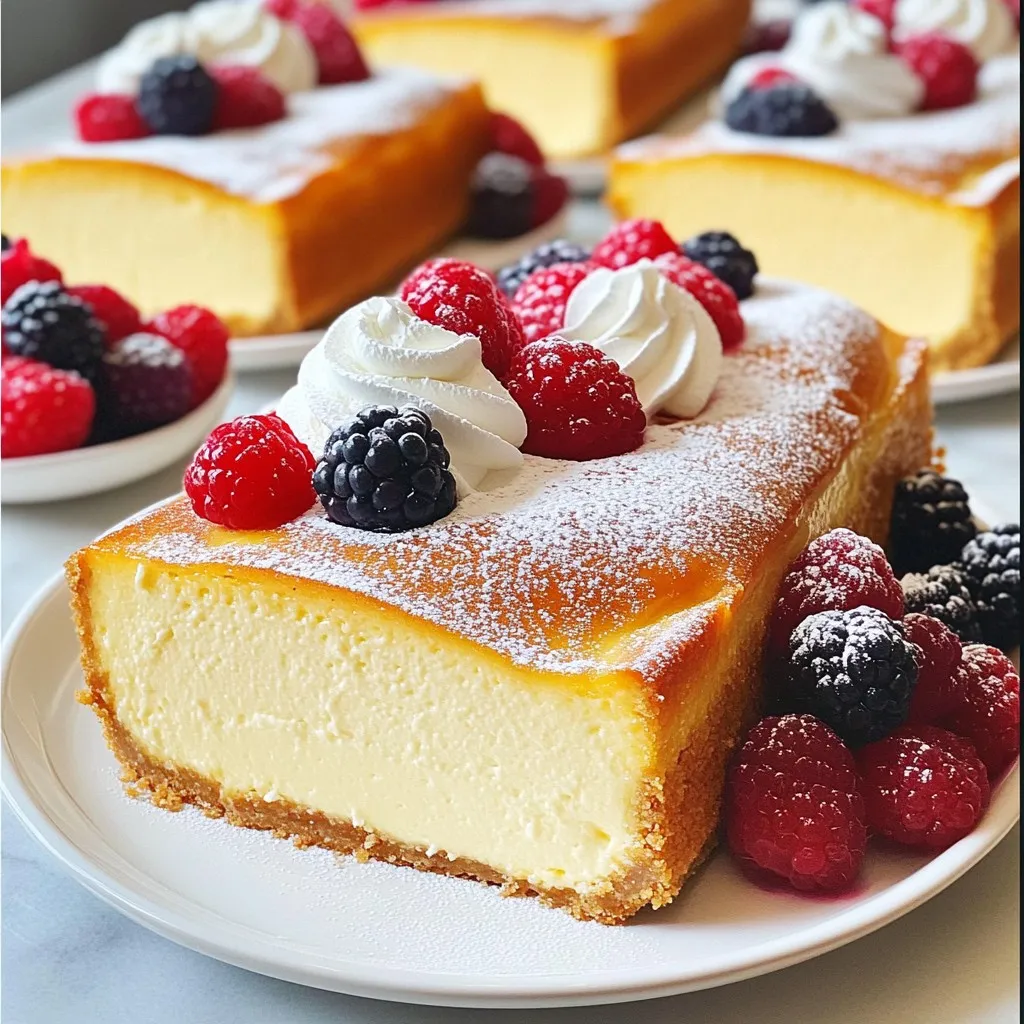
Basque Cheesecake Loaf Delightful Easy Recipe
Are you ready to indulge in a creamy, melt-in-your-mouth dessert? This Basque Cheesecake Loaf combines a rich flavor with a simple recipe that anyone can
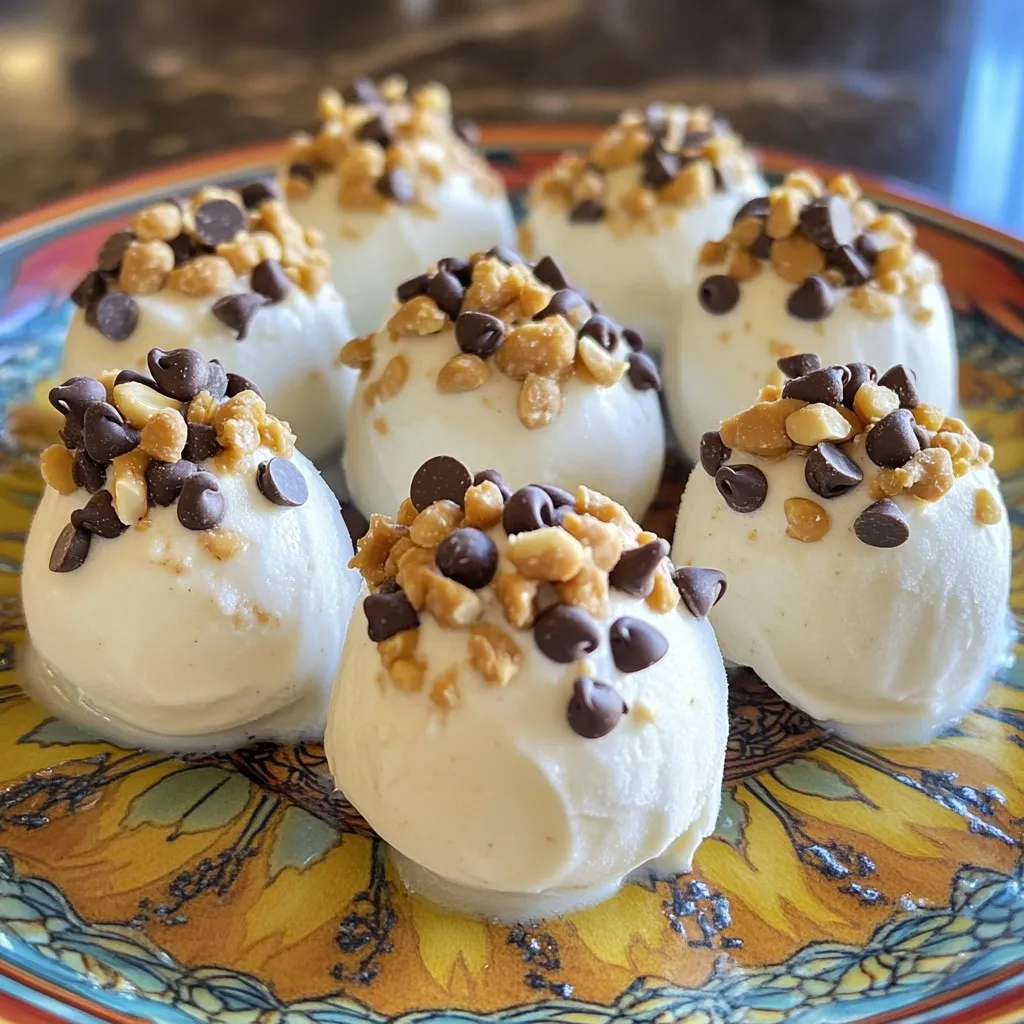
Frozen Peanut Butter Yogurt Bites Tasty Snack Treat
Looking for a tasty snack that’s both healthy and easy to make? Frozen Peanut Butter Yogurt Bites are your answer! Smooth Greek yogurt and creamy
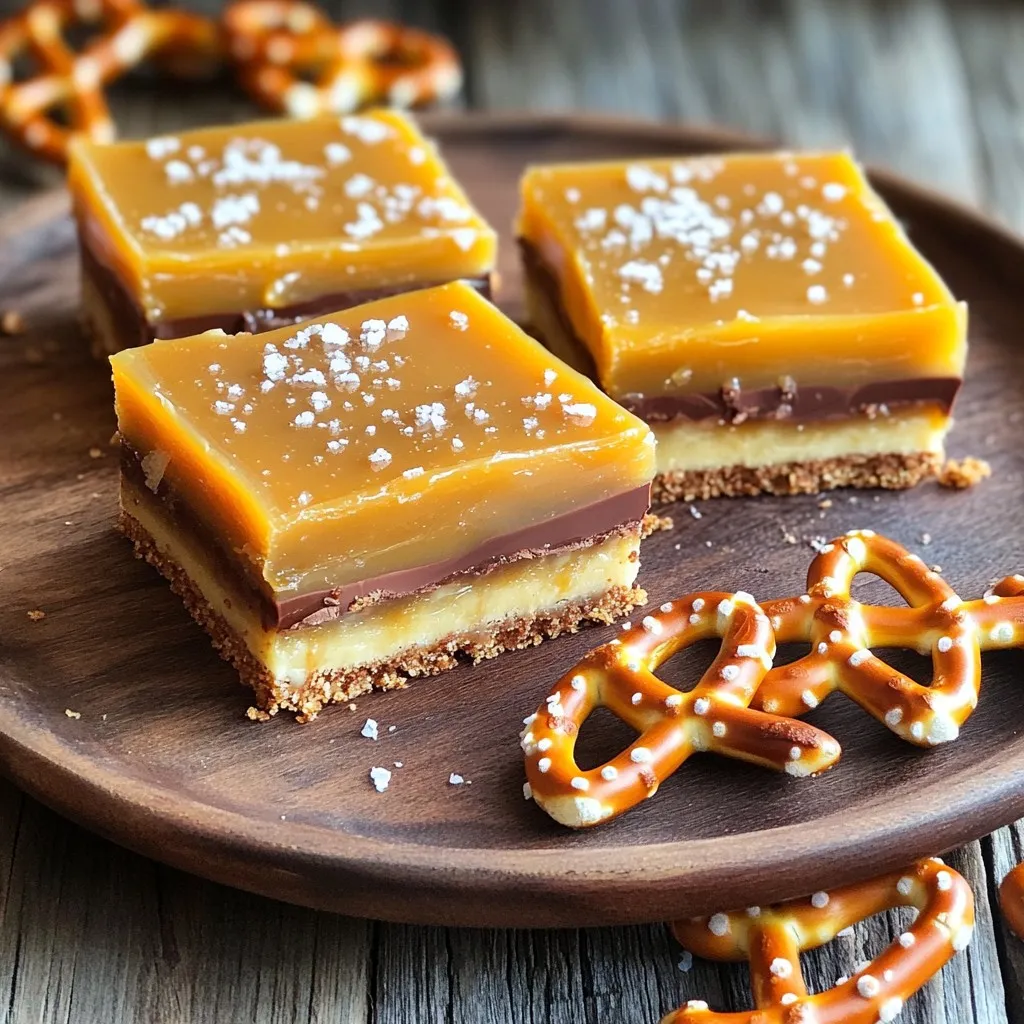
No-Bake Salted Caramel Pretzel Bars Easy Recipe
Are you ready for a sweet treat that’s super simple to make? These No-Bake Salted Caramel Pretzel Bars combine salty, sweet, and crunchy in every
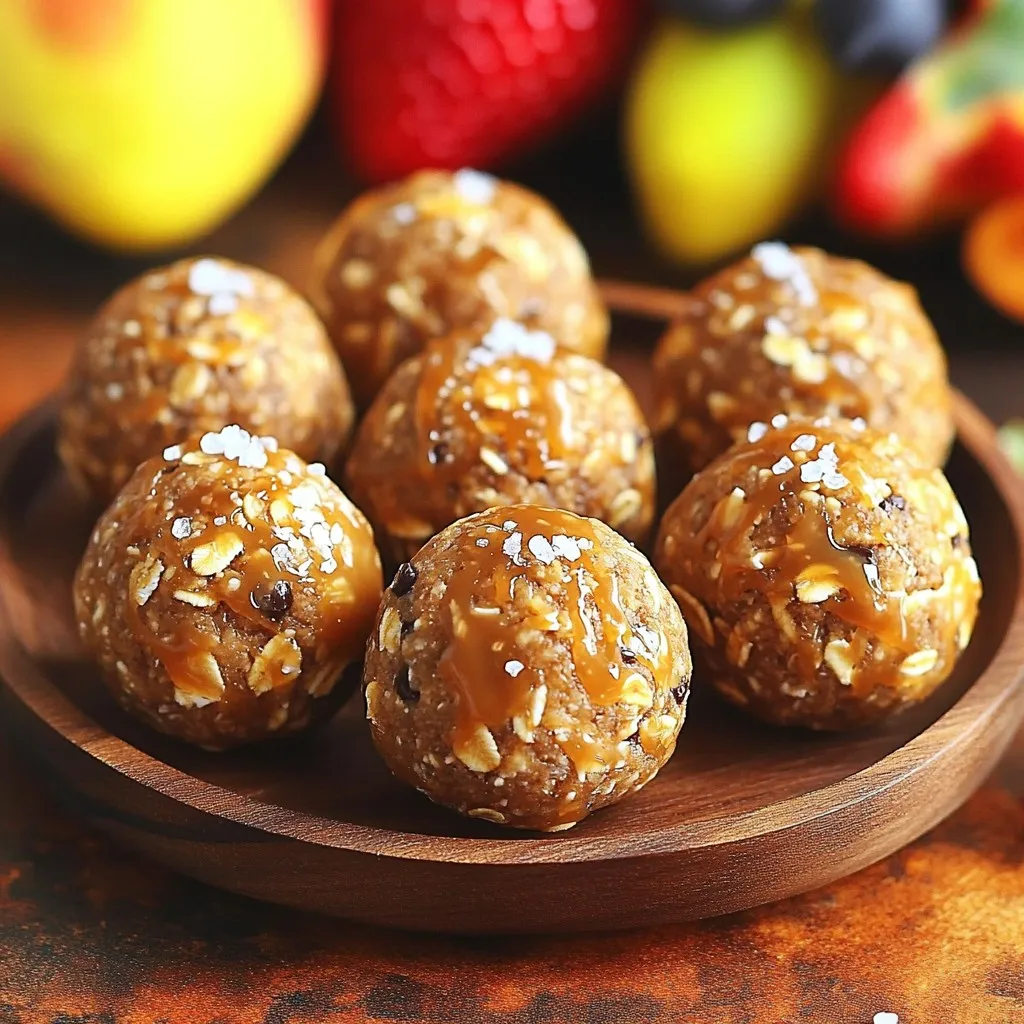
No-Bake Salted Caramel Protein Balls Healthy Snack Idea
Looking for a tasty and healthy snack? You’re in the right place! These No-Bake Salted Caramel Protein Balls are easy to make and packed with
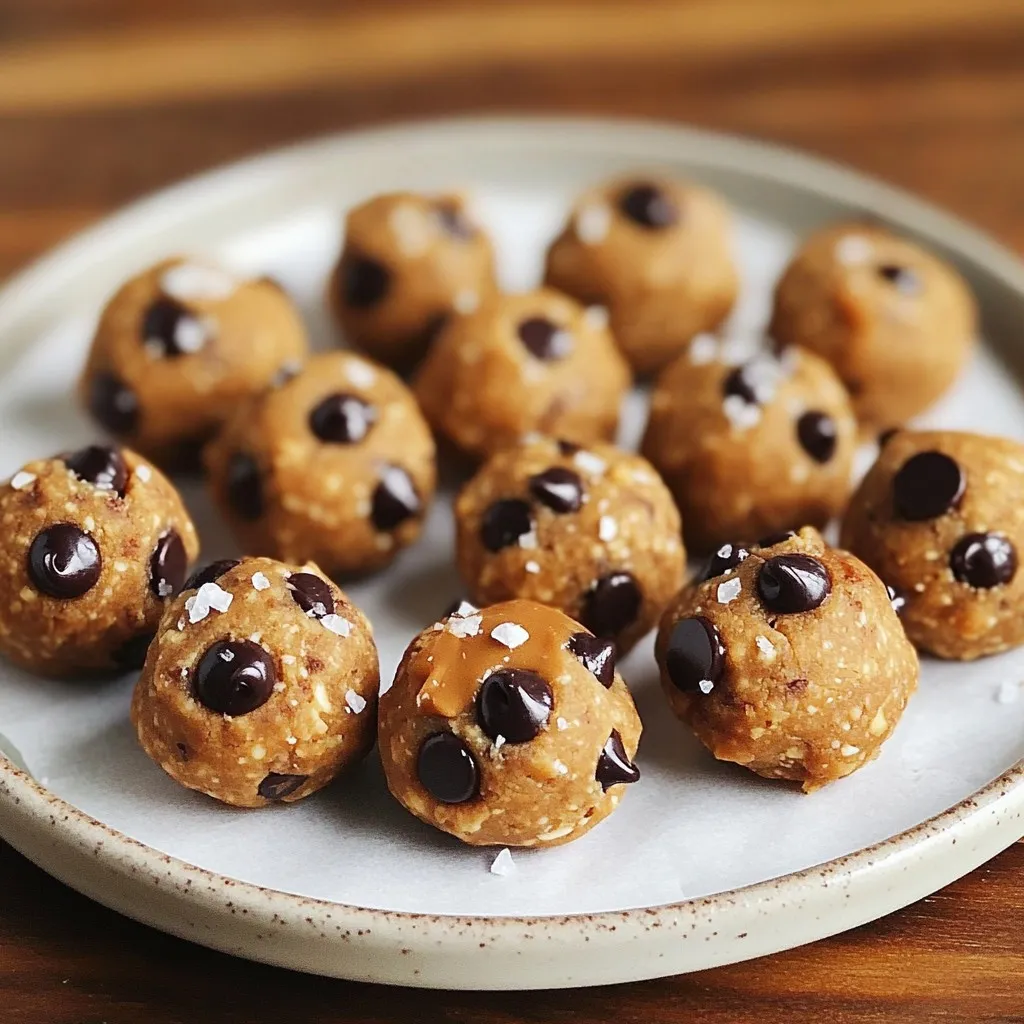
High-Protein Cookie Dough Bites Tasty and Healthy Snack
Craving a sweet snack that fuels your workout? Let me introduce you to high-protein cookie dough bites! These tasty treats pack a punch of protein
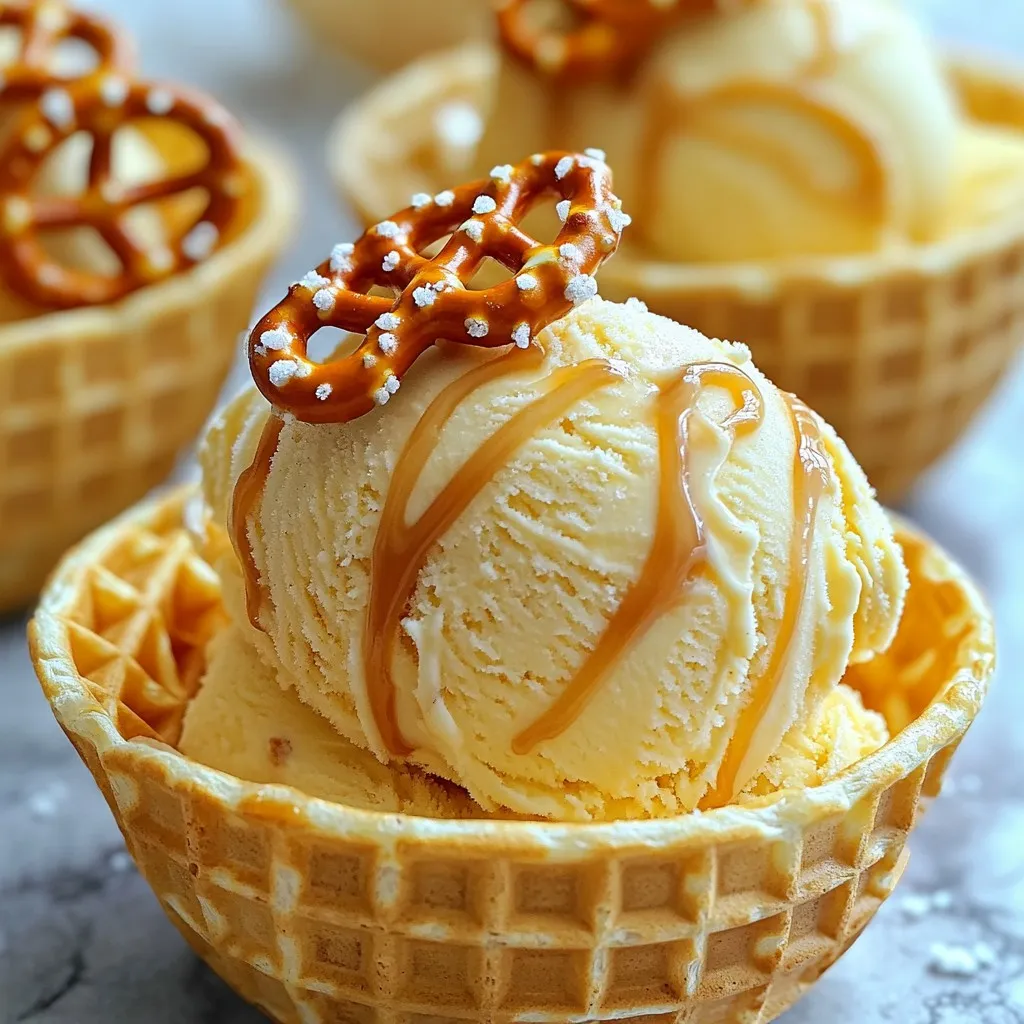
No-Churn Salted Caramel Pretzel Ice Cream Delight
Indulging in homemade ice cream just got easier! With my No-Churn Salted Caramel Pretzel Ice Cream Delight, you can create a creamy treat without any
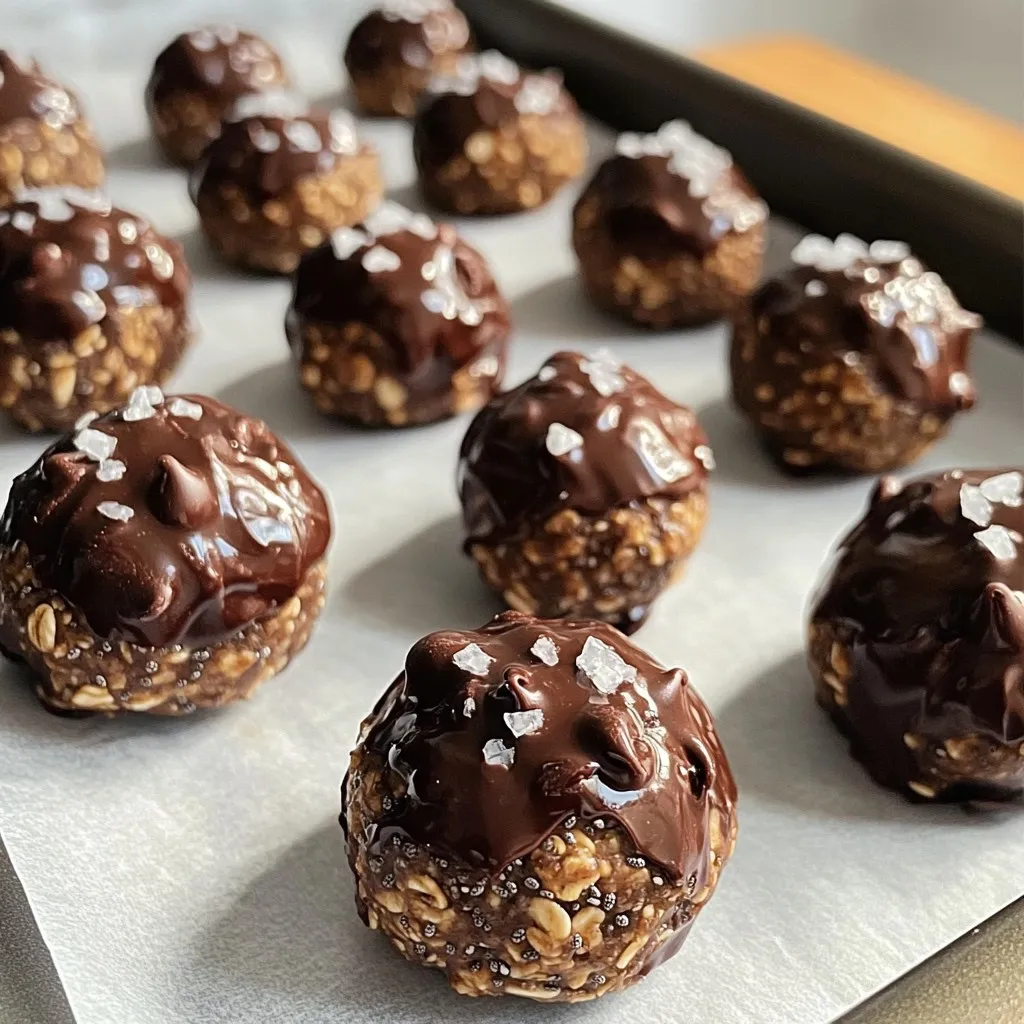
Dark Chocolate Sea Salt Energy Bites Healthy Boost
Are you craving a healthy snack that packs a punch? Look no further! Today, I’ll show you how to whip up Dark Chocolate Sea Salt
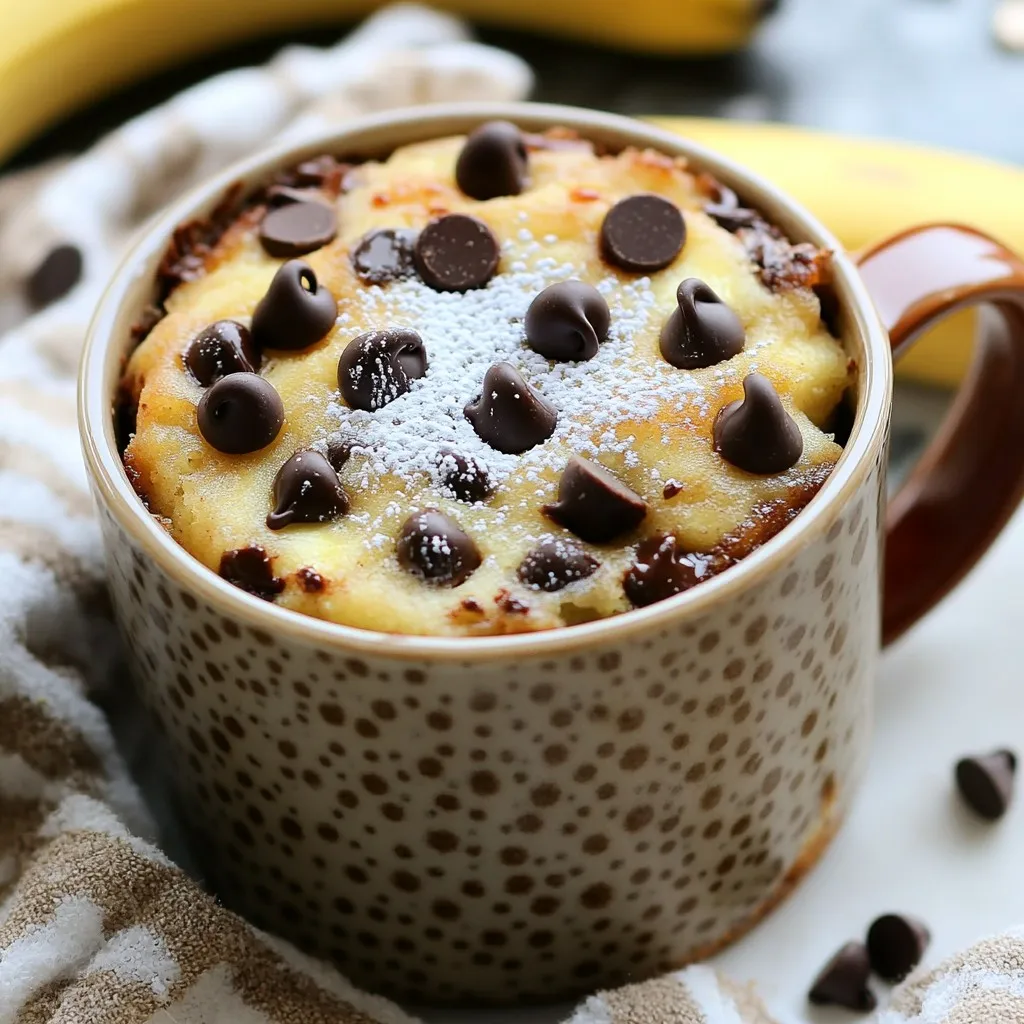
Moist Banana Chocolate Chip Mug Cake Delight
Are you craving something warm and sweet? Let’s make a Moist Banana Chocolate Chip Mug Cake! This easy recipe uses ripe bananas and gooey chocolate