Desserts
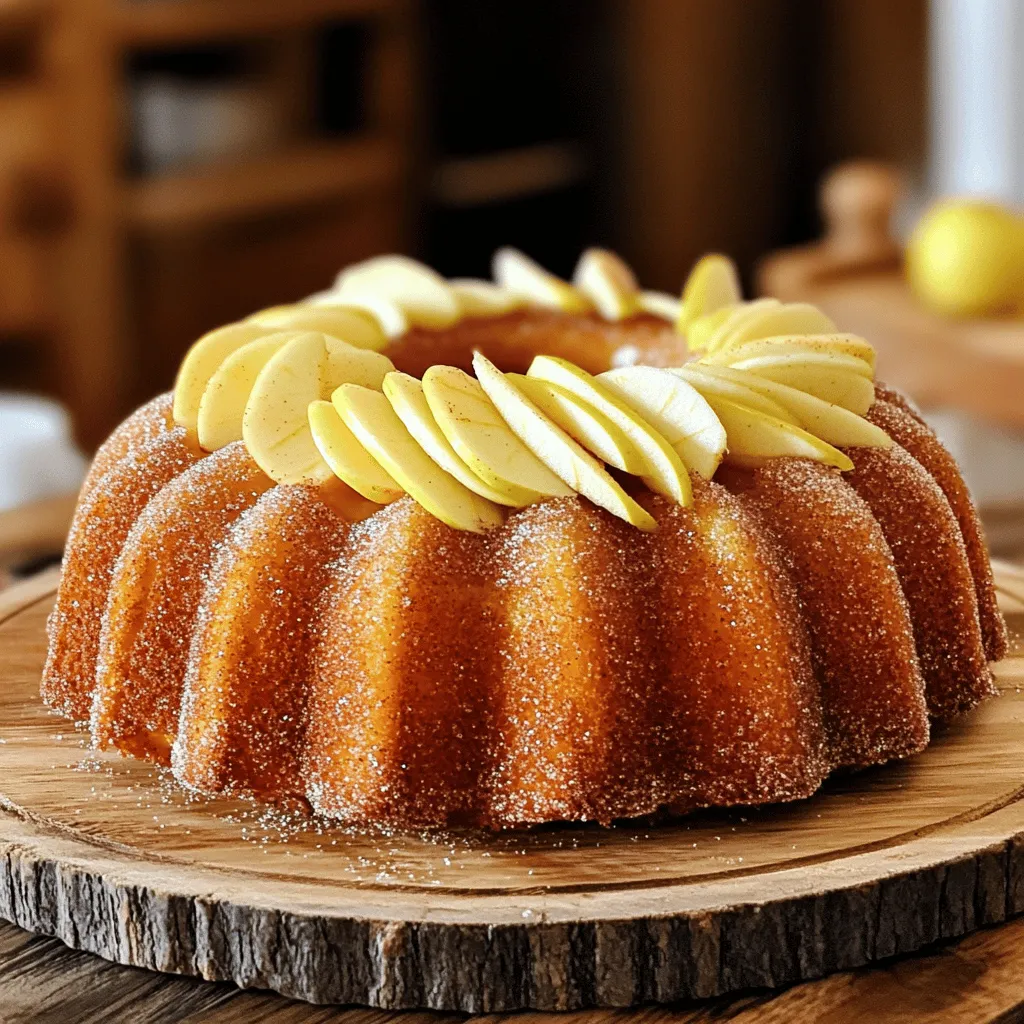
Apple Cider Donut Cake Scrumptious Dessert Recipe
Craving a fall treat that bursts with flavor? You’re in the right place! This Apple Cider Donut Cake offers the warm spices and rich apple
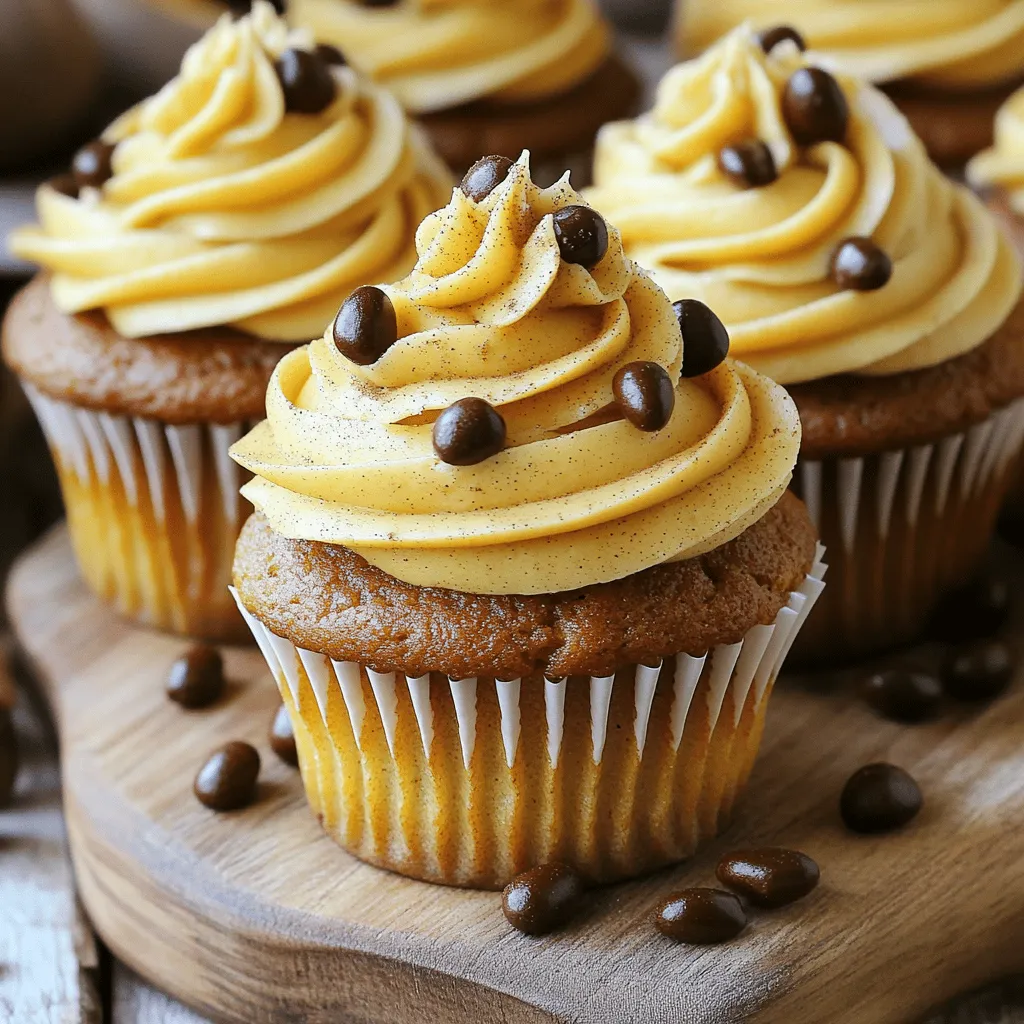
Pumpkin Spice Latte Cupcakes Irresistible Flavor Treats
If you love pumpkin spice lattes, wait until you try these Pumpkin Spice Latte Cupcakes! Imagine soft, spiced cupcakes topped with rich coffee frosting. In
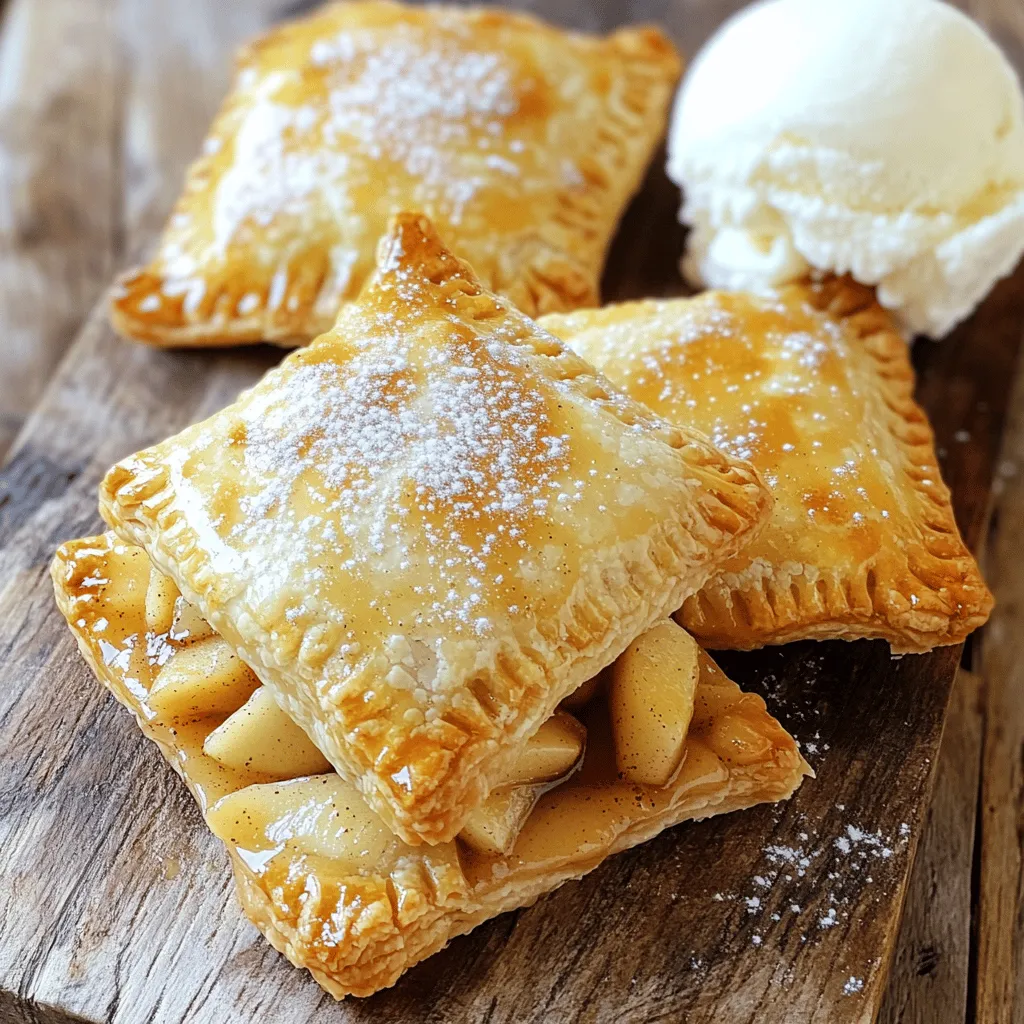
Air Fryer Apple Hand Pies Delightful and Simple Treat
Craving a sweet treat that’s both fun and easy to make? Look no further! In this article, I’ll show you how to whip up delightful
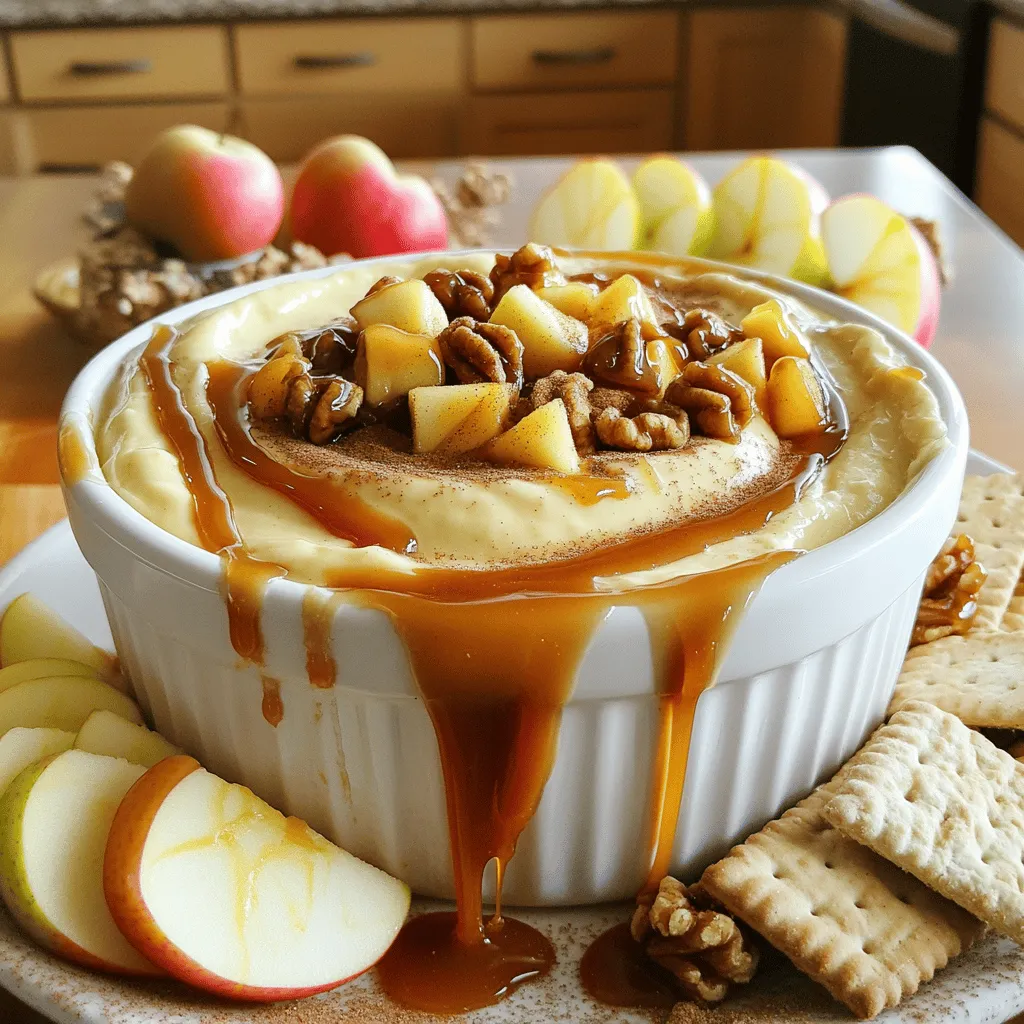
Caramel Apple Cheesecake Dip Irresistible Party Snack
Looking for a fun and tasty snack for your next party? You’ll love this Caramel Apple Cheesecake Dip! It’s creamy, sweet, and perfect for dipping.
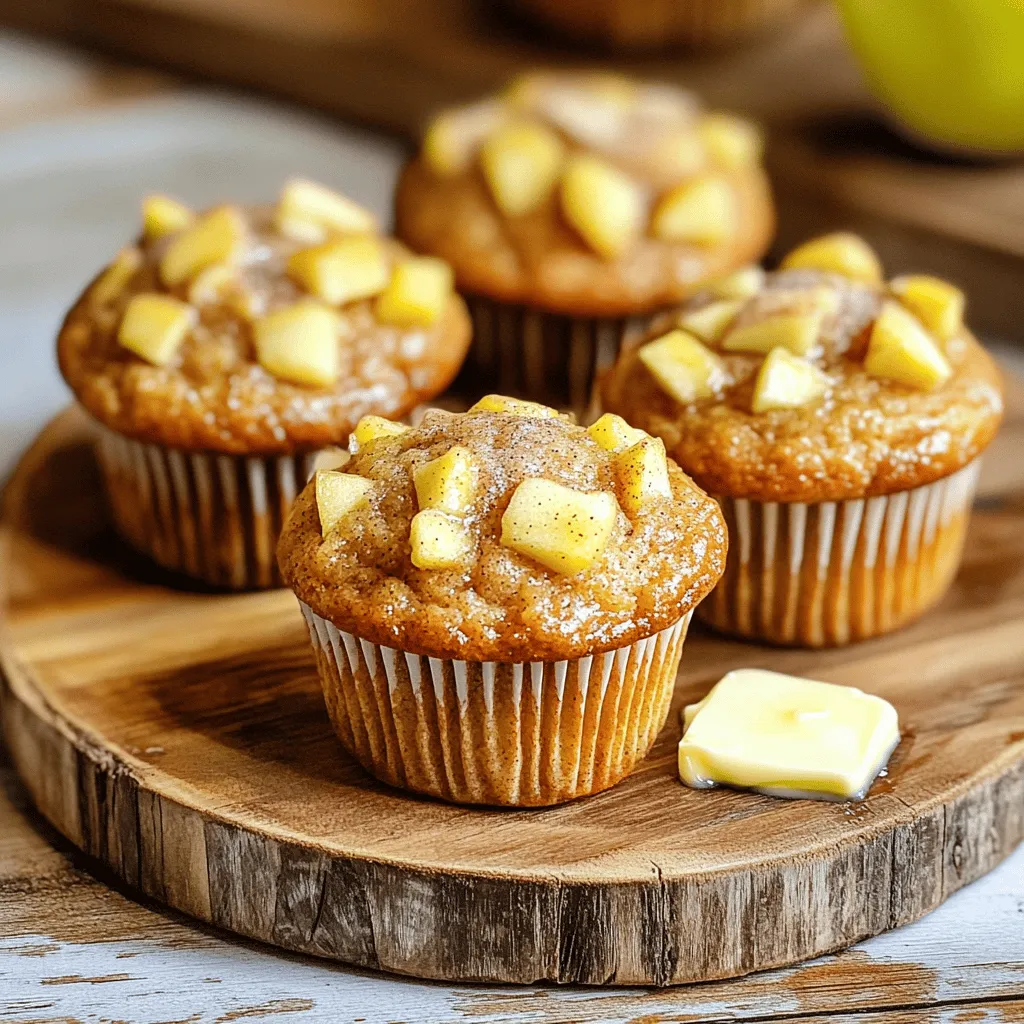
Apple Cinnamon Muffins Delightfully Simple Recipe
Looking for a simple and delicious treat? You’ve found it! In this guide, I’ll show you how to make the perfect apple cinnamon muffins. With
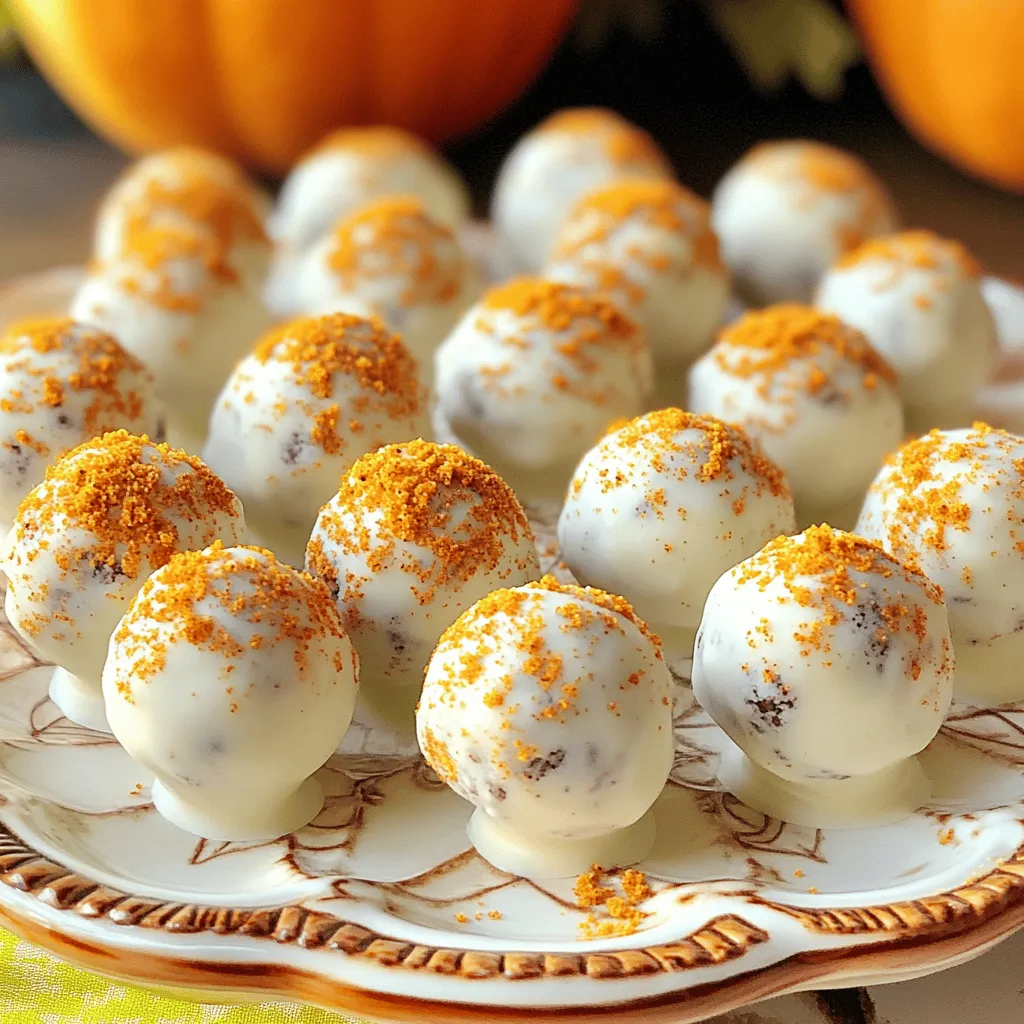
No Bake Pumpkin Spice Oreo Truffles Delightful Treat
Get ready to indulge in a sweet treat this fall! I’ll show you how to make No Bake Pumpkin Spice Oreo Truffles that are easy,
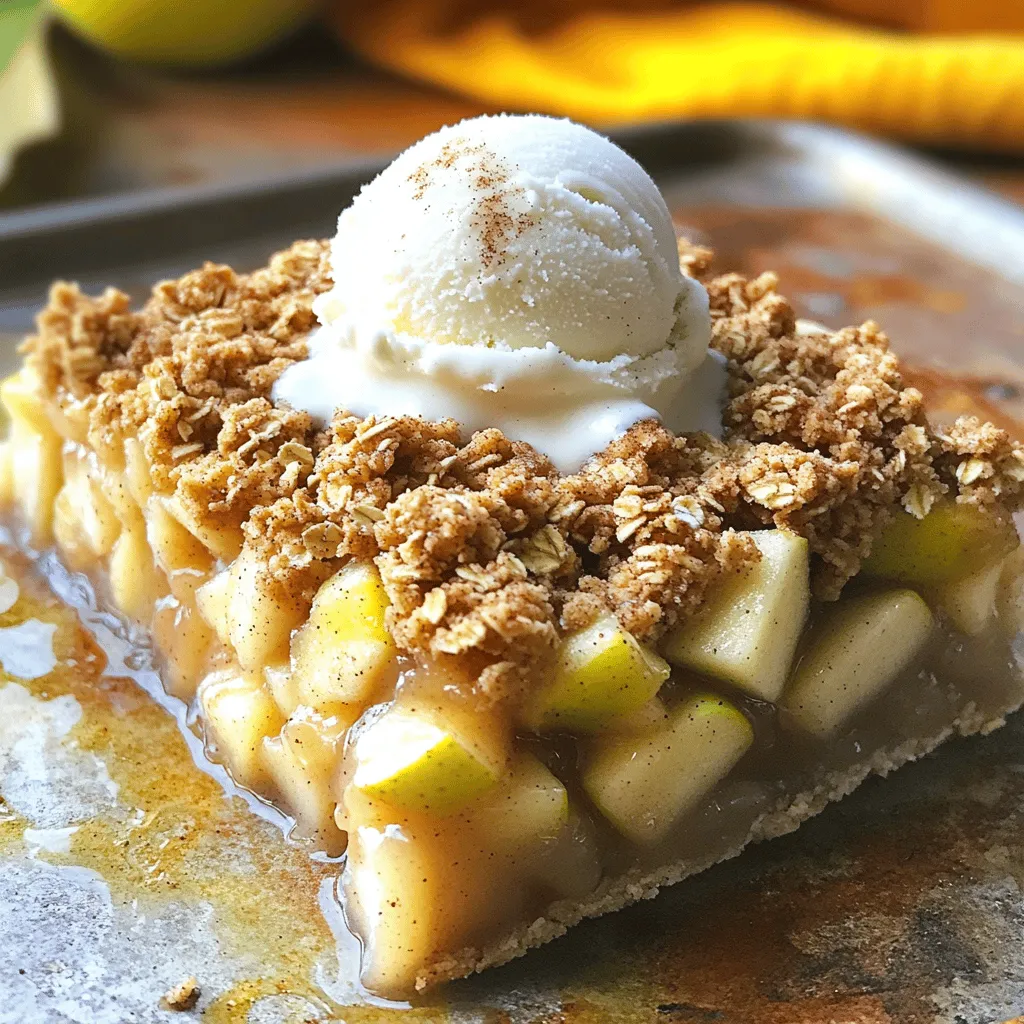
Warm Cinnamon Apple Crisp Bars Tasty and Easy Treat
Are you ready to dive into the cozy world of Warm Cinnamon Apple Crisp Bars? These bars are the perfect blend of sweet apples and

Protein Cottage Cheese Chocolate Mousse Delight
Are you ready to indulge in a healthy dessert that won’t ruin your diet? This Protein Cottage Cheese Chocolate Mousse is simple, creamy, and packed
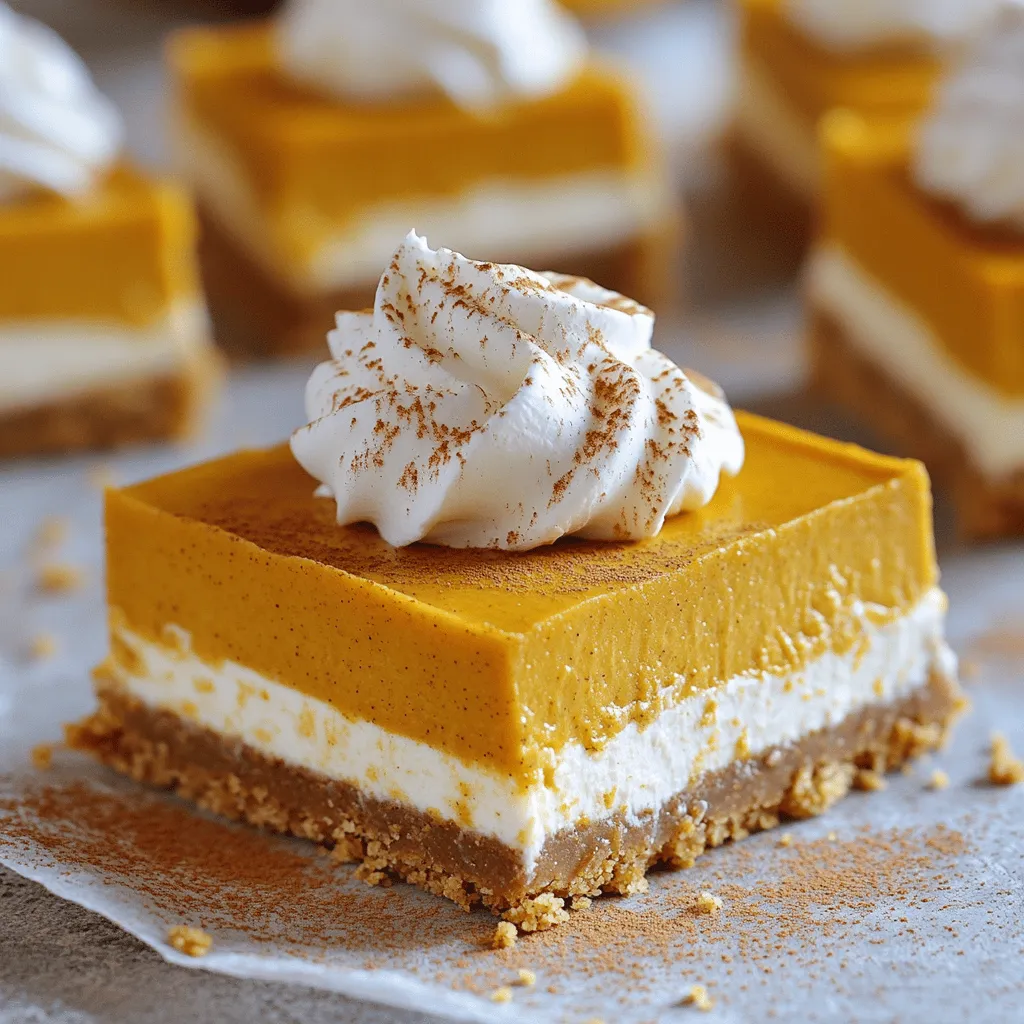
No-Bake Pumpkin Pie Cheesecake Bars Easy and Delicious
Looking for a quick and tasty dessert? I’ve got the perfect treat for you: No-Bake Pumpkin Pie Cheesecake Bars. These bars combine creamy cheesecake and
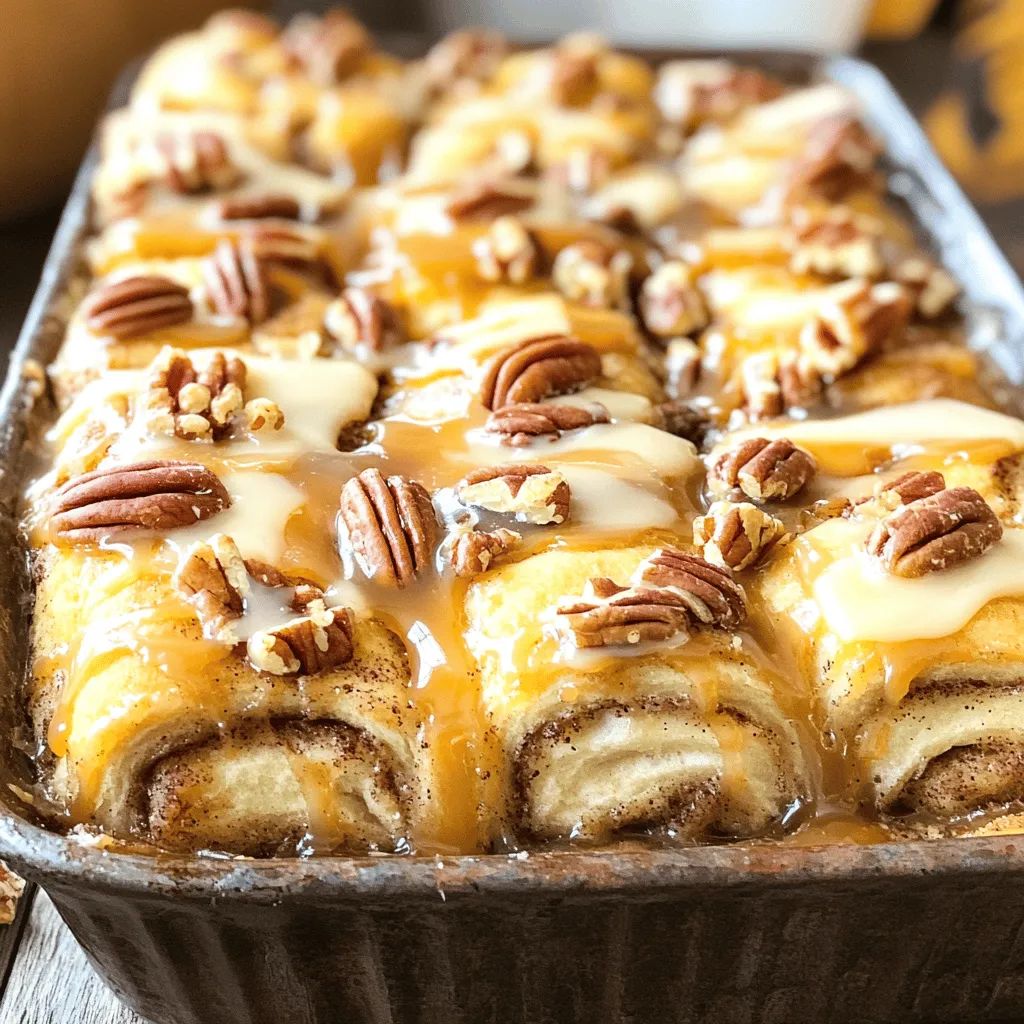
Caramel Pecan Cinnamon Roll Bake Irresistible Treat
Are you ready for a warm, gooey delight that will brighten your mornings? My Caramel Pecan Cinnamon Roll Bake is the perfect treat for breakfast