Desserts
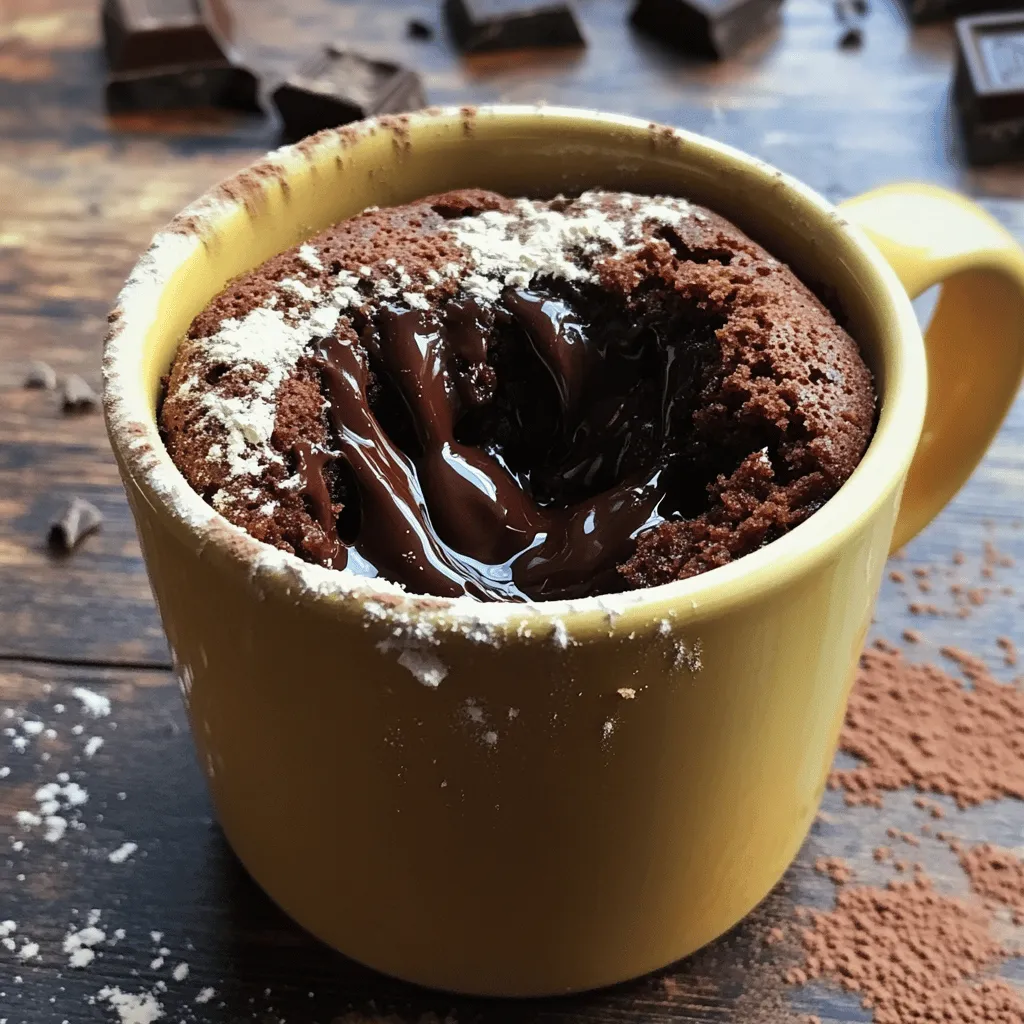
Chocolate Lava Mug Cake Quick and Tasty Delight
Get ready for a sweet treat with my Chocolate Lava Mug Cake! This quick and easy dessert is perfect when you crave chocolate. In just
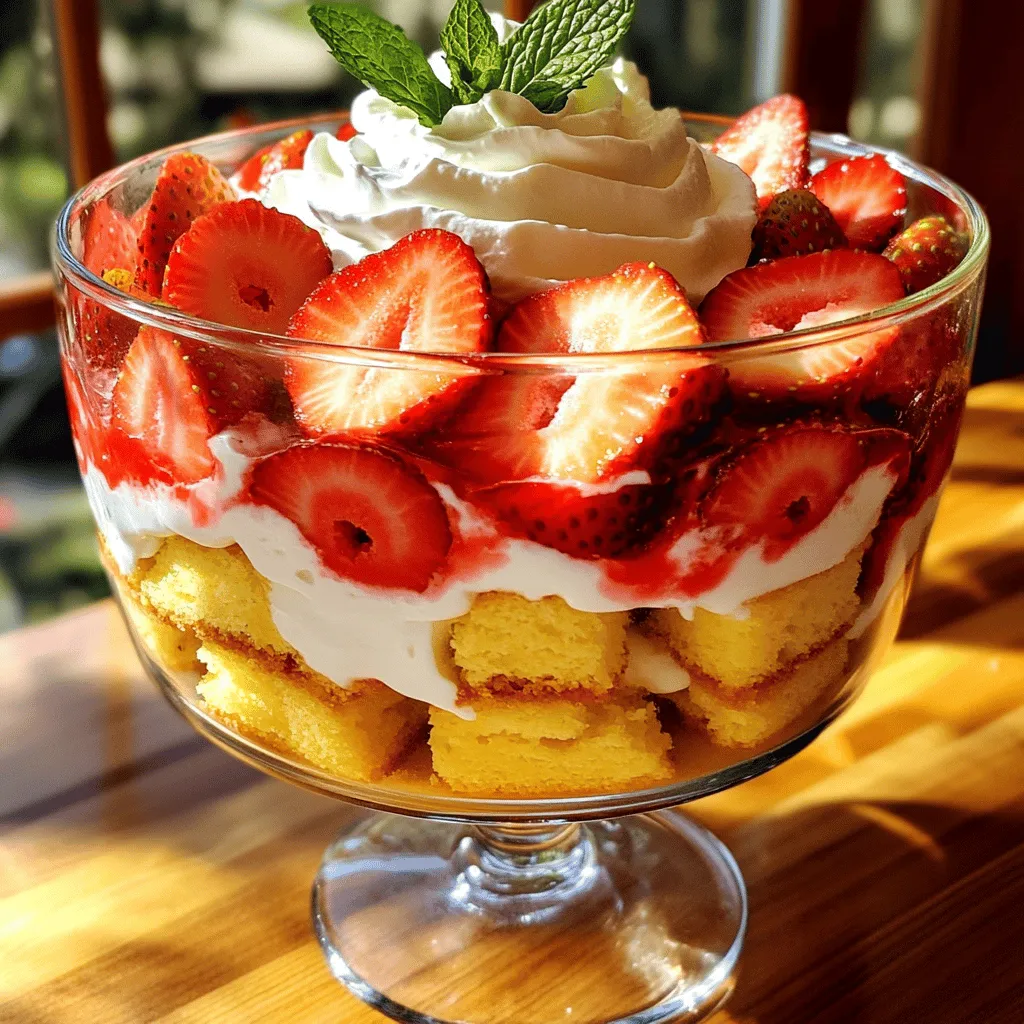
Strawberry Shortcake Trifle Delightful Layered Treat
Looking for a fun and tasty dessert? Let me introduce you to my Strawberry Shortcake Trifle! This layered treat is easy to make and bursting
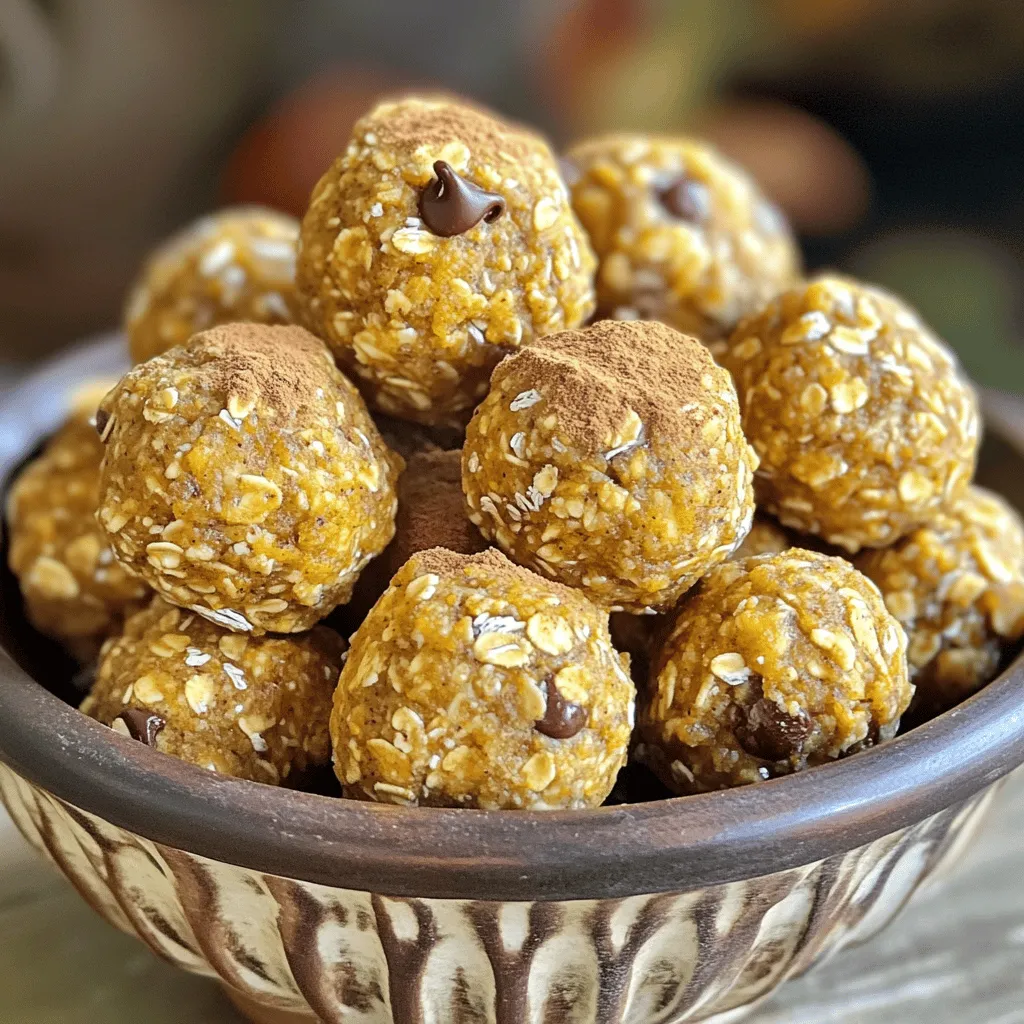
Pumpkin Spice Energy Bites Simple and Tasty Snack
Are you ready to enjoy a snack that’s both healthy and delicious? Pumpkin Spice Energy Bites are perfect for anyone craving fall flavors without the
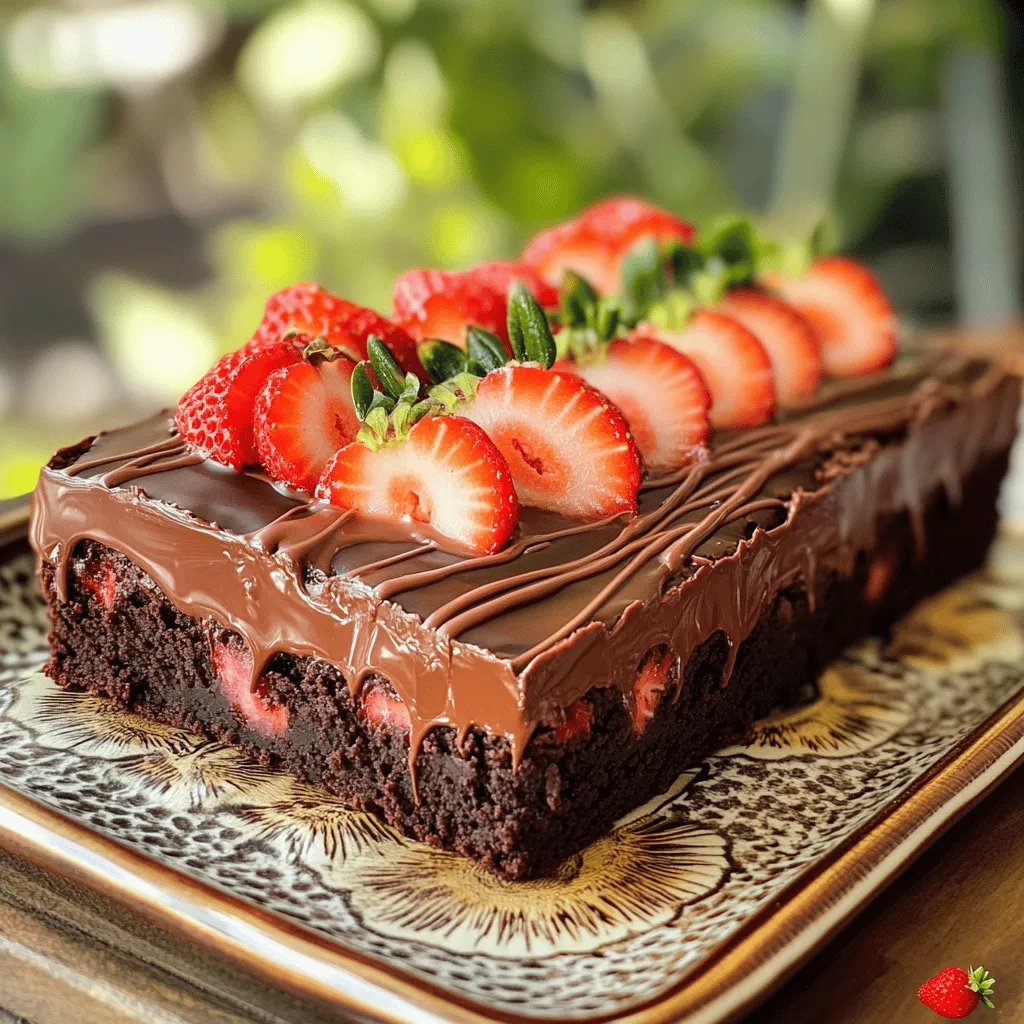
Chocolate Covered Strawberry Brownies Delightful Treat
Are you ready for a treat that combines rich chocolate and fresh strawberries? Chocolate Covered Strawberry Brownies are the perfect dessert to impress anyone. I’ll
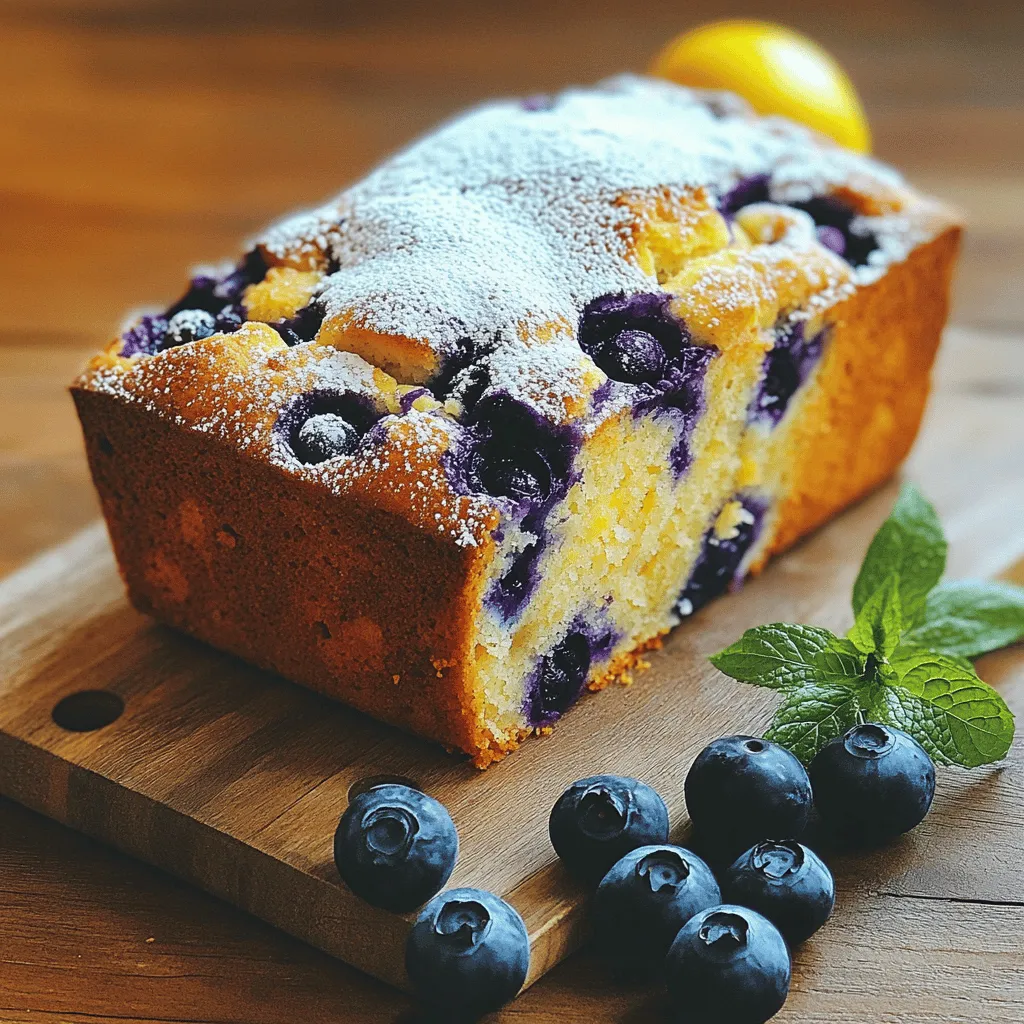
Blueberry Lemon Yogurt Loaf Tasty and Simple Recipe
Craving a delicious treat that’s both tasty and simple to make? The Blueberry Lemon Yogurt Loaf is your answer! With a perfect balance of tangy
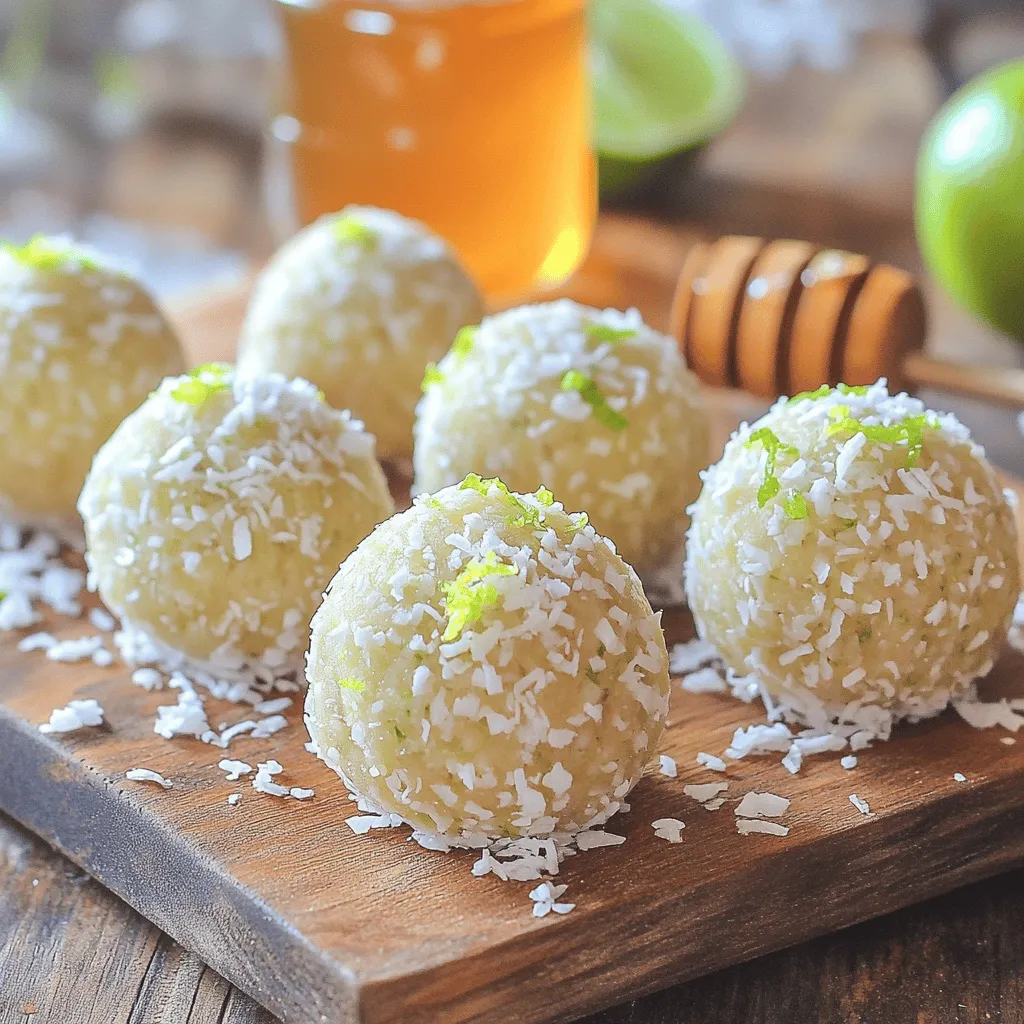
Coconut Lime Energy Balls Simple and Energizing Snack
Looking for a tasty, quick snack that fuels your day? Coconut Lime Energy Balls are just what you need! Packed with nutritious ingredients, these little
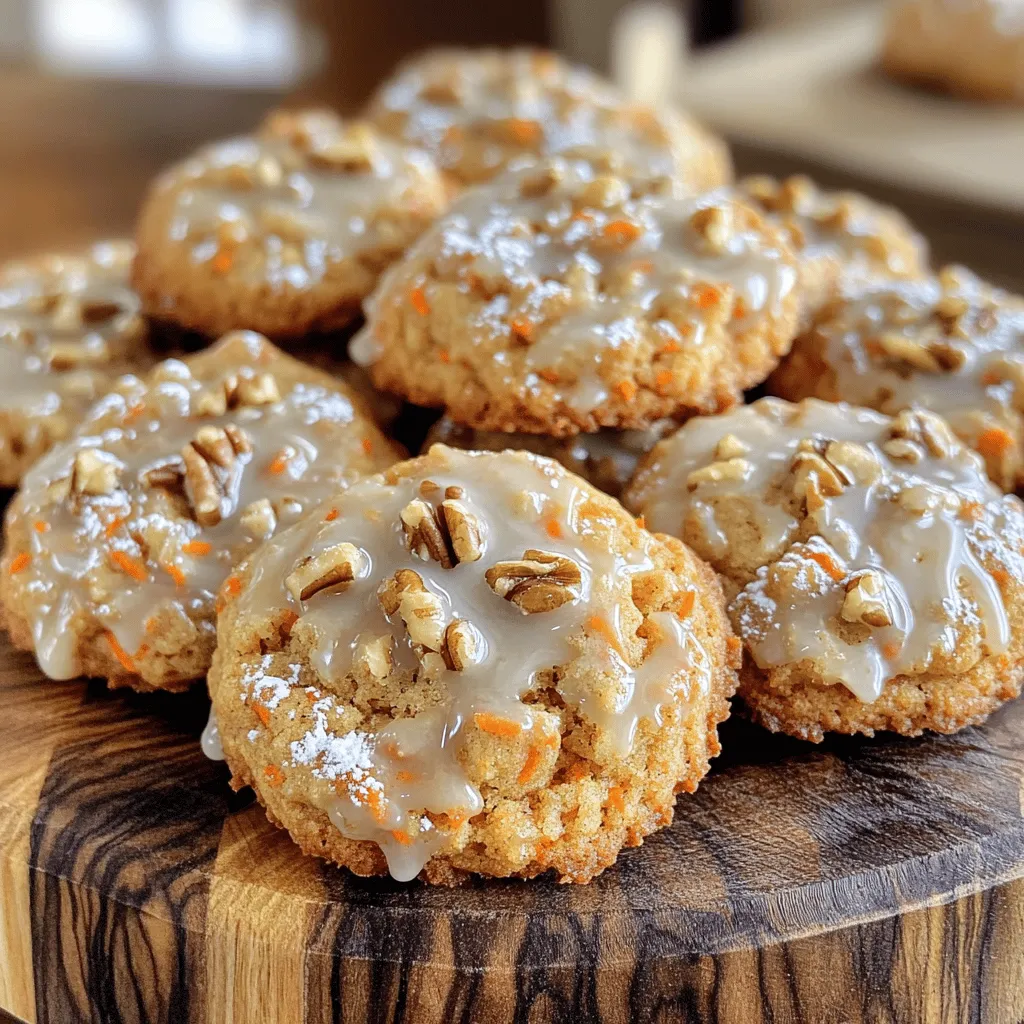
Maple Glazed Carrot Cake Cookies Flavorful Delight
Get ready to treat your taste buds! In this article, I’ll show you how to make delightful maple glazed carrot cake cookies. These soft, spiced
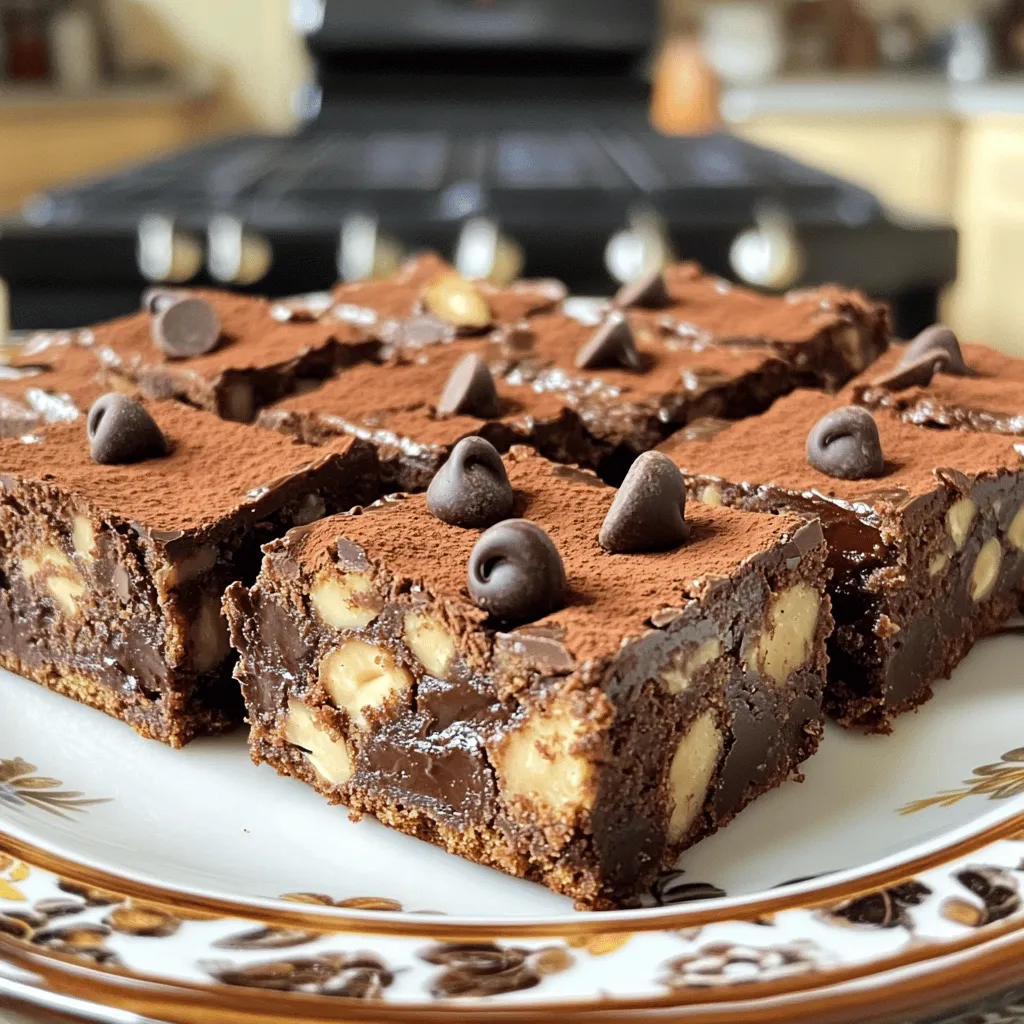
Flourless Peanut Butter Chocolate Chip Bars Delightful Treat
If you love rich, gooey treats, you need to try my Flourless Peanut Butter Chocolate Chip Bars. They are quick to make, packed with flavor,
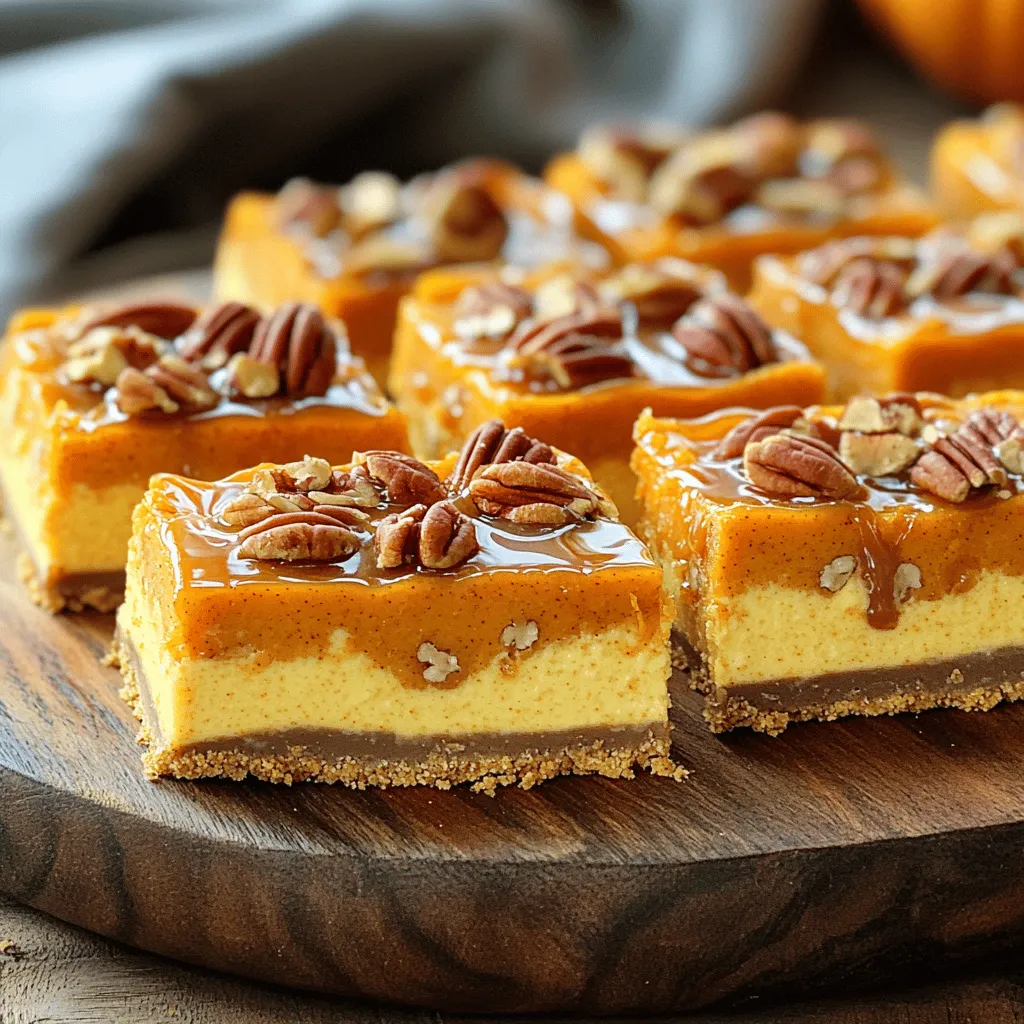
Caramel Pecan Pumpkin Cheesecake Bars Irresistible Treat
Get ready to delight your taste buds with my Caramel Pecan Pumpkin Cheesecake Bars! These sweet treats blend creamy pumpkin cheesecake with crunchy pecans, topped
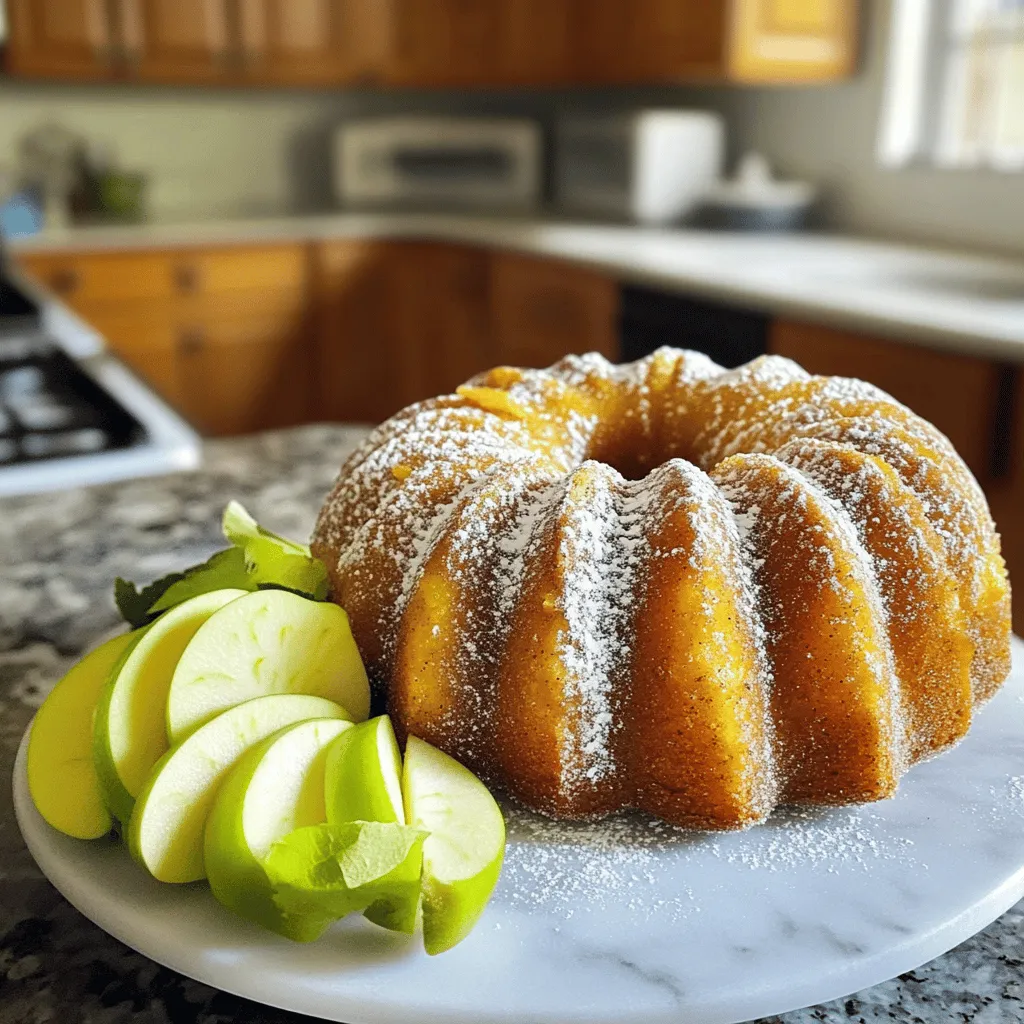
Apple Cider Donut Cake Perfect for Fall Gatherings
As the leaves turn and the air cools, there’s nothing better than a warm slice of Apple Cider Donut Cake. This delightful dessert captures the