Desserts
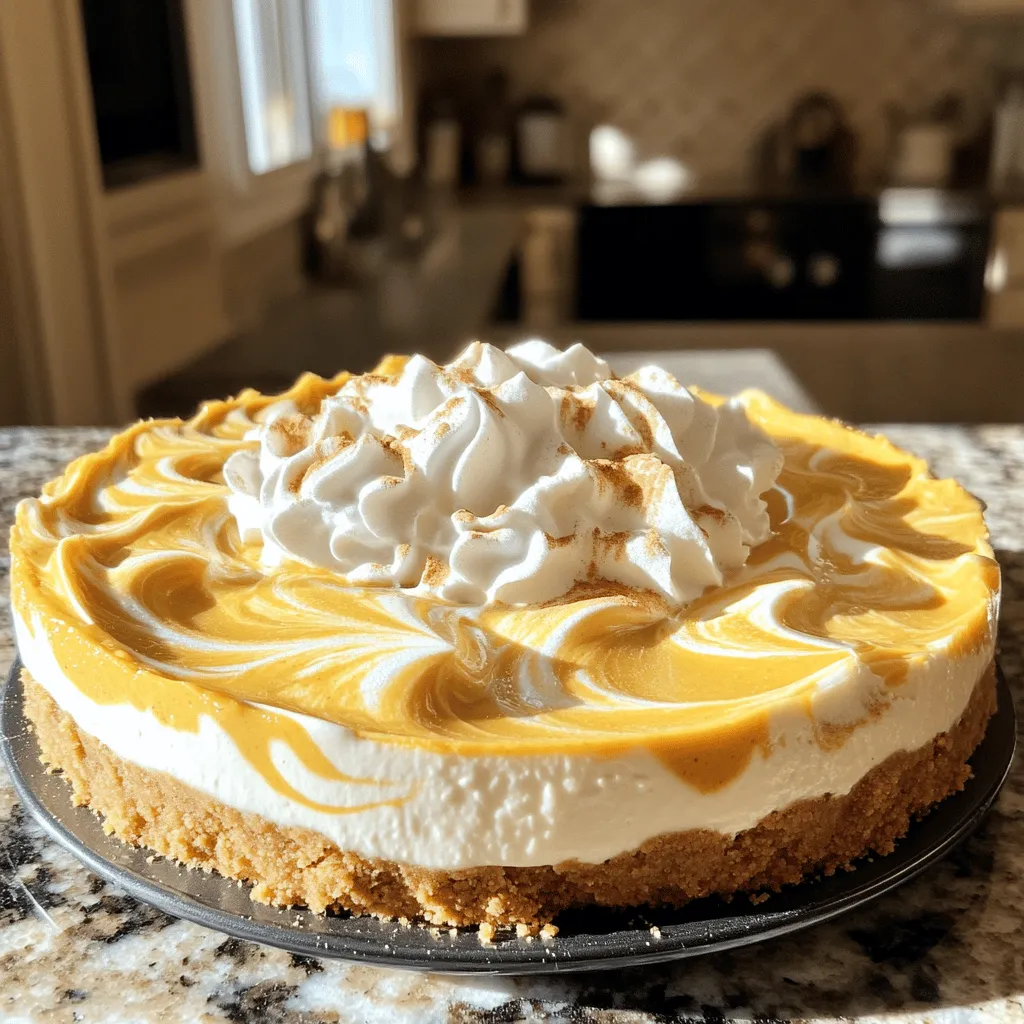
No-Bake Pumpkin Spice Latte Cheesecake Delight
Fall is here, and it’s time for a treat that celebrates the season: No-Bake Pumpkin Spice Latte Cheesecake! This creamy dessert blends rich pumpkin flavors
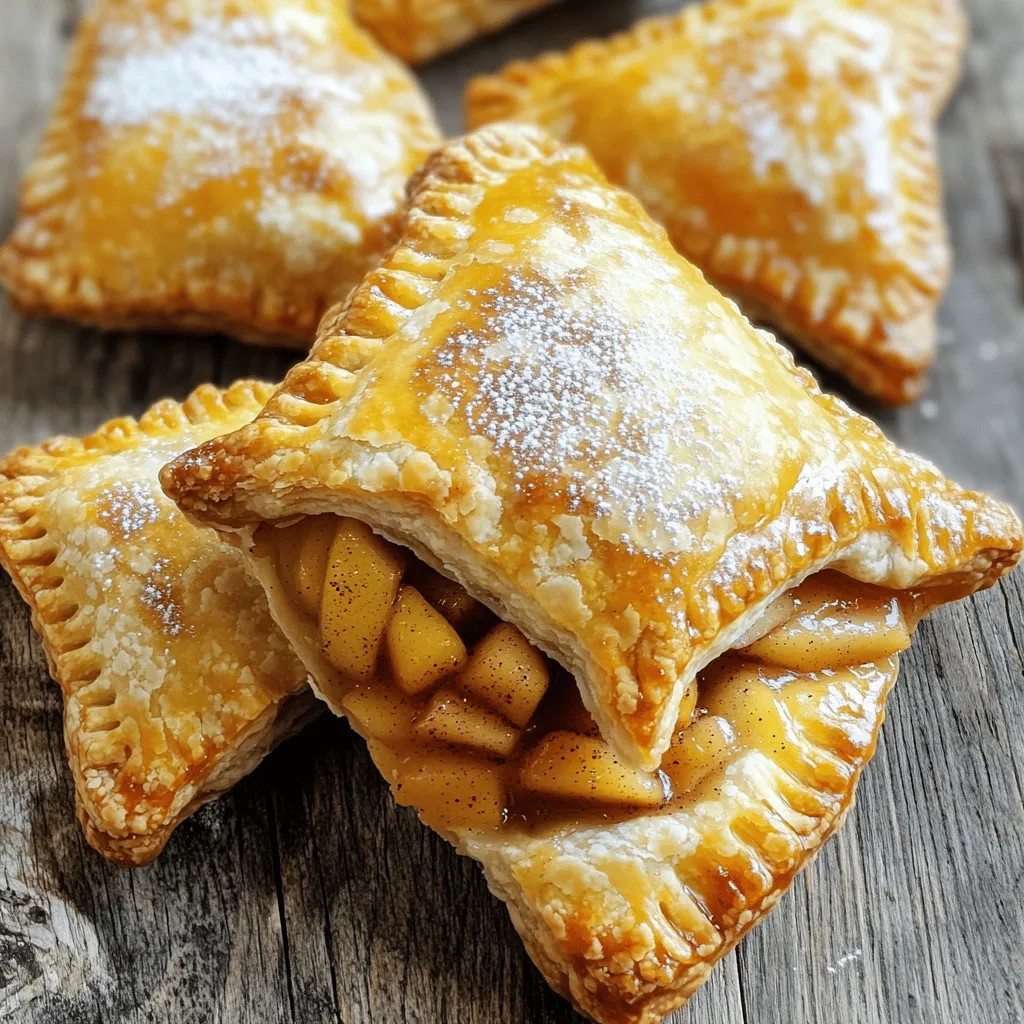
Air Fryer Apple Hand Pies Tasty and Simple Recipe
If you love warm, sweet treats, then Air Fryer Apple Hand Pies are for you! I’ll show you how to make these tasty little pies
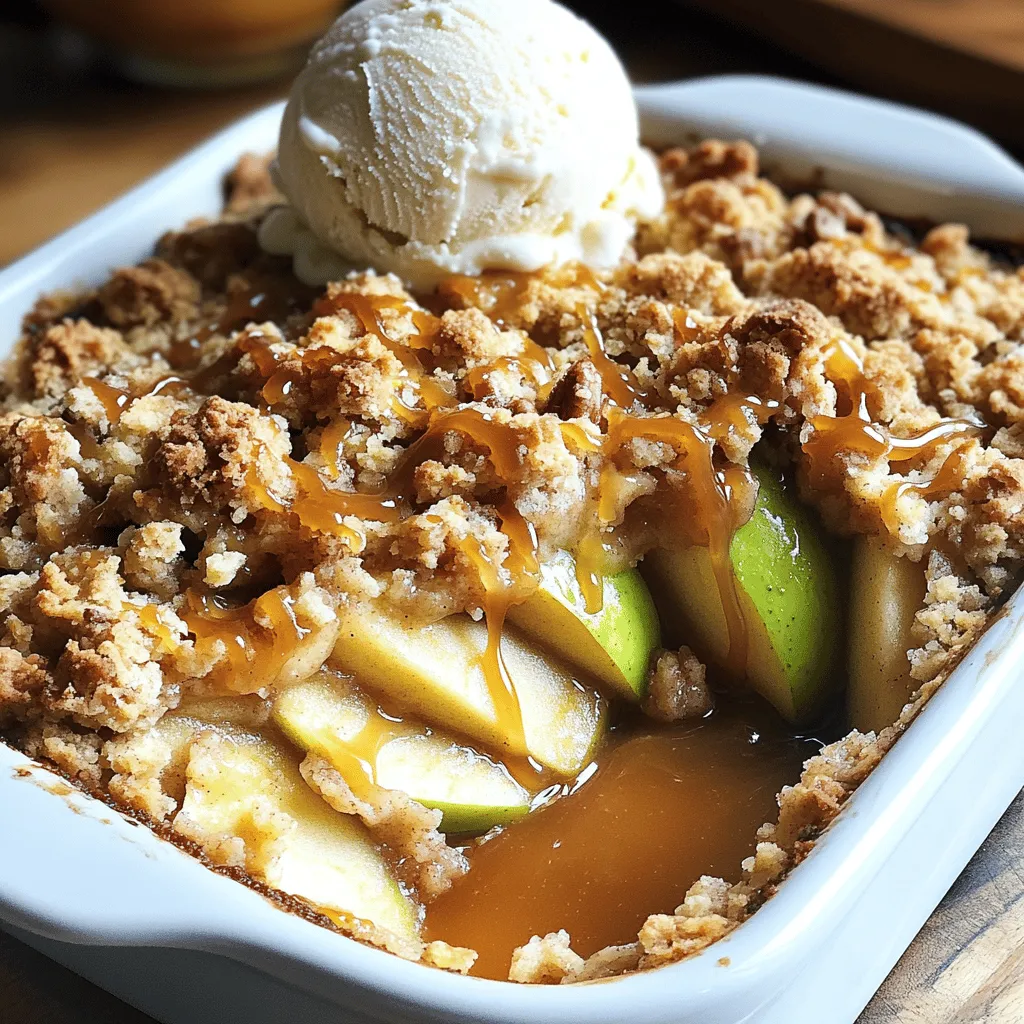
Apple Crisp with Crumble Topping Simple and Delicious
Are you ready to indulge in a simple and delicious dessert? This Apple Crisp with Crumble Topping is your go-to recipe for a cozy treat.
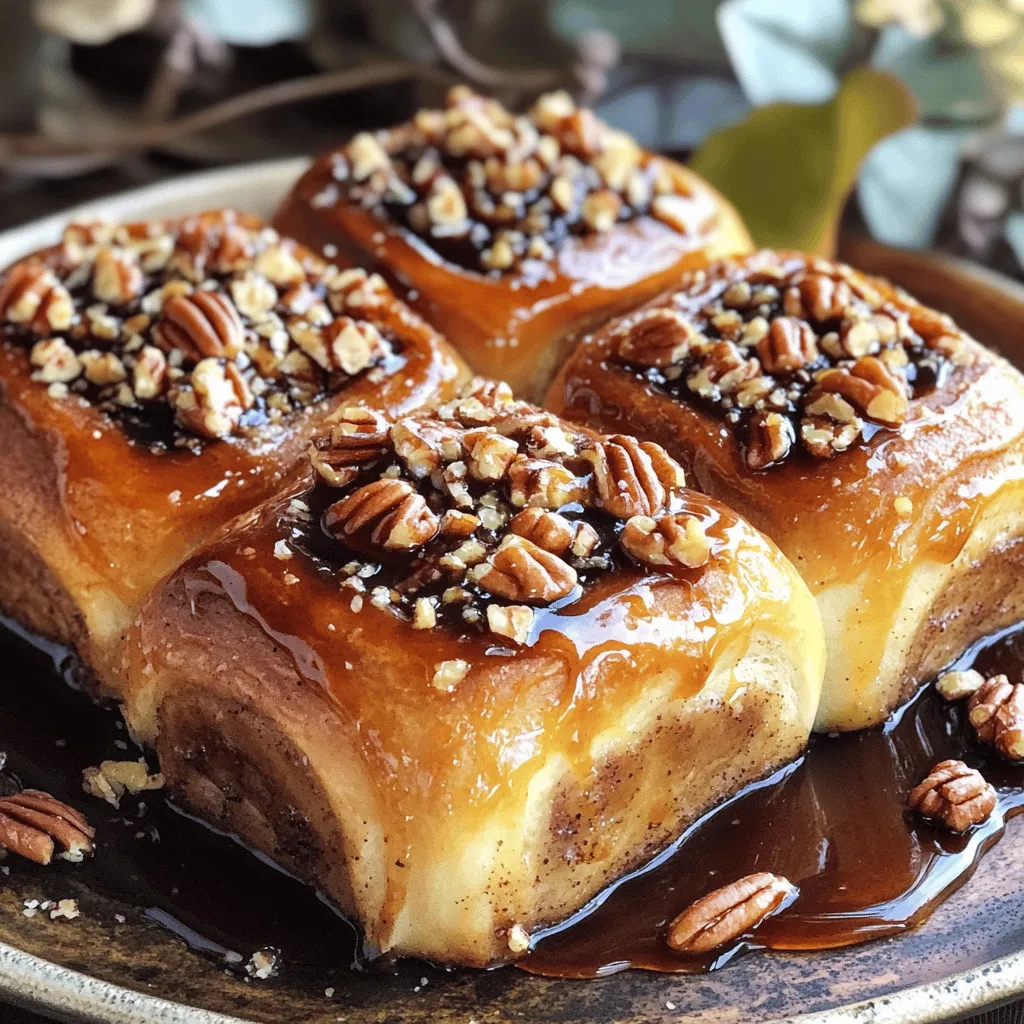
Sticky Pecan Cinnamon Buns Irresistible Sweet Treat
Get ready to indulge in the warm, gooey goodness of Sticky Pecan Cinnamon Buns! I’ll guide you through each step, from gathering ingredients to enjoying
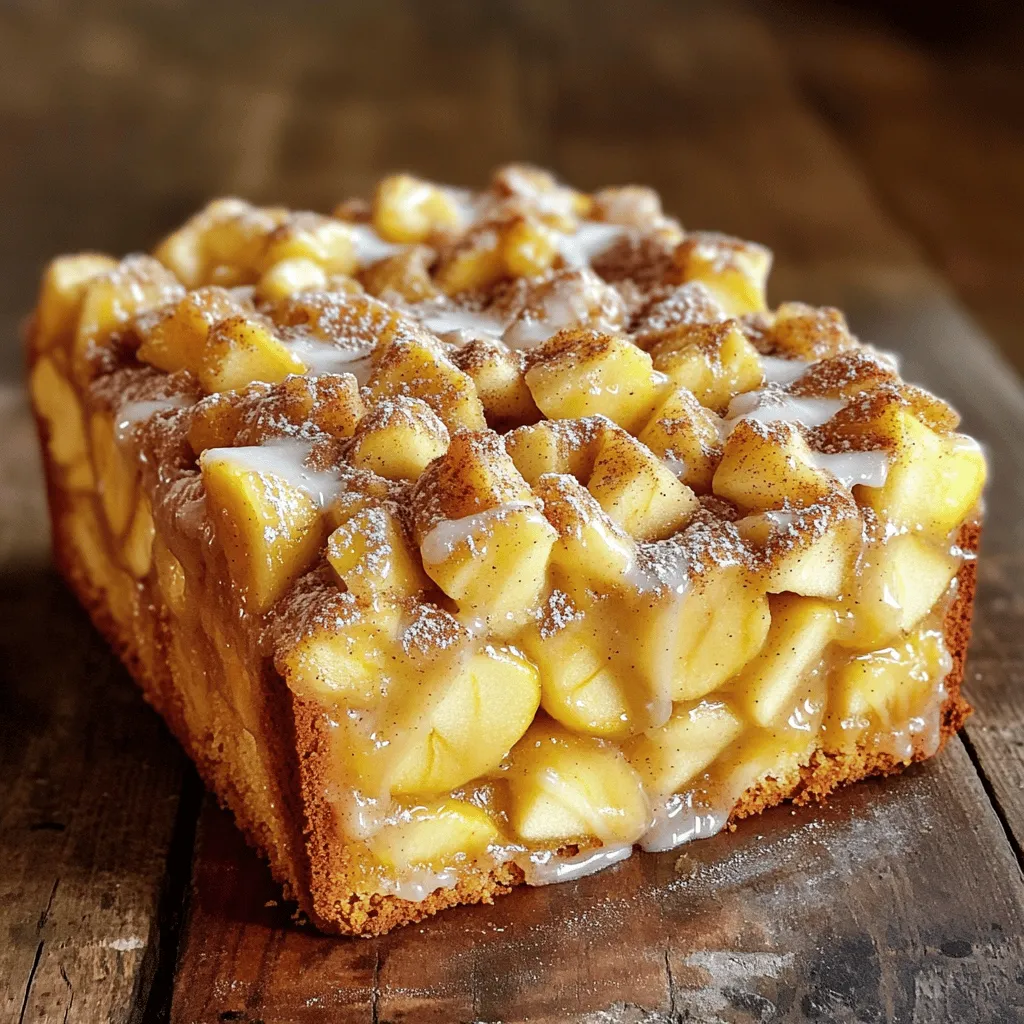
Amish Apple Fritter Bread Delightfully Easy Recipe
If you crave something sweet and comforting, look no further than Amish Apple Fritter Bread. This delightfully easy recipe combines juicy apples and warm spices
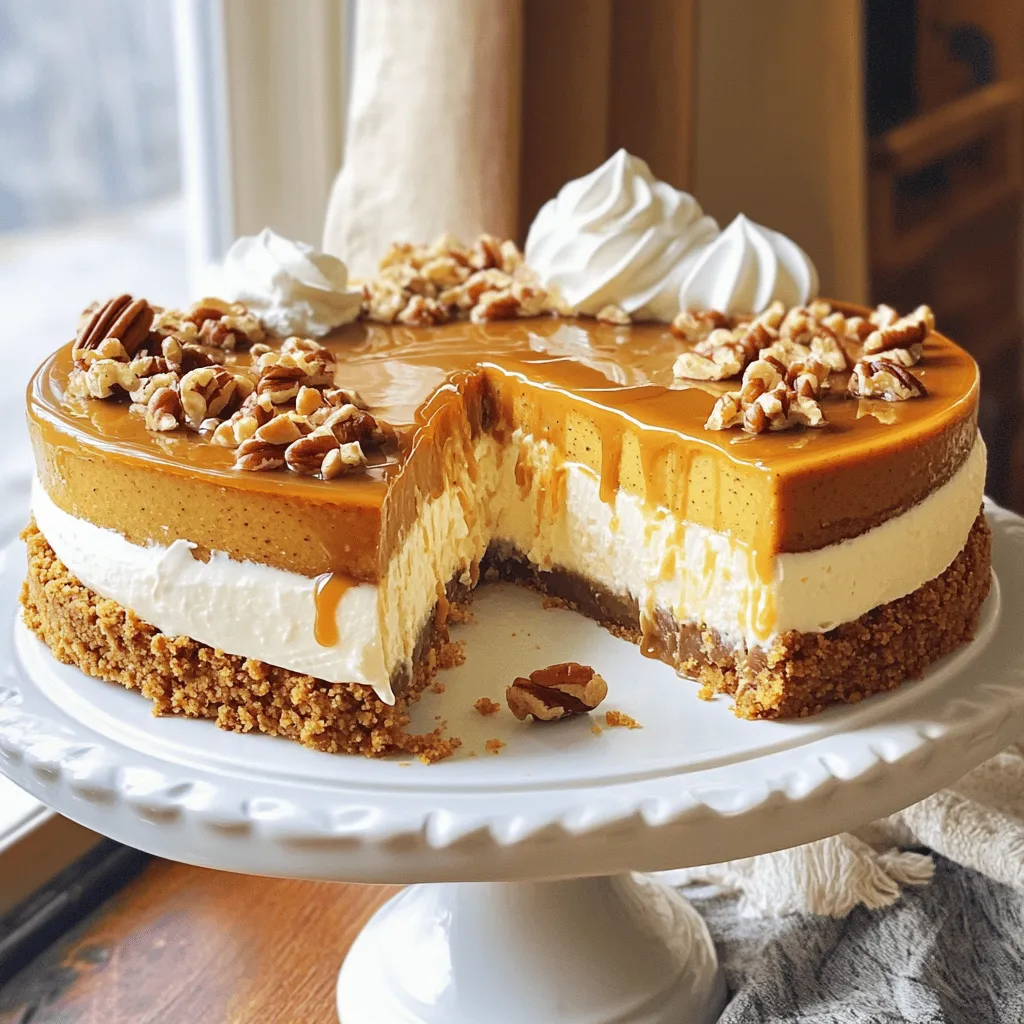
Caramel Pecan Pumpkin Cheesecake Delightful Recipe
Are you ready to indulge in a dessert that combines creamy cheesecake with the rich flavors of caramel, pecans, and pumpkin? This Caramel Pecan Pumpkin
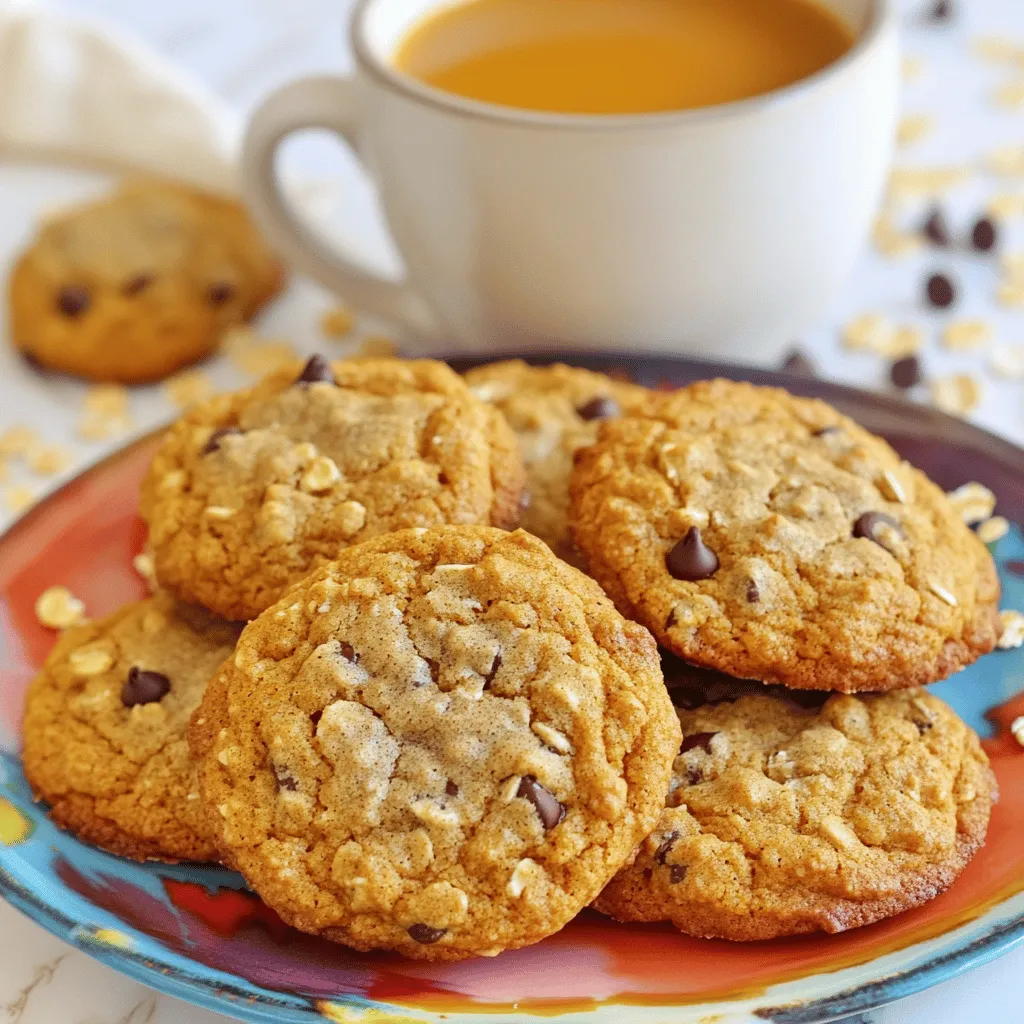
Vegan Pumpkin Spice Latte Cookies Delightful Treat
Get ready to fall in love with these Vegan Pumpkin Spice Latte Cookies! They bring the cozy flavors of autumn right to your kitchen. Whether

Chocolate Dipped Pumpkin Spice Donuts Irresistible Treat
Are you ready to treat yourself? These Chocolate Dipped Pumpkin Spice Donuts are the perfect blend of cozy fall flavors and rich chocolate. With a
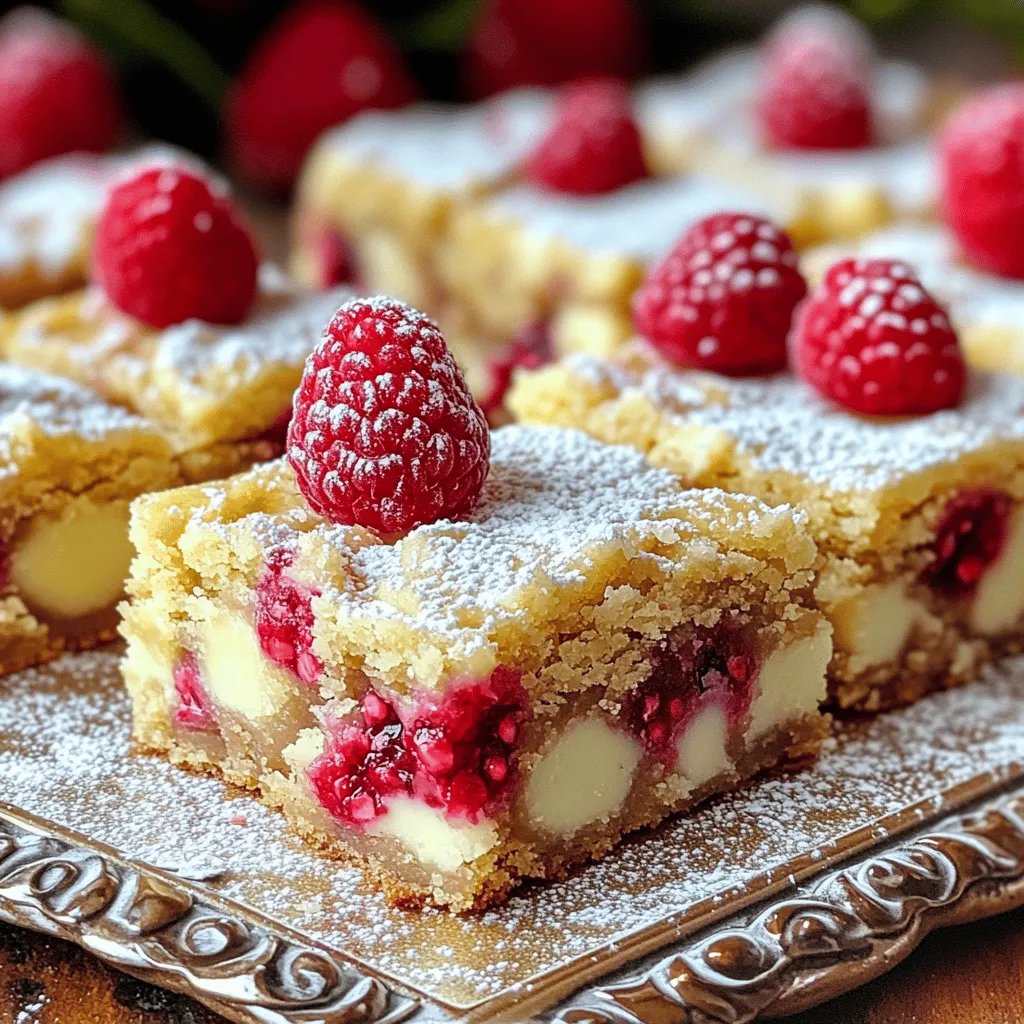
Raspberry White Chocolate Blondies Soft and Chewy Treat
Get ready for a sweet treat that combines tart and creamy flavors! Raspberry White Chocolate Blondies are soft, chewy, and perfect for any occasion. With

Cranberry Orange Crumble Bars Easy and Tasty Treat
If you’re searching for a quick and delicious treat, look no further! These Cranberry Orange Crumble Bars are easy to make and packed with flavor.