Desserts
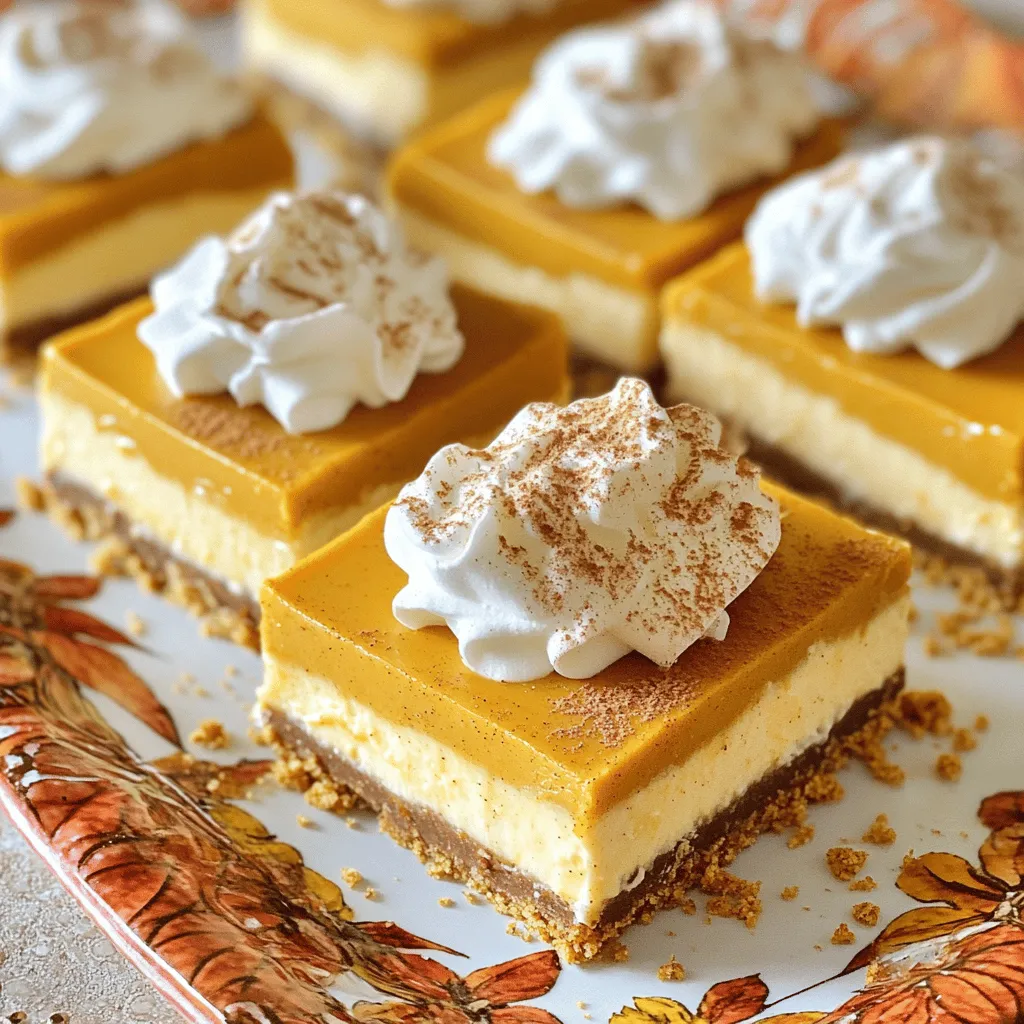
Flavorful No-Bake Pumpkin Cheesecake Bars Recipe
Fall is here, and that means it’s time for pumpkin treats! If you love pumpkin and cheesecake, you’ll adore my no-bake pumpkin cheesecake bars. They
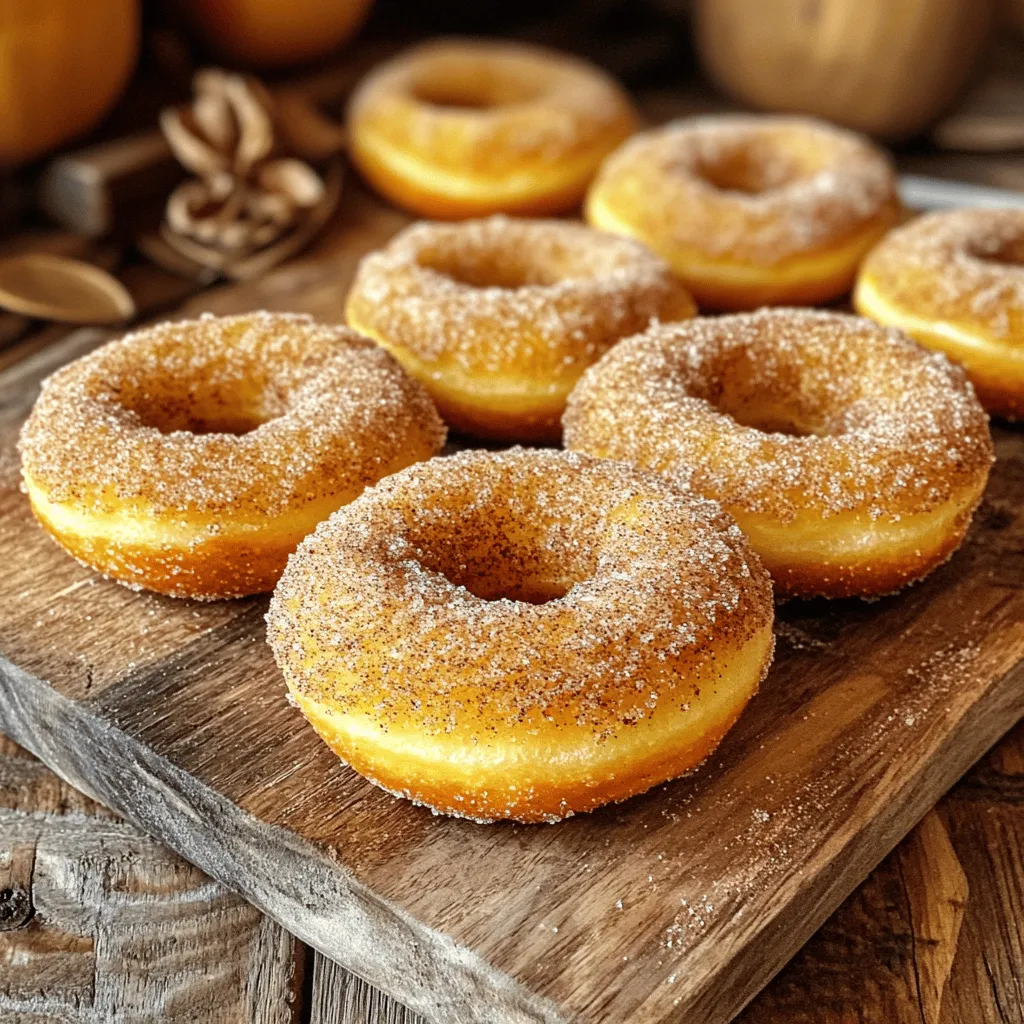
Spiced Apple Cider Doughnuts Fresh and Flavorful Treat
Autumn cravings are here, and nothing says fall like warm, spiced apple cider doughnuts! In this post, I’ll guide you through making these fresh and
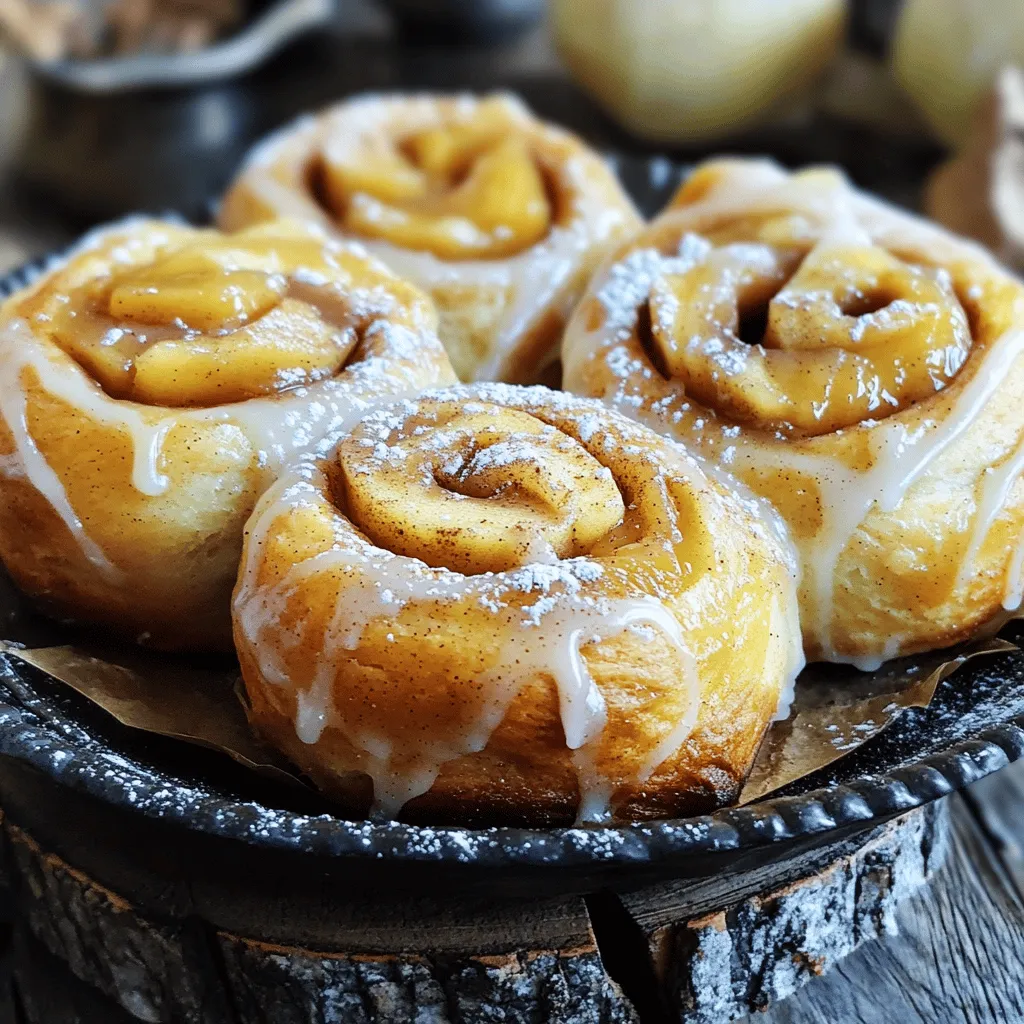
Apple Butter Cinnamon Rolls Irresistible Soft Treat
Craving a treat that’s warm, soft, and full of flavor? Look no further! These Apple Butter Cinnamon Rolls are the perfect blend of sweet and
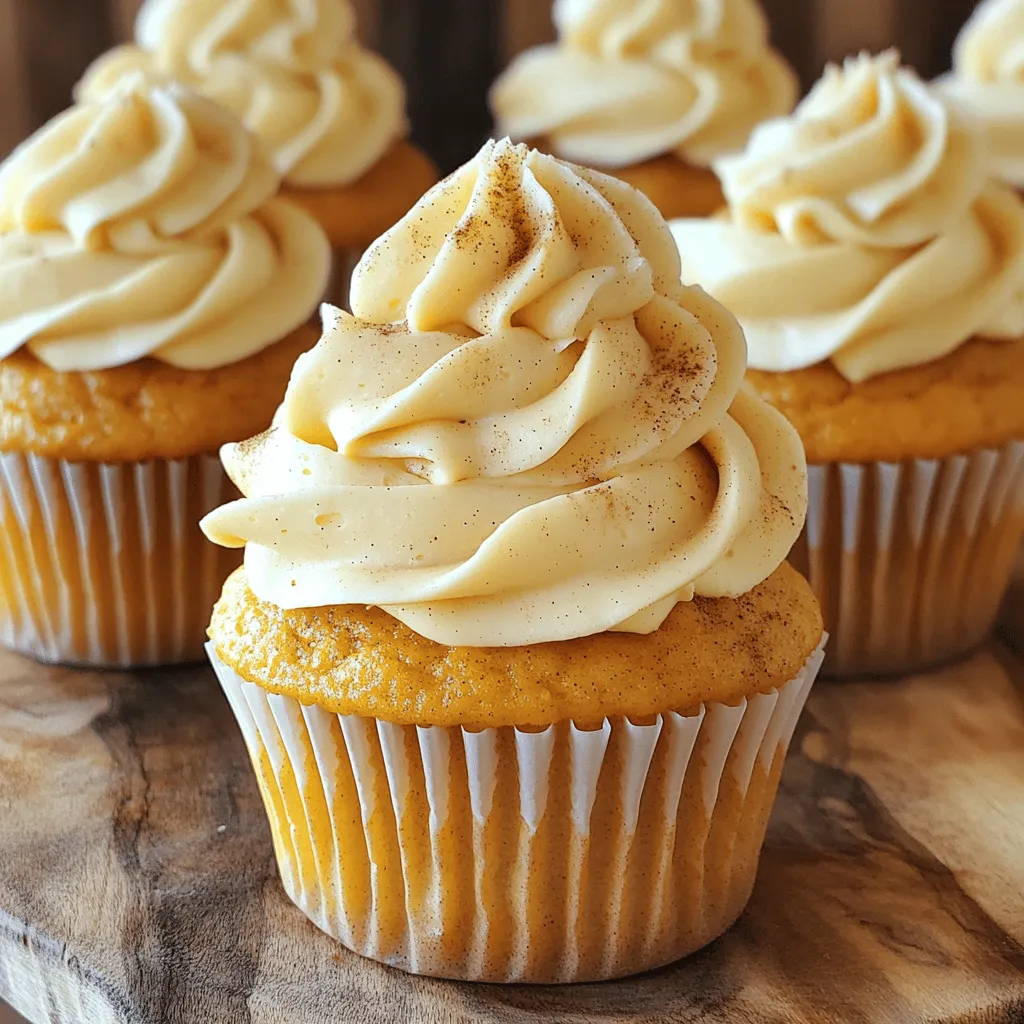
Pumpkin Spice Latte Cupcakes Irresistible Fall Treat
Fall is here, and what better way to celebrate than with Pumpkin Spice Latte Cupcakes? These treats combine the cozy flavors of pumpkin and coffee
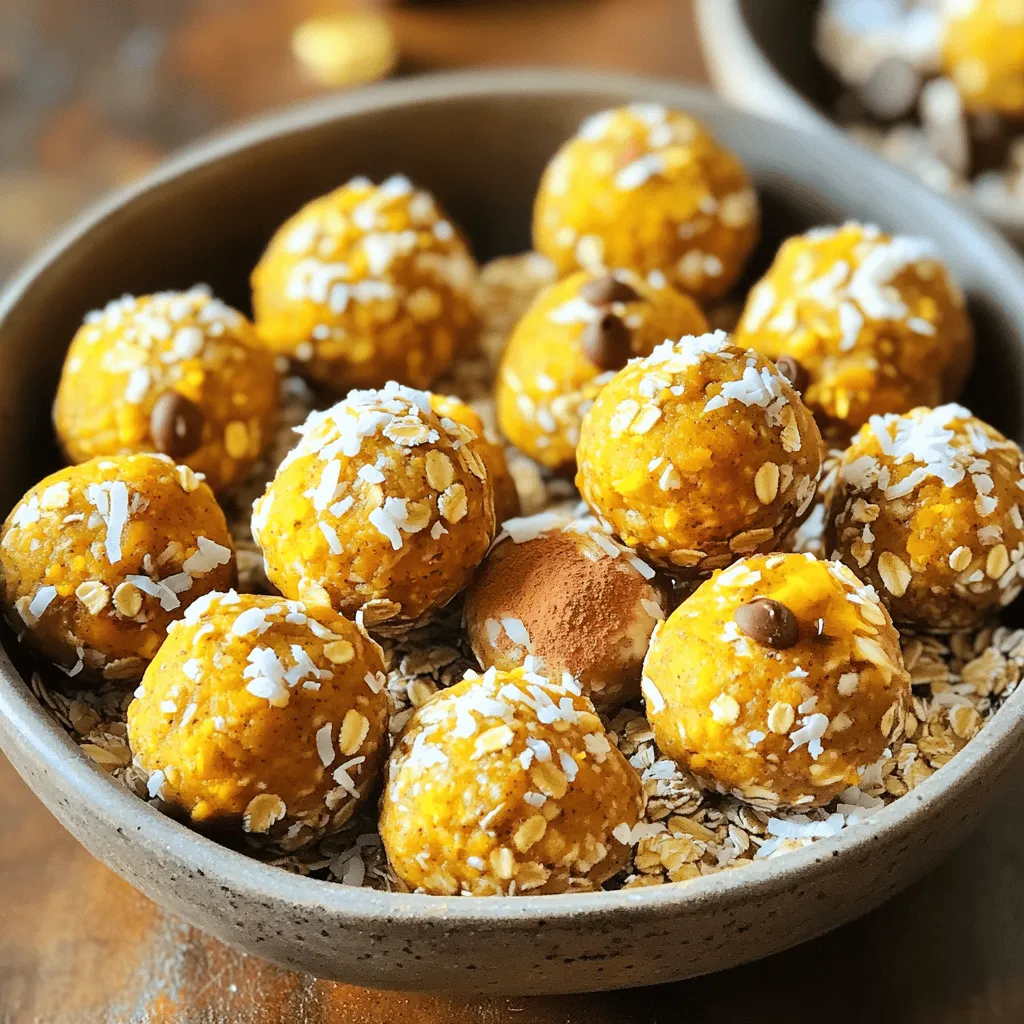
Pumpkin Spice Energy Bites Flavorful and Healthy Snack
Looking for a tasty and healthy snack to keep you fueled? You’re in the right place! These Pumpkin Spice Energy Bites are not just full
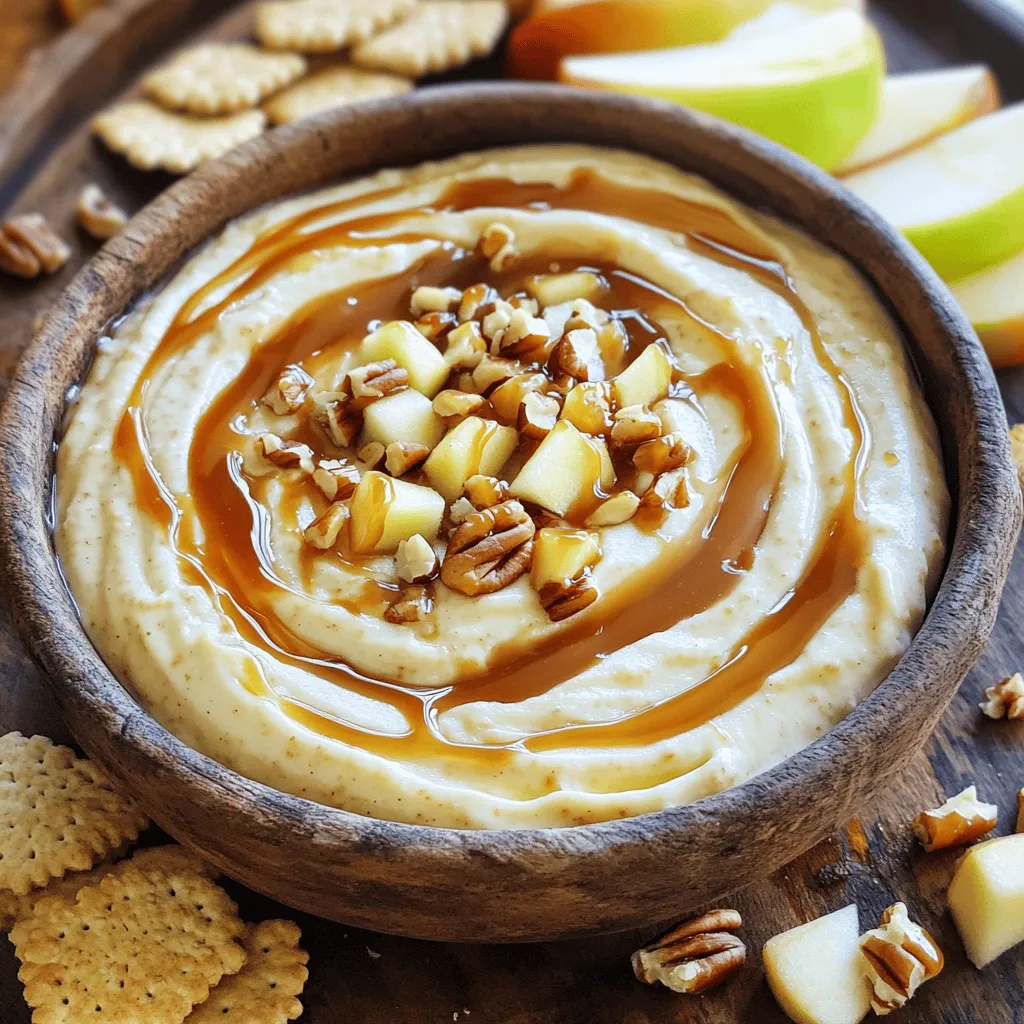
Caramel Apple Cheesecake Dip Delightful Party Treat
Looking for a fun and tasty treat to wow your guests? Look no further! This Caramel Apple Cheesecake Dip is the perfect sweet delight for
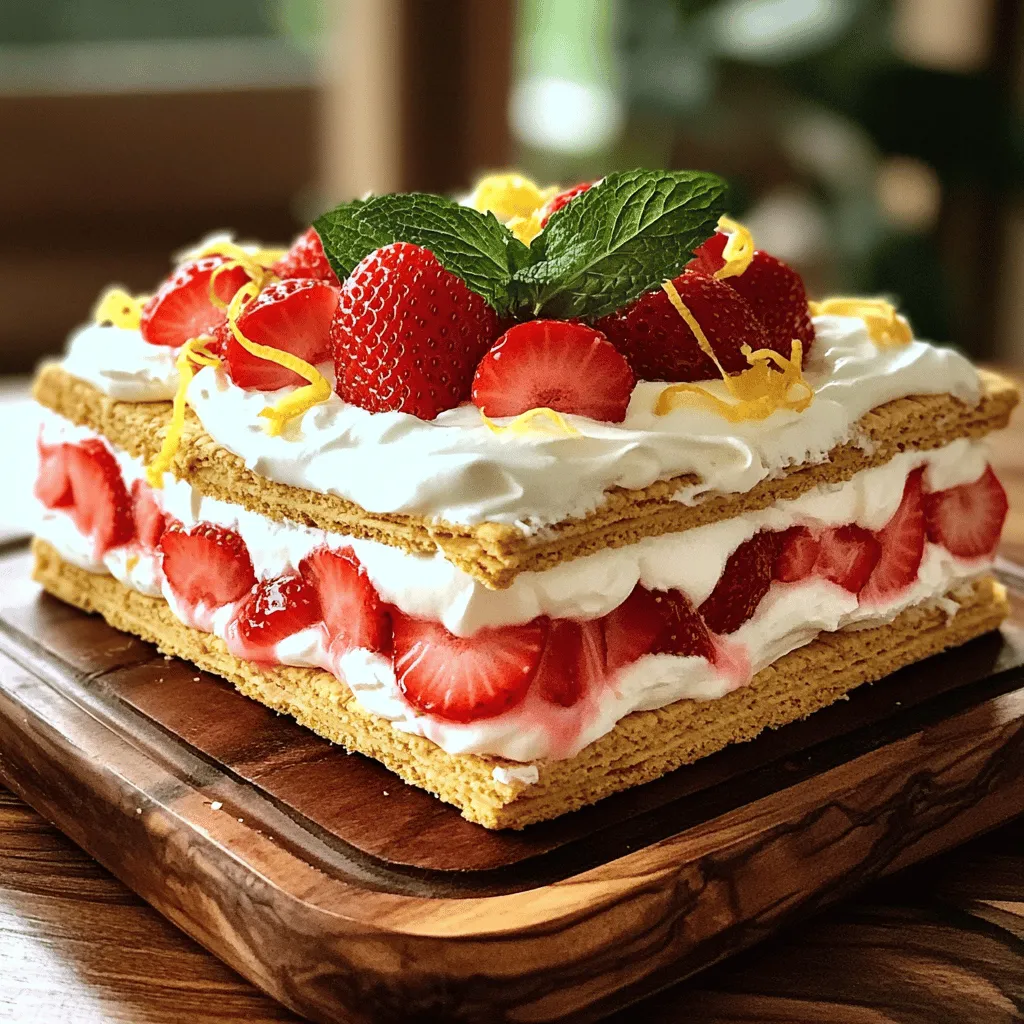
Strawberry Shortcake Icebox Cake Easy and Delicious Treat
If you’re looking for a sweet and simple dessert, you’ve found it! This Strawberry Shortcake Icebox Cake is easy to make and packed with flavor.
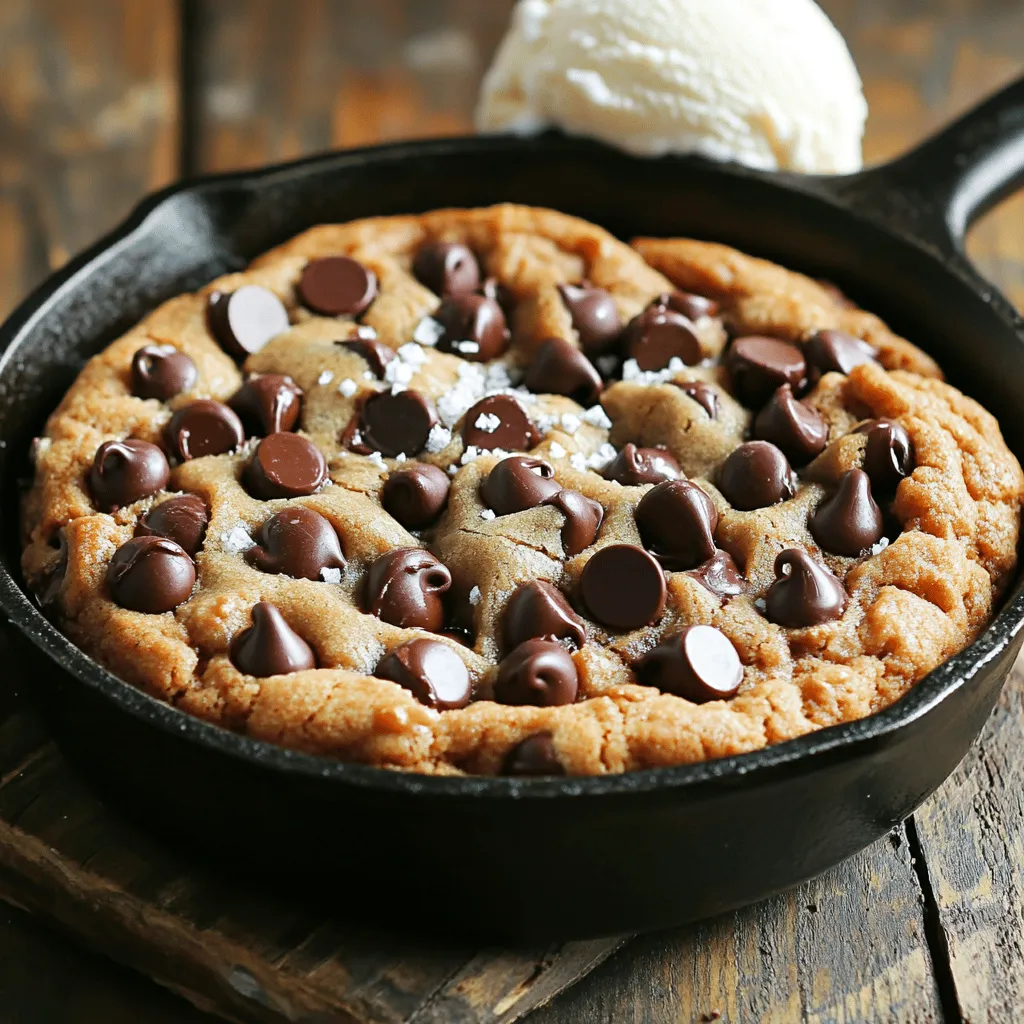
Ultimate Chocolate Chip Skillet Cookie Delightful Treat
Are you ready to bake the ultimate chocolate chip skillet cookie? This delightful treat is warm, gooey, and perfect for sharing. I’ll guide you through
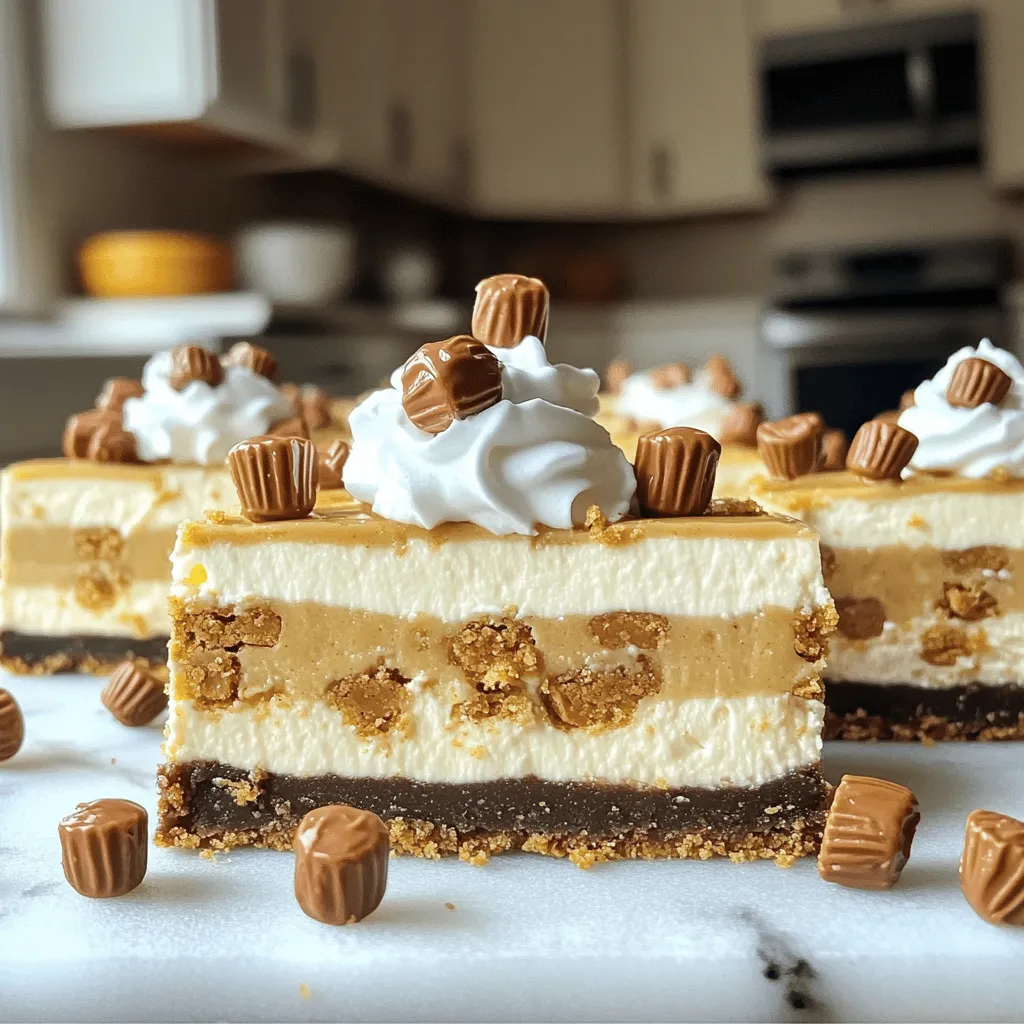
Peanut Butter Cup Cheesecake Bars Irresistible Delight
Are you ready to awaken your taste buds? These Peanut Butter Cup Cheesecake Bars are a dream come true! With a creamy filling paired with
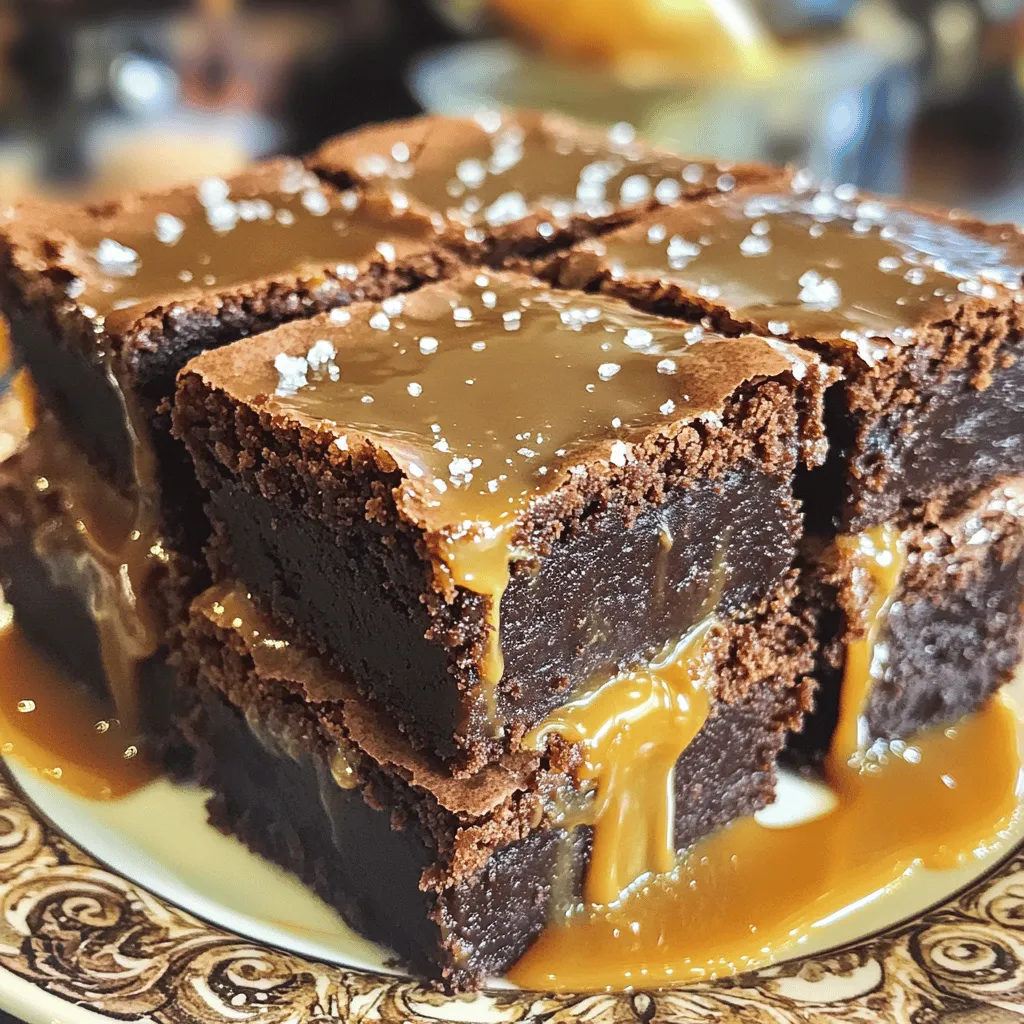
Fudgy Salted Caramel Brownies Decadent and Simple Recipe
Craving a sweet treat? You’ll love my Fudgy Salted Caramel Brownies! This simple recipe brings rich chocolate and gooey caramel together in perfect harmony. Whether