Desserts
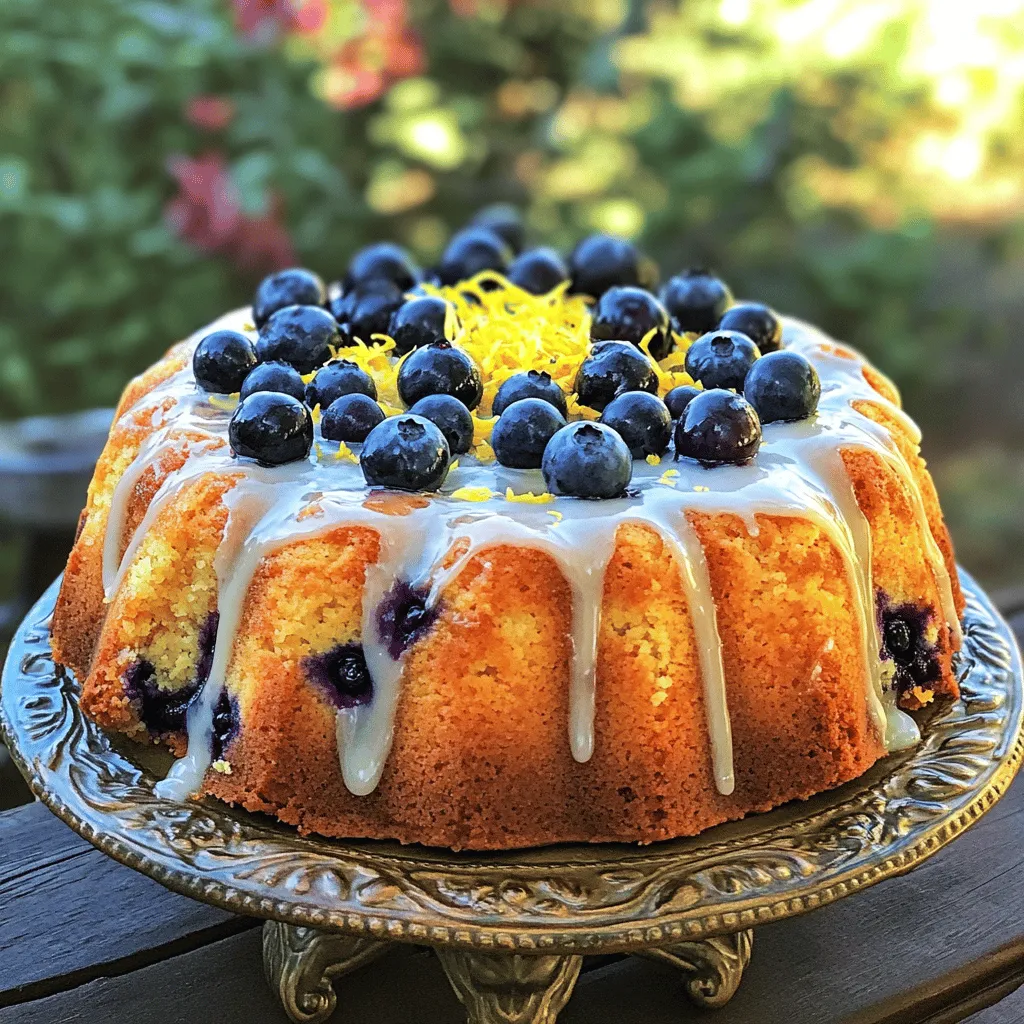
Blueberry Lemon Pound Cake Delightful and Easy Treat
Looking for a sweet treat that brightens your day? This Blueberry Lemon Pound Cake is the answer! It combines fresh blueberries and zesty lemon for
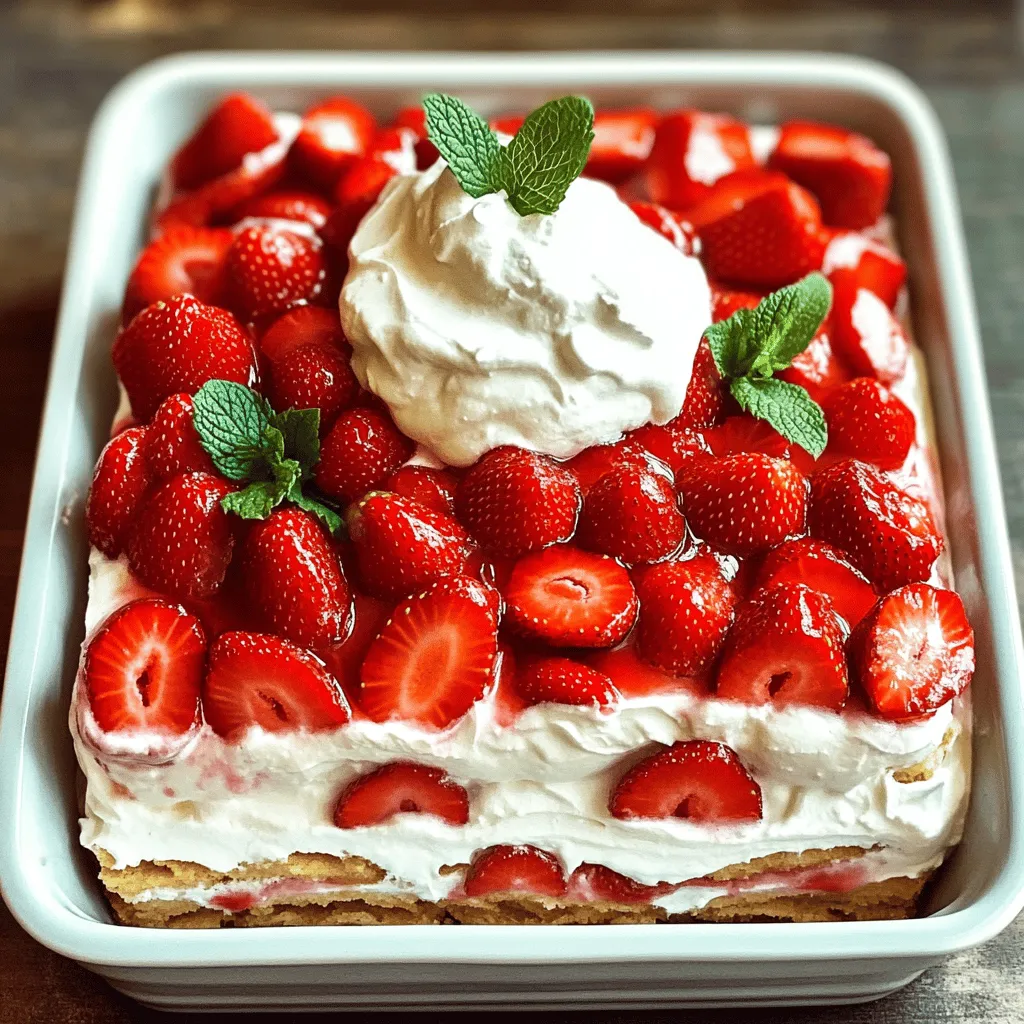
Strawberry Shortcake Icebox Cake Easy and Delicious Recipe
Are you craving a sweet treat that’s easy to make and perfect for warm days? Look no further! My Strawberry Shortcake Icebox Cake is the
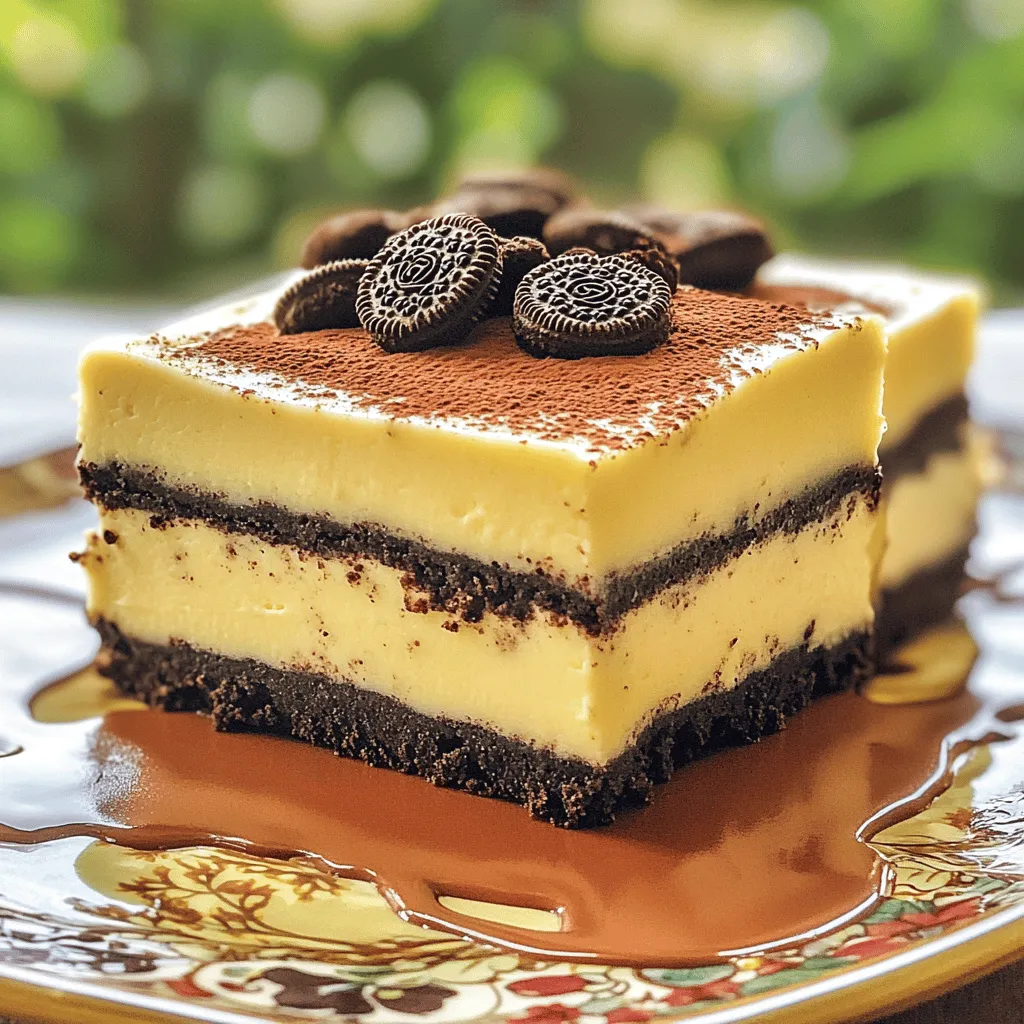
No-Bake Oreo Cheesecake Bars Easy Dessert Recipe
Craving a sweet treat but don’t want to turn on the oven? Let me introduce you to my No-Bake Oreo Cheesecake Bars! This easy dessert
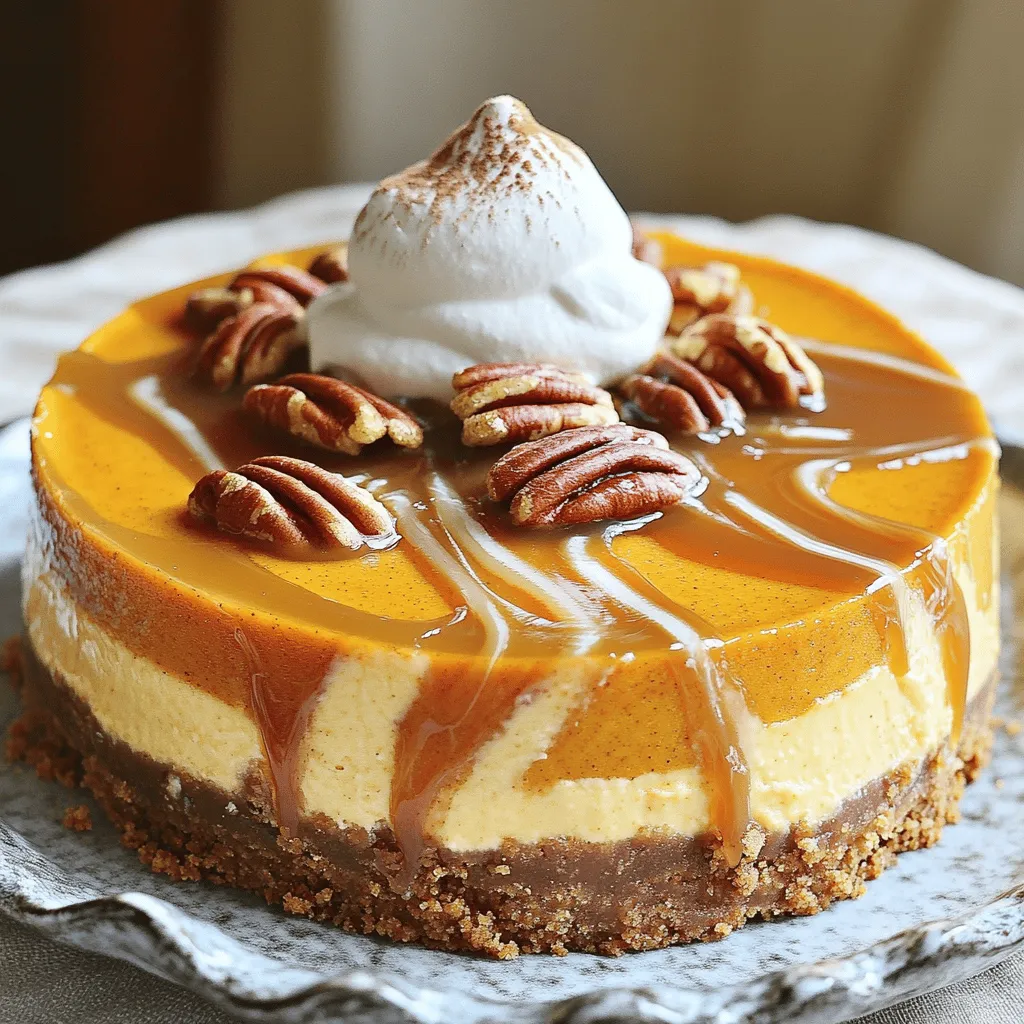
Caramel Pecan Pumpkin Cheesecake Irresistible Dessert
If you love dessert, you’re in for a treat! This Caramel Pecan Pumpkin Cheesecake is a perfect mix of flavors that will wow your taste
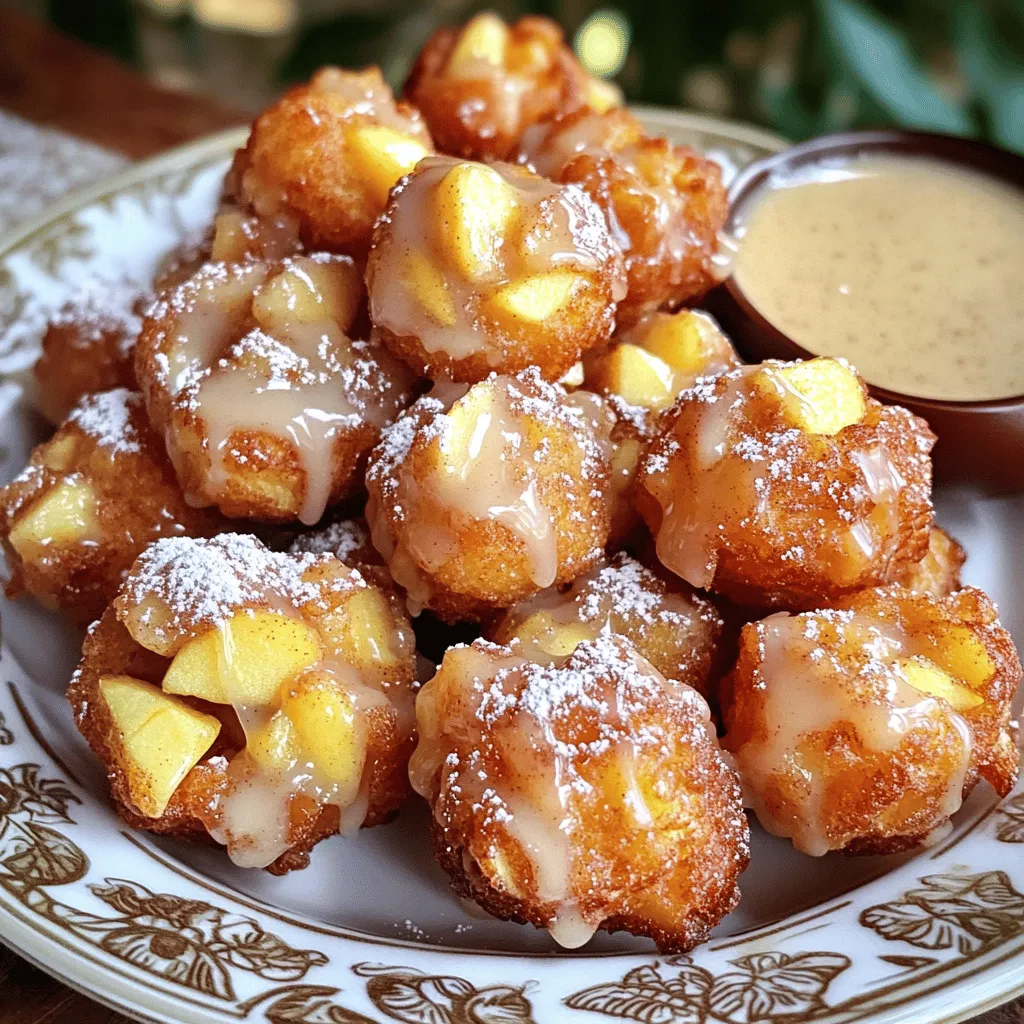
Cinnamon Glazed Apple Fritter Bites Irresistible Treat
Craving a sweet treat that’s hard to resist? Look no further than these Cinnamon Glazed Apple Fritter Bites! With fluffy dough and warm, spiced apples,
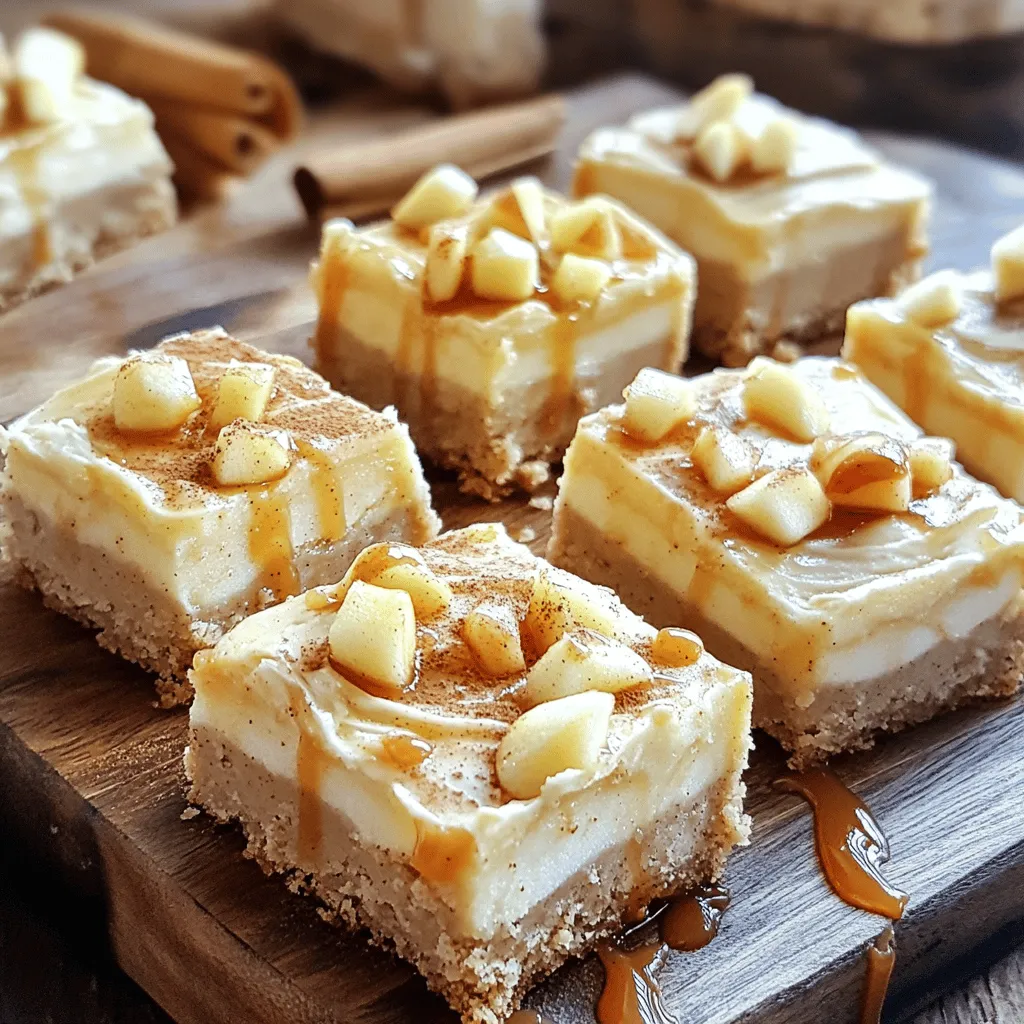
Cinnamon Blondies with Caramel Apple Cream Cheese Frosting Delight
Are you ready to bake something incredible? These Cinnamon Blondies topped with Caramel Apple Cream Cheese Frosting will be your new go-to treat! They’re soft,

Easy Pumpkin Pie Bites Simple and Tasty Dessert Treat
Looking for a simple yet delightful dessert? These Easy Pumpkin Pie Bites combine the warm flavors of pumpkin and spices in cute phyllo pastry cups.
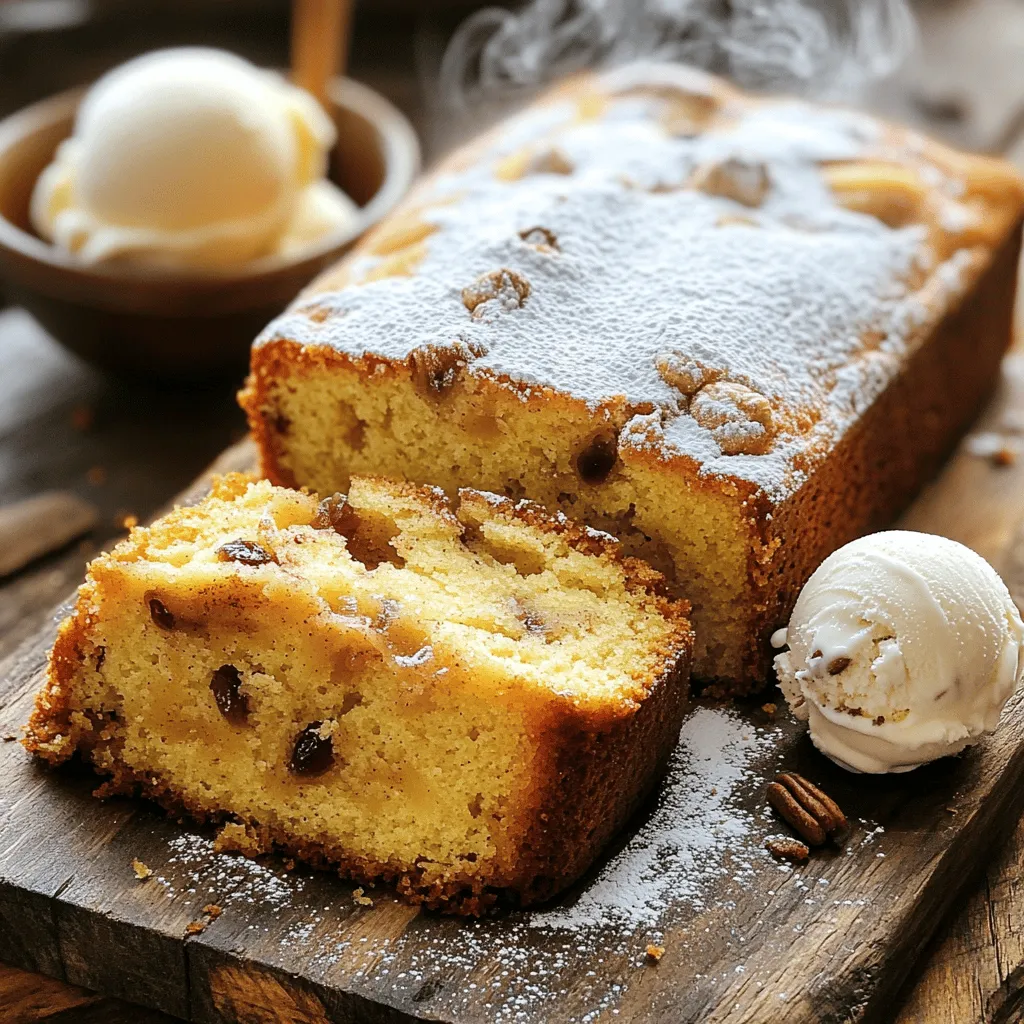
Cozy Amish Applesauce Cake Warm and Comforting Treat
Warm up your kitchen with the delightful aroma of Cozy Amish Applesauce Cake. This simple recipe blends sweet applesauce and aromatic spices, creating a treat
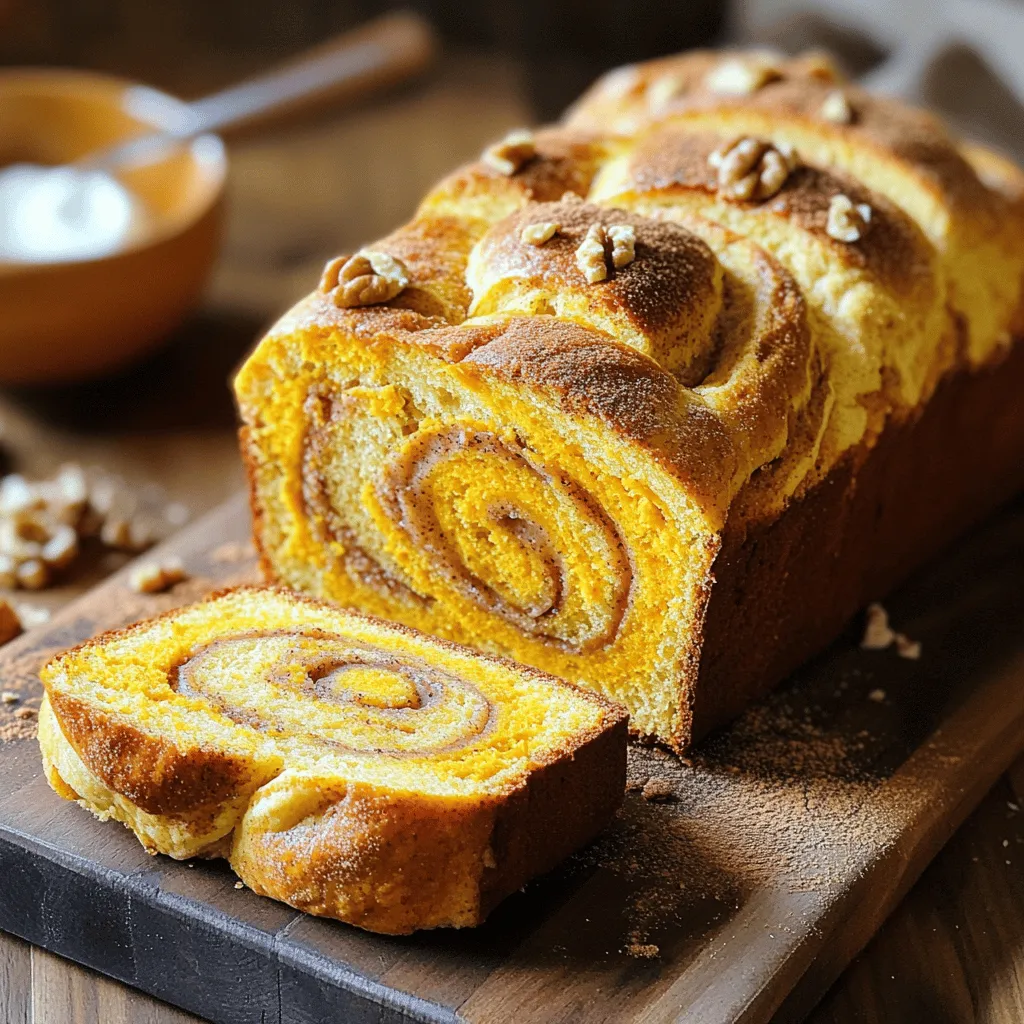
Cinnamon Swirl Pumpkin Sourdough Flavorful Delight
Are you ready to elevate your baking game? This Cinnamon Swirl Pumpkin Sourdough offers a perfect mix of warm flavors and a delightful texture. With
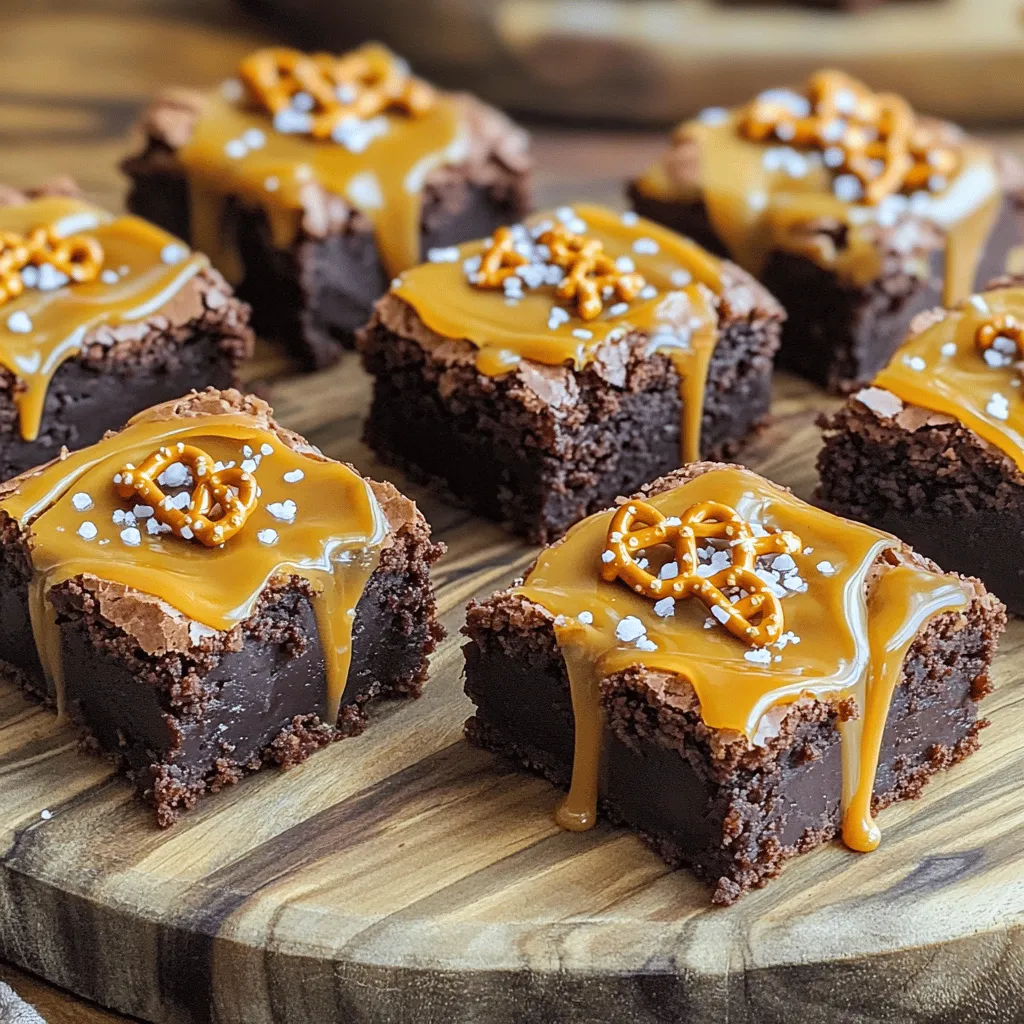
Salted Caramel Pretzel Brownies Decadent Sweet Treat
Indulge your sweet tooth with my Salted Caramel Pretzel Brownies! This treat combines rich chocolate, crunchy pretzels, and a drizzle of caramel for pure bliss.