Desserts
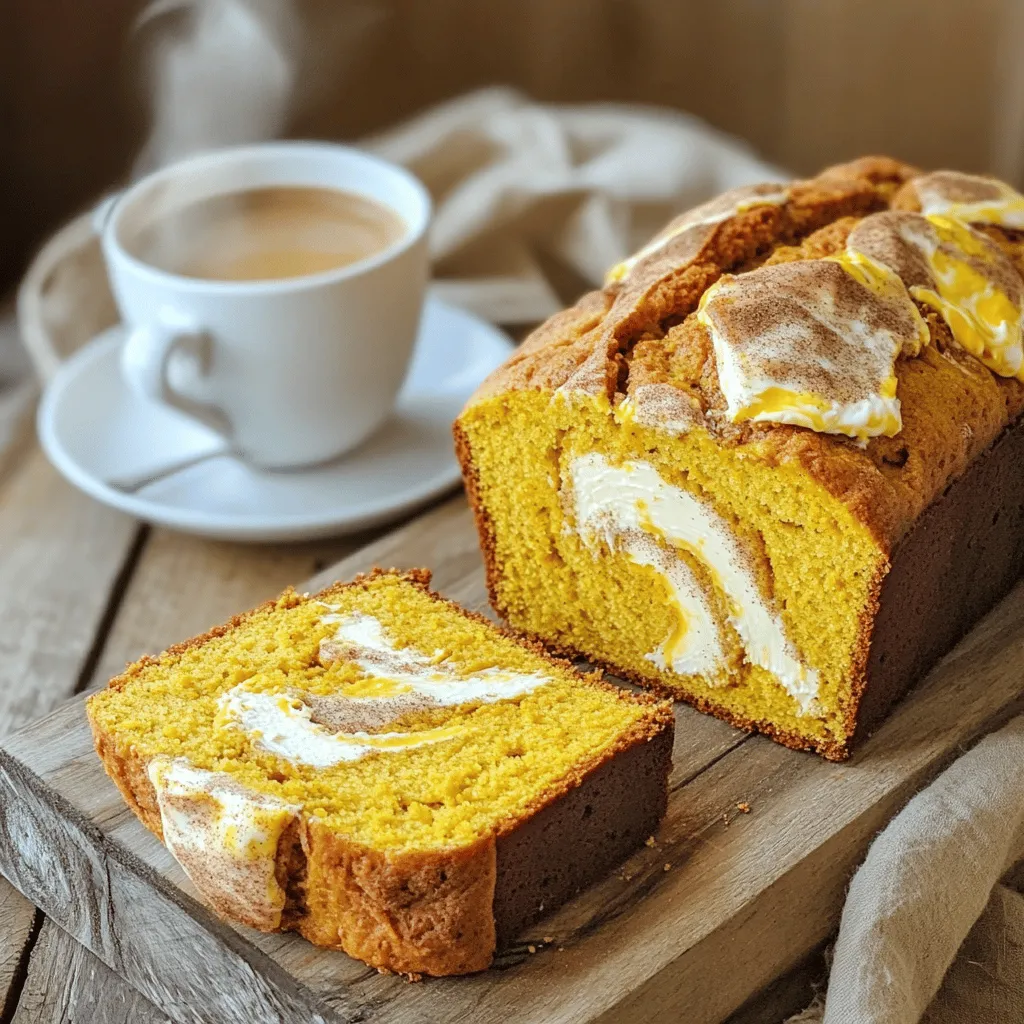
Joanna Gaines Pumpkin Cream Cheese Bread Delight
Love the taste of fall? Joanna Gaines Pumpkin Cream Cheese Bread gives you that cozy vibe in every bite. Imagine warm spices and creamy filling
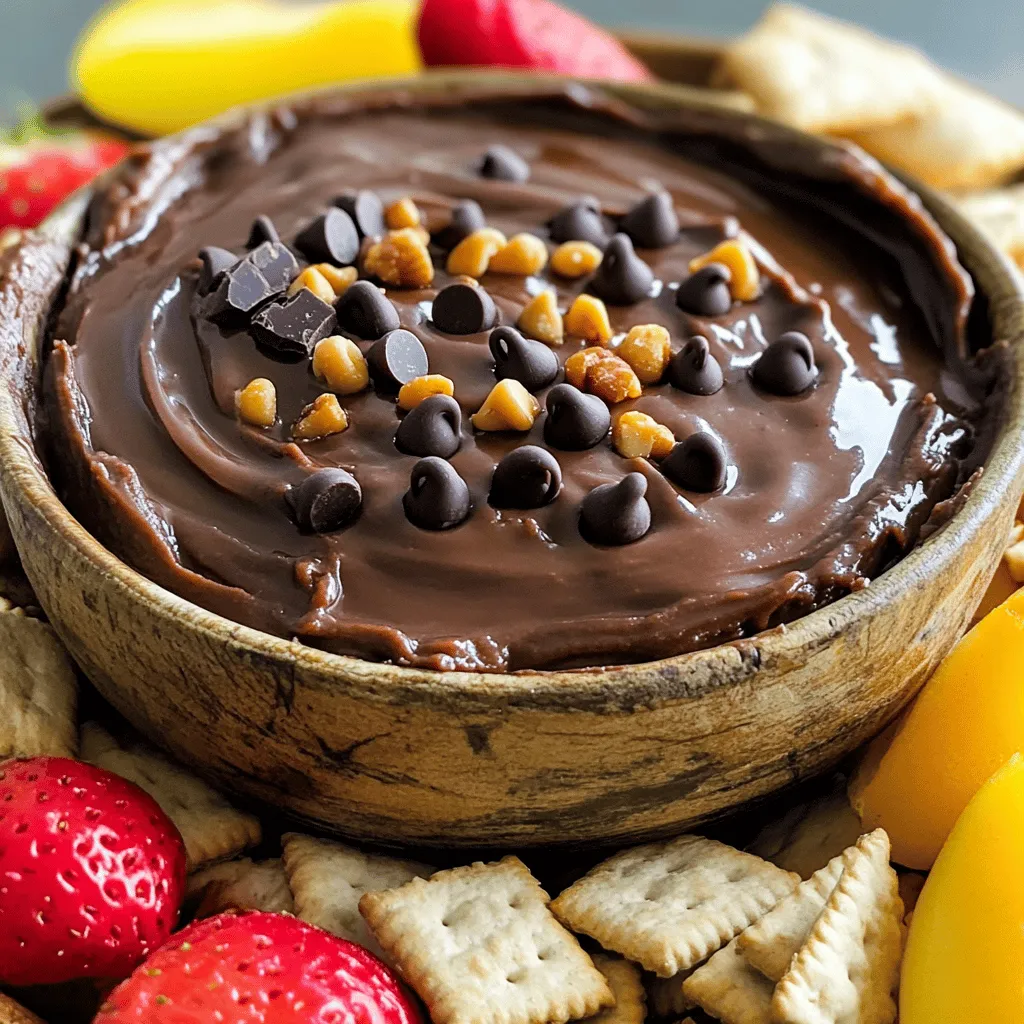
Edible Brownie Batter Dip Delightful Dessert Recipe
Get ready to indulge in a sweet treat with my Edible Brownie Batter Dip! This easy recipe lets you enjoy the rich taste of brownie

Chocolate Chip Pumpkin Energy Balls Simple Snack
Looking for a tasty, easy snack that fuels your day? Try my Chocolate Chip Pumpkin Energy Balls! These little bites are packed with good-for-you ingredients

Baked Pumpkin Cake Donuts Flavorful and Easy Recipe
If you love fall flavors, you’ll adore these Baked Pumpkin Cake Donuts! They are soft, fluffy, and easy to make. With just a few simple

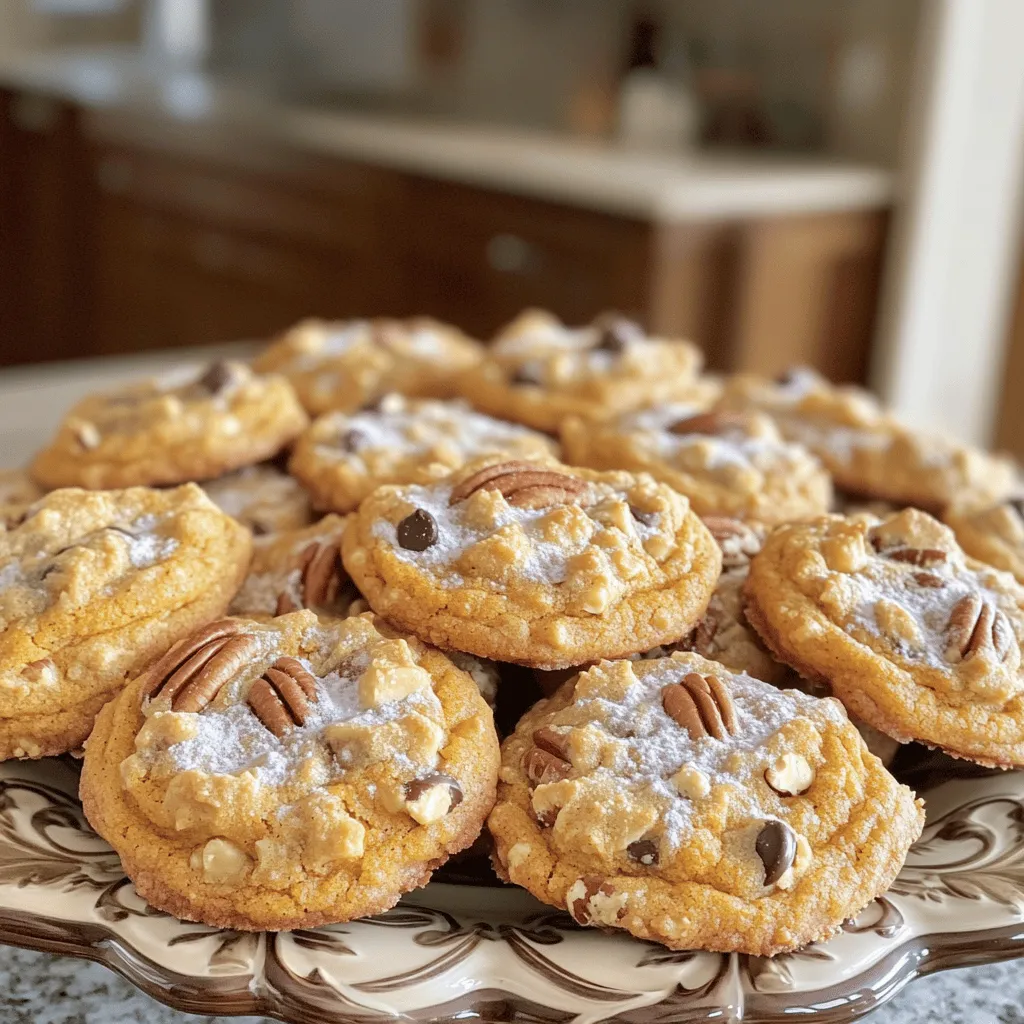
Savory Banana Bread Cookies Easy and Tasty Treat
Looking for a treat that mixes the warmth of banana bread with the fun of cookies? You’re in the right place! I’m excited to share
Pumpkin Spice Snickerdoodles Irresistible Cookie Recipe
Ready to make your fall baking dreams come true? This Pumpkin Spice Snickerdoodles recipe combines warm spices and sweet cookie goodness, making them perfect for
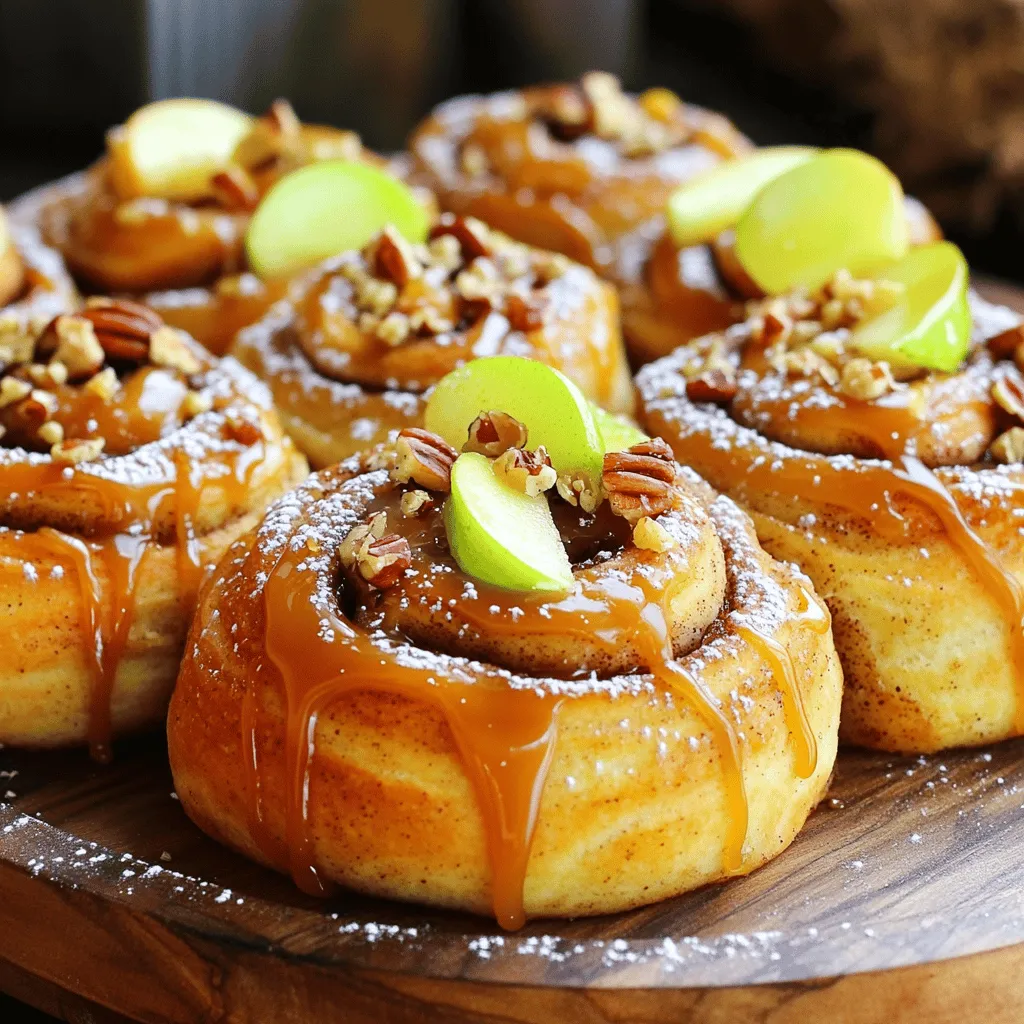
Caramel Apple Cinnamon Rolls Decadent and Soft Treat
If you’re craving a treat that combines gooey caramel, tender apples, and warm cinnamon, look no further! My Caramel Apple Cinnamon Rolls are a decadent
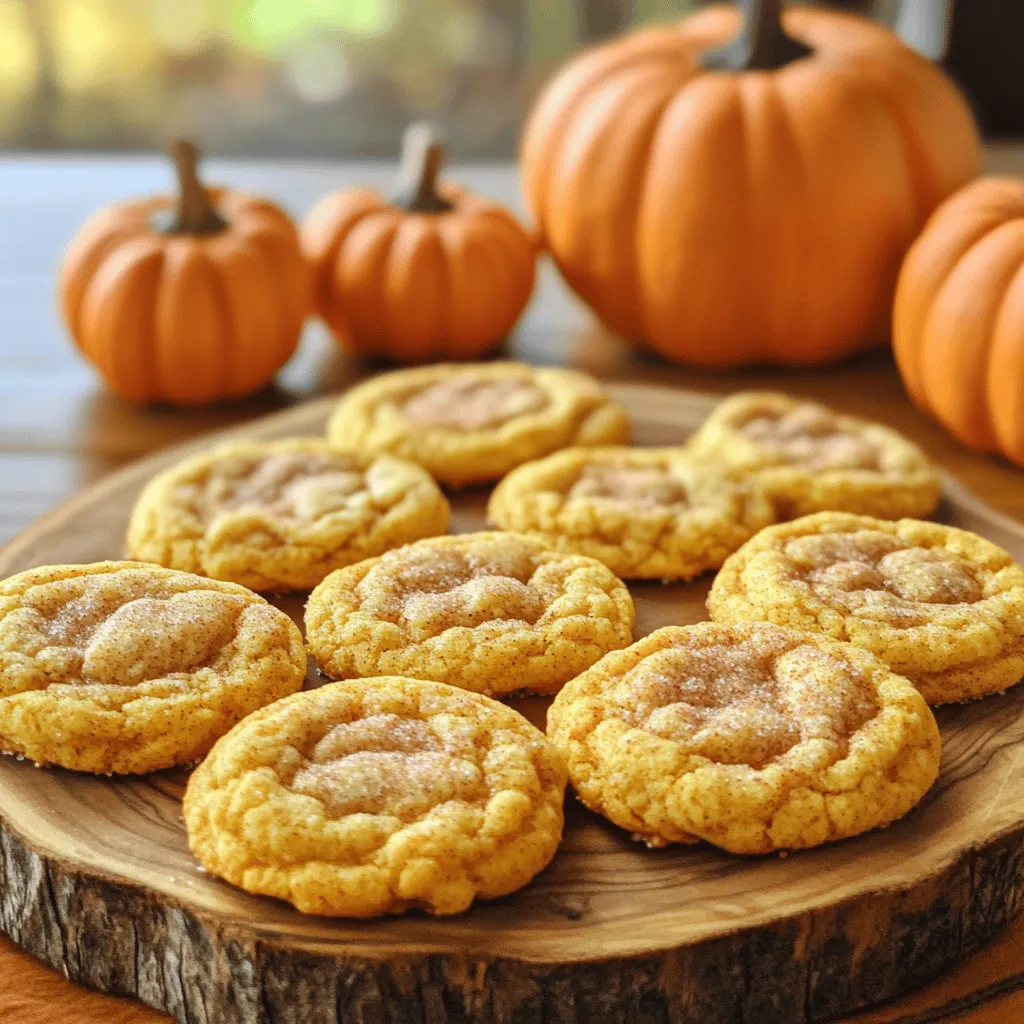
Crumbl Pumpkin Pie Cookies Irresistible Fall Treats
Fall is here, and nothing says autumn like Crumbl Pumpkin Pie Cookies! These treats pack the warm flavors of pumpkin pie into a soft, chewy
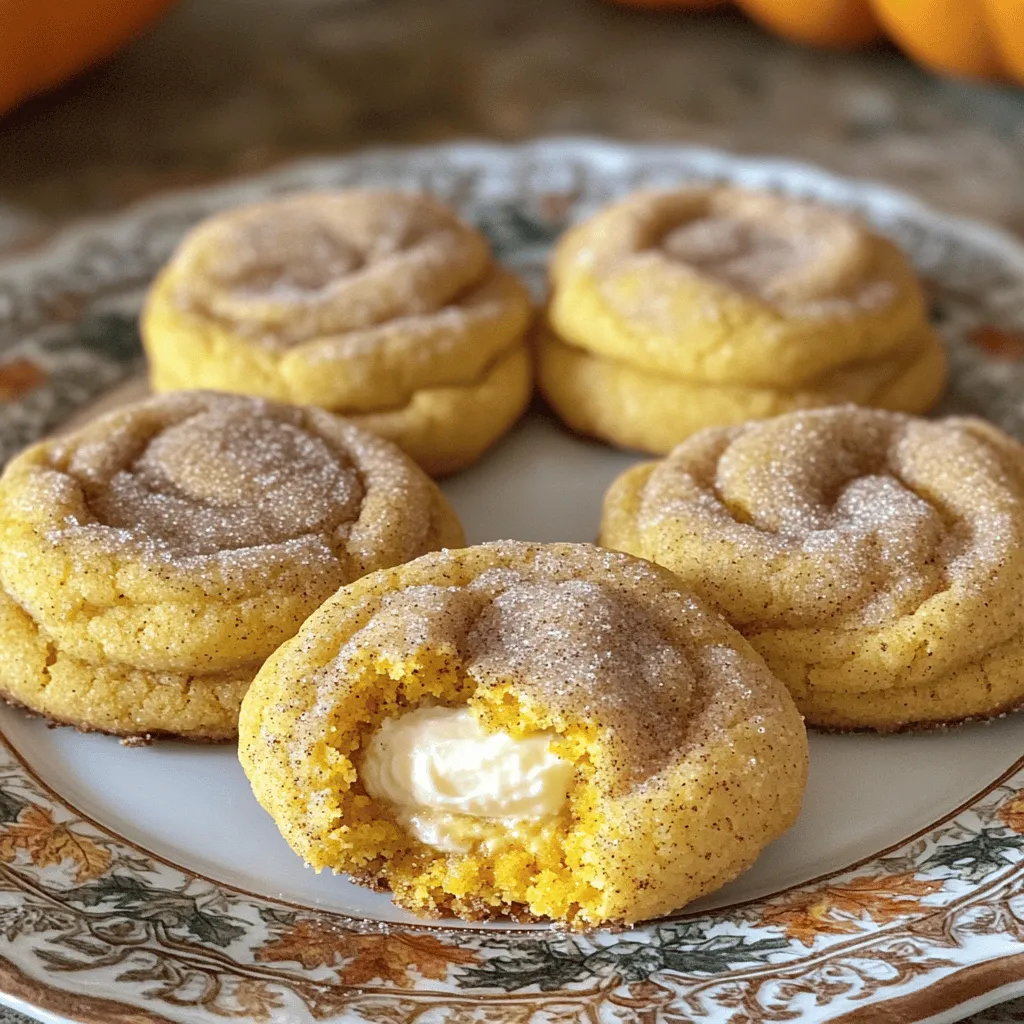
Pumpkin Cheesecake Snickerdoodle Cookies Delight
Are you ready to enjoy a sweet twist on fall flavors? In this article, I’ll guide you through the process of making Pumpkin Cheesecake Snickerdoodle
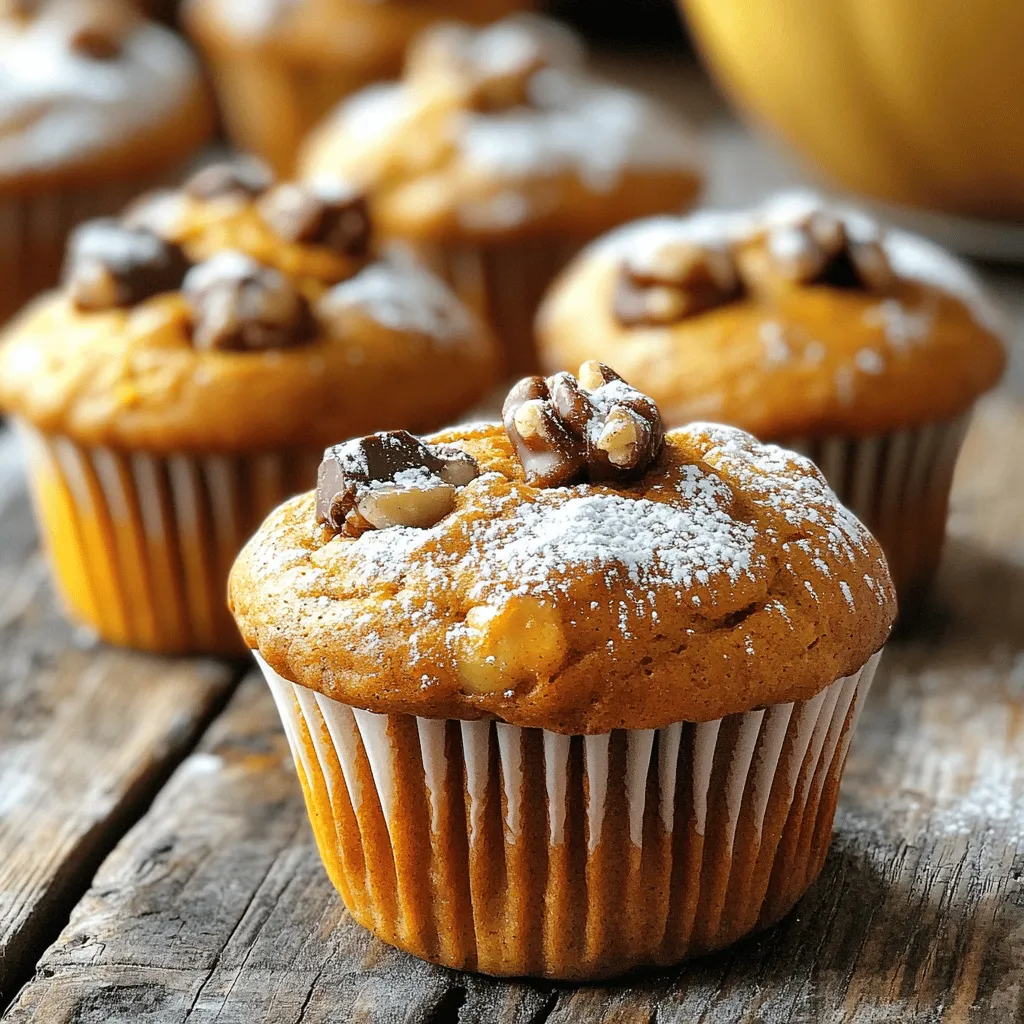
Moist Pumpkin Banana Muffins Simple and Tasty Recipe
Discover the joy of baking with my recipe for moist pumpkin banana muffins! These treats blend the sweetness of ripe bananas with rich pumpkin, creating