Desserts

Classic Baked Apple Crumble Irresistible Dessert Delight
Imagine sinking your spoon into a warm, sweet Classic Baked Apple Crumble. This dessert is the perfect mix of soft apples and crunchy topping. In
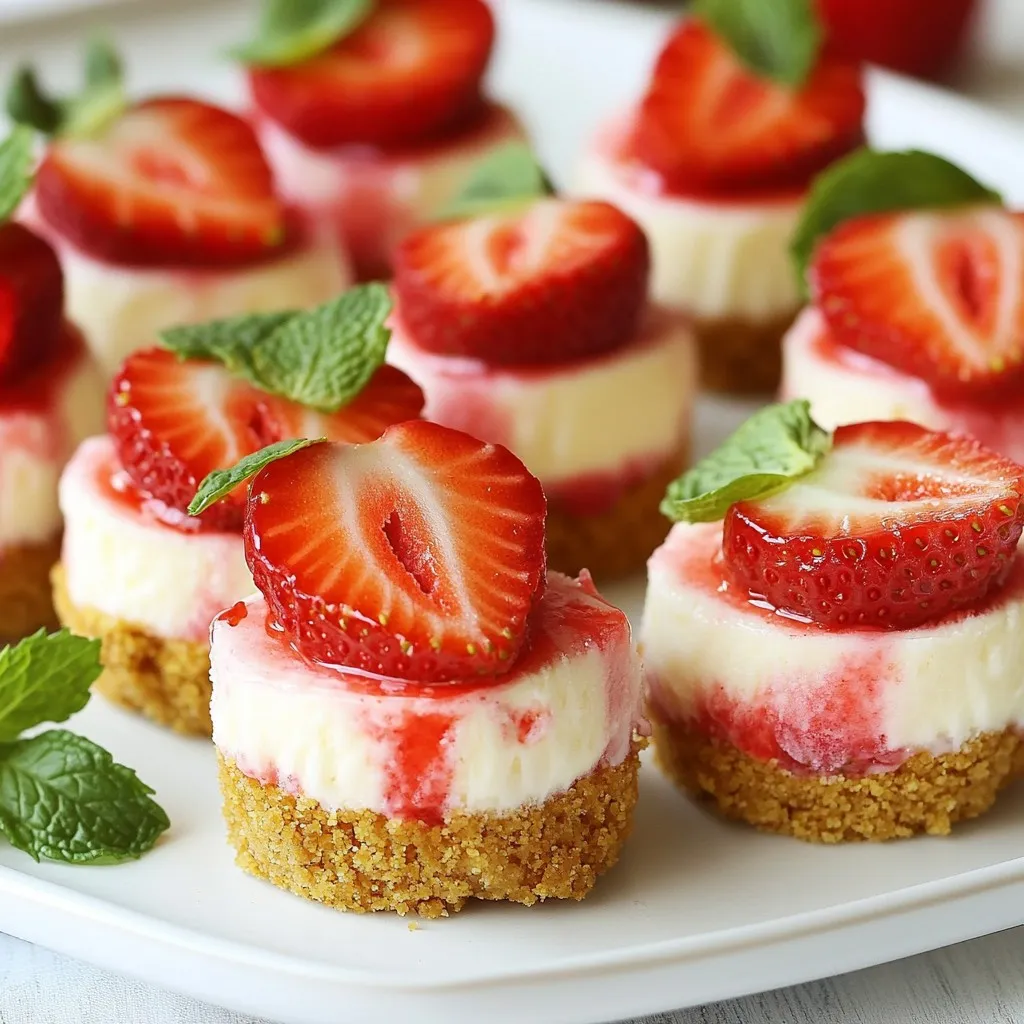
Frozen Strawberry Cheesecake Bites Delightful Treat
Craving a sweet treat that’s easy to make and oh-so-delicious? You’ll love these Frozen Strawberry Cheesecake Bites! They are perfect for a quick snack or
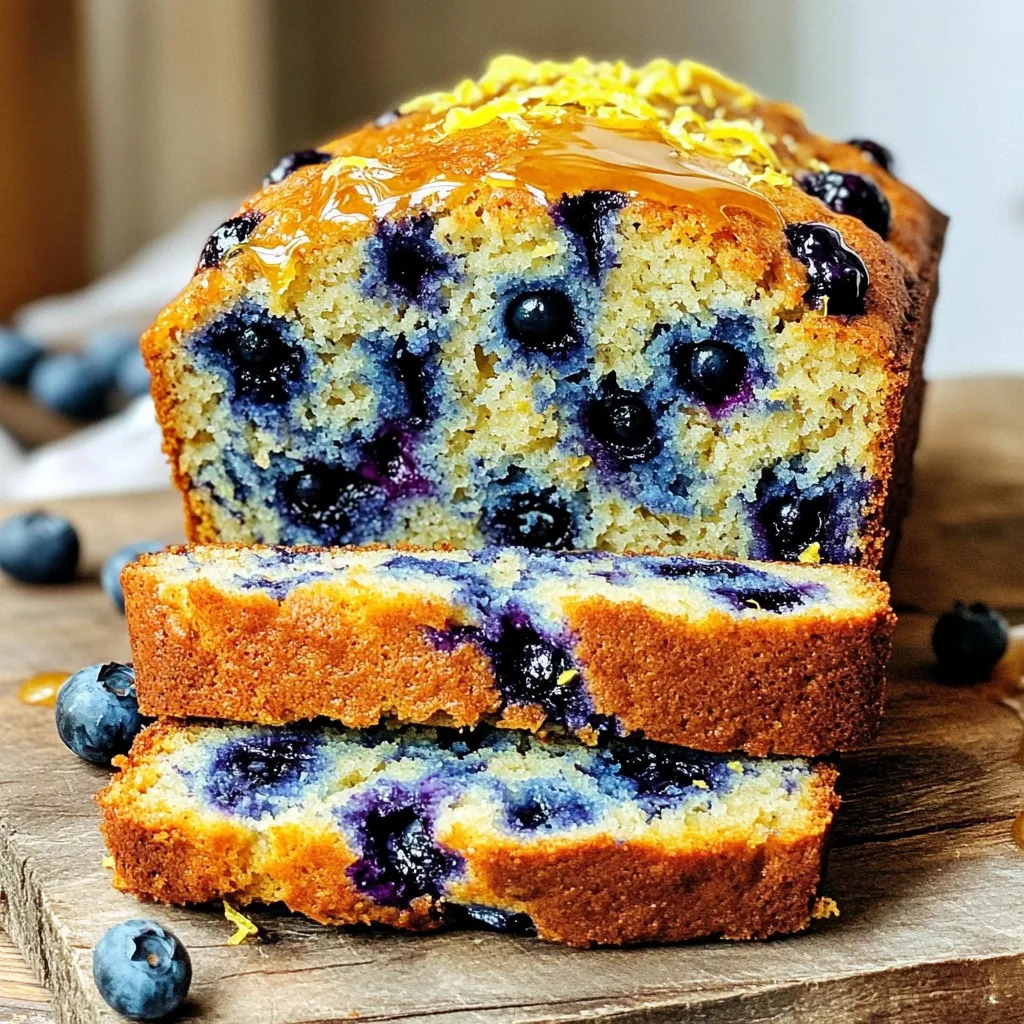
Greek Yogurt Blueberry Lemon Bread Easy Delight
If you’re looking for a simple and tasty treat, try my Greek Yogurt Blueberry Lemon Bread! This recipe combines creamy Greek yogurt, fresh blueberries, and

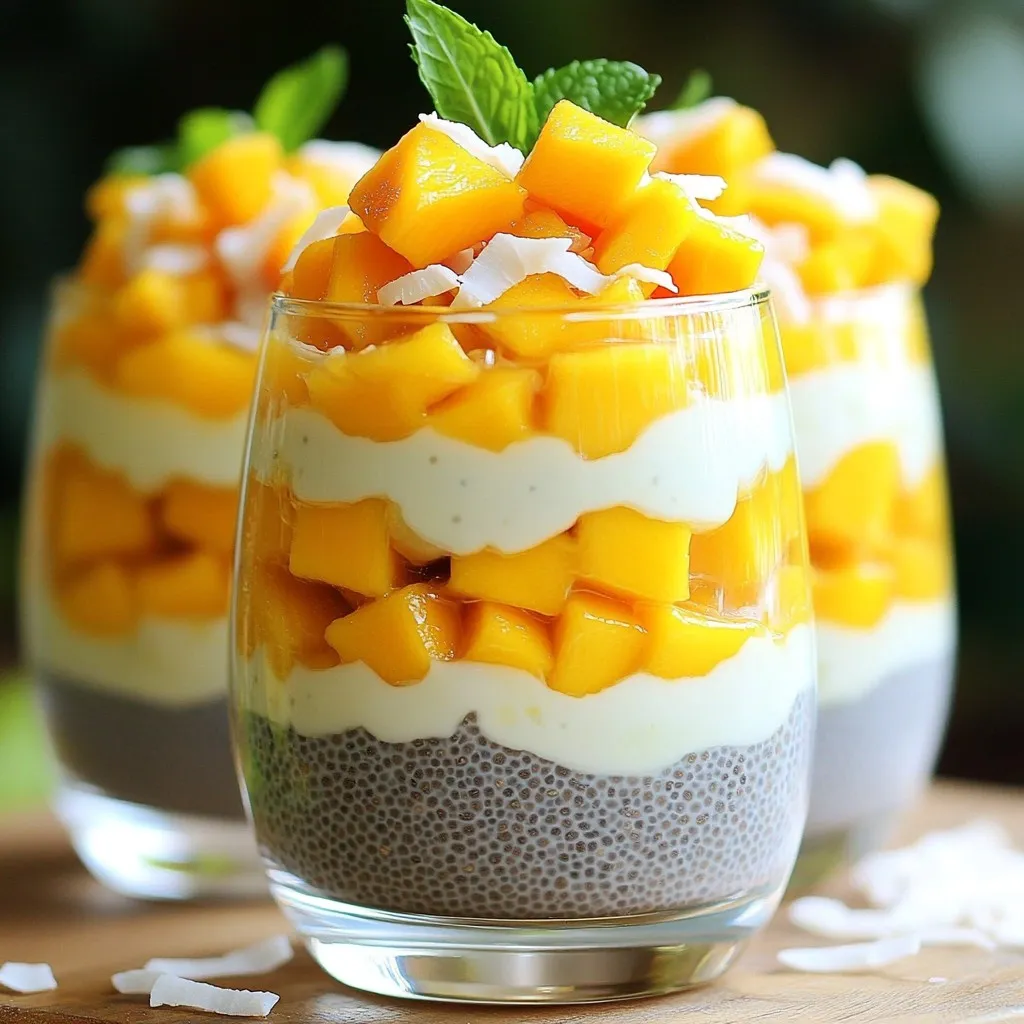
Ingredient Mango Coconut Chia Pudding Delight
Get ready for a tropical treat with my Mango Coconut Chia Pudding Delight! This easy dish combines creamy coconut milk, juicy mango, and crunchy chia
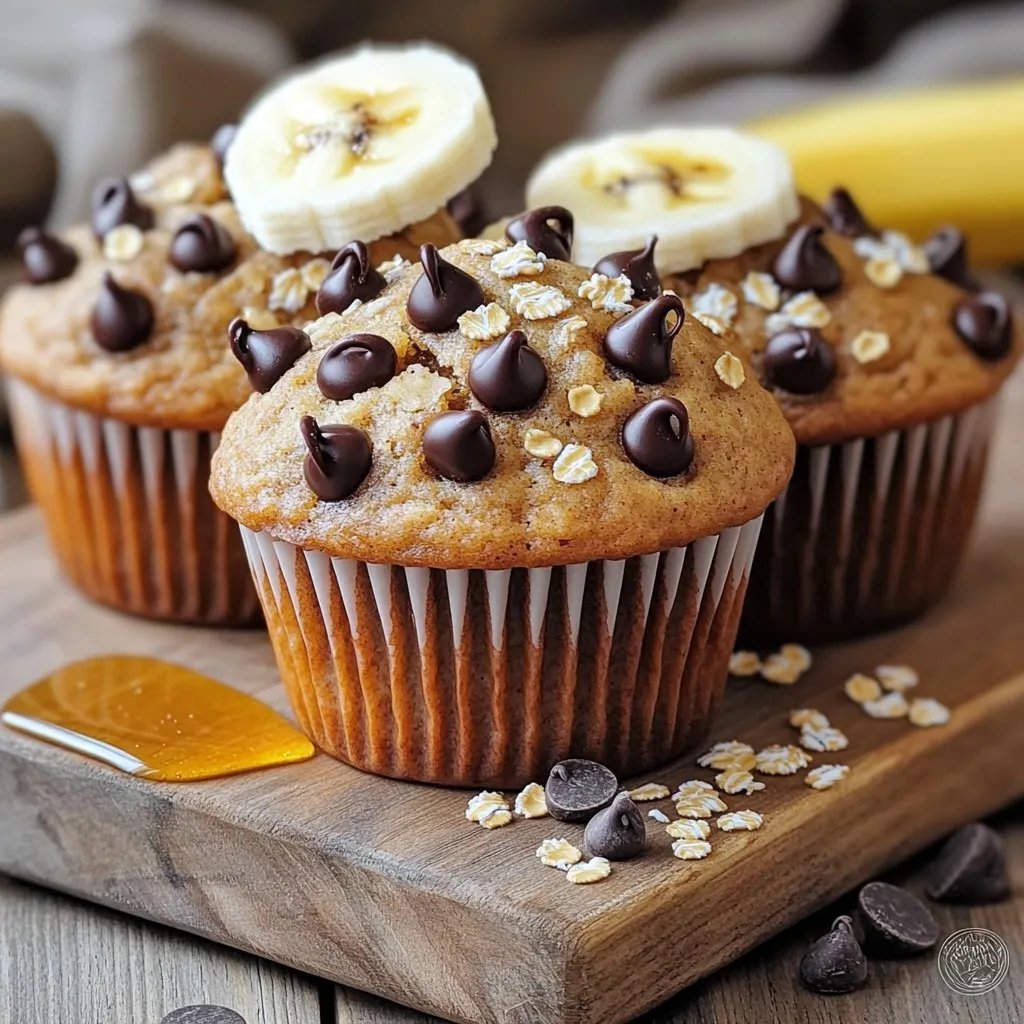
Chocolate Chip Banana Oat Blender Muffins Delight
Are you ready to whip up a tasty treat? These Chocolate Chip Banana Oat Blender Muffins are simple, healthy, and oh-so-delicious! I’ll guide you through
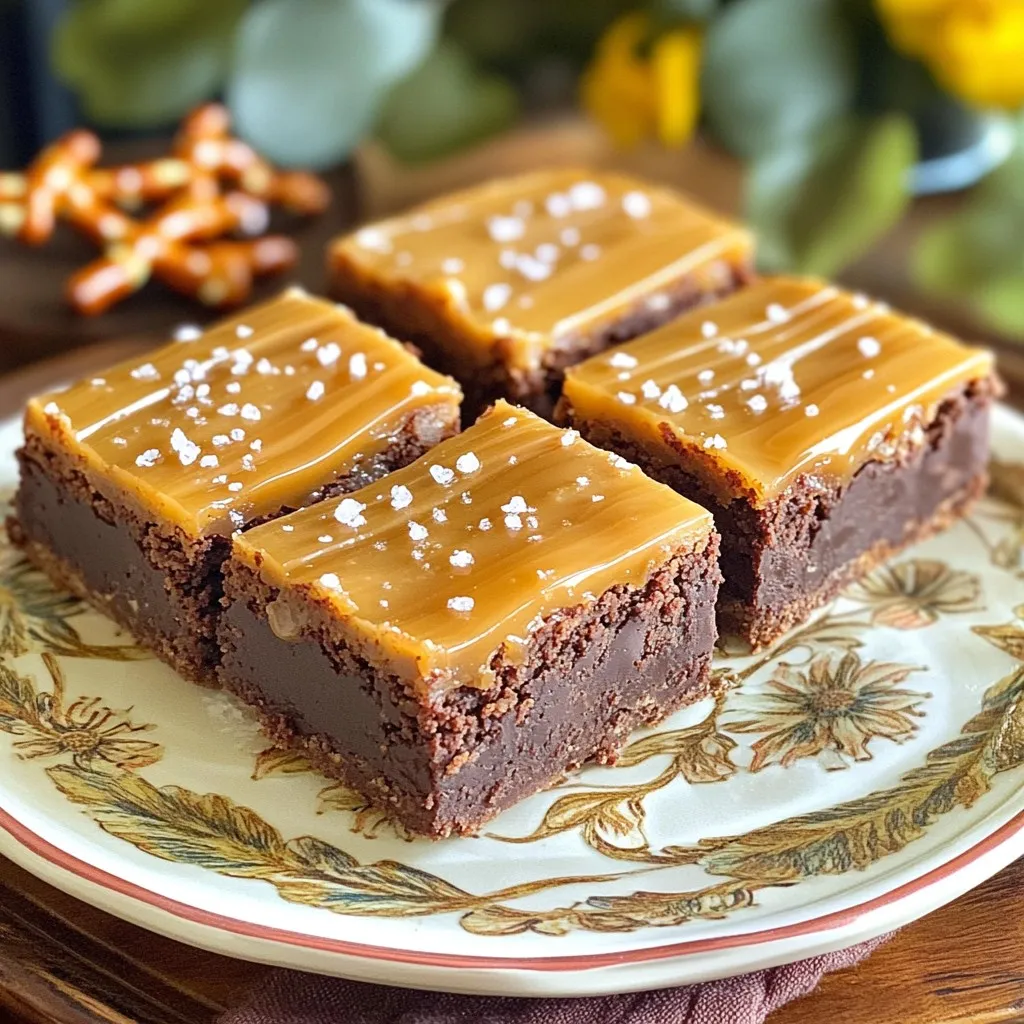
Salted Caramel Pretzel Brownie Bars Irresistible Treat
Are you ready to indulge in a sweet treat that combines rich brownies, crunchy pretzels, and smooth caramel? My Salted Caramel Pretzel Brownie Bars are
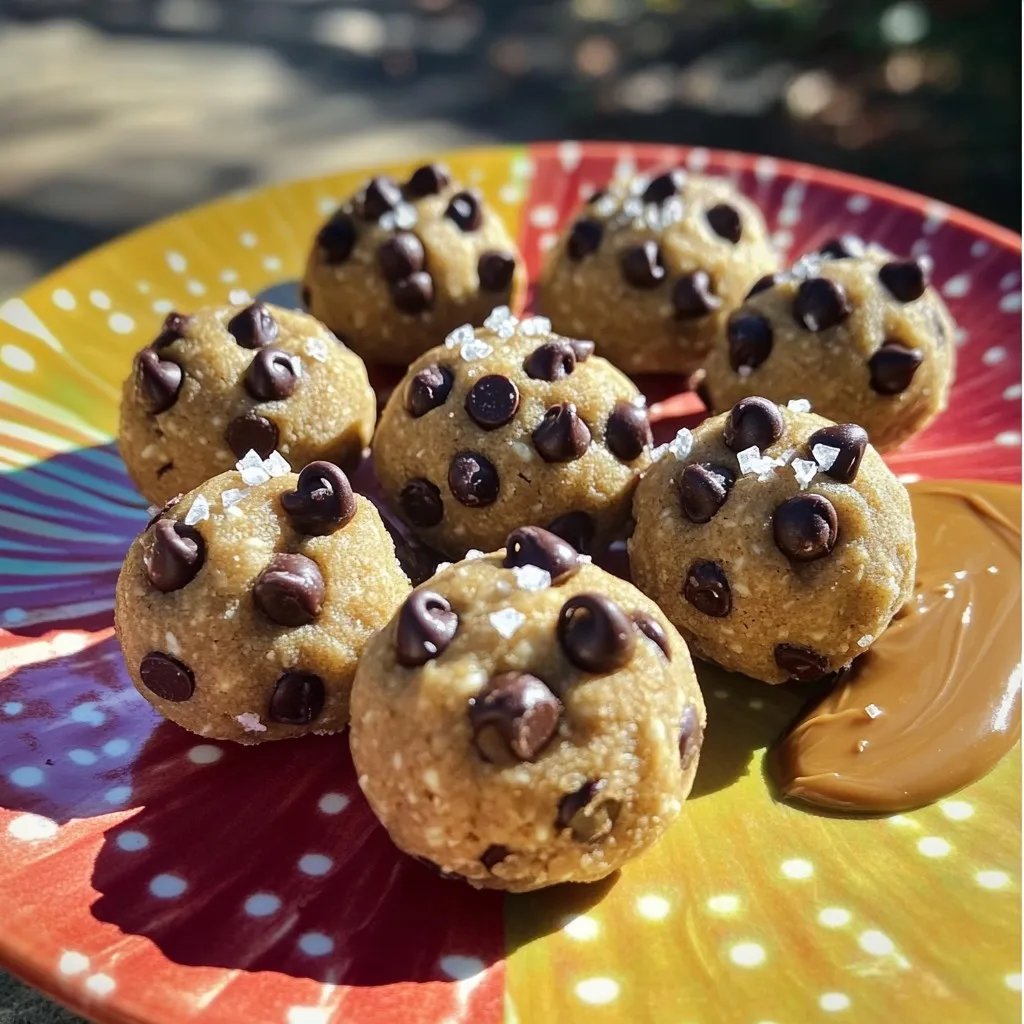
High-Protein Chocolate Chip Cookie Dough Bites Recipe
Craving a sweet treat that packs a protein punch? You’re in the right place! In this post, I’ll show you how to make delicious, high-protein

No-Bake Strawberry Cheesecake Jars Simple Delight
Welcome to a sweet escape! In this post, I’ll share my simple recipe for No-Bake Strawberry Cheesecake Jars. You’ll discover how easy it is to
Mango Coconut Chia Pudding Delightful and Simple Recipe
Craving a fresh, tasty treat that’s both healthy and super simple? You’ll love this Mango Coconut Chia Pudding! With its creamy coconut milk and sweet
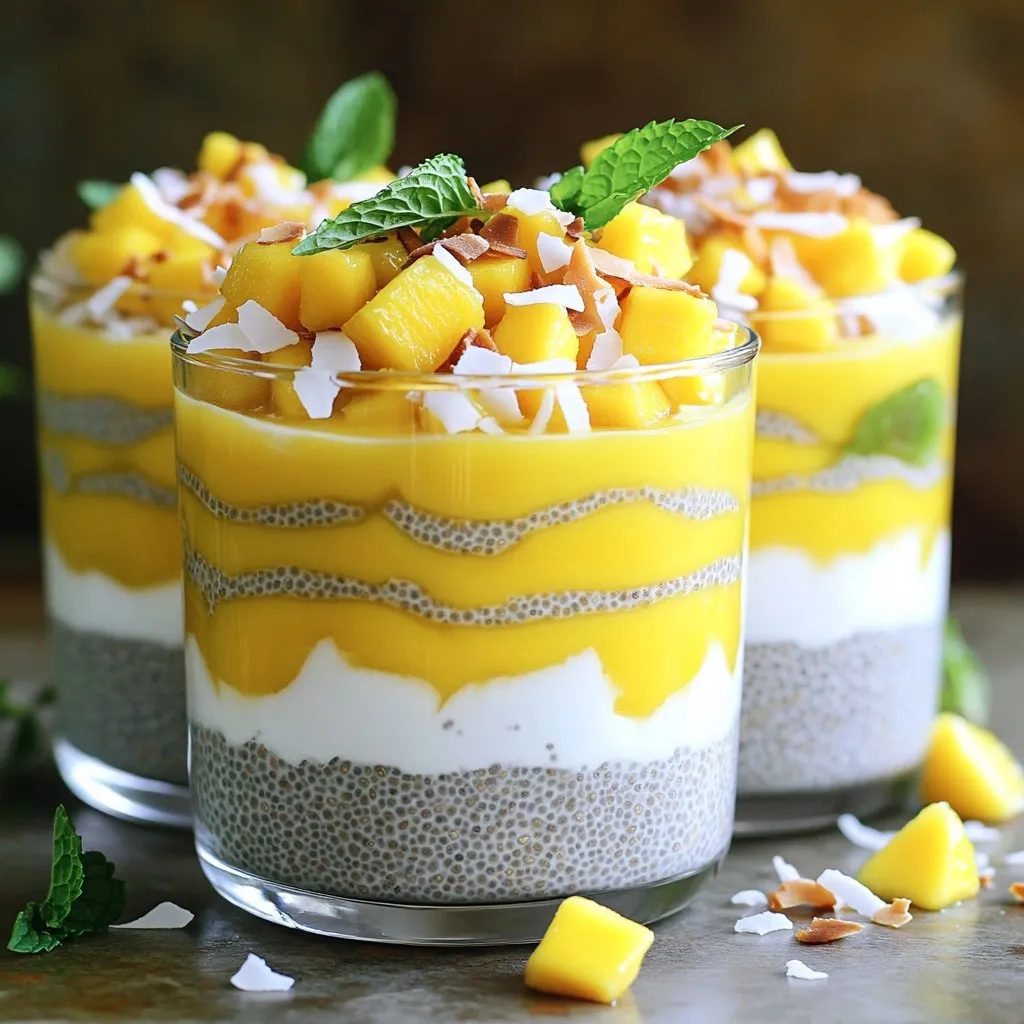
Mango Coconut Chia Pudding Easy and Healthy Recipe
Are you ready to enjoy a delicious and healthy treat? Mango Coconut Chia Pudding is easy to whip up and packed with flavor. In this