Desserts
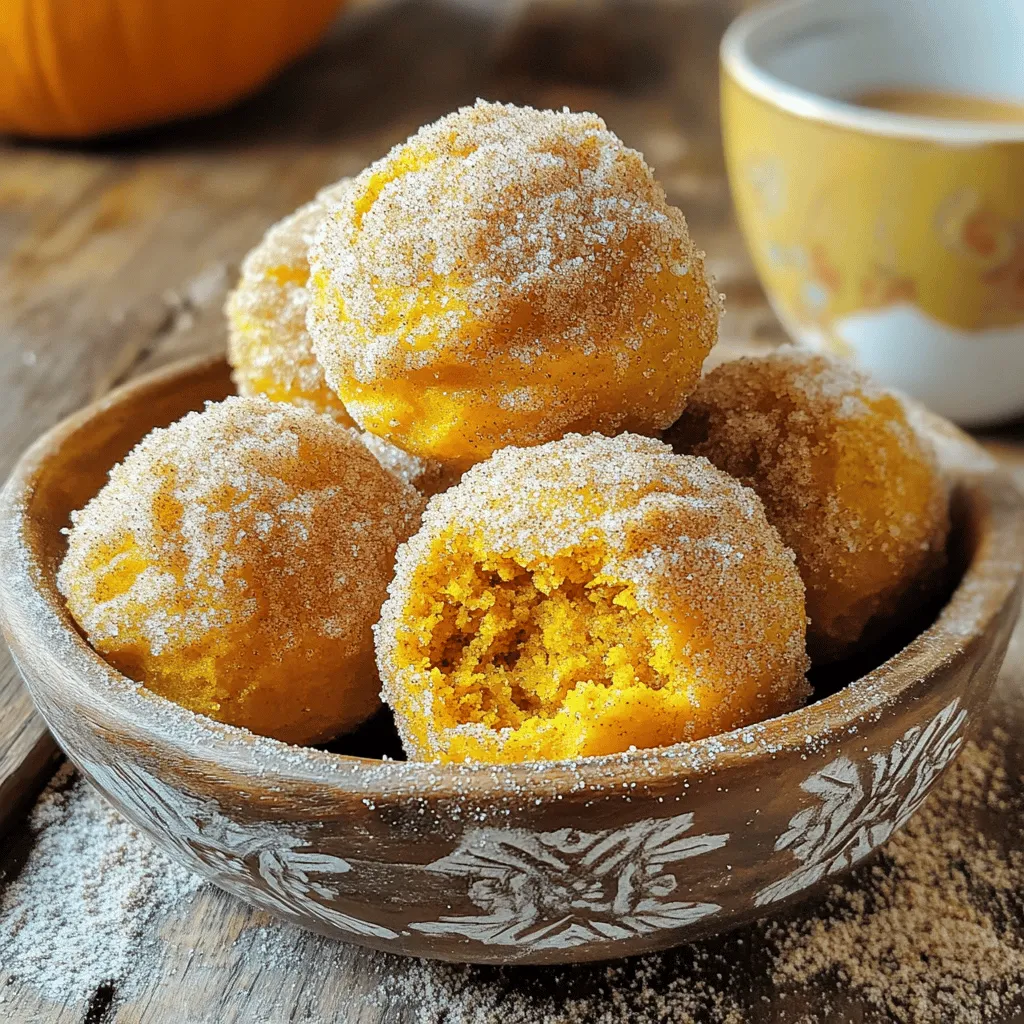
Cinnamon Sugar Pumpkin Donut Holes Simple Delight
Fall’s favorite treat just got easier! These Cinnamon Sugar Pumpkin Donut Holes are the perfect blend of sweet and spice. You’ll love how simple they
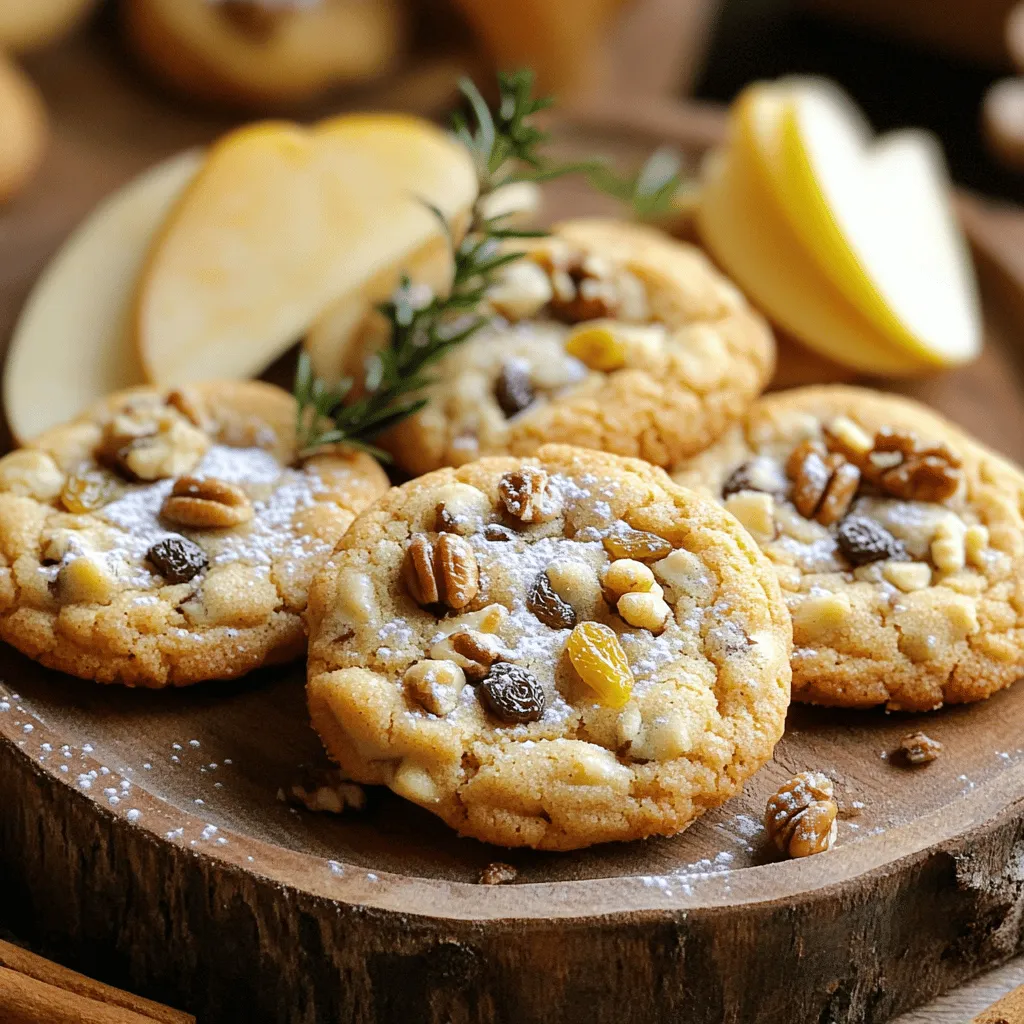
Savory Apple Butter Cookie Delightful Baking Recipe
Are you ready to bake something special? This delightful Apple Butter Cookie recipe will warm your heart and stomach. With cozy flavors and a soft
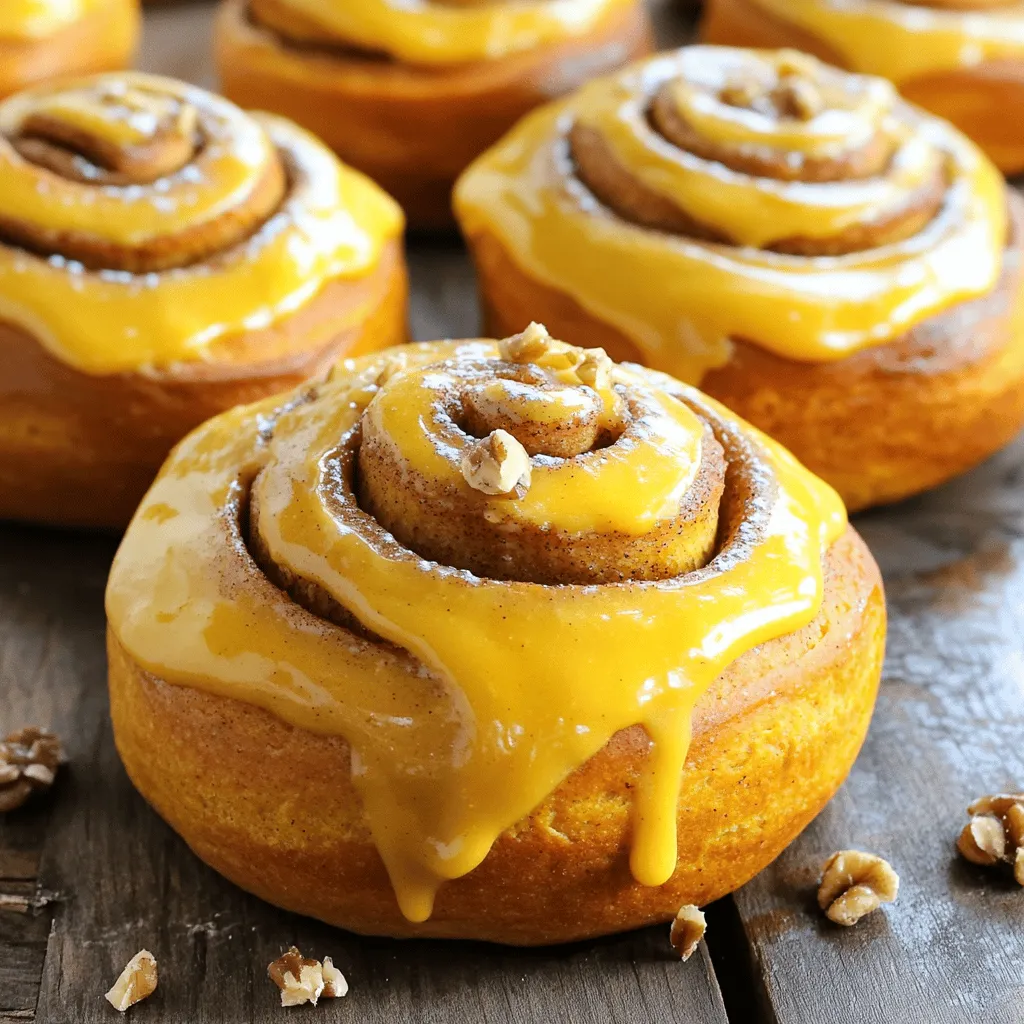
Pumpkin Cinnamon Rolls Savory and Sweet Delight
Get ready to enjoy a cozy treat with my Pumpkin Cinnamon Rolls! This recipe is a blend of sweet pumpkin and warm spices that will
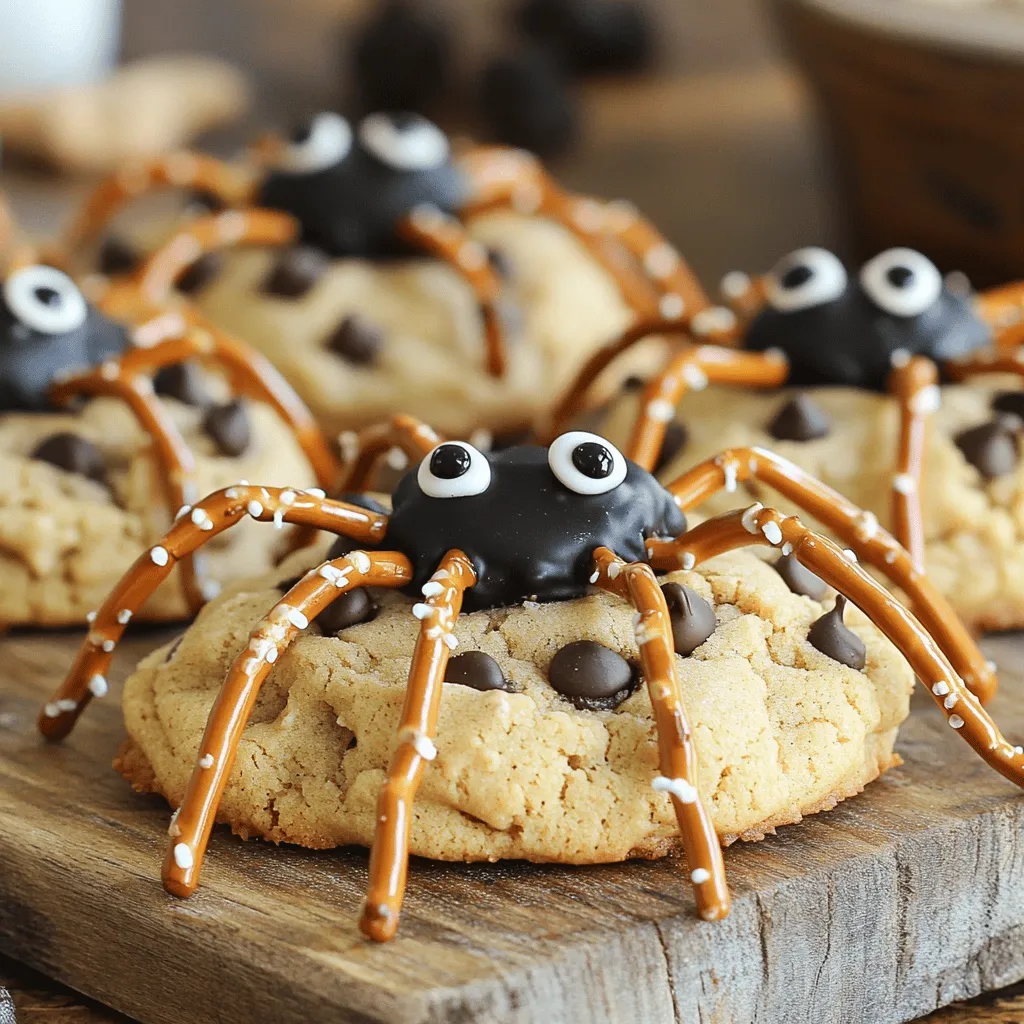
Easy Peanut Butter Spider Cookies Fun and Delightful Treat
Want to bake something fun and simple? These Easy Peanut Butter Spider Cookies are perfect! You’ll love how quickly you can whip them up for
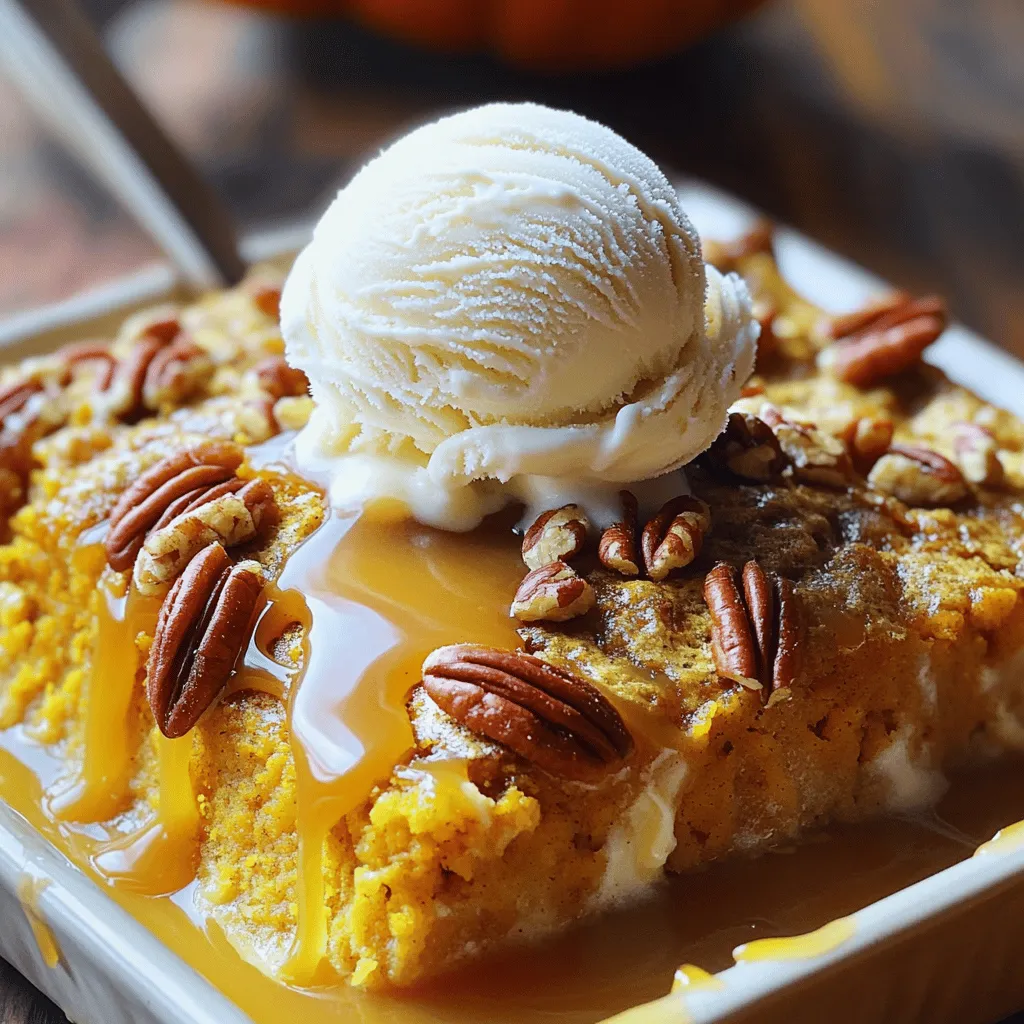
Homemade Pumpkin Pecan Cobbler Irresistible Fall Treat
Craving a warm and cozy dessert this fall? Look no further! Homemade Pumpkin Pecan Cobbler is the perfect treat to satisfy your sweet tooth. It
![- 1 ½ cups all-purpose flour - 1 teaspoon baking soda - ½ teaspoon baking powder - 1 teaspoon ground cinnamon - ½ teaspoon ground nutmeg - ¼ teaspoon ground ginger - ½ teaspoon salt - ½ cup granulated sugar - ½ cup brown sugar, packed - 1 cup canned pumpkin puree - ½ cup vegetable oil - 2 large eggs - 1 teaspoon vanilla extract - 4 oz cream cheese, softened - 2 tablespoons powdered sugar - 1 tablespoon lemon juice (optional for flavor) The key to making these pumpkin cream cheese muffins great is the balance of flavors. The dry ingredients mix spices like cinnamon and nutmeg with flour. These spices give the muffins warmth. The wet ingredients add sweetness and moistness. The canned pumpkin puree is essential. It keeps the muffins soft and rich. The cream cheese filling adds a fun surprise. It gives each muffin a creamy, tangy center. Mixing lemon juice with the cream cheese brightens the flavor. This step is optional but recommended. Gathering these ingredients is easy. You can find most in your kitchen or local store. The full recipe shows how to combine them for perfect muffins. Each bite will be soft, spiced, and delicious. - Preheat the oven to 350°F (175°C). - Line the muffin tin with paper liners or grease the cups. - In a medium bowl, combine the dry ingredients: flour, baking soda, baking powder, cinnamon, nutmeg, ginger, and salt. Set this aside for later. - In a large bowl, mix the wet ingredients: granulated sugar, brown sugar, pumpkin puree, vegetable oil, eggs, and vanilla extract. Stir until smooth. - Gradually add the dry mixture to the wet mixture. Stir gently until just combined. A few lumps are fine. - Fill each muffin cup halfway with the pumpkin batter. Add a teaspoon of the cream cheese filling in the center of each muffin. Then, cover with more pumpkin batter until the cups are about ¾ full. - Place your muffin tin in the preheated oven. Bake for 18-20 minutes. Check for doneness with a toothpick. It should come out clean. - Let the muffins cool in the pan for about 5 minutes. Then, transfer them to a wire rack to cool completely. These muffins are rich in flavor and perfect for any time of the day. You can find the full recipe for Pumpkin Cream Cheese Muffins in the previous section. To keep your muffins moist, mix carefully. Overmixing adds air, which can dry them out. Stir just until the dry ingredients blend with the wet ones. A few lumps are okay; they won't harm the final product. After baking, let the muffins cool in the pan for five minutes. This short wait allows the muffins to set and helps keep them soft. Accurate oven temperature is key. An oven that runs hot can burn your muffins. Use an oven thermometer to ensure accuracy. For even cooking, use a light-colored muffin tin. Dark pans can cause the bottoms to cook faster than the tops. To make your muffins look special, dust them with powdered sugar. Use a small sieve for a light touch. This adds a nice look and a hint of sweetness. Serve muffins warm on a rustic wooden board. Add fall leaves for a seasonal charm. This simple touch makes your muffins more inviting and festive. For the full recipe, refer to the previous sections to guide your baking journey! {{image_2}} You can make these muffins gluten-free with a few swaps. Use a gluten-free all-purpose flour blend. Look for one that includes xanthan gum, as it helps with texture. You can also substitute baking powder with baking soda and cream of tartar. This keeps the muffins light and fluffy. To make these muffins vegan, replace the eggs with flax eggs. Mix 1 tablespoon of ground flaxseed with 2.5 tablespoons of water. Let it sit for five minutes to thicken. For the cream cheese filling, use a dairy-free cream cheese. Almond or cashew cream cheese works well for this recipe. Want to spice things up? Add ½ cup of chopped nuts like walnuts or pecans. They add a nice crunch. You can also mix in chocolate chips for a sweet twist. Dark chocolate pairs well with pumpkin. Dried cranberries or raisins can add a fruity flavor too. For the complete recipe, check out the [Full Recipe]. To store your muffins at room temperature, place them in an airtight container. They stay fresh for two to three days. You can also wrap them in plastic wrap. This helps keep moisture in. Avoid leaving them in a warm place. Heat can make them dry out quickly. For long-term storage, freezing is your best option. First, let the muffins cool completely. Then, wrap each muffin in plastic wrap. After that, place them in a freezer bag. They can last for up to three months in the freezer. When you're ready to enjoy them, just take out what you need. To reheat muffins, you have a few options. The oven works great for even heating. Preheat it to 350°F (175°C) and bake for about 10 minutes. If you're in a hurry, the microwave is faster. Heat each muffin for about 15-20 seconds. Just be careful not to overheat. You want them warm, not hot! For the best taste, enjoy them fresh after reheating. For the full recipe, check the details above. To help your muffins rise, use fresh baking powder and baking soda. These ingredients create bubbles in the batter, which makes the muffins fluffy. Make sure you measure them correctly. Too much or too little can change everything. Also, mix your batter gently. Overmixing can make the muffins dense. Yes, you can use fresh pumpkin! Fresh pumpkin gives a nice taste. However, it takes more time to cook and prepare. Canned pumpkin is easy and quick. It also has a smooth texture that works well in baking. In the end, both options are tasty, but choose what fits your time. Look for a few signs to check if your muffins are done. First, the tops should be golden brown. Second, a toothpick inserted in the center should come out clean. Lastly, the muffins should spring back when you touch them lightly. Trust these signs to get perfect muffins every time. You can make these muffins healthier by reducing sugar and fat. Try using applesauce instead of some oil. This keeps them moist with less fat. You can also cut back on sugar. Using honey or maple syrup can add natural sweetness. These small changes will still keep your muffins delicious. You can find the complete recipe for Pumpkin Cream Cheese Muffins [here](#). You now have a simple guide to make delicious pumpkin cream cheese muffins. We covered essential ingredients, detailed steps, and tips to ensure they are moist and tasty. Don’t forget possible variations and storage tips, plus answers to common questions. These muffins are a great treat any time. By following this guide, you can impress your family and friends with your baking skills. Enjoy baking and tasting your tasty treats!](https://tossedrecipes.com/wp-content/uploads/2025/08/703225b8-1d61-4271-8d61-8430de6e1d7e.webp)
Pumpkin Cream Cheese Muffins Irresistibly Delicious Treat
If you love the rich flavors of fall, you’ll adore my Pumpkin Cream Cheese Muffins. These muffins are soft, packed with spices, and have a
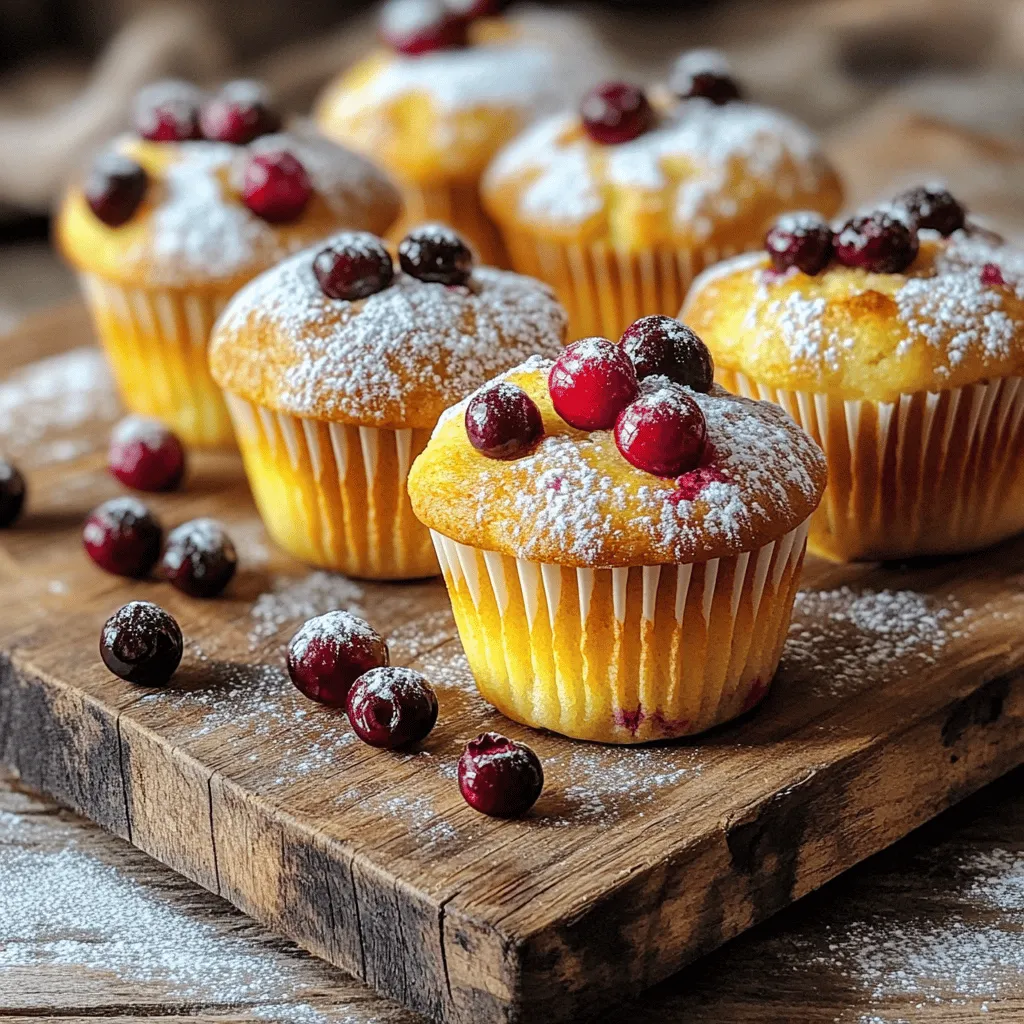
Easy Huckleberry Muffin Recipe Quick and Tasty Treat
Looking for a quick and tasty treat? This Easy Huckleberry Muffin Recipe is just for you! With fresh or frozen huckleberries, you can whip up
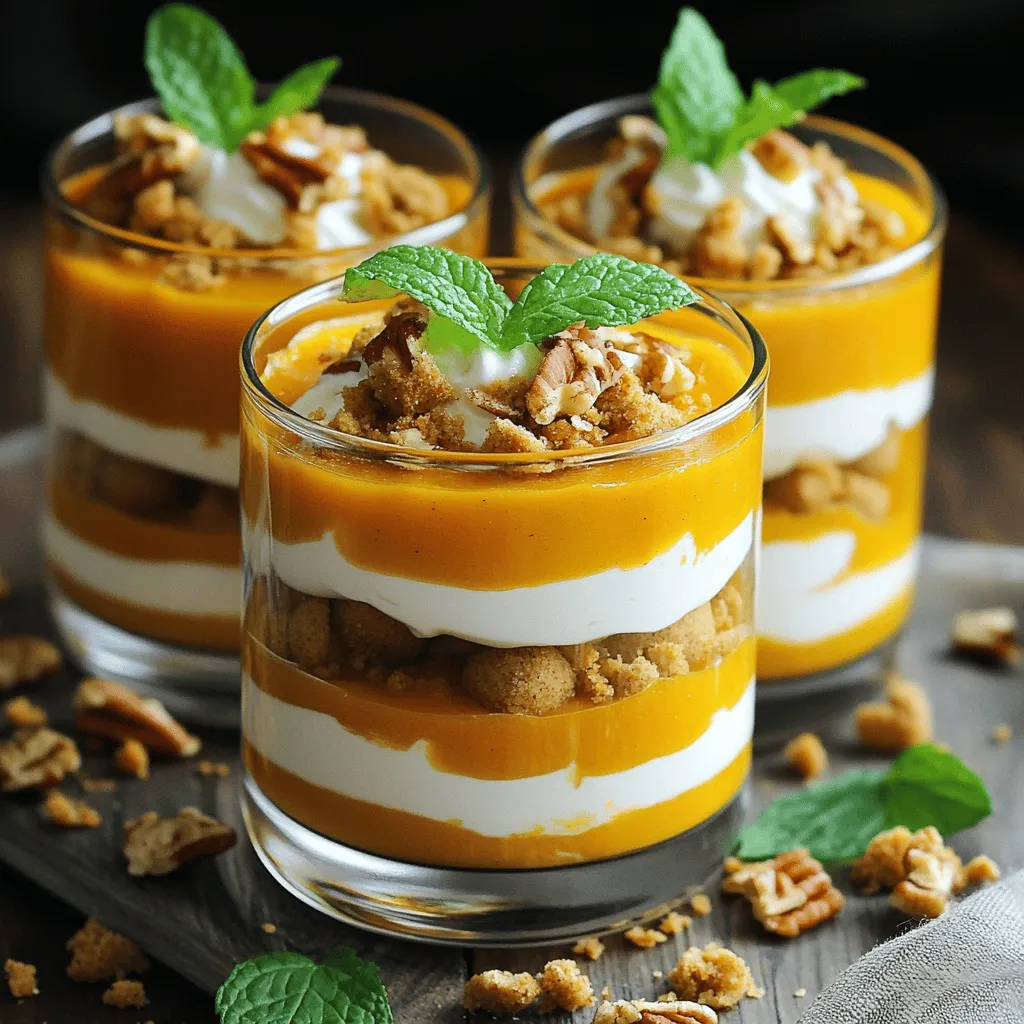
Pumpkin Delight Dessert Irresistible Sweet Treat
Looking for a dessert that brings joy to your fall gatherings? You’ll love Pumpkin Delight Dessert! This delicious treat combines creamy pumpkin with delightful layers,
![To make gingerbread donuts, you need key ingredients that create rich flavor. Here’s what you will use: - 1 cup all-purpose flour - 1/2 cup brown sugar, packed - 1 tsp baking powder - 1/2 tsp baking soda - 1/2 tsp salt - 1 tsp ground ginger - 1 tsp ground cinnamon - 1/4 tsp ground nutmeg - 1/4 tsp ground cloves - 1/2 cup molasses - 1/4 cup buttermilk (or milk mixed with 1 tsp vinegar) - 1 large egg - 1/4 cup unsalted butter, melted These ingredients blend together to make the donuts soft and tasty. Cinnamon sugar adds a sweet touch to your donuts. For this, you will need: - 1/4 cup granulated sugar - 1 tsp ground cinnamon Mixing these two creates a delightful coating that enhances the flavor. If you lack some ingredients, don’t worry. You can make easy swaps. For instance, if you don't have molasses, you can use honey or maple syrup. If you want a dairy-free option, replace buttermilk with almond milk or coconut milk mixed with a bit of vinegar. Lastly, for those who prefer a nut-free choice, leave out ground cloves or replace them with more cinnamon. For the complete recipe, check out the Full Recipe. To make the batter, start by preheating your oven to 350°F (175°C). This step is key for a perfect bake. Grease your donut pan with non-stick spray to prevent sticking. In a large bowl, mix together the dry ingredients. Combine 1 cup of all-purpose flour, 1/2 cup of packed brown sugar, 1 tsp of baking powder, 1/2 tsp of baking soda, 1/2 tsp of salt, 1 tsp of ground ginger, 1 tsp of ground cinnamon, 1/4 tsp of ground nutmeg, and 1/4 tsp of ground cloves. Whisk these ingredients until they blend well. In another bowl, combine 1/2 cup of molasses, 1/4 cup of buttermilk, 1 large egg, and 1/4 cup of melted unsalted butter. Whisk until the mixture is smooth. Pour the wet mixture into the dry mixture. Stir gently until just combined. Don’t worry about a few lumps; they are fine. This helps keep your donuts soft. Once your batter is ready, it’s time to fill the donut pan. You can use a piping bag or a zip-top bag with a corner snipped to make this easier. Fill each donut cavity about 2/3 full. This allows room for the donuts to rise without overflowing. Bake them in the preheated oven for 10-12 minutes. To check if they are done, insert a toothpick into the center. If it comes out clean, they are ready. While the donuts bake, mix together your cinnamon sugar. In a shallow bowl, combine 1/4 cup of granulated sugar with 1 tsp of ground cinnamon. Set this aside. Once the donuts are baked, let them cool for a few minutes in the pan. Then, transfer them to a wire rack to cool completely. While they are still warm, brush each donut lightly with melted butter. This step makes the cinnamon sugar stick better. Then, dip each donut into the cinnamon sugar mixture. Make sure they are fully coated for that sweet crunch. Now you have delightful gingerbread donuts with a sweet cinnamon sugar coating! Enjoy making these treats with the full recipe for more details. To get soft and fluffy gingerbread donuts, mix the batter gently. Over-mixing can make them dense. You want a few lumps in the batter. This method keeps the donuts light. The right oven temperature also matters. Make sure it’s preheated to 350°F (175°C). This helps the donuts rise nicely. Want to boost the flavor? Try adding a splash of vanilla extract to the wet mix. It pairs well with the spices. You can also use fresh ginger for a zingy twist. If you love a spicy kick, add more ground ginger or cinnamon. This will make the donuts even more aromatic and tasty. One common mistake is not greasing the donut pan. If you skip this step, the donuts stick. Another mistake is using old spices. Fresh spices make a big difference in flavor. Also, don’t open the oven door too soon. This can cause the donuts to sink. Follow the baking time closely for the best results. For the perfect gingerbread donuts, check the Full Recipe for detailed steps. Enjoy your baking! {{image_2}} You can change the flavor of your gingerbread donuts by adding different spices. Try adding cardamom for a floral hint. Nutmeg brings warmth, while allspice can deepen the taste. Each spice adds a unique twist to your donuts. Start by using half a teaspoon of your chosen spice. Adjust according to your taste. Cinnamon sugar is delicious, but you can top your donuts in many ways. Consider a simple glaze made from powdered sugar and milk. You can also use melted chocolate for a rich treat. For a fruity touch, add a drizzle of lemon icing. Each topping transforms the donuts into something new and exciting. If you need gluten-free donuts, swap all-purpose flour with a gluten-free mix. Make sure to check the blend for proper binding. For a dairy-free version, use almond milk or coconut milk instead of buttermilk. You can replace butter with coconut oil or a dairy-free spread. This way, everyone can enjoy these tasty treats! For the full recipe, check out the Gingerbread Donuts with Cinnamon Sugar section above. To keep your gingerbread donuts fresh, store them in an airtight container. Place a piece of parchment paper between layers to prevent sticking. They can last up to three days at room temperature. If you want them to last longer, consider refrigerating them. In the fridge, they stay good for about a week. To enjoy your gingerbread donuts warm, simply pop them in the microwave for about 10-15 seconds. This warms them up without drying them out. If you prefer a crispier texture, you can reheat them in an oven set to 350°F (175°C) for about 5 minutes. You can freeze gingerbread donuts for later enjoyment. Once cooled, wrap each donut tightly in plastic wrap. Then place them in a freezer bag or container. They can stay fresh for up to three months. When you are ready to eat them, thaw them in the fridge overnight. For a fresh taste, reheat them as mentioned above. Enjoy your gingerbread donuts with cinnamon sugar anytime! For the complete process, check out the Full Recipe. Yes, you can prepare these donuts ahead of time. Bake the donuts and let them cool completely. Then, store them in an airtight container at room temperature for up to three days. You can also freeze them for up to a month. Just remember to coat them with cinnamon sugar after reheating. This keeps them fresh and tasty. Serve gingerbread donuts warm for the best taste. They pair well with hot coffee or tea. For a festive touch, arrange them on a nice plate. Sprinkle extra cinnamon sugar around the donuts for a beautiful presentation. You can also add a dollop of whipped cream or a scoop of ice cream for a fun twist. To check if the donuts are fully baked, insert a toothpick into the center of one. If it comes out clean or with a few crumbs, they are done. If it has wet batter on it, bake for a few more minutes. Keep an eye on them to avoid overbaking. Trust me, knowing when they’re done is key to keeping them soft and moist. For the full recipe, visit [Full Recipe]. You’ve learned the key ingredients and steps for making gingerbread donuts. You now know how to coat them and add fun flavors. Remember to avoid common mistakes for the best texture. Feel free to try different spices and toppings. By following these tips, you can make delicious donuts to enjoy fresh or later. I hope you have fun baking and sharing these treats!](https://tossedrecipes.com/wp-content/uploads/2025/08/7858c333-2397-469b-9223-58792ef956f1.webp)
Gingerbread Donuts with Cinnamon Sugar Delight
Craving a warm treat for the holidays? Look no further! These Gingerbread Donuts with Cinnamon Sugar will warm your heart and delight your taste buds.
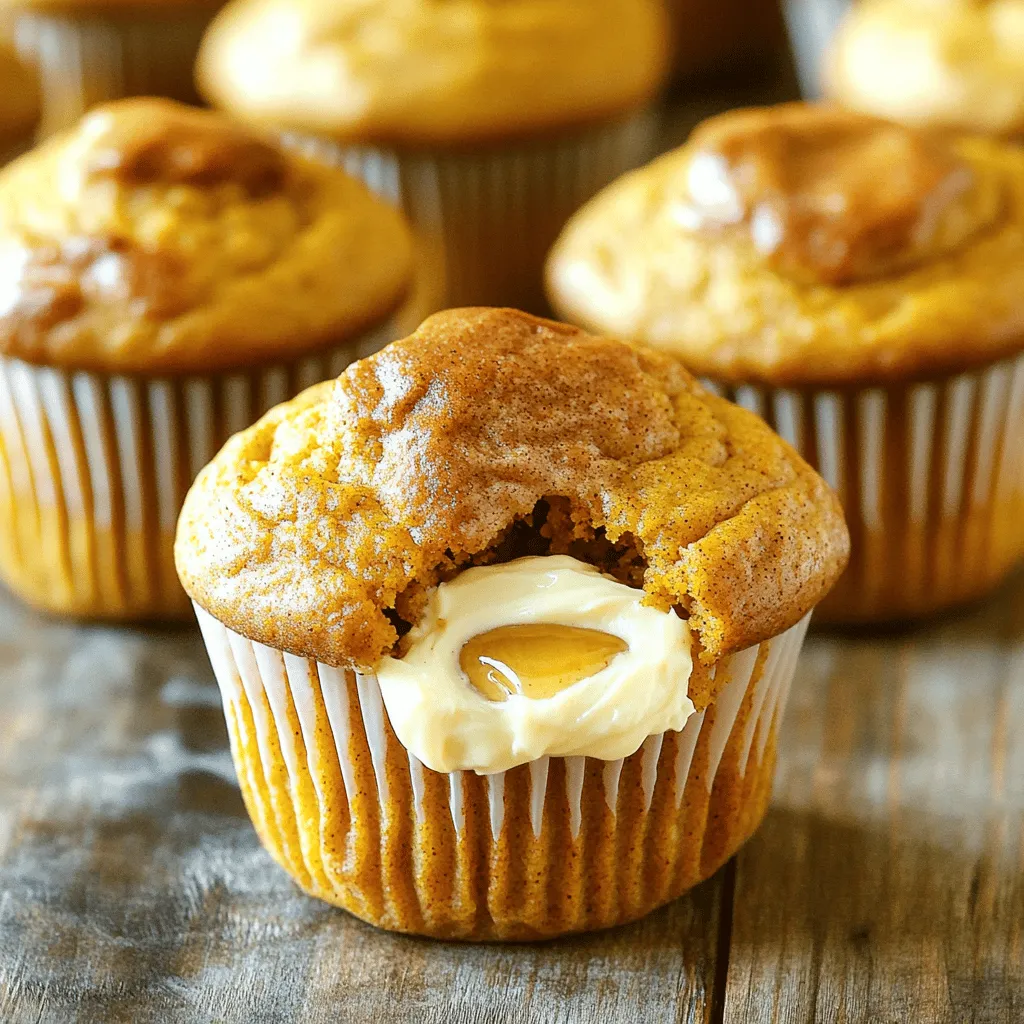
Pumpkin Muffins with Maple Cream Cheese Filling Recipe
Warm, spiced pumpkin muffins with a sweet maple cream cheese filling make fall feel magical. You’ll love how simple they are to bake! In this