Desserts
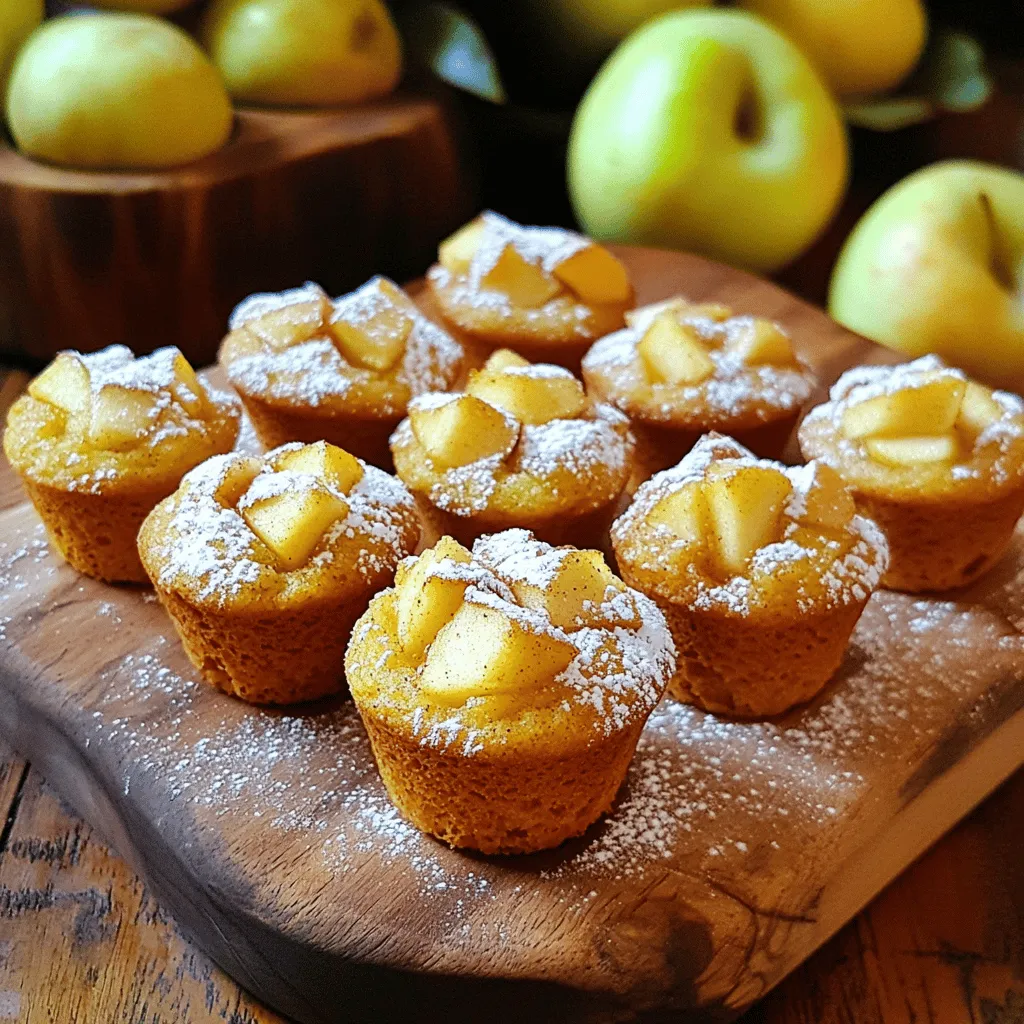
Salted Apple Maple Munchkins Irresistible Bite-Sized Treats
Craving a sweet yet salty snack? Get ready for Salted Apple Maple Munchkins, your new favorite treat! These bite-sized goodies blend tender apples with rich
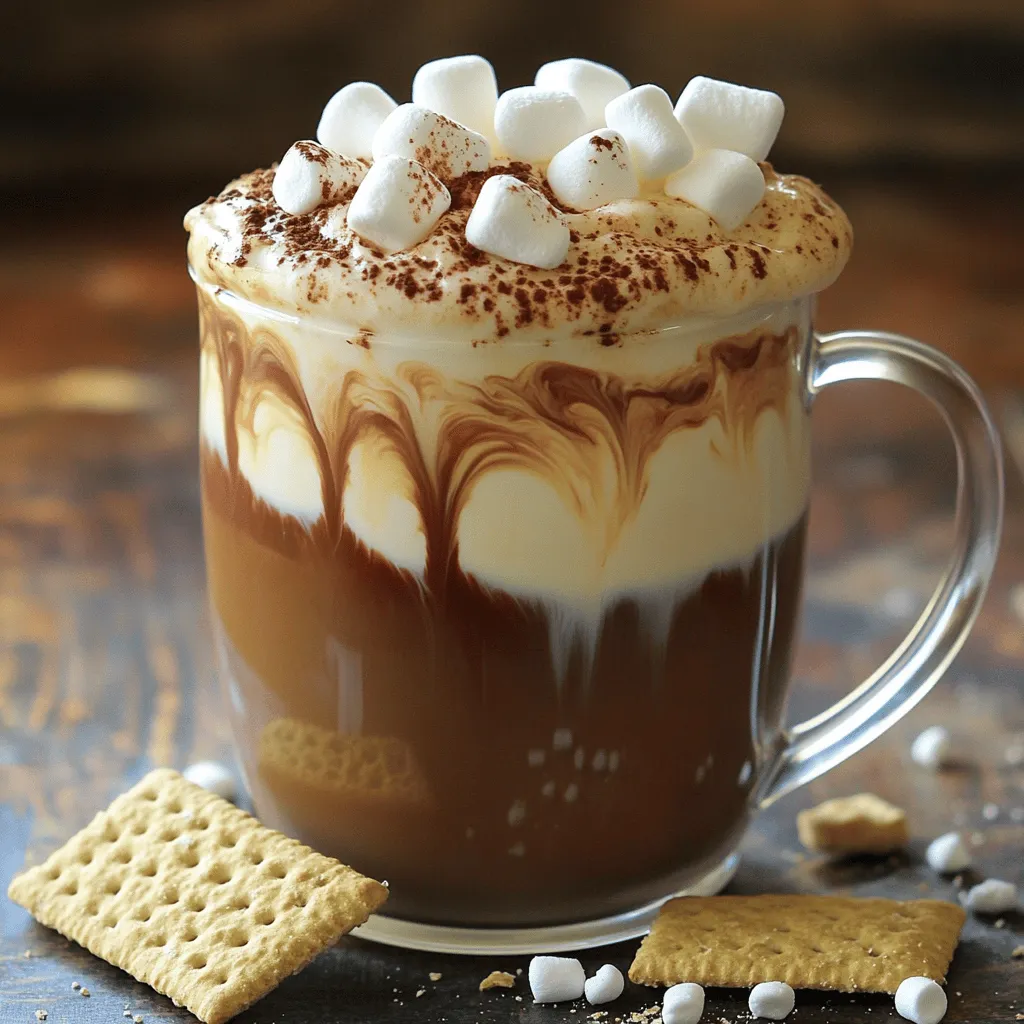
Campfire S’mores Latte Tasty and Simple Recipe
Are you craving the sweet, smoky taste of a campfire? Look no further! My Campfire S’mores Latte recipe blends rich coffee, creamy milk, and delightful
![To make your pumpkin spice donuts, gather the following ingredients: - 1 cup all-purpose flour - 1/2 cup pumpkin puree - 1/4 cup granulated sugar - 1/4 cup brown sugar, packed - 1/2 teaspoon baking powder - 1/2 teaspoon baking soda - 1 teaspoon pumpkin pie spice - 1/2 teaspoon cinnamon - 1/4 teaspoon salt - 1/2 cup Greek yogurt - 1 large egg - 1 teaspoon vanilla extract - 2 tablespoons melted coconut oil - For the glaze: 1 cup powdered sugar, 2 tablespoons milk, and a pinch of cinnamon Each ingredient plays a role in making these donuts soft and tasty. The pumpkin puree adds moisture and flavor. The sugars give sweetness, and the spices bring warmth. You also need yogurt for richness. The baking powder and baking soda help the donuts rise. For the glaze, the powdered sugar makes it sweet and smooth. The milk helps it spread nicely. A pinch of cinnamon adds a lovely touch. If you want to see the full recipe, check out the [Full Recipe]. Gather these ingredients, and you will be ready to make some delicious pumpkin spice donuts! First, you need to preheat your oven to 350°F (175°C). This step ensures the donuts bake evenly. Next, lightly grease your donut pan with a bit of coconut oil or cooking spray. This will help the donuts pop out easily after baking. In a mixing bowl, whisk together the following dry ingredients: - 1 cup all-purpose flour - 1/2 teaspoon baking powder - 1/2 teaspoon baking soda - 1 teaspoon pumpkin pie spice - 1/2 teaspoon cinnamon - 1/4 teaspoon salt Mix these well. This blend of flour and spices adds flavor and structure to the donuts. In another bowl, mix the wet ingredients. Combine: - 1/2 cup pumpkin puree - 1/4 cup granulated sugar - 1/4 cup brown sugar, packed - 1/2 cup Greek yogurt - 1 large egg - 1 teaspoon vanilla extract - 2 tablespoons melted coconut oil Stir these until smooth. This mixture adds moisture and richness to your donuts. Now, gradually add the dry ingredients to the wet bowl. Stir gently until just combined. Be careful not to overmix! Overmixing can lead to tough donuts, and nobody wants that. Spoon the batter into your prepared donut pan, filling each cavity about 3/4 full. Bake the donuts in your preheated oven for 10-12 minutes. To check if they are done, insert a toothpick into the center. It should come out clean. After baking, let the donuts cool in the pan for 5 minutes. Then, transfer them to a wire rack to cool completely. While they cool, prepare the glaze by whisking together: - 1 cup powdered sugar - 2 tablespoons milk - A pinch of cinnamon Once the donuts are cool, dip the tops in the glaze. Allow the excess glaze to drip off. Set the glazed donuts aside to let the glaze set. Enjoy your homemade pumpkin spice donuts! For the complete recipe, check out the Full Recipe. - Avoiding overmixing: Overmixing your batter makes donuts tough. Mix just until combined. This keeps them soft and light. - Ensuring even baking: Place your donut pan in the center of the oven. This helps heat circulate evenly. Rotate the pan halfway through baking for uniform results. - Decorative plating ideas: Use a pretty plate to display your donuts. Arrange them in a circle or stack them high for a fun look. - Garnishing tips: Sprinkle a little cinnamon on top. You can also add tiny pumpkin decorations for a festive touch. - Underbaking risks: Make sure to bake the donuts long enough. Insert a toothpick to check. If it comes out clean, they are ready. - Incorrect measuring techniques: Measure your ingredients carefully. Use dry measuring cups for flour and a liquid cup for pumpkin puree. This ensures the right texture and flavor. {{image_2}} To make vegan pumpkin spice donuts, you need to swap out eggs and dairy. For the egg, use a flax egg. Mix one tablespoon of ground flaxseed with three tablespoons of water. Let it sit for a few minutes until it thickens. For dairy, replace Greek yogurt with unsweetened applesauce or a plant-based yogurt. These choices will keep your donuts moist and delicious. If you want gluten-free donuts, choose the right flour. Almond flour or oat flour works well. You can also use a gluten-free all-purpose blend. When using these, you may need to add a bit more baking powder. This helps the donuts rise and stay fluffy. Just remember to check that your flour is certified gluten-free. To make your donuts even tastier, think about adding chocolate chips or nuts. Dark chocolate chips bring a rich flavor that pairs great with pumpkin spice. Walnuts or pecans add a nice crunch. Mix these in gently before spooning the batter into the pan. Your donuts will be extra special this way! For the complete recipe, check out the Full Recipe. To keep your pumpkin spice donuts fresh, follow these tips: - Cool Completely: Before storing, let the donuts cool fully on a wire rack. - Airtight Containers: Use an airtight container to prevent them from drying out. - Layer with Paper Towels: Place paper towels between layers if stacking, to absorb moisture. You can freeze your donuts for longer storage. Here’s how: - Cool First: Ensure donuts are completely cool before freezing. - Wrap Individually: Wrap each donut tightly in plastic wrap. - Use Freezer Bags: Place the wrapped donuts in a freezer bag. To thaw, simply leave them at room temperature for about 1 hour. For best texture, you can warm them in the oven for a few minutes before serving. Enjoy your pumpkin spice donuts anytime! To make pumpkin spice donuts from scratch, first gather your ingredients. You will need flour, pumpkin puree, sugars, and spices. Mix your dry and wet ingredients in separate bowls. Then, combine them carefully without overmixing. Spoon the batter into a greased donut pan. Bake at 350°F for 10 to 12 minutes. Let them cool before glazing. For a detailed guide, check the Full Recipe. If you don’t have pumpkin puree, you can use applesauce or squash puree. Both options provide moisture and sweetness. You can also try using mashed bananas. Keep in mind that each option will change the flavor slightly. Applesauce gives a sweet taste, while squash is more neutral. Yes, you can bake these donuts without a donut pan. Use a regular muffin tin instead. Just fill the muffin cups about halfway. The donuts will be more like muffins, but still tasty. You can also make a freeform shape with parchment paper. Pumpkin spice donuts will last about three days at room temperature. Store them in an airtight container to keep them fresh. If you want them to last longer, you can freeze them. They stay fresh in the freezer for about two months. You can find pumpkin spice donuts at local bakeries, coffee shops, or grocery stores. Many places offer seasonal treats around fall. Check your favorite bakery for their special offerings. You might even find some unique flavors or styles. You now have a clear path to making delicious pumpkin spice donuts. We covered the key ingredients, step-by-step instructions, and helpful tips. You learned how to avoid common mistakes and explore variations like vegan and gluten-free options. Remember, proper storage keeps your donuts fresh longer. Enjoy your baking adventure, and share these treats! They are sure to delight everyone who tries them. Keep experimenting and make these donuts your own!](https://tossedrecipes.com/wp-content/uploads/2025/07/c25a7821-c08c-4cb2-98e9-b19c9ad24756.webp)
Pumpkin Spice Donuts Simple and Tasty Recipe
Fall is the perfect time to indulge in warm, fluffy Pumpkin Spice Donuts. If you love the taste of pumpkin and spices, you’re in for
![To make a fantastic pumpkin cobbler, you need some key ingredients. These components create a warm and comforting dish that screams fall. - 1 can (15 oz) pure pumpkin puree - 1 cup granulated sugar - 1/2 cup packed brown sugar - 1 teaspoon vanilla extract - 2 large eggs - 1 teaspoon ground cinnamon - 1/2 teaspoon ground nutmeg - 1/2 teaspoon ground ginger - 1/4 teaspoon salt - 1 cup all-purpose flour - 1 teaspoon baking powder - 1 cup milk - 1/2 cup unsalted butter, melted Using fresh ingredients matters. Fresh spices bring out vibrant flavors. Pure pumpkin puree gives a rich taste and smooth texture. Always choose the best quality for great results. You can take your pumpkin cobbler to the next level with some optional ingredients. These add-ins can change the flavor and texture. - 1 cup pecans or walnuts, chopped (optional) - Alternative sweeteners like maple syrup or honey Adding nuts gives a nice crunch. You can also mix in some extra spices like cloves or allspice for a unique twist. If you prefer less sugar, try using natural sweeteners. Each option brings a new flair to your cobbler, making it your own. For the full recipe, check out [Full Recipe]. To make the batter, start with a large mixing bowl. Add the pumpkin puree, granulated sugar, brown sugar, and vanilla extract. Mix these ingredients well until they blend into a smooth mixture. Next, add the eggs one at a time. Mix after each egg to ensure it is well combined. Then, stir in the ground cinnamon, nutmeg, ginger, and salt. This adds warmth and spice to your cobbler. Now, take another bowl and whisk together the flour and baking powder. This helps evenly distribute the baking powder. Gradually add this dry mix into the pumpkin mixture. Alternate adding the milk with the flour, starting and ending with the flour. This helps achieve the right consistency. Mix until everything is just combined. You want to avoid over-mixing, which can make the cobbler tough. Prepare your baking dish by greasing it with non-stick spray or butter. This step ensures your cobbler comes out easily. Pour the melted butter into the bottom of the dish first. Then, gently pour the pumpkin batter over the butter. Do not stir! This creates a deliciously crisp bottom layer. If you like, sprinkle chopped pecans or walnuts on top for added flavor. Bake the cobbler in your preheated oven at 350°F (175°C). The baking time is important. You want to bake it for 45 to 55 minutes. Check for doneness by inserting a toothpick in the center. If it comes out clean, your cobbler is ready. Let it cool for at least 15 minutes before serving. This step helps the flavors settle. Enjoy your tasty, warm pumpkin cobbler! For the full recipe, check out the complete guide. One common mistake is mismeasuring ingredients. Always use the right tools, like measuring cups and spoons. Too much or too little sugar can change how sweet your cobbler is. Another key point is not stirring the butter and batter. When you pour the batter over melted butter, do not mix them. This creates a crispy bottom layer that everyone loves. To enhance flavor, add more spices. A touch more cinnamon or nutmeg can boost the taste. Consider adding a splash of maple syrup for a sweet twist. For the perfect texture, make sure not to overmix. Mix until combined, but leave some lumps. This keeps your cobbler light and fluffy. Enjoy your Pumpkin Cobbler warm, topped with vanilla ice cream. It makes the dish even better! For the detailed recipe, check the Full Recipe link. {{image_2}} To make a vegan pumpkin cobbler, you can swap some ingredients. Instead of eggs, use flaxseed meal. Mix 1 tablespoon of flaxseed meal with 2.5 tablespoons of water. Let it sit for a few minutes. This will act as a binder, just like eggs do. For the milk, use almond milk or coconut milk. They add a lovely flavor and keep it creamy. Instead of butter, use coconut oil or vegan butter. These swaps help keep the dish delicious while making it plant-based. If you want a gluten-free version, choose gluten-free flour. A blend of almond flour and coconut flour works well. You can also use a store-bought gluten-free all-purpose flour. Just make sure it has xanthan gum in it. To keep the flavor and texture, mix in a bit of cornstarch. This will help give your cobbler a nice lift. Remember to follow the cooking times carefully. Gluten-free dishes can sometimes need a bit more time to set. Store your pumpkin cobbler in the fridge. Use an airtight container to keep it fresh. You can also cover the dish with plastic wrap or foil. This helps prevent it from drying out. Make sure to cool the cobbler completely before storing. This keeps moisture in and ensures better flavor. If you plan to eat it later, try to finish it within three to four days. To reheat your pumpkin cobbler, use the oven for best results. Preheat the oven to 350°F (175°C). Place the cobbler in an oven-safe dish. Cover it with foil to keep it moist. Heat for about 15 to 20 minutes. You can also use the microwave. Place a piece on a plate and cover it with a damp paper towel. Heat it for 30 seconds at a time until warm. Consider turning leftovers into a new dessert. Add a drizzle of caramel sauce or a scoop of vanilla ice cream. This can make your pumpkin cobbler feel fresh and exciting! You can tell when your Pumpkin Cobbler is done by looking for a few signs. First, check the color. It should be golden brown on top. Next, gently shake the baking dish; the cobbler should be set and not jiggle. The best test is the toothpick test. Insert a toothpick into the center. If it comes out clean, your cobbler is ready! Yes, you can freeze Pumpkin Cobbler! First, let it cool completely. Cut it into slices. Then, wrap each slice tightly in plastic wrap. Place the wrapped slices in a freezer bag. Label the bag with the date. To thaw, take a slice out and leave it in the fridge overnight. You can also reheat it in the oven at 350°F until warmed through. Pumpkin Cobbler tastes great with many toppings. Try serving it with a scoop of vanilla ice cream. Whipped cream also adds a nice touch. For a crunch, sprinkle some chopped nuts on top. For side dishes, consider a simple salad or roasted veggies. They balance the sweet flavors. When it comes to drinks, warm spiced cider goes well with the cobbler. A light coffee or tea also pairs nicely. Enjoy the cozy flavors of fall with these options! In this post, we covered how to make delicious pumpkin cobbler. Fresh ingredients are key for great flavor. Mixing the batter correctly ensures a smooth texture. Avoid common mistakes, like wrong measurements. You can also try vegan or gluten-free variations for more options. Store your leftovers properly to keep them tasty. Enjoy your pumpkin cobbler warm, with your favorite toppings. Remember, cooking is about having fun, so get creative! Happy baking!](https://tossedrecipes.com/wp-content/uploads/2025/07/4467910c-8467-4f3f-b276-13e32b892577.webp)
Pumpkin Cobbler Flavorful Fall Dessert Recipe
Fall is here, and that means it’s time for the ultimate treat: Pumpkin Cobbler! This recipe is your ticket to a warm, spiced dessert that
![To make these tasty baked pumpkin spice donuts, you'll need the following ingredients: - 1 cup pumpkin puree (canned or homemade) - 1/2 cup granulated sugar - 1/2 cup brown sugar - 2 large eggs - 1/4 cup unsweetened applesauce - 1/4 cup vegetable oil - 1 teaspoon vanilla extract - 1 1/2 cups all-purpose flour - 1 teaspoon baking powder - 1/2 teaspoon baking soda - 1 teaspoon ground cinnamon - 1/2 teaspoon ground nutmeg - 1/2 teaspoon ground ginger - 1/4 teaspoon salt - 1/4 teaspoon ground cloves - Optional: powdered sugar or cinnamon sugar for dusting If you prefer using grams, here are some quick conversions: - 1 cup pumpkin puree = 240 grams - 1/2 cup granulated sugar = 100 grams - 1/2 cup brown sugar = 110 grams - 1/4 cup unsweetened applesauce = 60 grams - 1/4 cup vegetable oil = 60 grams - 1 1/2 cups all-purpose flour = 190 grams These conversions can help you measure accurately. When choosing your ingredients, look for these tips: - For pumpkin puree, select the brand with the fewest added ingredients. Pure pumpkin is best. - Choose eggs that are labeled "fresh" for the best taste and texture. - Check the expiration dates on sugar and flour. Freshness matters. - For spices, look for vibrant colors and strong aromas. Old spices lose their flavor. By picking the right ingredients, you’ll ensure your baked pumpkin spice donuts are full of flavor and joy. For the full recipe, refer to the recipe section above. First, I preheat my oven to 350°F (175°C). I use a donut pan and spray it with non-stick cooking spray. If I want easy removal, I choose silicone. Next, I mix the wet ingredients. In a large bowl, I whisk together 1 cup of pumpkin puree, 1/2 cup of granulated sugar, and 1/2 cup of brown sugar. Then, I add 2 large eggs, 1/4 cup of unsweetened applesauce, 1/4 cup of vegetable oil, and 1 teaspoon of vanilla extract. I blend until smooth. In another bowl, I combine the dry ingredients. I whisk together 1 1/2 cups of all-purpose flour, 1 teaspoon of baking powder, 1/2 teaspoon of baking soda, and spices: 1 teaspoon of ground cinnamon, 1/2 teaspoon of ground nutmeg, 1/2 teaspoon of ground ginger, 1/4 teaspoon of salt, and 1/4 teaspoon of ground cloves. I make sure everything is well mixed. Now, I gently add the dry mix to the wet mix. I stir just until combined. I leave a few lumps; overmixing can make the donuts tough. I transfer the batter into a piping bag or a resealable plastic bag. If I use a plastic bag, I cut off one corner. This makes filling the donut pan easier. I fill each cavity about 2/3 full with the batter. Then, I place the pan in the oven and bake for 10-12 minutes. I check the donuts by inserting a toothpick in the center. If it comes out clean, they are ready. Once baked, I pull the pan from the oven. I let the donuts cool in the pan for about 5 minutes. Then, I transfer them to a wire rack to cool completely. If I want to add a sweet touch, I dust them with powdered sugar. Sometimes, I roll them in cinnamon sugar for extra flavor. These baked pumpkin spice donuts are now ready to enjoy! For the full recipe, check here. To keep your donuts moist, use pumpkin puree. It adds moisture and flavor. Applesauce also helps. It replaces some oil while keeping them soft. Make sure not to overmix the batter. Mixing too much can make them dry. Bake them just until a toothpick comes out clean. For perfect donut shapes, use a piping bag. It helps fill the mold evenly. If you don’t have one, a resealable bag works too. Cut a small corner and fill the donut pan. Fill each cavity about 2/3 full. This allows room for rising without spilling. One common mistake is overbaking the donuts. Keep an eye on them near the end of baking. Another mistake is not letting them cool. Cooling them in the pan for a few minutes helps them set. If you try to remove them too soon, they may break. Follow the Full Recipe for best results! {{image_2}} You can take your baked pumpkin spice donuts to the next level by adding toppings. Drizzle melted chocolate on top for a sweet touch. You can use dark, milk, or white chocolate. Chop up nuts, like pecans or walnuts, and sprinkle them on the chocolate. This adds crunch and extra flavor. If you need a gluten-free option, don’t worry! You can use gluten-free flour instead of regular flour. Look for a blend that works well for baking. Almond flour and coconut flour are also great choices. Just remember to adjust the liquid in your batter to keep it moist. Mixing flavors can make your donuts even more exciting. Try a maple glaze for a sweet kick. To make this, combine powdered sugar, maple syrup, and a splash of milk. You can also drizzle caramel sauce over the top. This adds a rich, sweet taste that pairs well with pumpkin spice. For the full recipe, check out the details above. To keep your baked pumpkin spice donuts fresh, store them in an airtight container. This helps to trap moisture and keeps them soft. Place a layer of paper towels at the bottom of the container. This absorbs extra moisture. You can store them at room temperature for up to three days. If you plan to keep them longer, the fridge is a good option. Freezing is a great way to save extra donuts. Allow the donuts to cool completely first. Then, wrap each donut tightly in plastic wrap. Place the wrapped donuts in a freezer-safe bag or container. Label the bag with the date. You can freeze them for up to three months. When you want to enjoy them, just take them out and let them thaw at room temperature. To enjoy your donuts warm, reheating is key. Preheat your oven to 350°F (175°C). Place the donuts on a baking sheet. Heat for about 5 to 7 minutes. This brings back their soft texture. For a quick fix, you can use the microwave. Heat each donut for about 10 to 15 seconds. This warms them up without drying them out. If you want to add a touch of sweetness, sprinkle some cinnamon sugar before serving. Yes, you can use fresh pumpkin. Fresh pumpkin gives a great flavor. To use it, first, roast or steam the pumpkin. Then, scoop out the flesh and mash it. Make sure it is smooth, like canned pumpkin. This will help your donuts stay moist and tasty. You can check if the donuts are done by using a toothpick. Insert the toothpick into the center of a donut. If it comes out clean, your donuts are ready. If it has wet batter on it, bake them for a few more minutes. They usually need 10-12 minutes in the oven. If you need an egg substitute, there are a few good options. You can use 1/4 cup of unsweetened applesauce for each egg. You can also use mashed banana, yogurt, or a flaxseed mixture. To make the flaxseed mixture, mix 1 tablespoon of ground flaxseed with 2.5 tablespoons of water. Let it sit for a few minutes until it gets thick. This will work well in your baked pumpkin spice donuts. For the full recipe, check out the [Full Recipe]. This blog post covered every step to make perfect donuts. We talked about ingredients, prep, baking, and storage. You learned how to pick fresh ingredients and avoid mistakes. Plus, we explored fun variations and answered common questions. Baking donuts can be easy and fun. With these tips, you can impress anyone with your treats. Enjoy your baking journey!](https://tossedrecipes.com/wp-content/uploads/2025/07/266f7fb3-ead8-48a1-84a7-f17712799ea4.webp)
Baked Pumpkin Spice Donuts Delicious Fall Treat
Fall is here, and so is the craving for cozy treats! You’ll love these Baked Pumpkin Spice Donuts. They’re easy to make and packed with
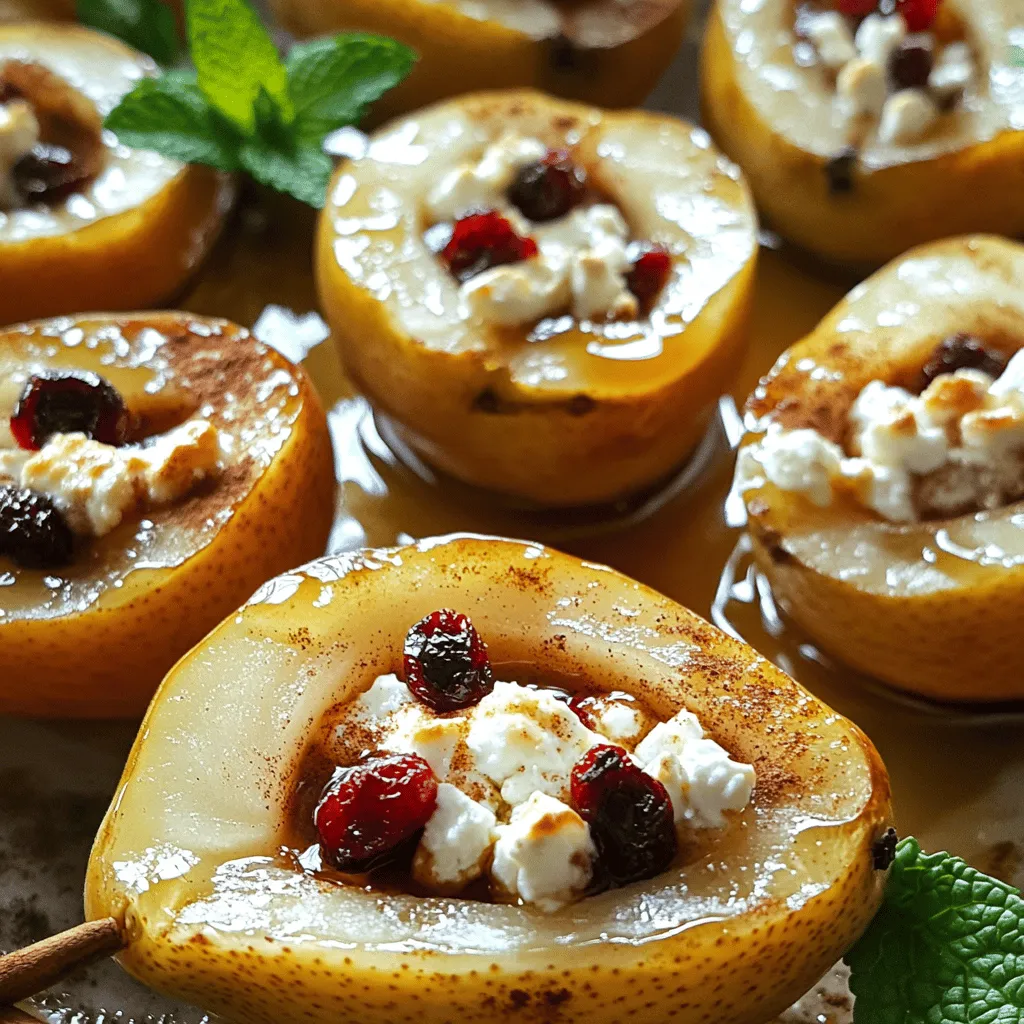
Baked Pears with Feta, Honey, and Cranberries Delight
If you’re looking for a simple yet delicious dessert, baked pears with feta, honey, and cranberries are the answer. This dish brings together sweet, savory,
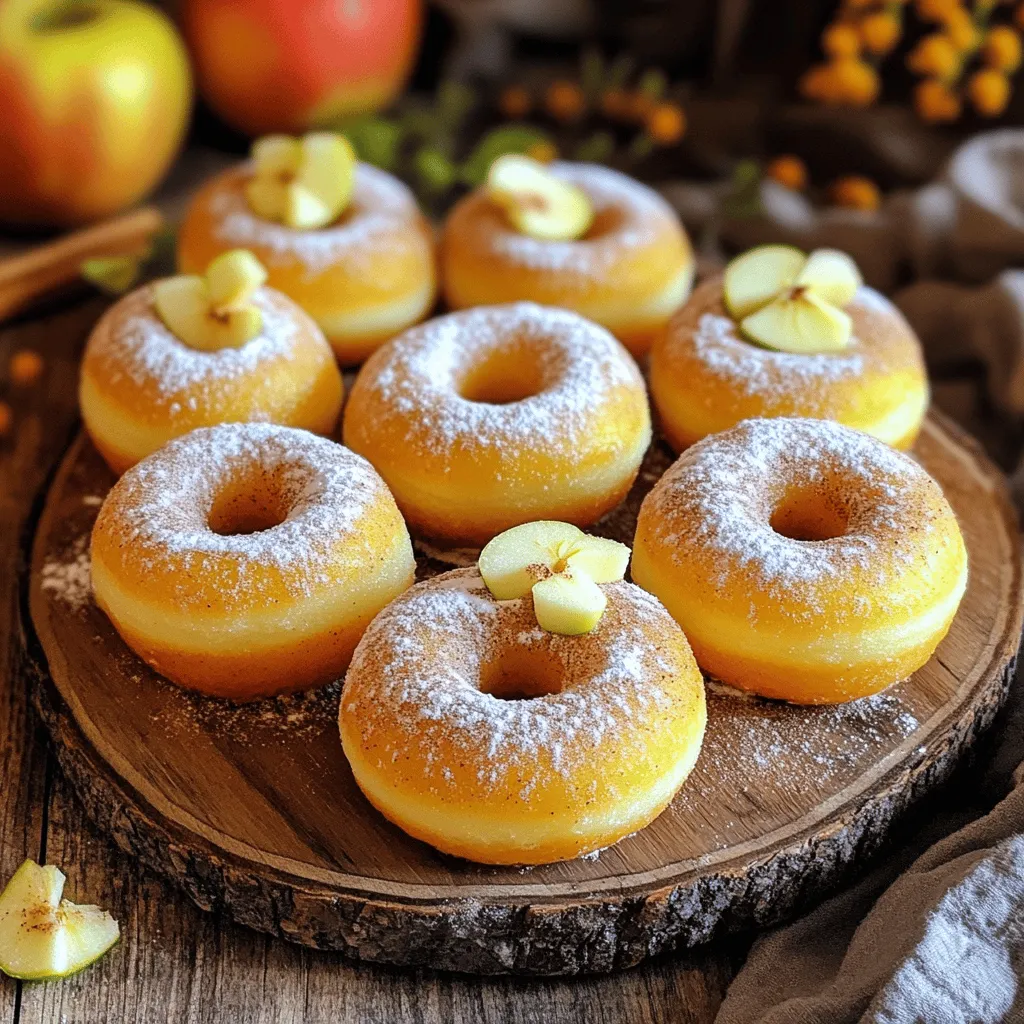
Gluten-Free Apple Cider Donuts Simple and Tasty Recipe
Are you craving a delicious fall treat that fits your gluten-free needs? Look no further! I’m excited to share my simple and tasty recipe for
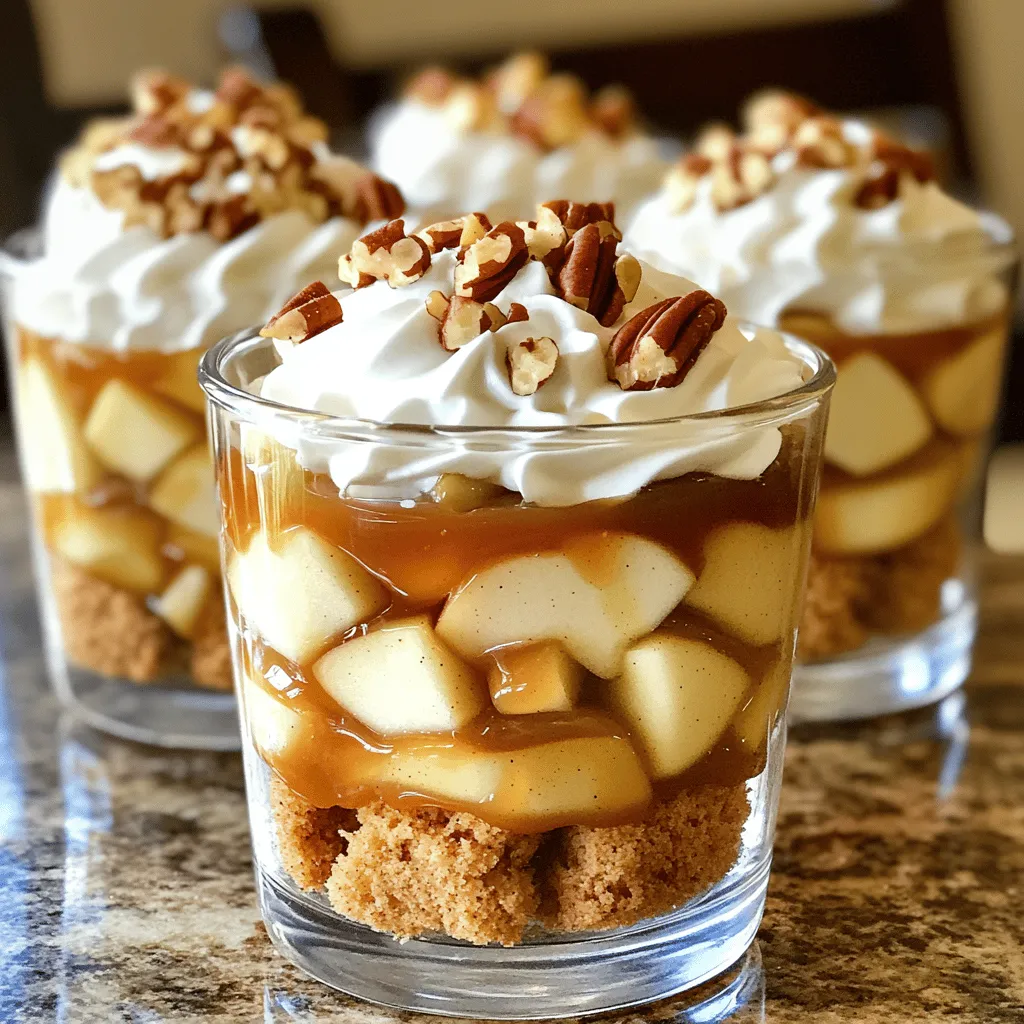
Caramel Apple Trifles Delightful and Easy Dessert
Are you ready to treat yourself to a stunning dessert that’s both simple and delicious? Caramel apple trifles bring sweet layers of flavor that perfectly
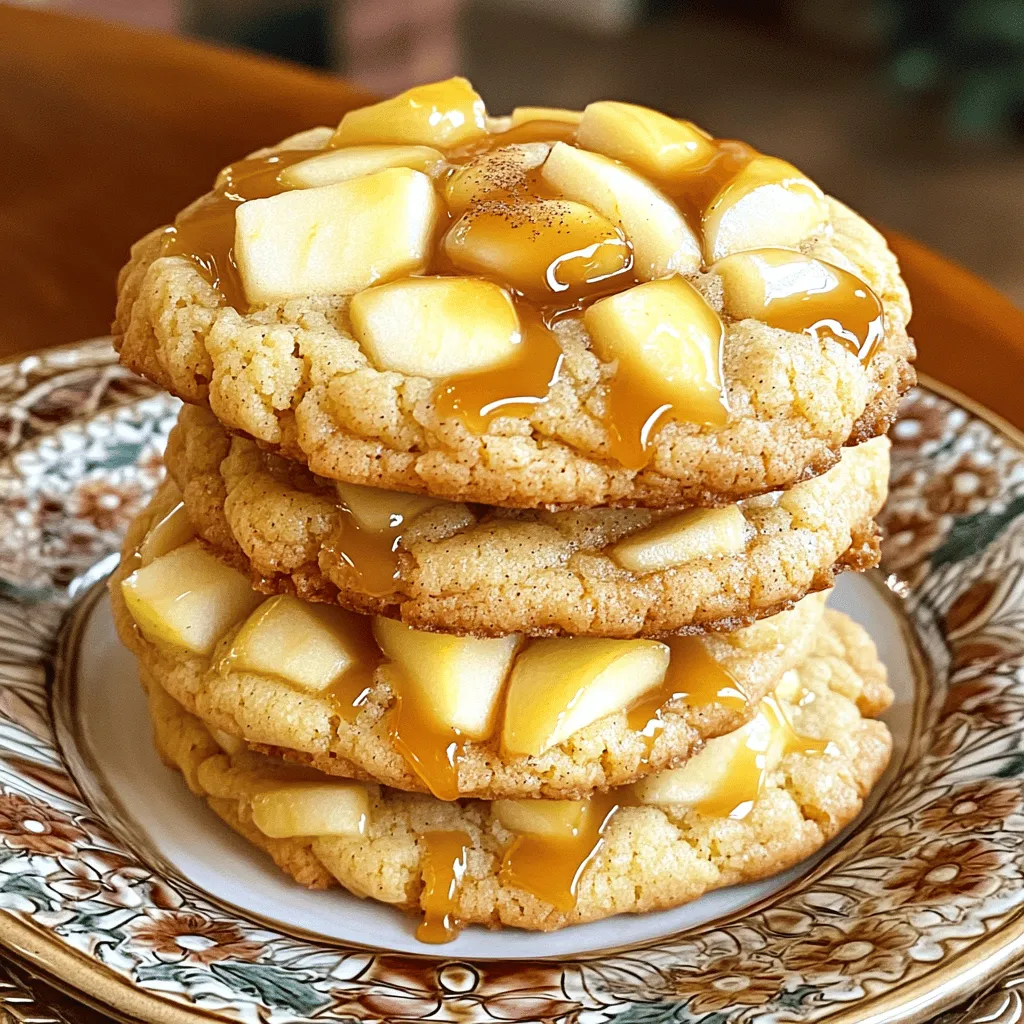
Apple Cider Cheesecake Cookies Delicious Dessert Treat
Are you ready to enjoy a fall favorite? Apple Cider Cheesecake Cookies blend sweet and tangy flavors into a soft, chewy treat you’ll love. With

Applesauce Cake with Cinnamon Cream Cheese Frosting Delight
Are you craving a sweet and moist dessert? You’ll love this Applesauce Cake with Cinnamon Cream Cheese Frosting! This cake is easy to make and