Desserts
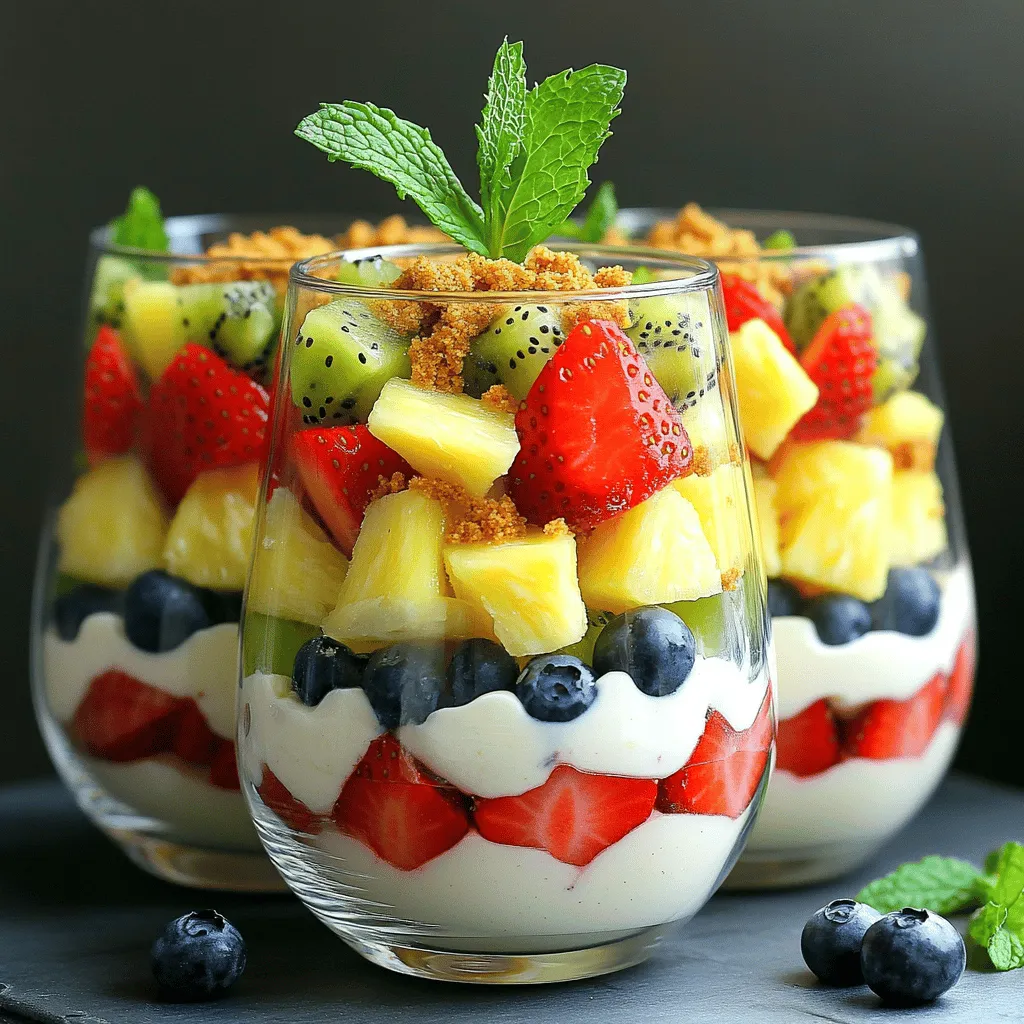
Cheesecake Fruit Salad Delightful and Easy Recipe
Dive into a world of fresh flavors with my Cheesecake Fruit Salad recipe! This delightful dish brings the creamy taste of cheesecake together with vibrant
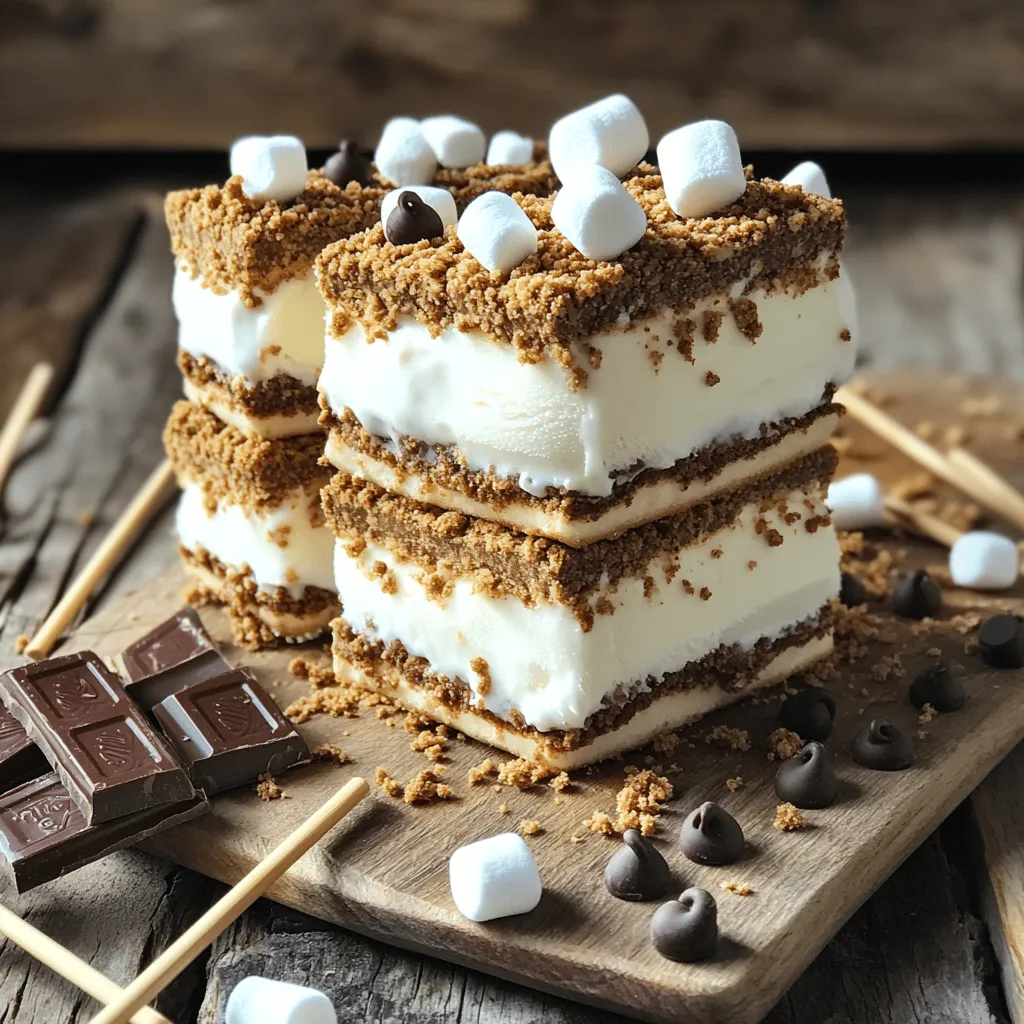
Frozen S’more Sandwiches Easy and Fun Dessert Recipe
Looking for a fun and tasty treat? You’re in the right place! Frozen s’more sandwiches are a great way to enjoy a classic campfire dessert
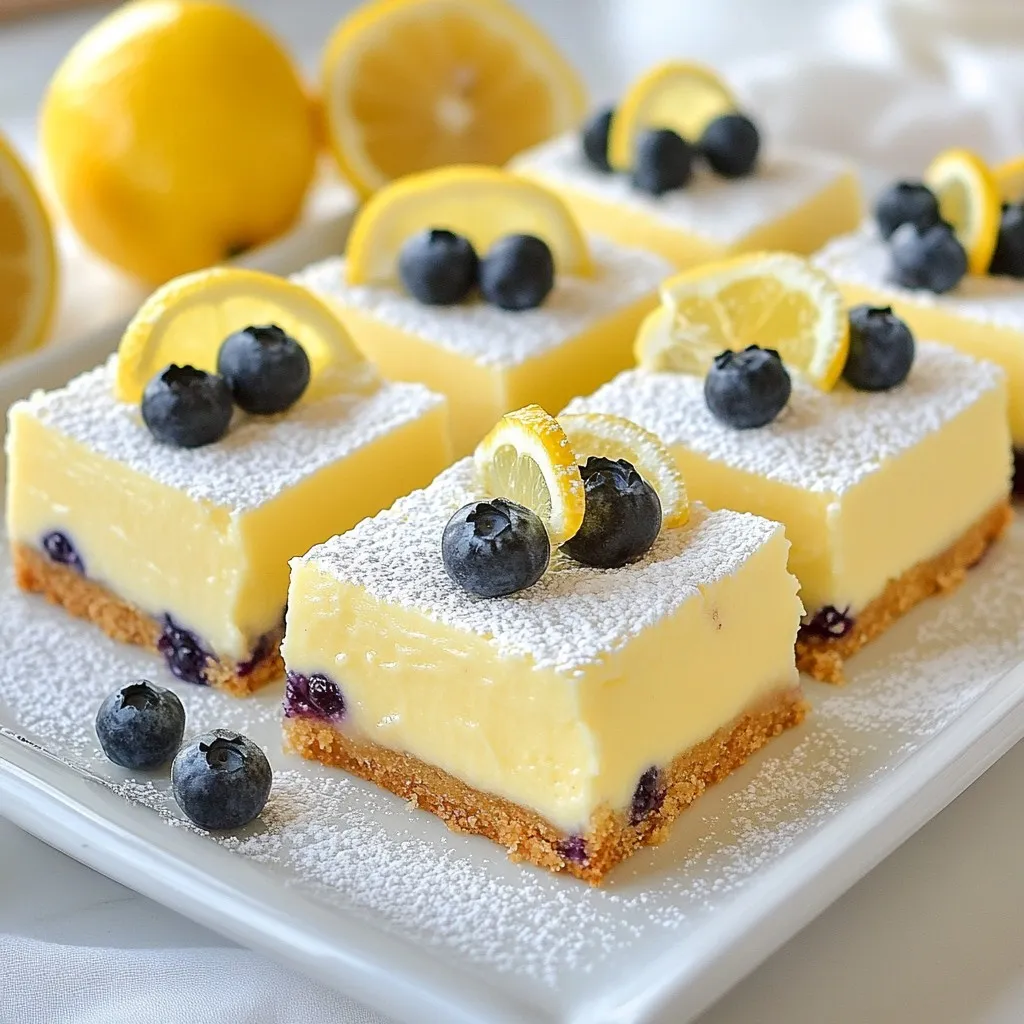
Lemon Blueberry Cheesecake Bars Tasty and Simple Treat
Looking for a sweet treat that’s both tasty and simple? You’re in the right place! These Lemon Blueberry Cheesecake Bars blend refreshing lemon and juicy
![When making white chocolate brownies, using the right ingredients is key to a great taste. Here is what you need: - 1 cup unsalted butter - 1 cup granulated sugar - 2 large eggs - 1 teaspoon vanilla extract - 1 cup all-purpose flour - 1/2 teaspoon baking powder - 1/4 teaspoon salt - 1 cup white chocolate chips - Optional: 1/2 cup chopped macadamia nuts Each ingredient plays an important role. The unsalted butter gives richness and moisture. Granulated sugar adds sweetness and helps create a crispy top. The eggs bind everything together, while vanilla adds a warm flavor. Flour provides structure. Baking powder helps the brownies rise, making them light and fluffy. Salt balances the sweetness, and white chocolate chips offer bursts of creamy flavor. If you want a crunchy texture, add macadamia nuts. For the full recipe, check the [Full Recipe]. This list ensures that your white chocolate brownies are rich, sweet, and utterly delicious. 1. Preheat oven and prepare the baking pan: Start by preheating your oven to 350°F (175°C). Grab an 8x8-inch baking pan. Grease it lightly and line it with parchment paper. Leave some paper hanging over the sides. This will help you lift the brownies out later. 2. Melt butter and combine with sugar: In a medium saucepan, melt 1 cup of unsalted butter over low heat. Once melted, take it off the heat. Stir in 1 cup of granulated sugar. Mix well until you have a smooth, shiny mixture. 3. Add eggs and vanilla to the butter mixture: Next, add 2 large eggs to the butter and sugar mix. Add them one at a time. Stir well after each egg. Then, pour in 1 teaspoon of vanilla extract. This gives your brownies a lovely flavor. 4. Combine dry and wet ingredients: In another bowl, whisk together 1 cup of all-purpose flour, 1/2 teaspoon of baking powder, and 1/4 teaspoon of salt. Gradually fold this dry mix into your wet ingredients. Mix until just combined to keep your brownies soft. 5. Pour batter into the pan and bake: Gently fold in 1 cup of white chocolate chips. If you like, add 1/2 cup of chopped macadamia nuts for extra flavor. Pour the batter into your prepared pan. Spread it evenly with a spatula. 6. Cooling and slicing instructions: Bake in your preheated oven for about 25-30 minutes. Check if they are done by inserting a toothpick. It should come out with a few moist crumbs. Once baked, let the brownies cool in the pan for 15 minutes. Use the parchment paper to lift them out and cool completely on a wire rack. After cooling, cut them into squares and serve. For the full recipe, refer back to the ingredients list. Enjoy making these sweet treats! To make the best white chocolate brownies, focus on two key points: avoiding overmixing and checking doneness. - Avoiding overmixing: When you mix the batter, do it gently. Overmixing leads to tough brownies. Mix until you see no dry flour. This is the sweet spot for soft, gooey brownies. - Checking doneness: Use a toothpick to test if your brownies are done. Insert it into the center. If it comes out with a few moist crumbs, they are ready. If it’s wet with batter, bake a bit longer. If it’s clean, you may have overbaked. Now that your brownies are baked, let’s make them look as good as they taste. - Dusting with powdered sugar: Before serving, sprinkle powdered sugar on top. This adds a nice touch and makes them look fancy. Use a fine sieve for an even layer. - Garnishing suggestions: For an extra flair, place a white chocolate chip or a macadamia nut on each brownie. This makes your treats pop. You can also add fresh berries for color. These small details can turn your simple brownies into a show-stopping dessert. Check out the Full Recipe for more details! {{image_2}} You can make your white chocolate brownies even better! Adding nuts or dried fruits gives a nice twist. I love using macadamia nuts. They add a creamy crunch that pairs well with the sweet chocolate. You can also try walnuts or pecans for a different flavor. Dried fruits, like cranberries or cherries, work great too. They add a burst of tartness. Just fold them in gently with the white chocolate chips. This adds more texture and taste to your treats. Another fun idea is swapping white chocolate for dark chocolate. Dark chocolate brings a rich flavor that many enjoy. If you choose this, adjust the sugar. Dark chocolate is less sweet. You might want to cut back a bit on the sugar to balance the taste. If you need gluten-free brownies, it’s easy to make a switch. Use a gluten-free flour blend instead of all-purpose flour. Many blends work well in baking and keep the brownies soft. For a vegan option, swap the butter with coconut oil or a vegan butter. Replace the eggs with flaxseed meal or applesauce. Use a dairy-free white chocolate for a tasty treat. These substitutions allow everyone to enjoy these brownies without worry. With these variations, you can create a treat that suits your taste and needs. For more details, check out the Full Recipe. To keep your white chocolate brownies fresh, use an airtight container. This method locks in moisture. Place a piece of parchment paper between layers if you stack them. If you want to store brownies for longer, try refrigeration. Wrap them tightly in plastic wrap first, then place them in a container. This method helps keep them moist. You can also freeze brownies. Wrap each piece in plastic wrap and then in foil. Store them in a freezer bag, and they will stay good for up to three months. How long do they last? When stored well, brownies can last about a week at room temperature. If you refrigerate them, they can last up to two weeks. In the freezer, they stay fresh for about three months. What are the signs of spoilage? Look for a change in color or texture. If they smell sour or have mold, it is best to throw them away. Always trust your senses when checking if your treats are still good! What is the best white chocolate for baking? The best white chocolate for baking has a high cocoa butter content. Look for brands like Callebaut or Guittard. They melt well and give a rich flavor. Avoid low-quality chocolates as they may not melt nicely. Can I substitute ingredients? Yes, you can substitute some ingredients. For example, use coconut oil for butter. You can also replace white chocolate chips with dark chocolate for a twist. If you need a gluten-free option, use almond flour instead of all-purpose flour. How to fix dry brownies? If your brownies turn out dry, try adding a bit of milk. A tablespoon or two can help bring moisture back. You can also serve them with ice cream or a drizzle of cream to add richness and flavor. How can I tell when brownies are done? To check if brownies are done, insert a toothpick in the center. If it comes out with a few moist crumbs, they are ready. If it comes out clean, they may be overbaked. Keep an eye on the time and adjust as needed. Best beverages to pair with brownies Brownies pair well with milk or coffee. A rich espresso brings out the sweetness. You can also enjoy them with a glass of cold vanilla almond milk for a tasty match. Ideal occasions for serving Serve white chocolate brownies at parties, family gatherings, or casual get-togethers. They are great for birthdays or holiday treats. You can even pack them for picnics or bake sales. They always please a crowd! For the [Full Recipe](#), check the ingredients and instructions to make these delicious brownies! You now know how to make delicious white chocolate brownies. We covered the ingredients, step-by-step instructions, and tips to make them perfect. Remember to enjoy the mixing and baking process. You can also try fun variations based on your taste. Store your brownies well to keep them fresh. With these skills, you can impress friends and family at any occasion. Enjoy your baking journey and happy eating!](https://tossedrecipes.com/wp-content/uploads/2025/06/32bdf119-d023-41da-9893-8f5fe93c1160.webp)
White Chocolate Brownies Irresistible and Simple Treat
Get ready to satisfy your sweet tooth with my easy and delicious white chocolate brownies! These treats are rich, chewy, and packed with creamy white
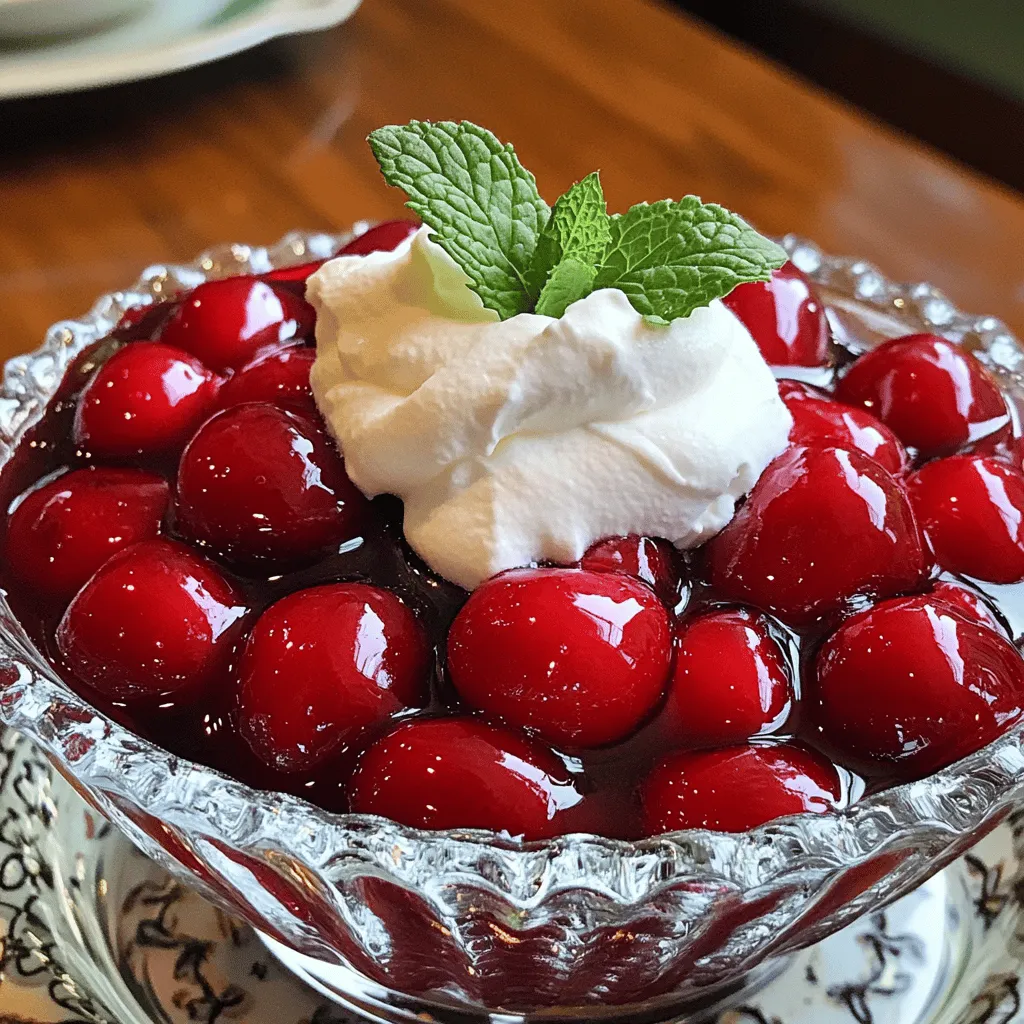
Classic Cherry Delight Irresistible and Tasty Treat
Craving a dessert that’s as delightful as it is simple? Welcome to Classic Cherry Delight: Irresistible and Tasty Treat. This sweet treat combines juicy cherries
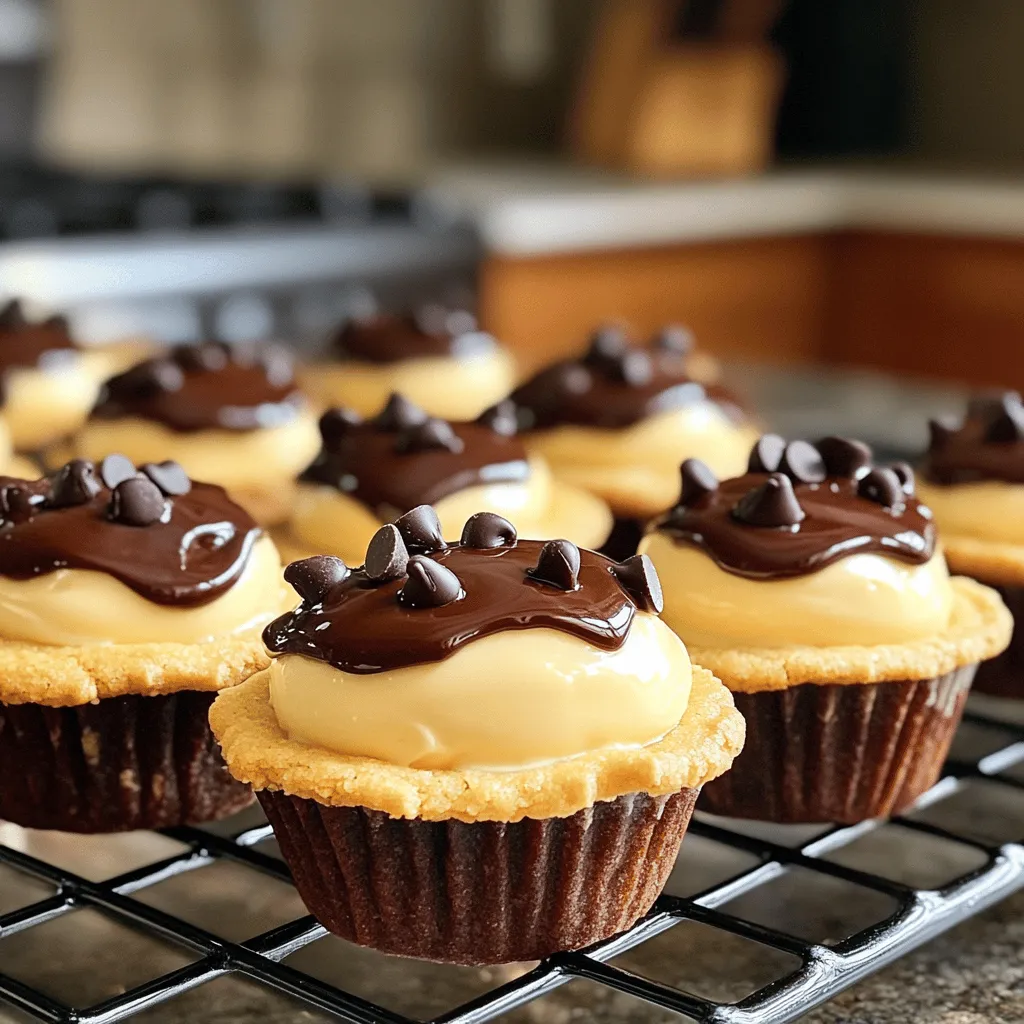
Easy Boston Cream Pie Cookie Bites Delightful Treat
Are you ready to indulge in a delightful treat that combines classic Boston cream pie flavors with cookie-sized goodness? These Easy Boston Cream Pie Cookie
Pudding Fruit Salad Fresh and Flavorful Delight
Welcome to a taste adventure with my Pudding Fruit Salad! This easy recipe is a blend of fresh fruit and creamy pudding that will delight
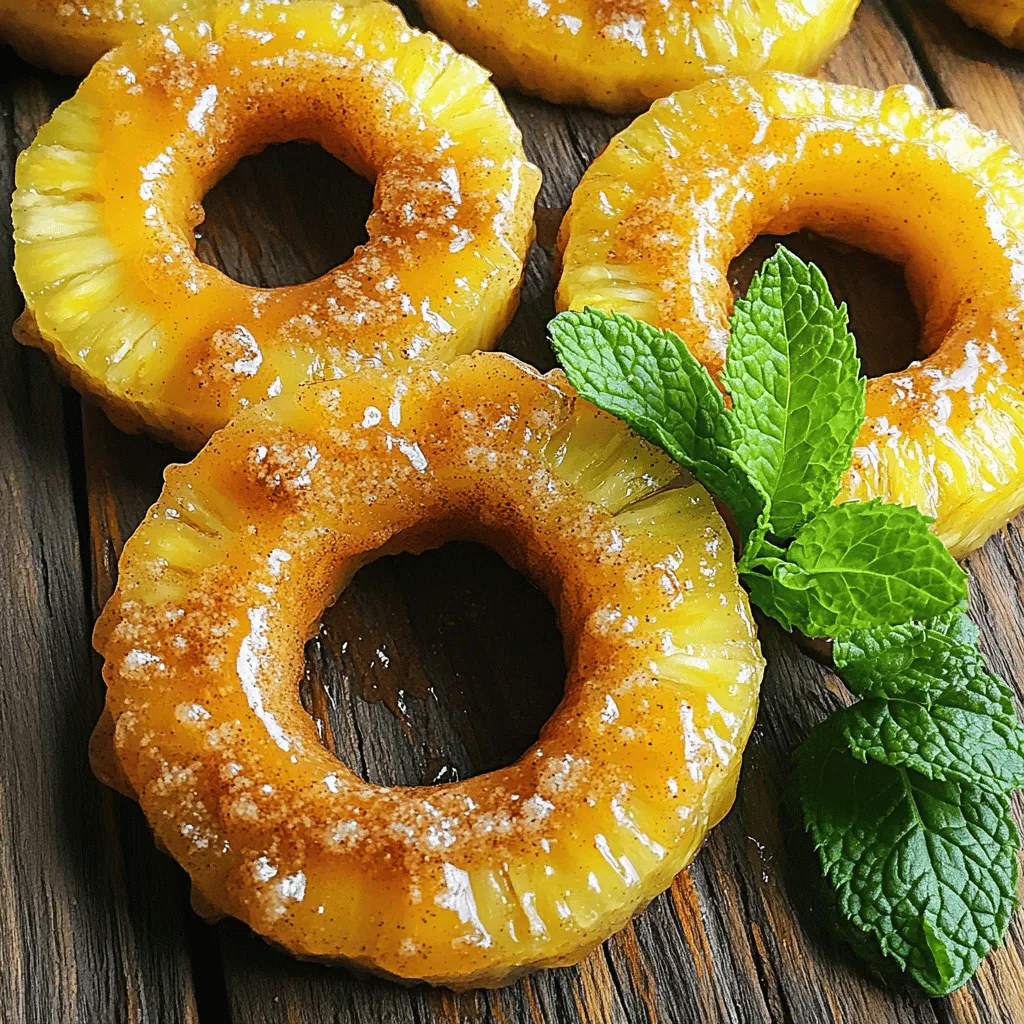
Easy Air Fryer Caramelized Pineapple Delight
Are you craving a sweet and juicy treat? Look no further than this Easy Air Fryer Caramelized Pineapple Delight! Using just a few simple ingredients,
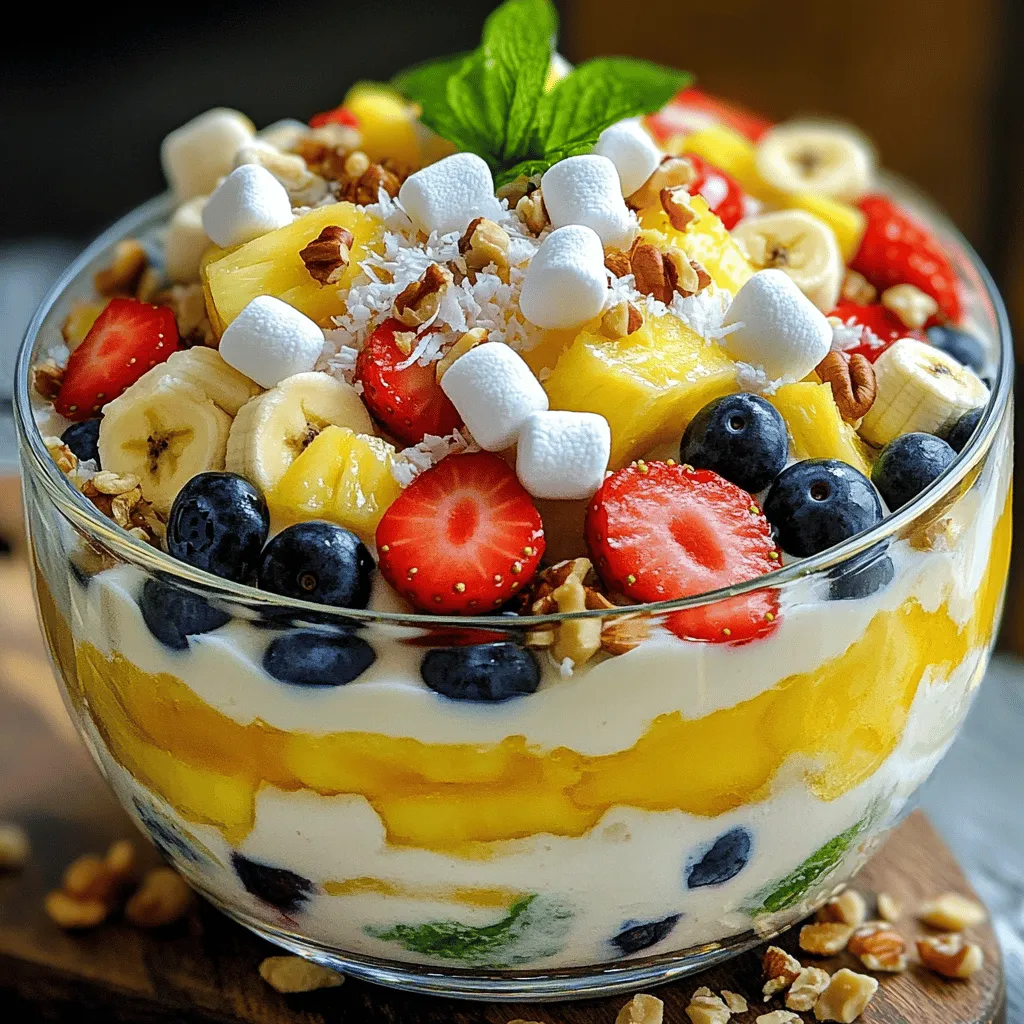
![To make Hawaiian Cheesecake Salad, you need these key ingredients: - 8 oz cream cheese, softened - 1/2 cup granulated sugar - 1 teaspoon vanilla extract - 1 cup crushed pineapple, drained - 1 cup mini marshmallows - 1 cup coconut flakes - 1/2 cup chopped pecans or walnuts (optional) - 1/2 cup whipped cream (for topping) Each ingredient plays a role in creating that creamy, sweet, and tropical flavor. The cream cheese gives it a rich base. The sugar and vanilla add sweetness. Pineapple brings juicy freshness, while marshmallows and coconut give it a fun texture. You can customize your salad with these optional add-ins: - Chopped fresh fruit like bananas or mangoes - A splash of pineapple juice for more flavor - Different nuts such as almonds or macadamia nuts These add-ins can enhance the taste and make the salad more unique. You can mix and match based on what you like best. If you need to make substitutions, here are some ideas: - Use Greek yogurt instead of cream cheese for a lighter option. - Swap granulated sugar for honey or maple syrup. - If you don’t have coconut flakes, try crushed graham crackers. These swaps can keep the essence of the salad while fitting your needs or preferences. Always feel free to get creative! You can find the full recipe for Hawaiian Cheesecake Salad in other sections of this article. To start, gather all your ingredients. You need cream cheese, sugar, vanilla, crushed pineapple, mini marshmallows, coconut flakes, nuts, and whipped cream. Make sure the cream cheese is soft. This makes it easy to mix. You can prepare this salad in just 15 minutes. 1. In a large bowl, beat the softened cream cheese. Use an electric mixer to make it smooth. 2. Gradually add the sugar. Keep mixing until everything blends well. 3. Next, stir in the vanilla extract. Mix again until combined. 4. Gently fold in the drained crushed pineapple. This adds a nice tropical flavor. 5. Now, add the mini marshmallows and coconut flakes. If you like nuts, add them too. 6. Fold everything together carefully. You want it well mixed but not overdone. 1. Transfer the mixture into a serving dish or cups. This makes it easy for serving. 2. Top the salad with whipped cream. This adds a nice touch. 3. Chill the salad in the fridge for at least 1 hour. This helps the flavors blend. 4. Serve it cold. Enjoy this tasty Hawaiian Cheesecake Salad! For more details, check the Full Recipe. To get a creamy and smooth texture in your Hawaiian cheesecake salad, you need soft cream cheese. Start by letting it sit out for 30 minutes. This helps it mix better. Use an electric mixer to beat the cream cheese until it's fluffy. Gradually add in the sugar. Mixing slowly keeps air in the mix, which gives you lightness. When you fold in the fruit and marshmallows, be gentle. This keeps the mixture airy. Serving your Hawaiian cheesecake salad in fun ways makes it more exciting. Use clear cups to show off the layers. You can also use a large bowl for a family-style serving. When you serve, top each cup with whipped cream. Add a sprinkle of coconut flakes and a slice of pineapple to make it look pretty. If you want to be fancy, you can even add a cherry on top! One big mistake is not draining the pineapple well. If you skip this, the salad gets watery. Another mistake is over-mixing when adding the fruit. This can make the salad heavy and less fluffy. Be careful with the sugar too; too much can make it too sweet. Finally, don’t skip the chilling step. Letting it chill for at least one hour helps the flavors blend nicely. For the full recipe, check out the details above. {{image_2}} You can change the fruit in your Hawaiian Cheesecake Salad to fit your taste. Try adding diced mango, kiwi, or even banana. These fruits give a fresh, tropical twist that pairs well with the creamy base. You can also mix in berries for a pop of color. Each fruit adds its own flavor and texture, making your salad unique every time. If you want to switch up the nuts, consider using macadamia nuts or almonds. These nuts add a crunchy texture that contrasts nicely with the creaminess of the salad. You could also leave out the nuts for a nut-free option. For toppings, try adding fresh fruit slices or a drizzle of chocolate syrup. These changes let you customize each serving. The sweetness of your salad can be adjusted easily. If you prefer it less sweet, reduce the sugar to a quarter cup. You can also use honey or maple syrup as a natural sweetener. Just be careful with the amount, as these options can be sweeter than granulated sugar. Taste the mixture before chilling to find the perfect balance that suits your palate. Store any leftovers in an airtight container. This keeps the salad fresh and tasty. If you use a bowl, cover it tightly with plastic wrap. Make sure not to let air in. Refrigeration is the best choice for Hawaiian Cheesecake Salad. Freezing can change the texture. The cream cheese may become grainy when thawed. For best results, keep it in the fridge. When stored properly, the salad lasts about three to four days in the fridge. Keep an eye on it for any signs of spoilage. If it smells off or looks strange, toss it out. Enjoy the fresh taste while you can! For the full recipe, check out [Full Recipe]. Hawaiian Cheesecake Salad is a sweet, creamy treat. It mixes cream cheese, pineapple, and coconut. This salad has a tropical taste that feels like a vacation on a plate. You can enjoy it as a dessert or a fun side dish. The soft texture and fruity flavors make it a crowd-pleaser. You can serve it chilled, making it refreshing on warm days. If you want the full recipe, check it out [here](#). Yes, you can make this salad ahead of time. It tastes even better when it sits. I recommend chilling it for at least one hour before serving. If you make it the day before, that works too. Just cover it well in the fridge. This lets all the flavors blend nicely. It’s perfect for parties or family gatherings. If you want a substitute for cream cheese, try Greek yogurt. It gives a nice creamy texture and tangy flavor. You can also use mascarpone cheese for a richer taste. For a lighter option, consider whipped topping. Just keep in mind that each substitute changes the flavor a bit. Experiment to find what you like best! Hawaiian Cheesecake Salad is easy and fun to make. You learned about its key ingredients, optional add-ins, and substitutions. The step-by-step instructions covered mixing and chilling. I shared tips to ensure the best texture and common mistakes to avoid. You can also explore tasty variations and how to store leftovers properly. Overall, this dish is perfect for any gathering. Enjoy creating your unique version of this tropical delight!](https://tossedrecipes.com/wp-content/uploads/2025/05/86d856ed-6fbd-4e26-8b1c-9fdca7dbe390.webp)
Hawaiian Cheesecake Salad Simple and Delicious Recipe
Looking for a fun and tasty dessert? You’ve come to the right place! This Hawaiian Cheesecake Salad is simple to make, and it’s packed with
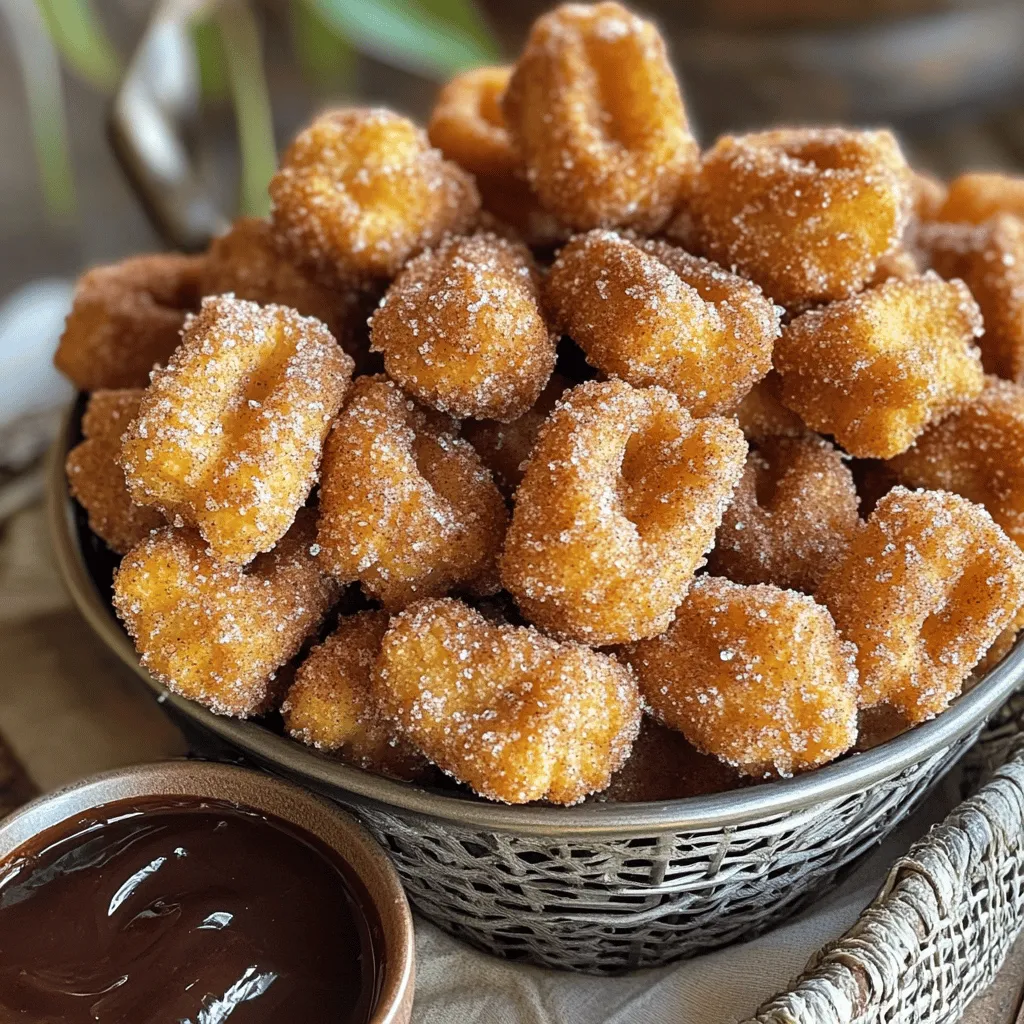
Crispy Air Fryer Churro Bites Irresistible Snack Idea
Looking for a delicious snack that’s both easy to make and hard to resist? You’re in the right place! Crispy Air Fryer Churro Bites are