Desserts
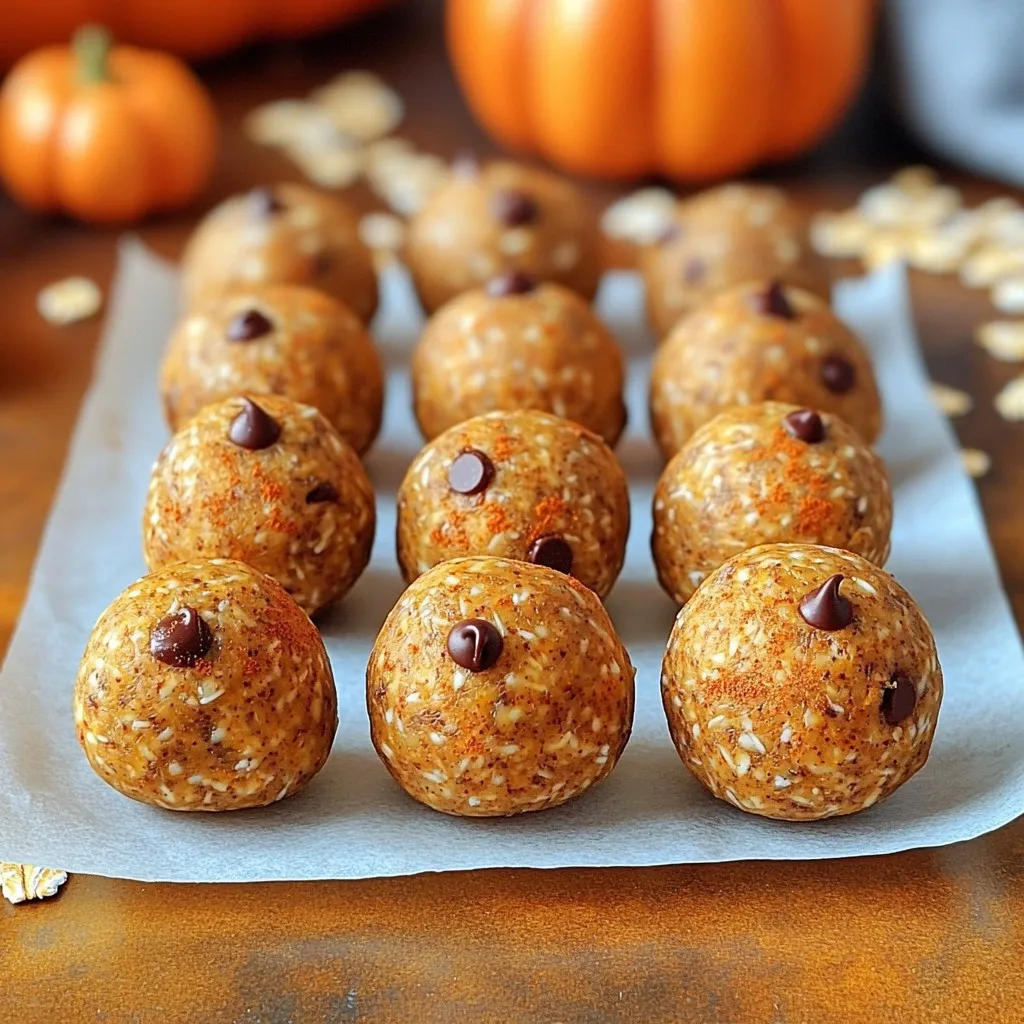
Pumpkin Spice Energy Balls No Bake Tasty Treat
Craving a tasty treat that’s both fun and easy? You’ll love these no-bake pumpkin spice energy balls! Packed with flavor and nutrition, they are perfect
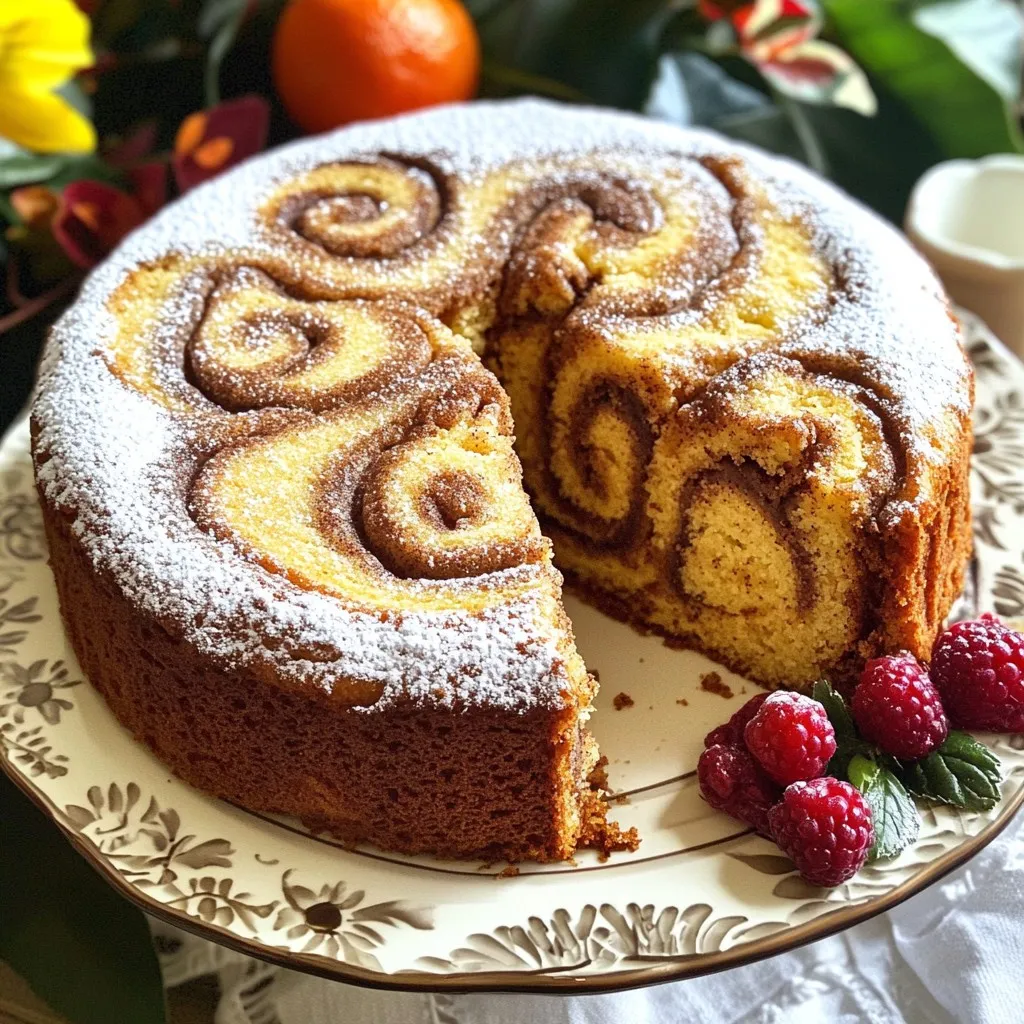
Cinnamon Swirl Coffee Cake Bakery Style Delight
Do you crave the sweet joy of a bakery-style coffee cake? You’re in for a treat! My Cinnamon Swirl Coffee Cake Bakery Style Delight will
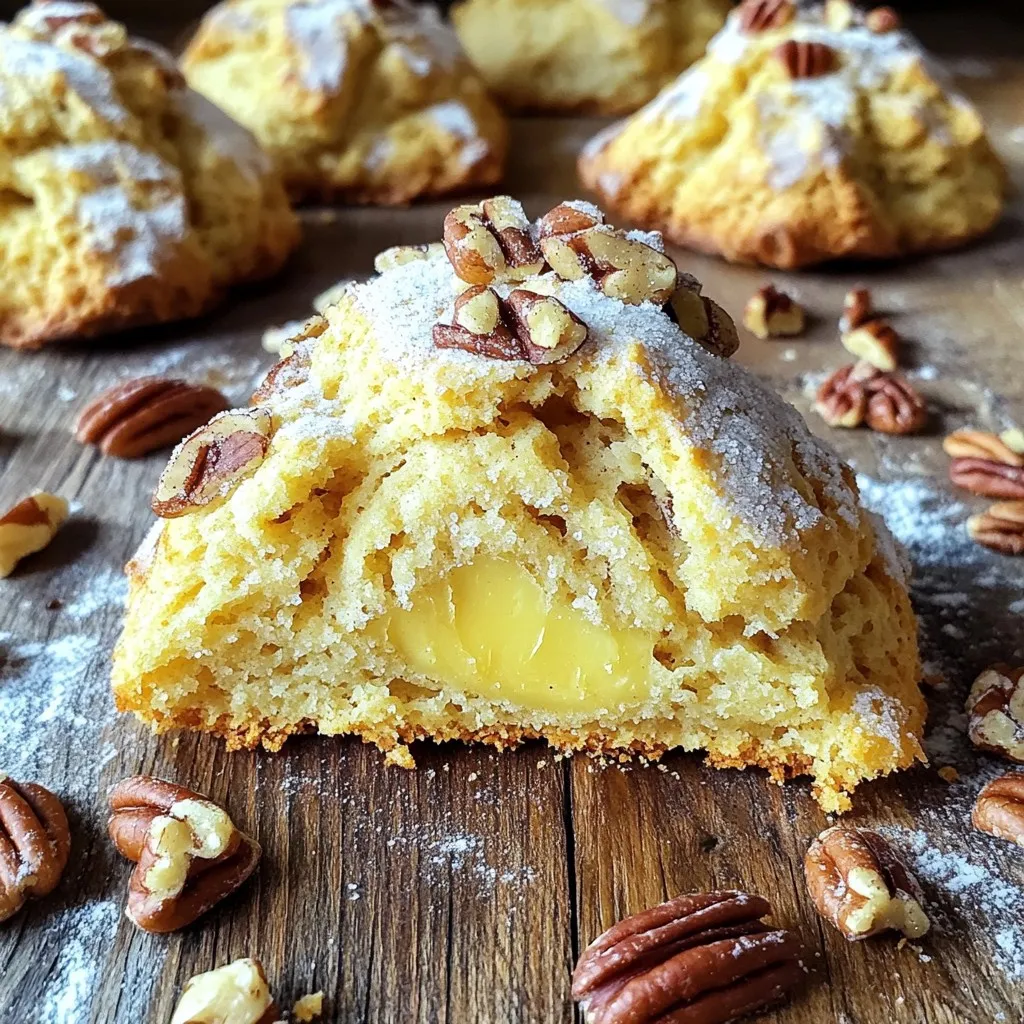
Brown Butter Pecan Scones Flavorful and Easy Treat
Are you ready to treat yourself to something delicious? These Brown Butter Pecan Scones are a perfect blend of nutty flavor and warm, buttery goodness.
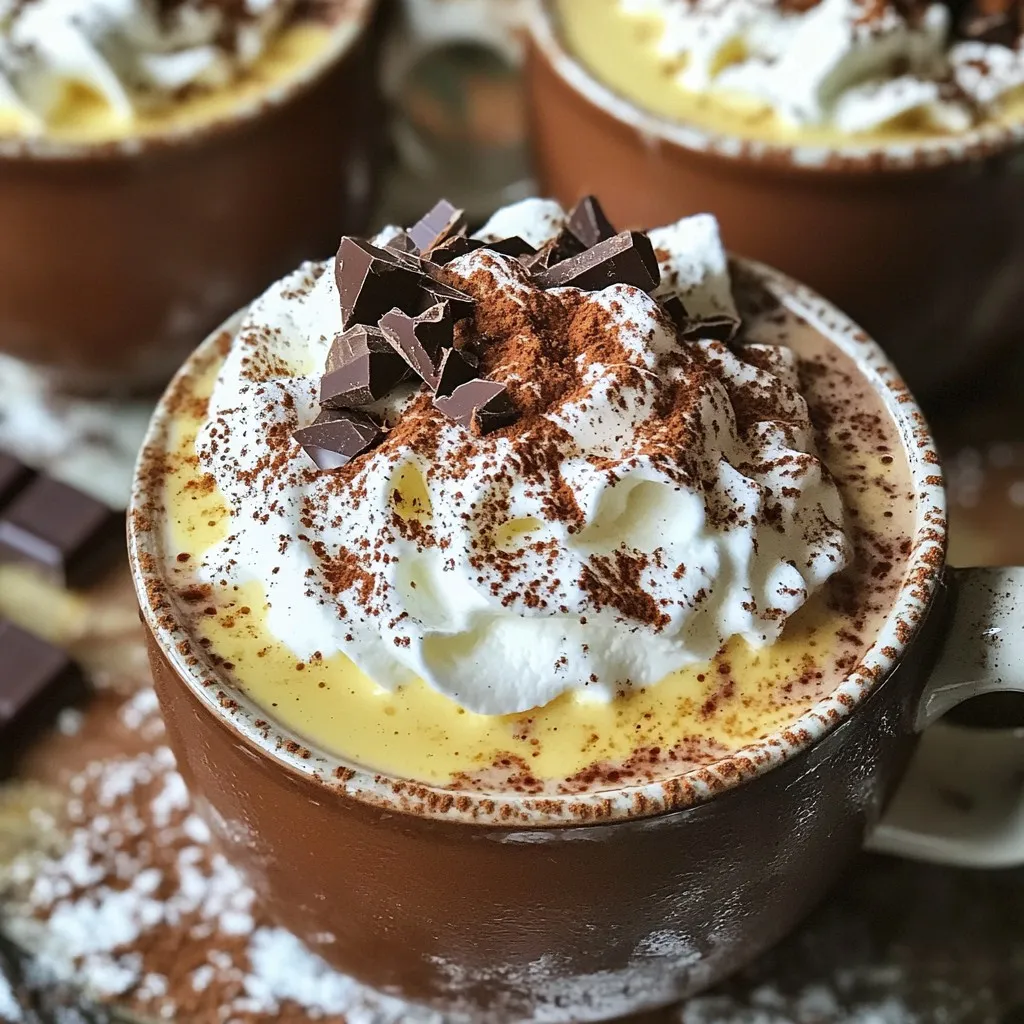
Spiced Hot Chocolate with Whipped Cream Delight
Warm up your winter nights with my Spiced Hot Chocolate with Whipped Cream Delight! This rich, creamy drink brings together comforting spices and smooth chocolate,
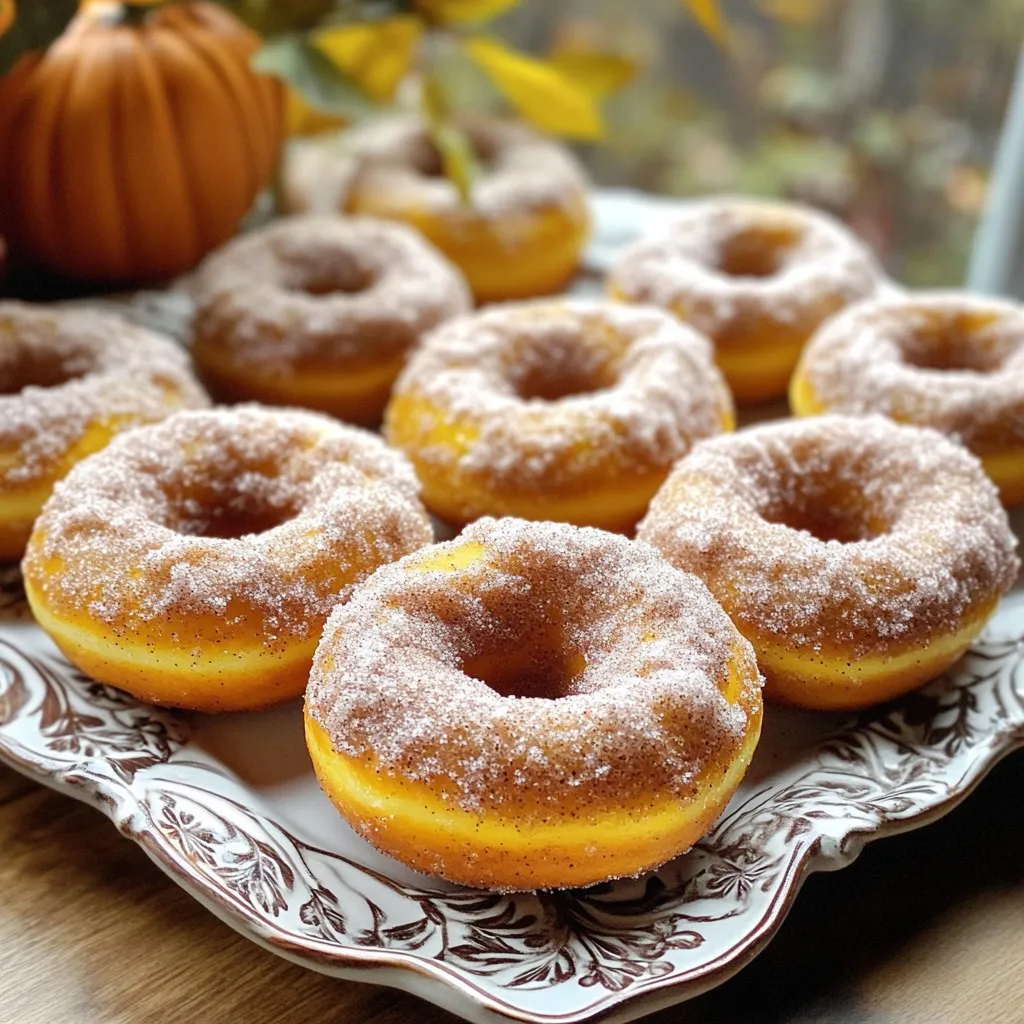
Bakery-Style Cinnamon Sugar Pumpkin Donuts Delight
Craving a sweet treat that captures the essence of fall? You’re in for a treat with these Bakery-Style Cinnamon Sugar Pumpkin Donuts! Perfectly spiced and
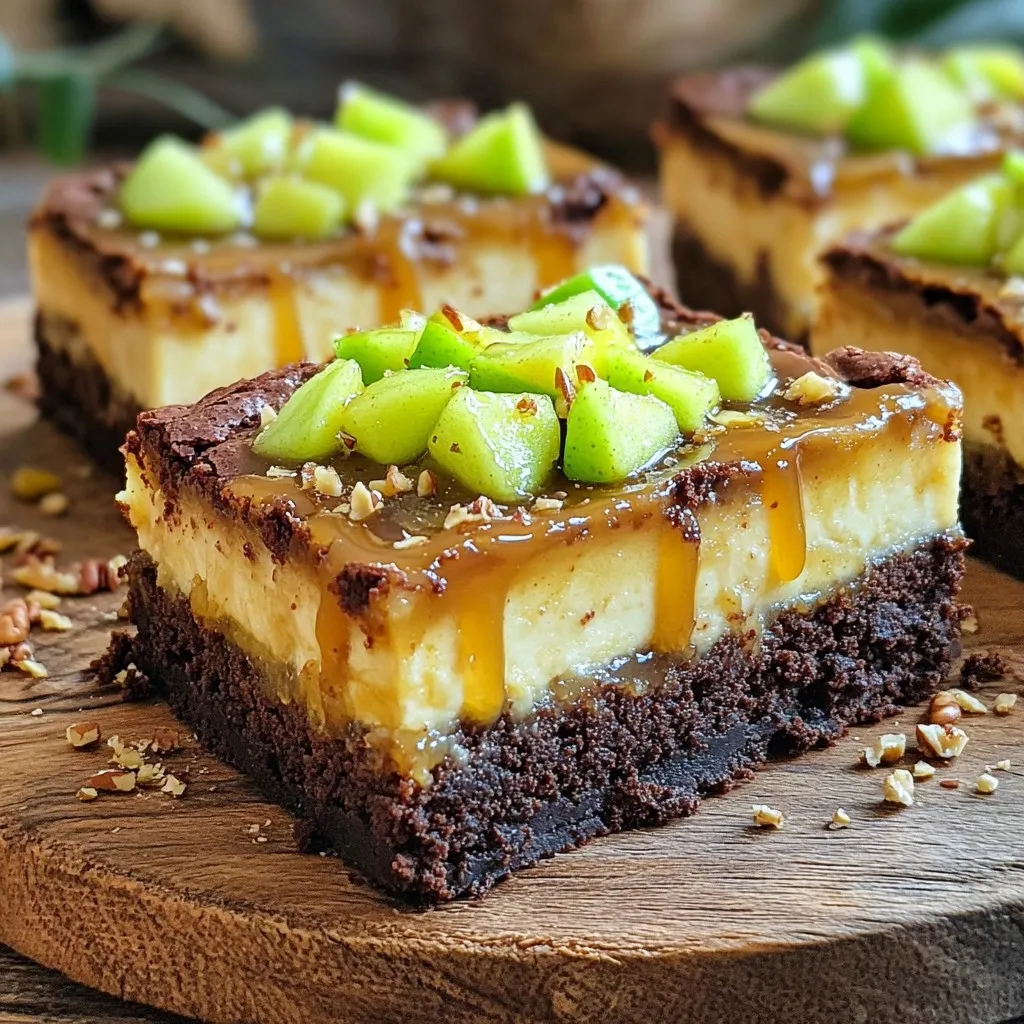
Caramel Apple Cheesecake Brownie Bars Delightful Treat
Craving a sweet, gooey dessert? My Caramel Apple Cheesecake Brownie Bars are your answer! This tasty treat layers rich brownie, creamy cheesecake, and spiced apple
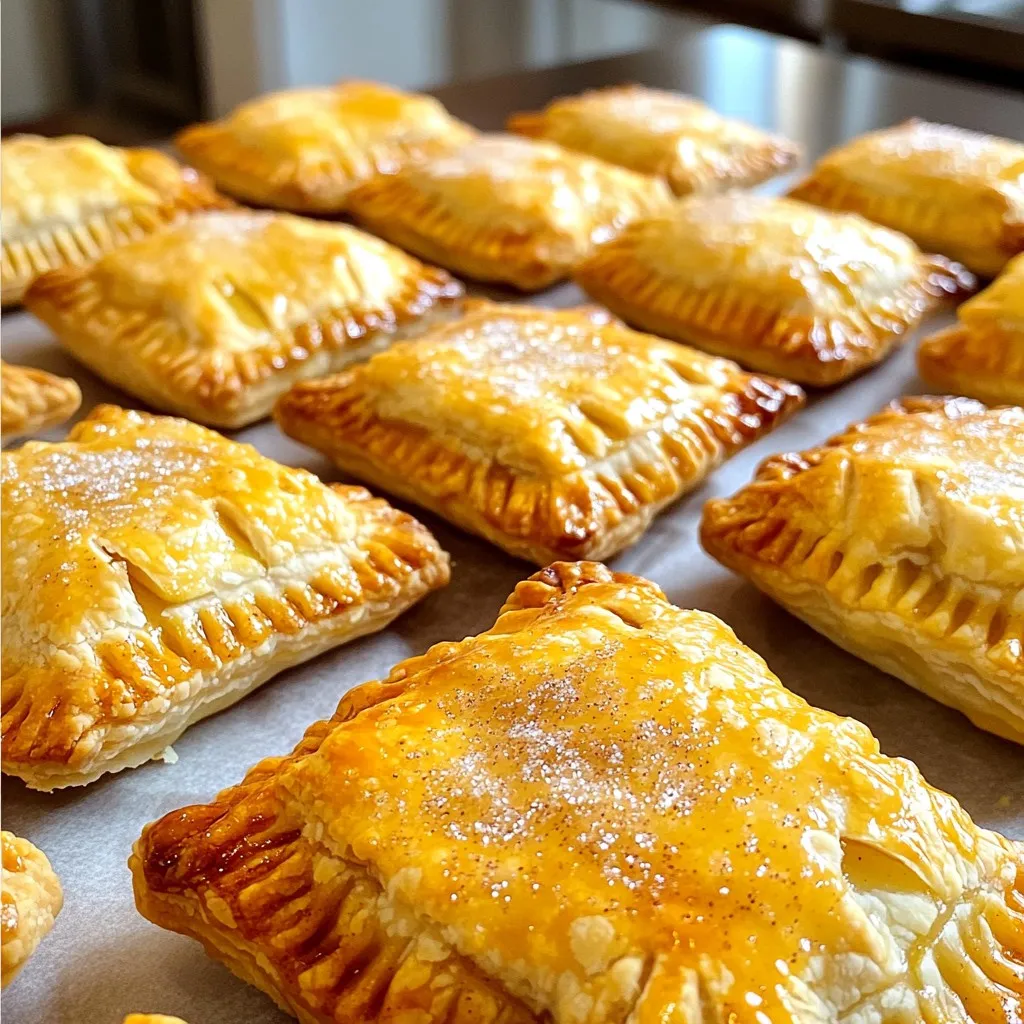
Air Fryer Apple Cinnamon Hand Pies Tasty and Simple
Craving a tasty treat that’s easy to make? These Air Fryer Apple Cinnamon Hand Pies are just what you need! With simple ingredients like fresh
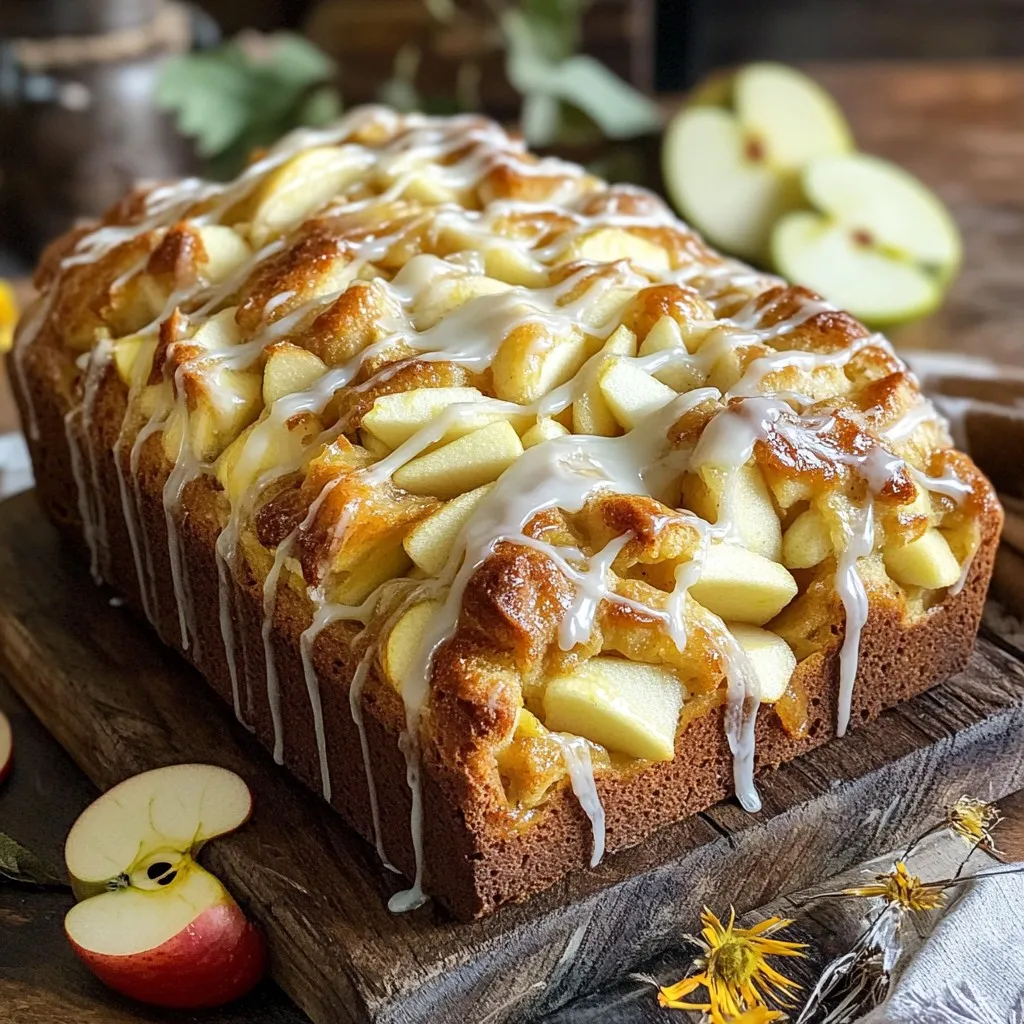
Bakery Style Apple Fritter Bread Easy and Delicious Recipe
Welcome to the sweet world of Bakery Style Apple Fritter Bread! If you love the warm, comforting taste of apple fritters, you’re in for a
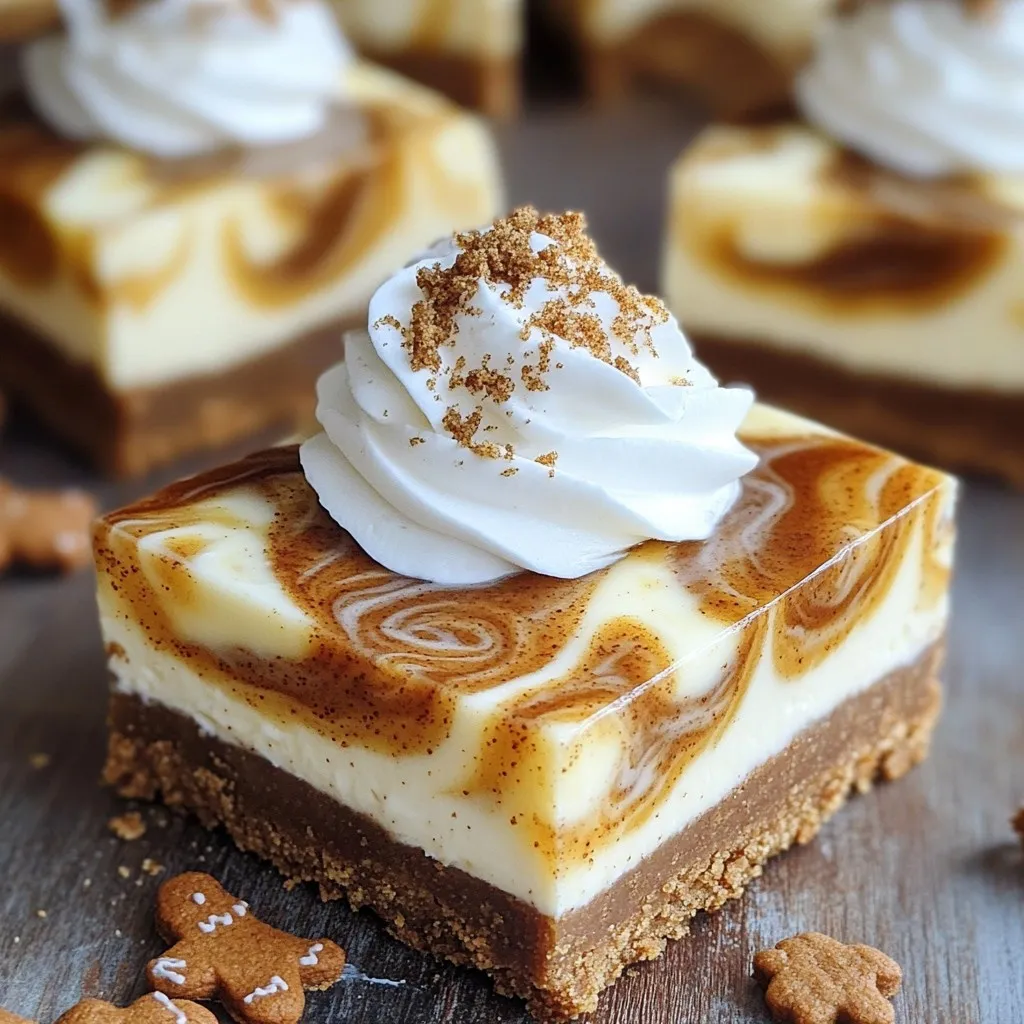
No Bake Gingerbread Cheesecake Bars Festive Delight
Looking for a festive treat that’s easy to make and delicious? You’re in the right place! These No Bake Gingerbread Cheesecake Bars mix cozy gingerbread
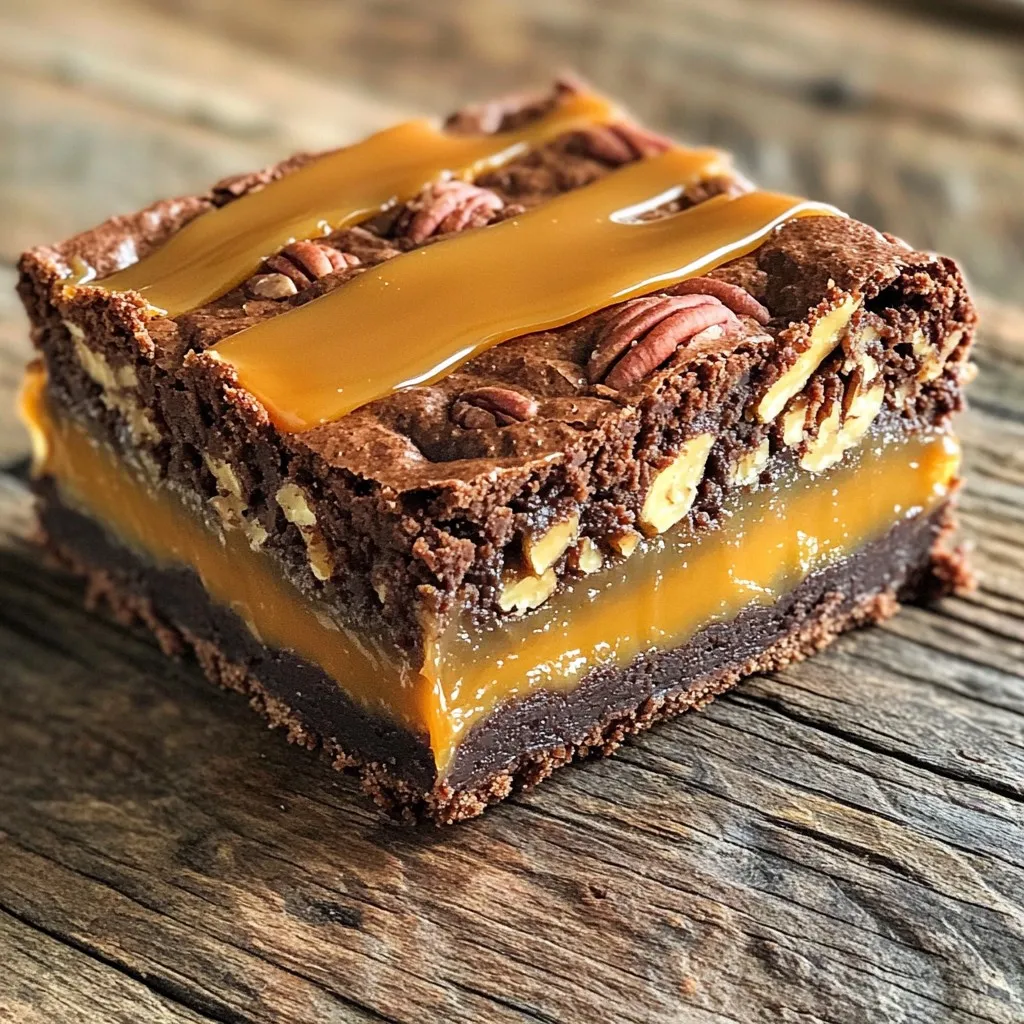
Caramel Pecan Turtle Brownie Bars Irresistible Treat
If you love sweet and crunchy treats, you’re in for a real delight! These Caramel Pecan Turtle Brownie Bars are an easy and tasty way