Desserts
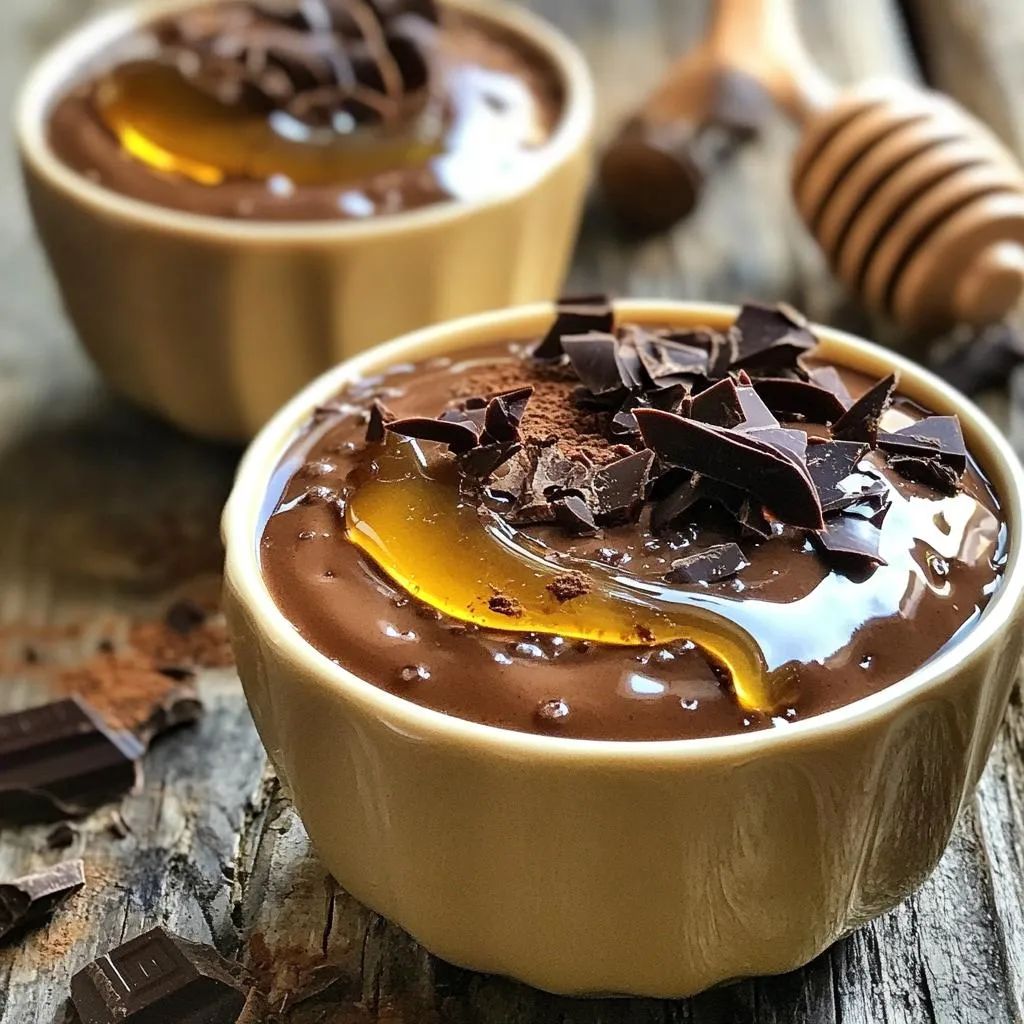
High-Protein Mocha Cottage Cheese Pudding Delight
Craving a sweet treat that packs a protein punch? Meet your new favorite dessert: High-Protein Mocha Cottage Cheese Pudding! This rich and smooth pudding combines
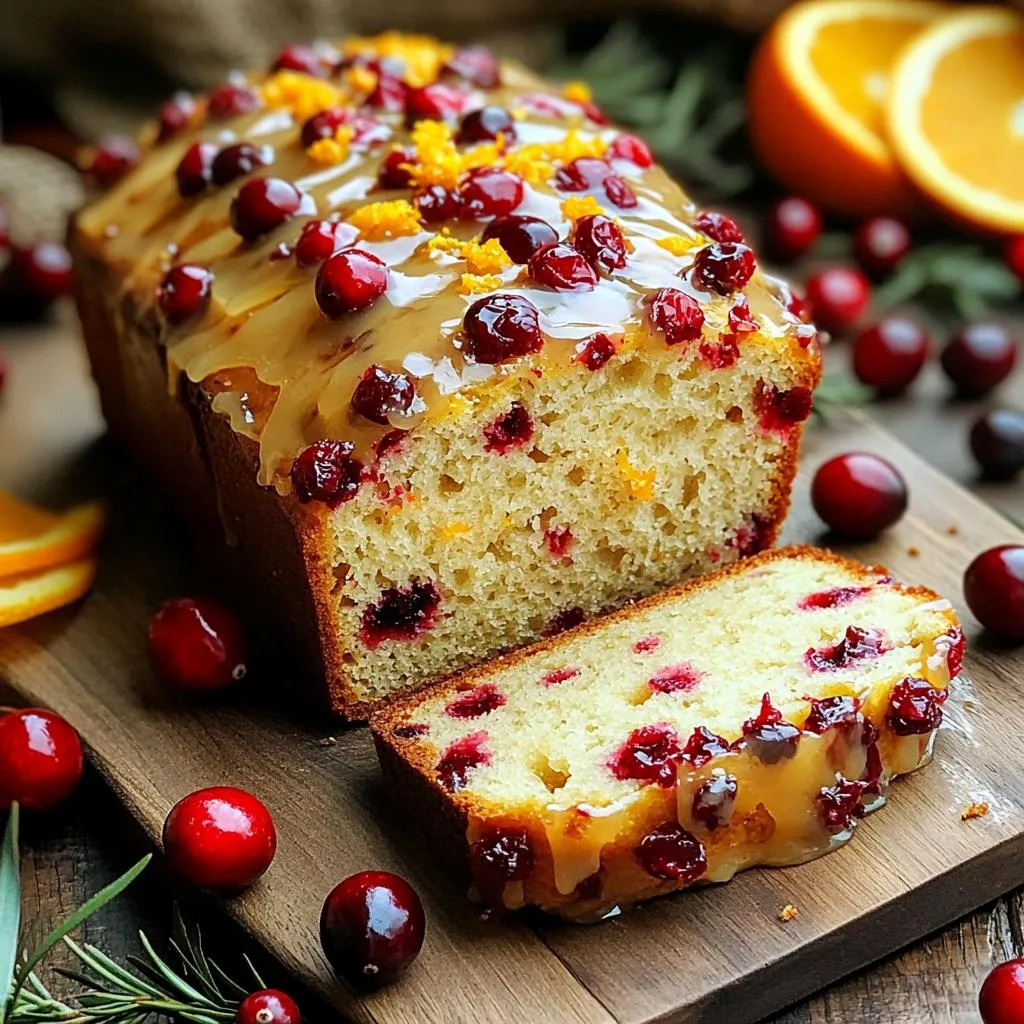
Warm Cranberry Orange Glazed Bread Irresistible Delight
If you crave a warm, comforting treat, let me introduce you to my Warm Cranberry Orange Glazed Bread. This delightful bread bursts with flavors of
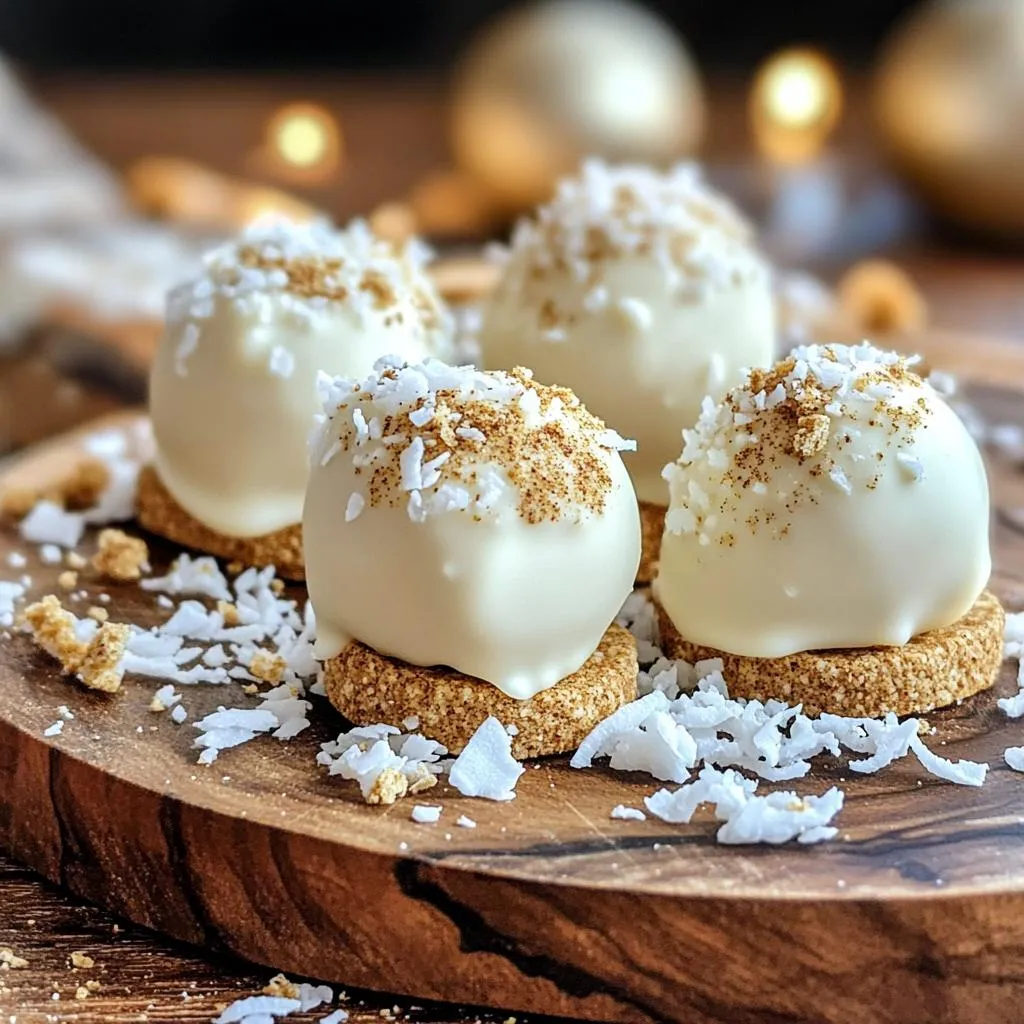
No-Bake Eggnog White Chocolate Truffles Delight
Get ready for a sweet holiday treat with my No-Bake Eggnog White Chocolate Truffles! Perfect for festive gatherings or cozy nights in, these truffles offer
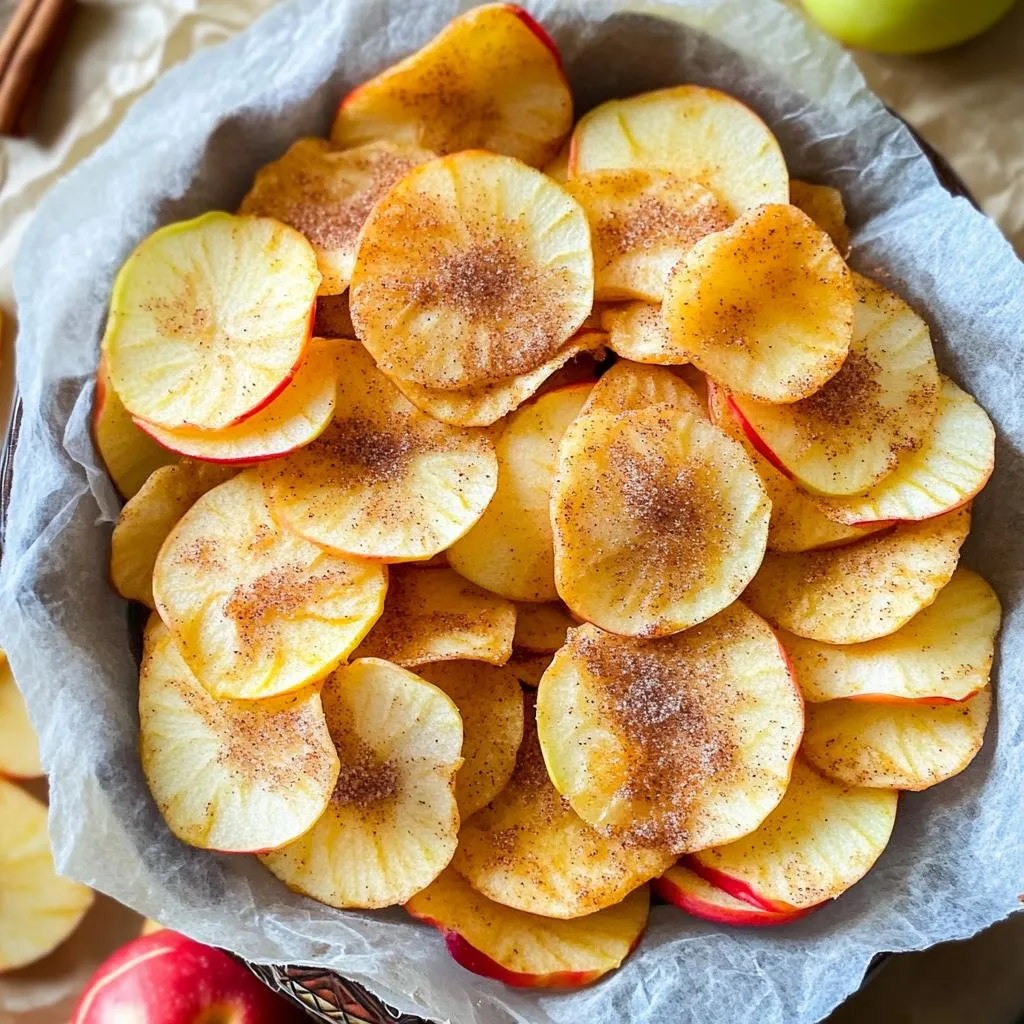
Air Fryer Cinnamon Sugar Apple Chips Crunchy Delight
Are you ready to snack smarter? With just a few ingredients and your trusty air fryer, you can make crunchy and delicious Cinnamon Sugar Apple
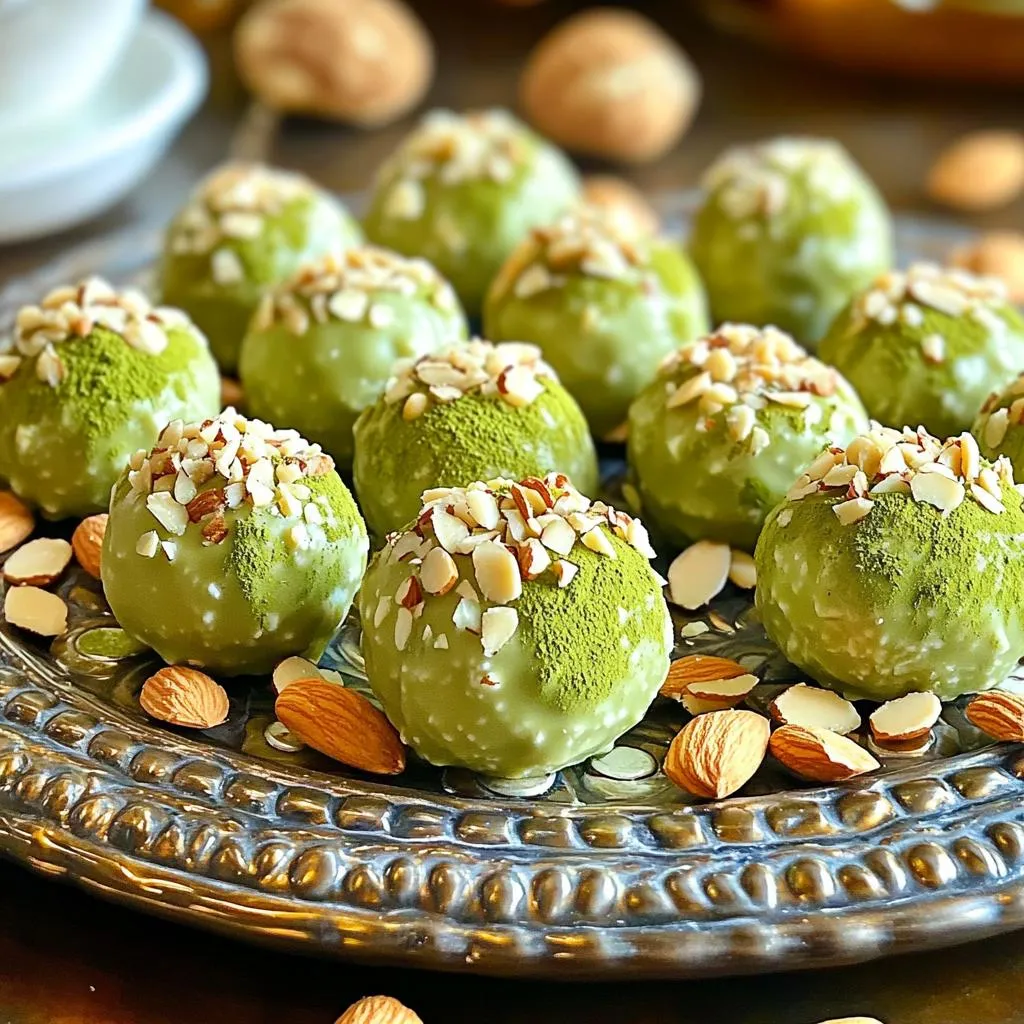
No-Bake Matcha White Chocolate Truffles Delight
Looking for a sweet treat that’s easy to make? These No-Bake Matcha White Chocolate Truffles are your answer! With just a few simple ingredients, you
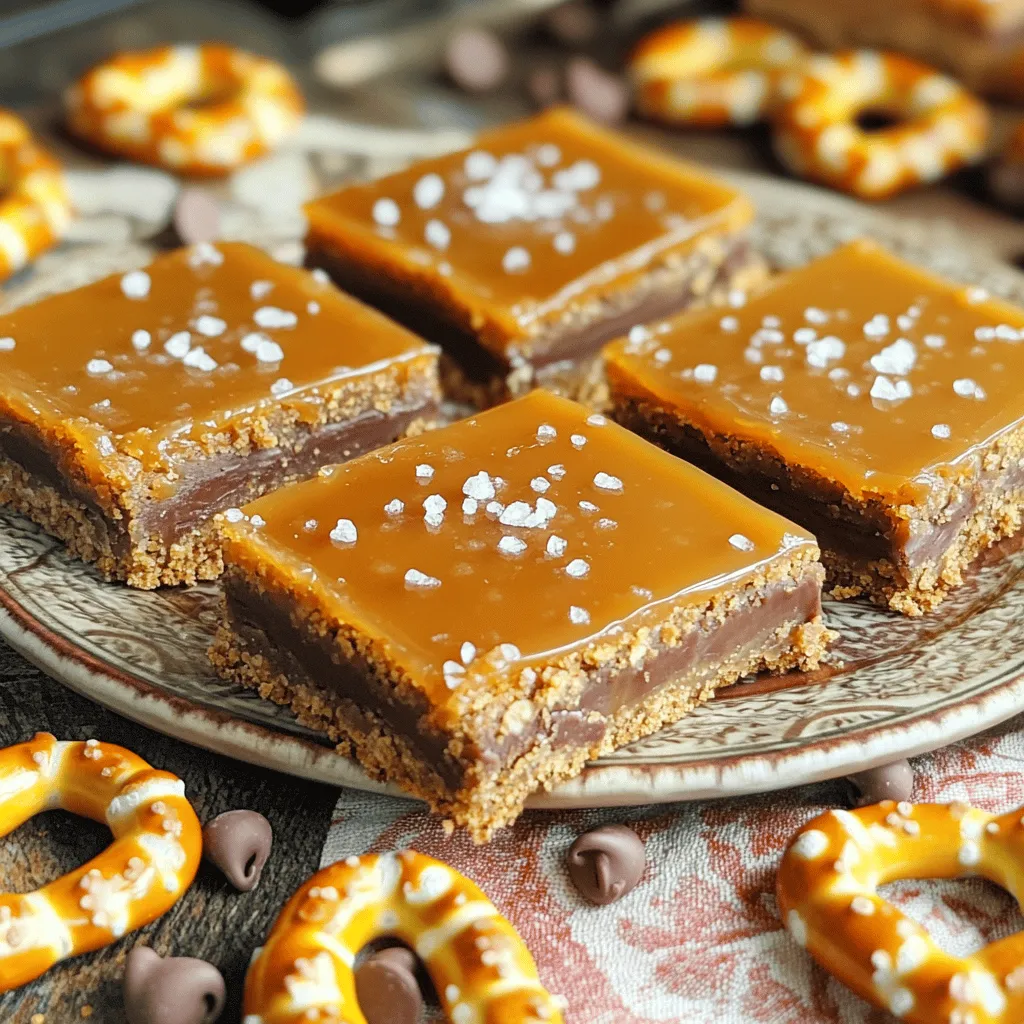
No-Bake Salted Caramel Pretzel Bars Delightful Treat
Are you ready to make a sweet treat that’s easy and fun? These No-Bake Salted Caramel Pretzel Bars mix salty and sweet in every bite.
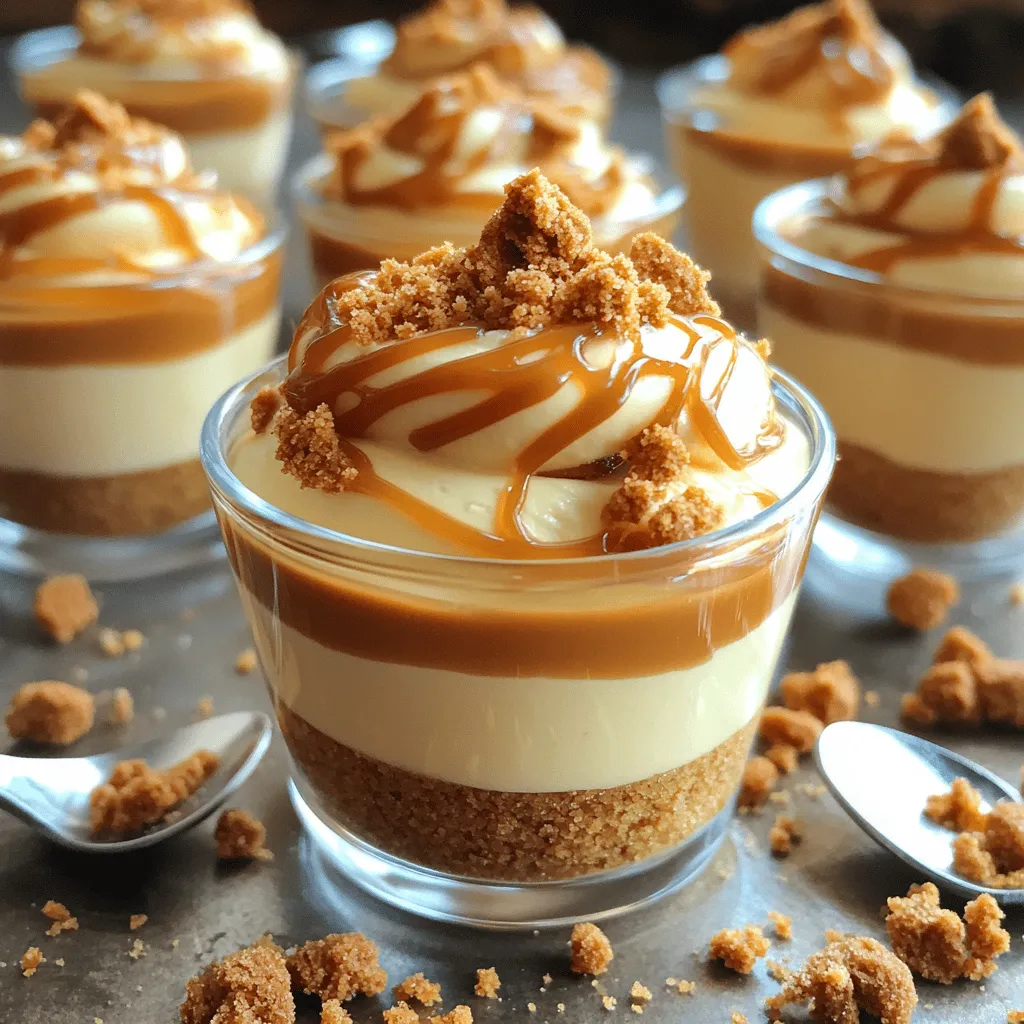
No-Bake Biscoff Cheesecake Cups Creamy and Easy Treat
Craving something sweet and easy? You’re in the right place! In this post, I’ll show you how to make No-Bake Biscoff Cheesecake Cups. These creamy
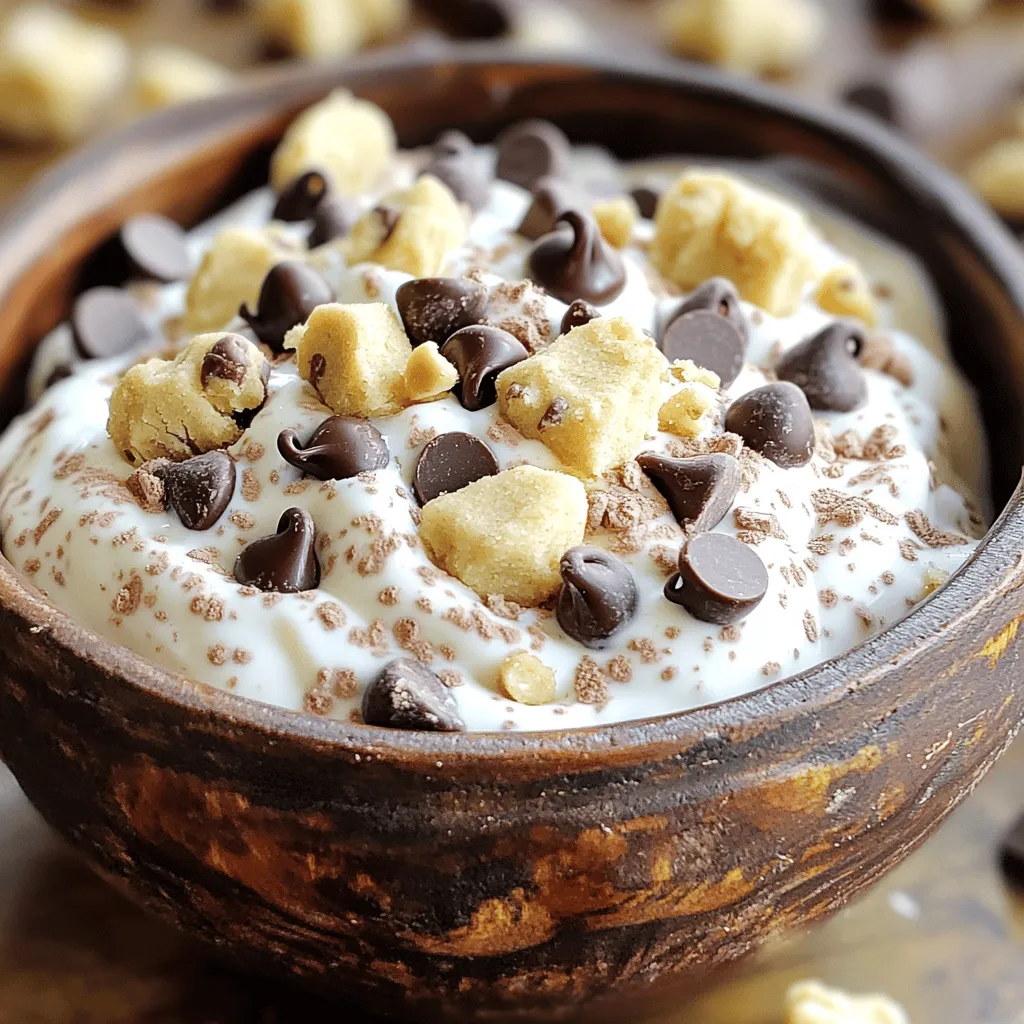
Chocolate Chip Cookie Dough Greek Yogurt Delight
Craving a treat that satisfies your sweet tooth but won’t derail your diet? Look no further! This Chocolate Chip Cookie Dough Greek Yogurt Delight offers
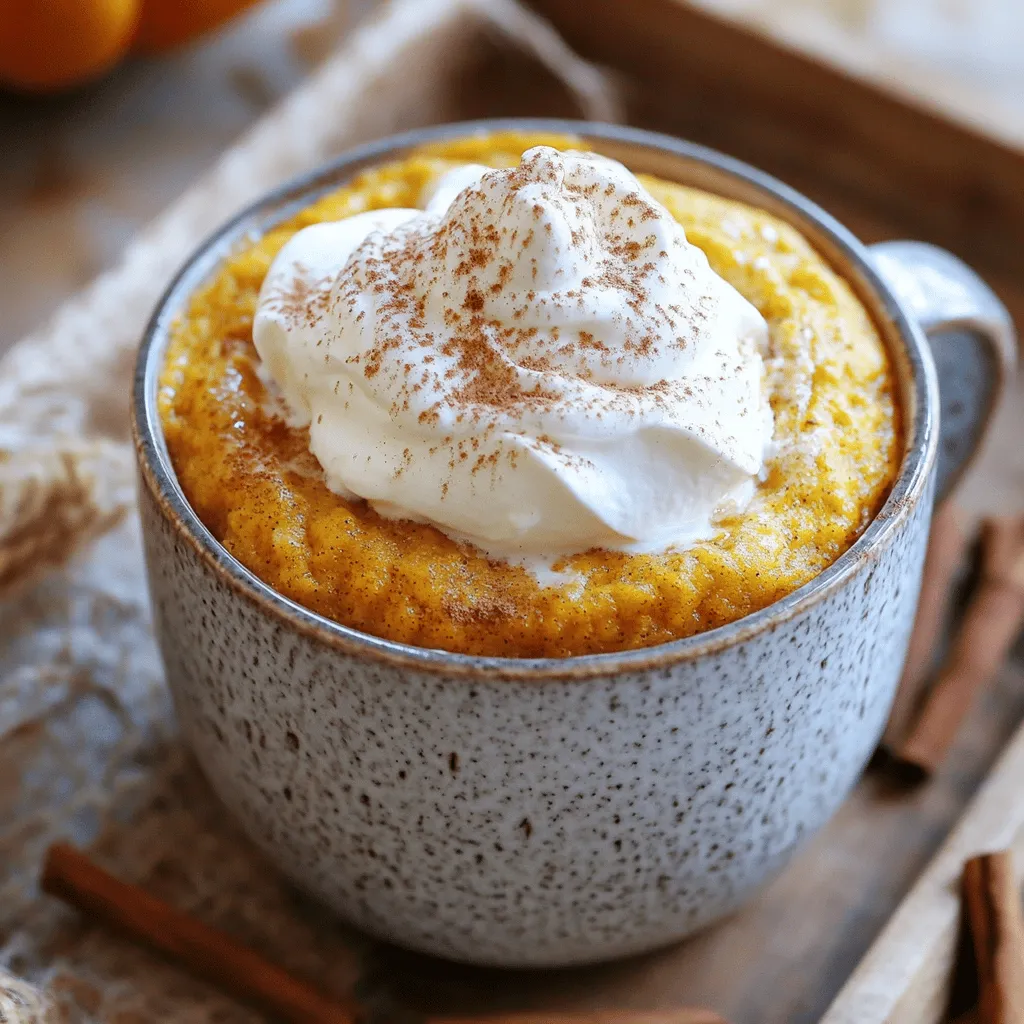
Pumpkin Spice Latte Mug Cake Simple Autumn Delight
Fall is the perfect time for cozy treats. If you love pumpkin spice lattes, you’ll adore this simple mug cake recipe! In just minutes, you
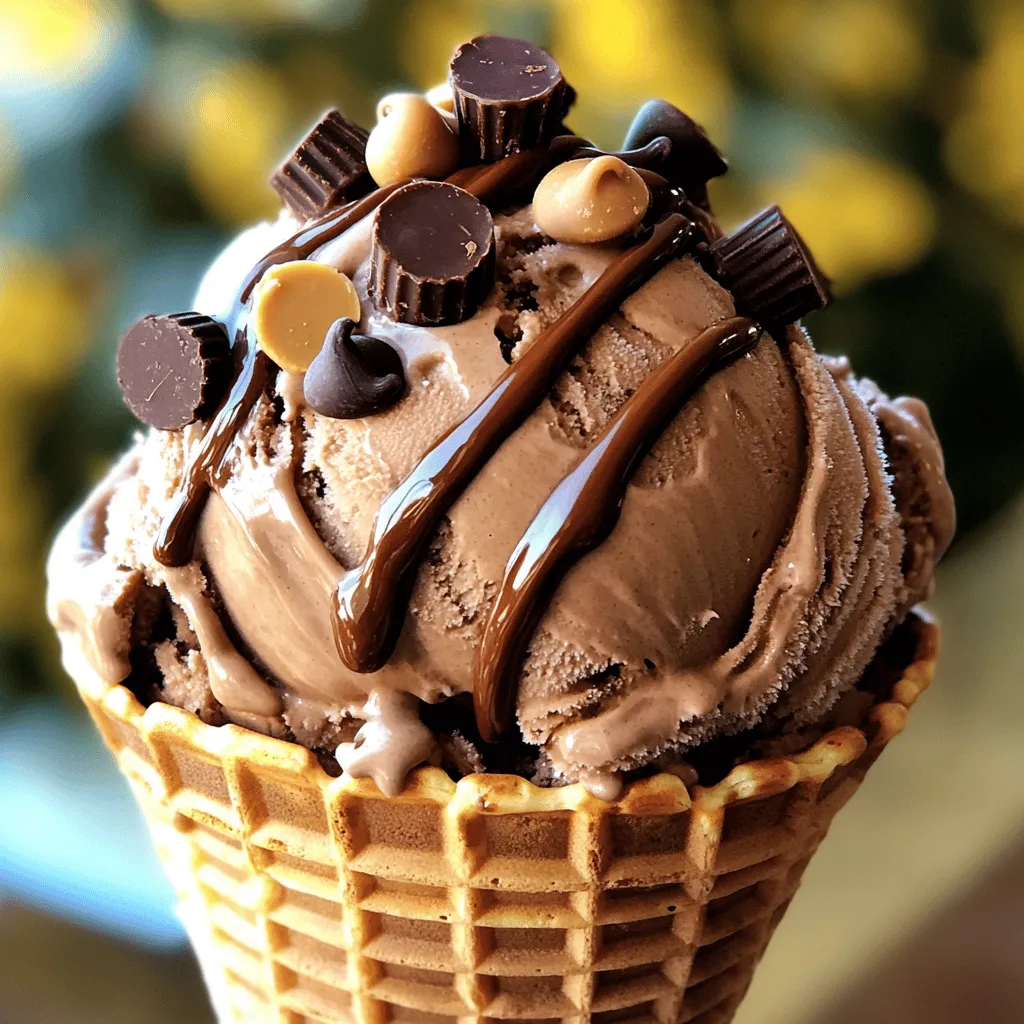
No-Churn Chocolate Peanut Butter Cup Ice Cream Delight
Are you ready for a sweet treat that requires no machine? My No-Churn Chocolate Peanut Butter Cup Ice Cream Delight is the perfect answer! With