Desserts
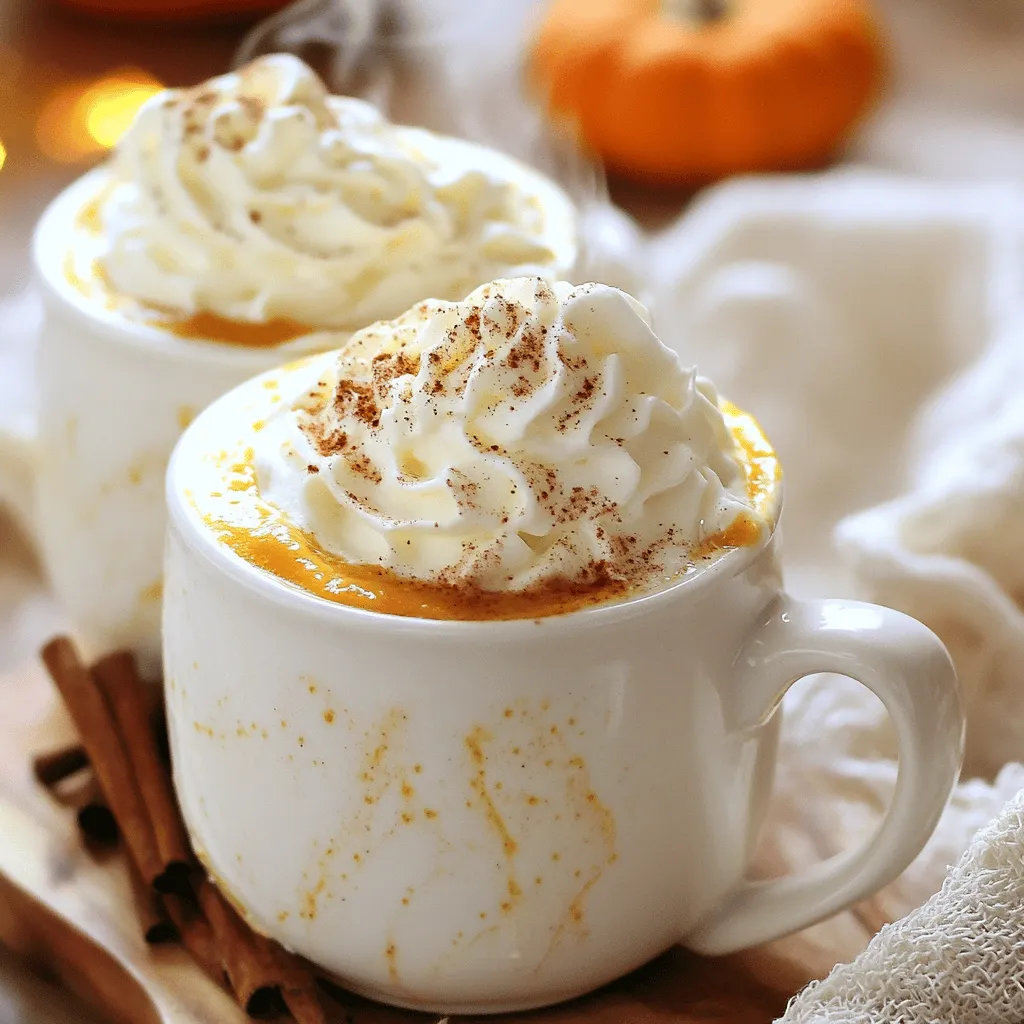
Creamy Pumpkin Spice White Hot Chocolate Delight
Craving a warm, cozy drink that captures fall’s magic? You’re in the right spot! My Creamy Pumpkin Spice White Hot Chocolate Delight combines the rich
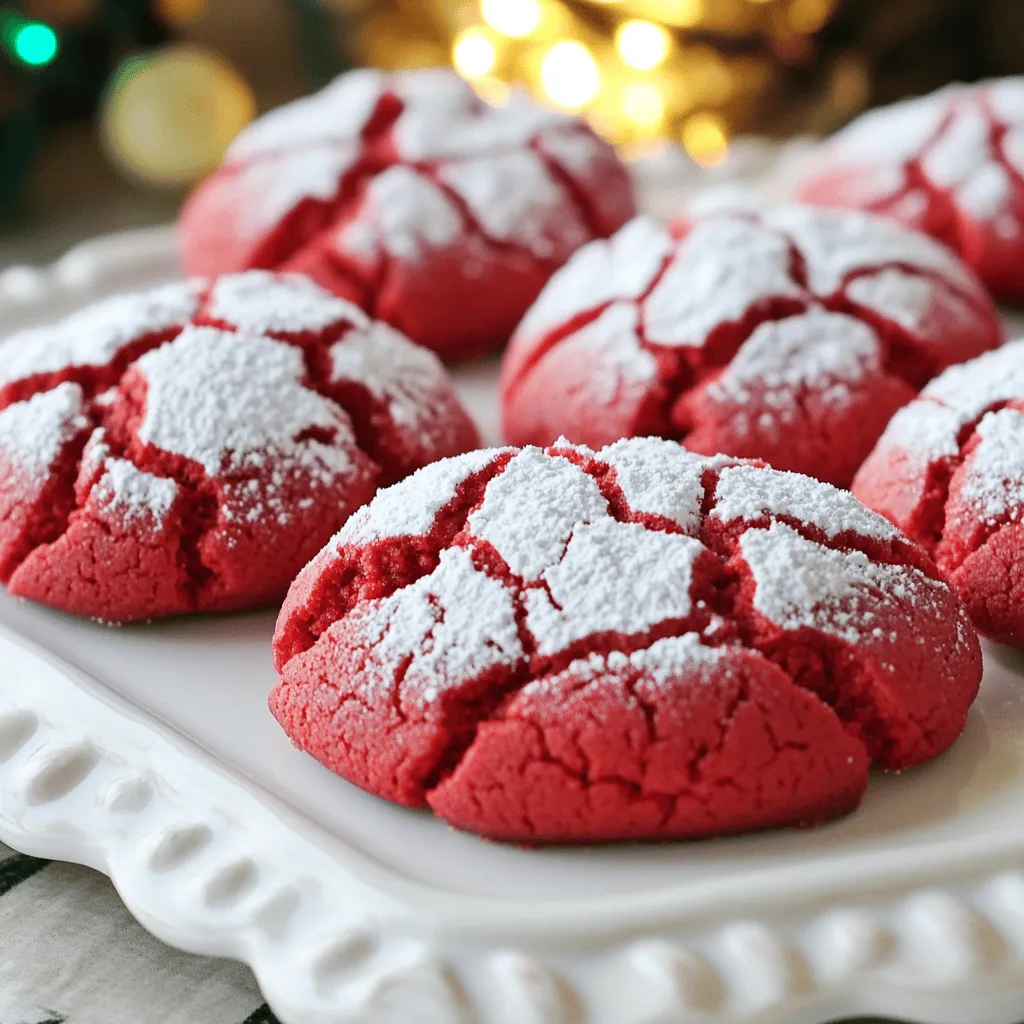
Bakery-Style Red Velvet Crinkle Cookies Delight
Are you ready for a treat that looks as good as it tastes? Bakery-Style Red Velvet Crinkle Cookies will take your baking game to new

Chewy Brown Butter M&M Cookie Bars Delightful Dessert
Craving a sweet treat that’s easy and fun to make? Look no further than these Chewy Brown Butter M&M Cookie Bars! With rich brown butter

Strawberry Shortcake Icebox Cake Simple and Delicious
Get ready to indulge in a cool treat that’s perfect for any occasion! My Strawberry Shortcake Icebox Cake is simple and delicious, combining fresh strawberries

No-Bake Oreo Cheesecake Bars Delightful and Easy Recipe
Craving a sweet treat that’s both easy and delicious? Look no further than my No-Bake Oreo Cheesecake Bars! This simple recipe combines creamy cheesecake with

Frozen Peanut Butter Cup Banana Bites Delightful Treat
Craving a sweet treat that’s easy to make and good for you? Let’s dive into creating delightful Frozen Peanut Butter Cup Banana Bites! With just

Flourless Double Chocolate Banana Bread Delight
Are you ready to indulge in a rich dessert that’s also guilt-free? This Flourless Double Chocolate Banana Bread combines ripe bananas and nut butter for

No-Bake Lemon Blueberry Cheesecake Jars Delight
If you love sweet treats but want to skip the oven, you’re in for a treat! My No-Bake Lemon Blueberry Cheesecake Jars are simple, creamy,

Flourless Chocolate Peanut Butter Mug Cake Delight
Craving a sweet treat that’s quick and easy? This Flourless Chocolate Peanut Butter Mug Cake is your answer! In just minutes, you can whip up

Brown Butter Salted Caramel Blondies Delightful Treat
If you’re craving a sweet treat that’s both chewy and rich, look no further. Brown Butter Salted Caramel Blondies are a game-changer in dessert! With