Desserts

Classic Snickerdoodle Blondies Irresistible Treat Recipe
If you love sweet treats, you’re in for a real delight! Classic Snickerdoodle Blondies blend the rich, butter flavor of blondies with the cinnamon twist

Blueberry Lemon Cheesecake Bars Delightful Dessert Option
Looking for a sweet treat that brightens your day? Blueberry Lemon Cheesecake Bars are a perfect match! These bars blend creamy cheesecake with fresh, zesty

Cranberry White Chocolate Cookies Quick and Easy Recipe
Cranberry white chocolate cookies are a sweet treat you can’t resist! This quick and easy recipe combines tangy cranberries with creamy white chocolate for the
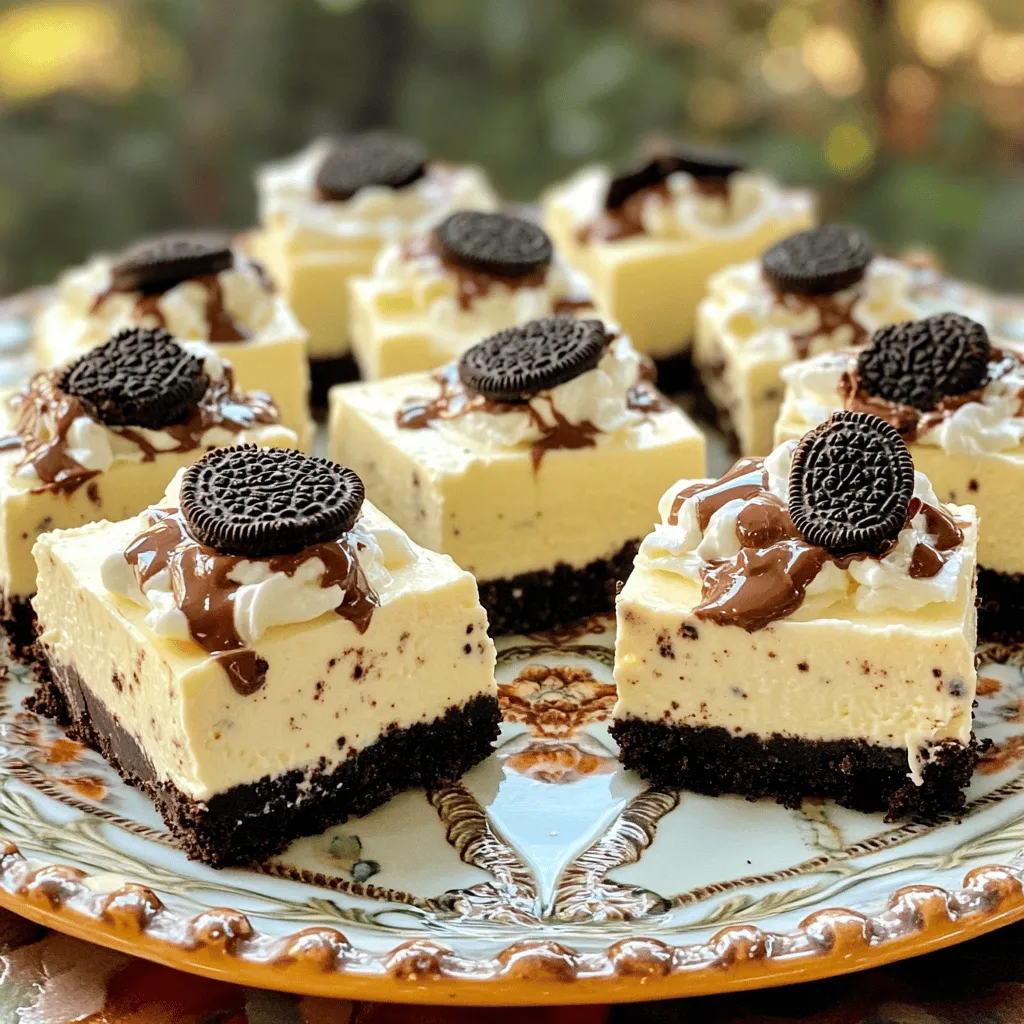
No-Bake Oreo Cheesecake Bars Creamy Dessert Delight
Welcome to dessert heaven! If you love cookies and cream, these No-Bake Oreo Cheesecake Bars are a must-try. They’re creamy, rich, and easy to make,
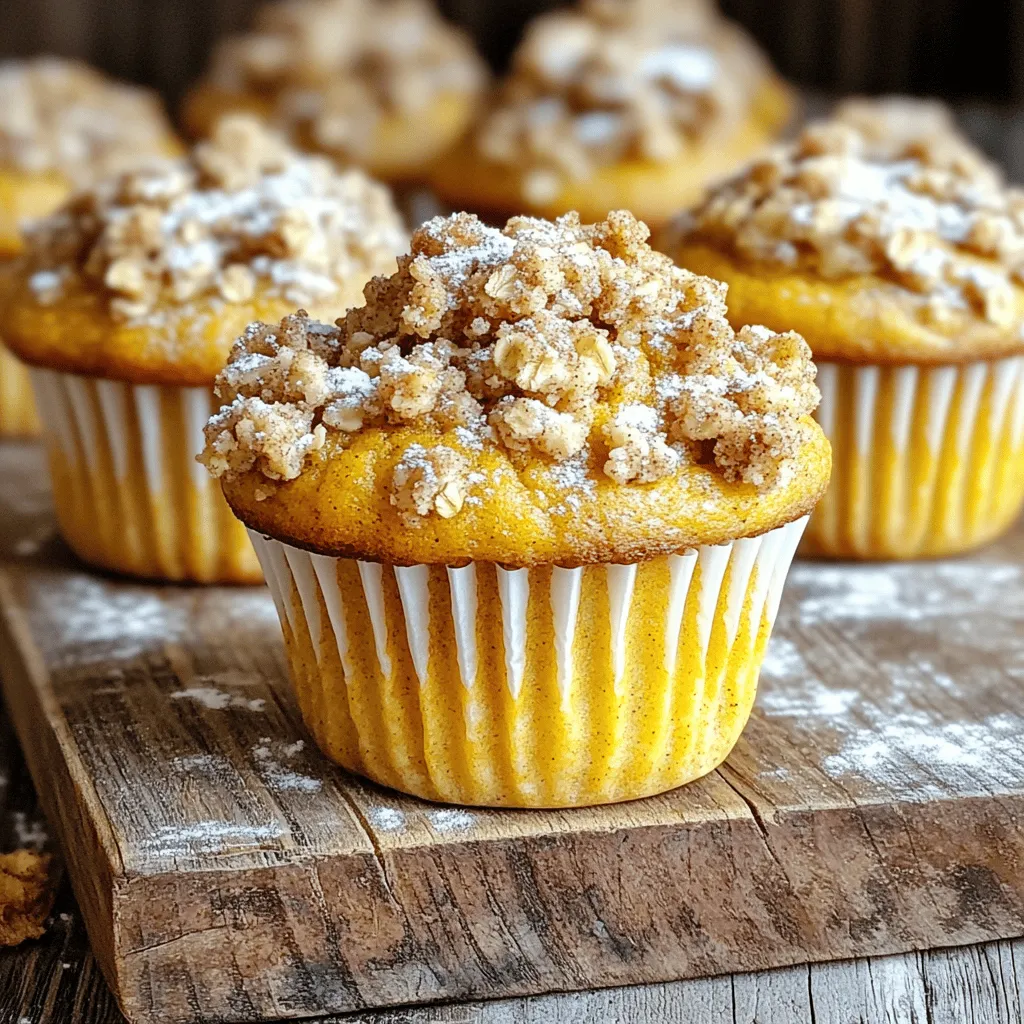
Pumpkin Streusel Muffins Delightful Fall Treat Recipe
Fall is the perfect time to indulge in the warm, spicy flavors of Pumpkin Streusel Muffins. This delightful treat will fill your kitchen with sweet
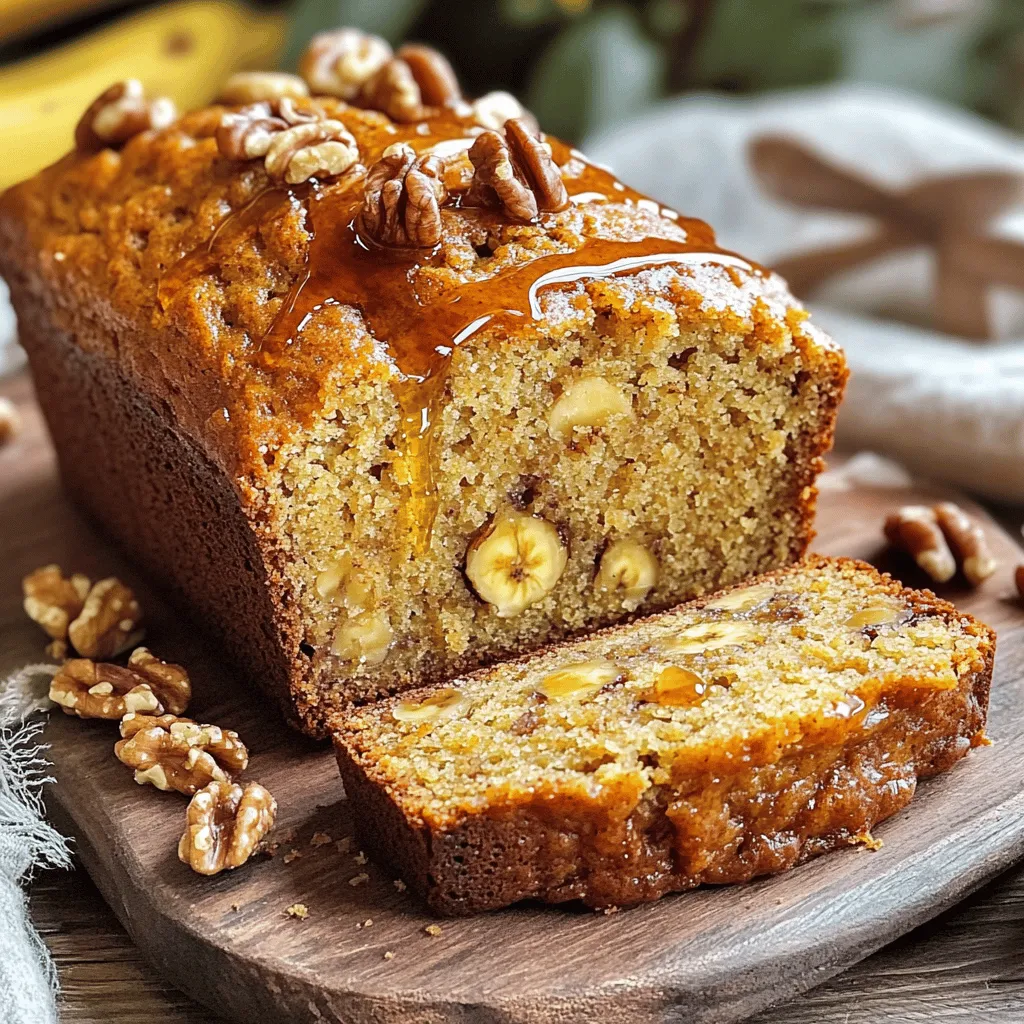
Maple Walnut Banana Bread Deliciously Moist Treat
If you love banana bread, you’re in for a treat! This Maple Walnut Banana Bread is a perfect mix of sweet and nutty flavors. It’s
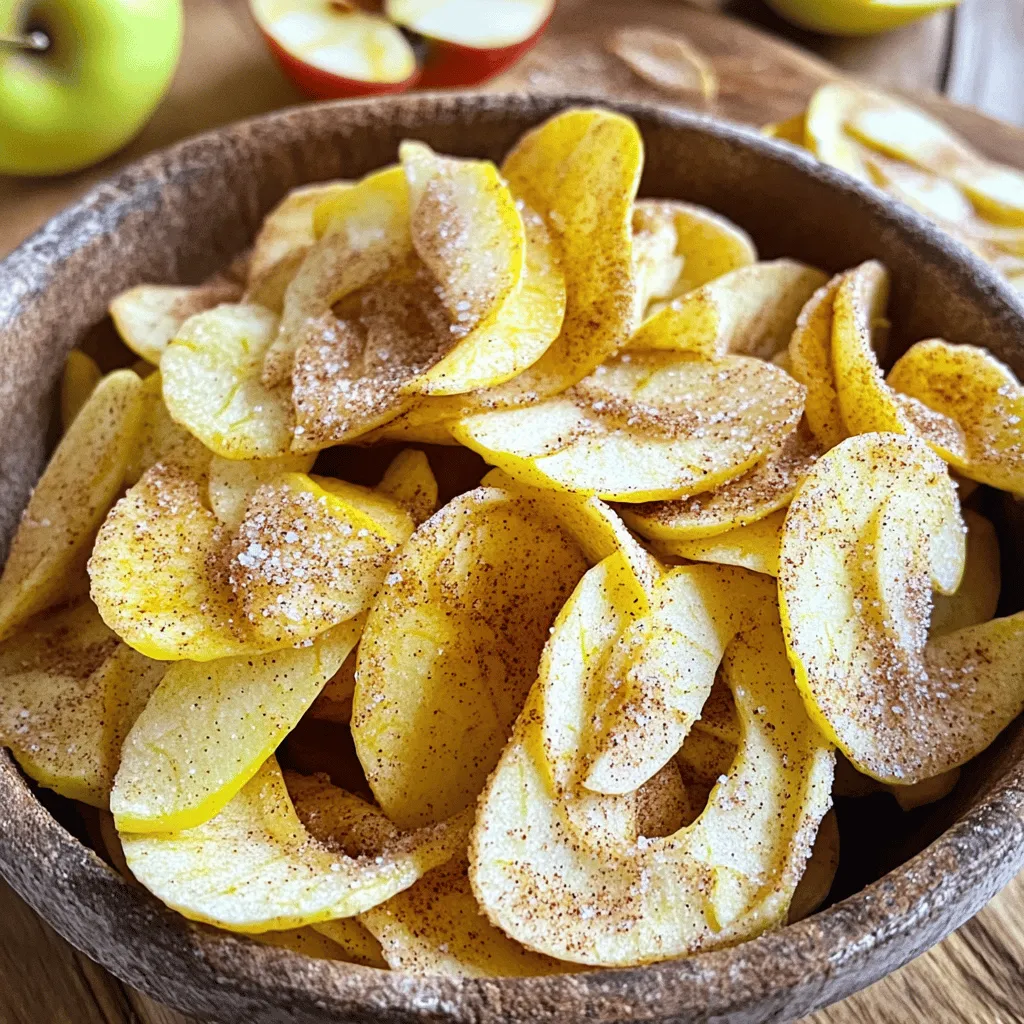
Air Fryer Cinnamon Sugar Apple Chips Delightful Snack
Do you crave a tasty snack that’s easy to make? Look no further! Air Fryer Cinnamon Sugar Apple Chips are your answer. They are sweet,
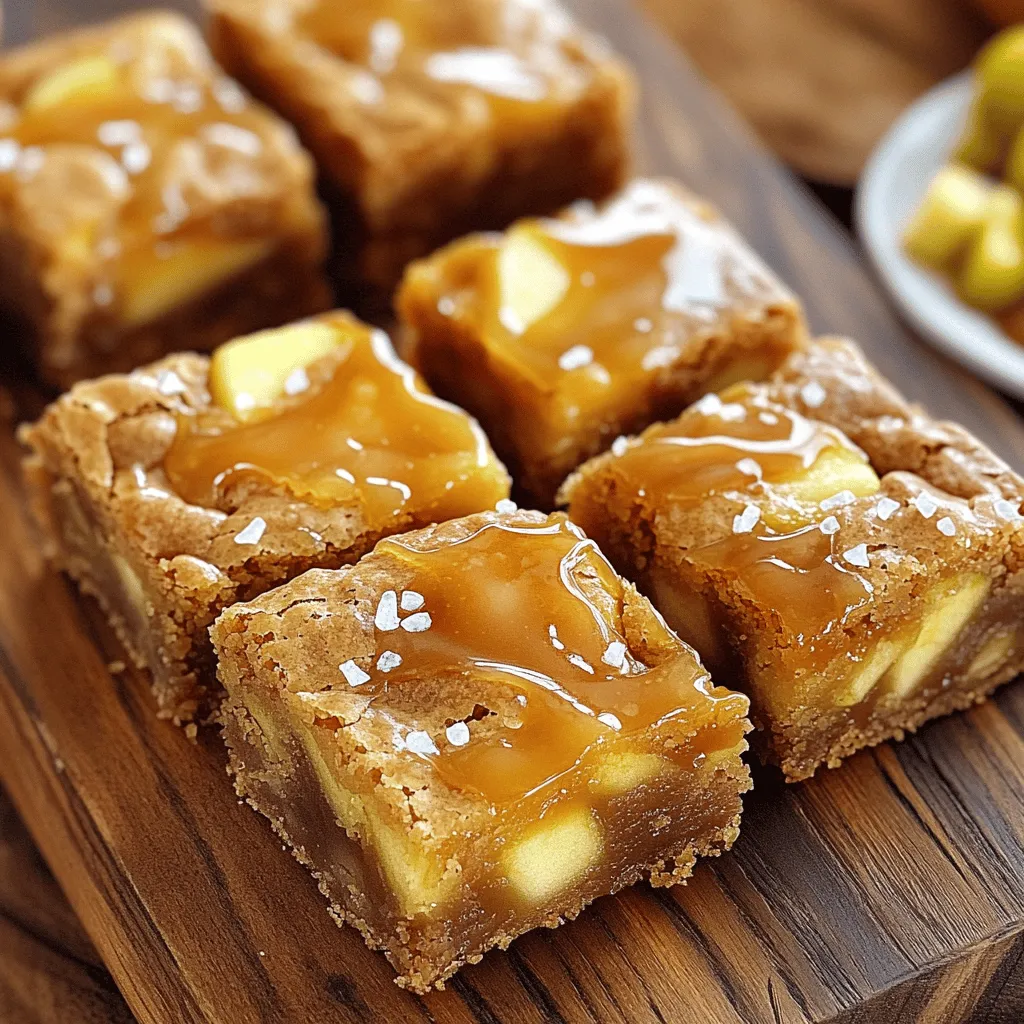
Brown Butter Salted Caramel Apple Blondies Delight
Indulge in the warm, gooey goodness of Brown Butter Salted Caramel Apple Blondies! You’ll love how the rich brown butter melds with sweet apples and
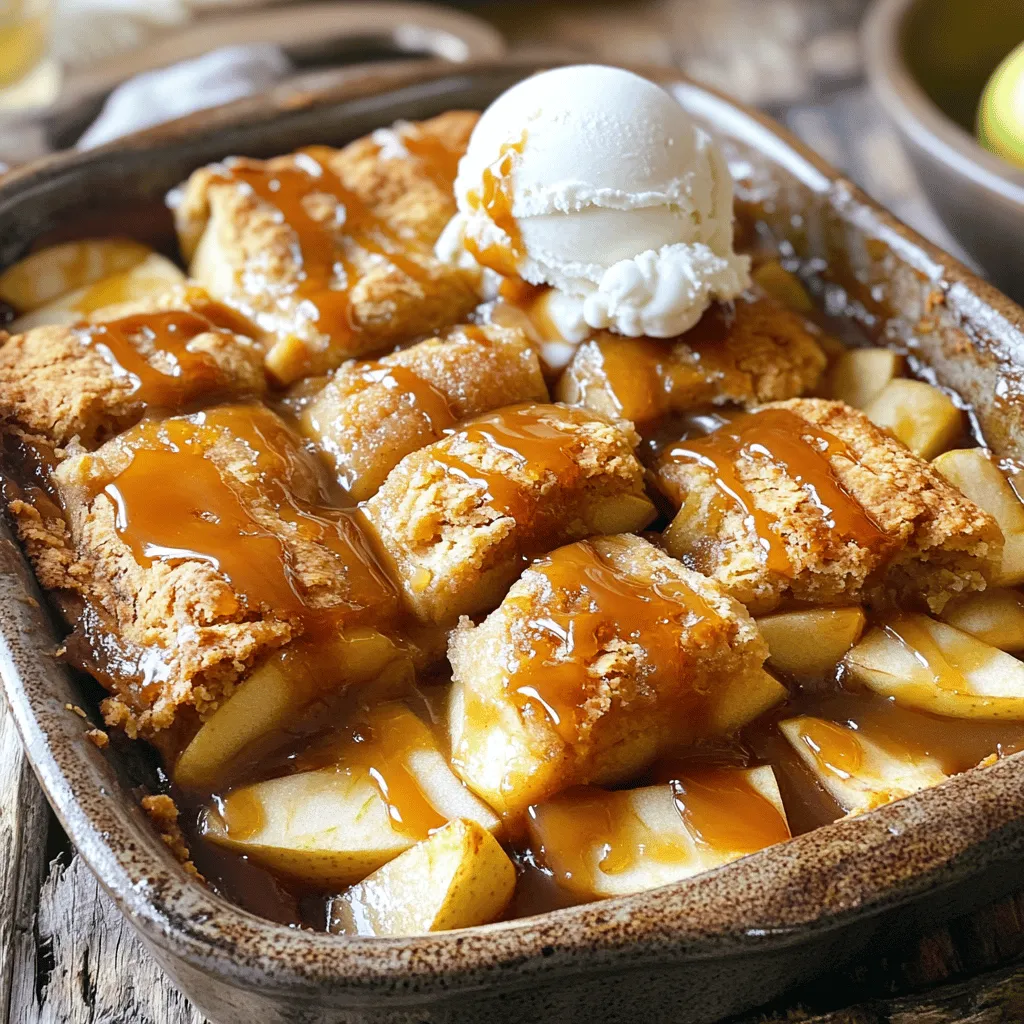
Caramel Apple Cobbler Delightful and Simple Recipe
Are you ready to indulge in a warm and delicious dessert that’s both simple and delightful? My Caramel Apple Cobbler recipe combines juicy apples with
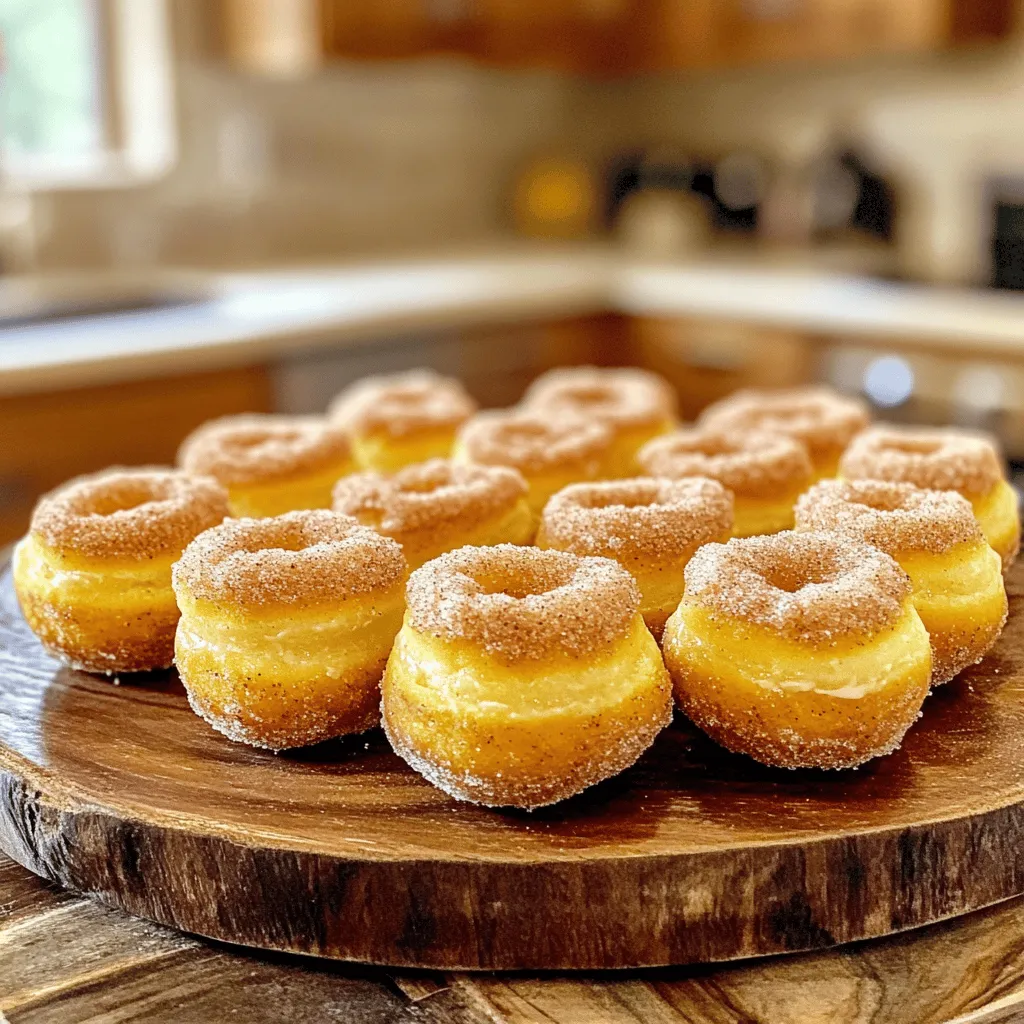
Cinnamon Sugar Pumpkin Donut Holes Simple and Sweet
There’s nothing quite like the cozy, sweet taste of Cinnamon Sugar Pumpkin Donut Holes. In this simple and sweet recipe, I will guide you through