Dinner
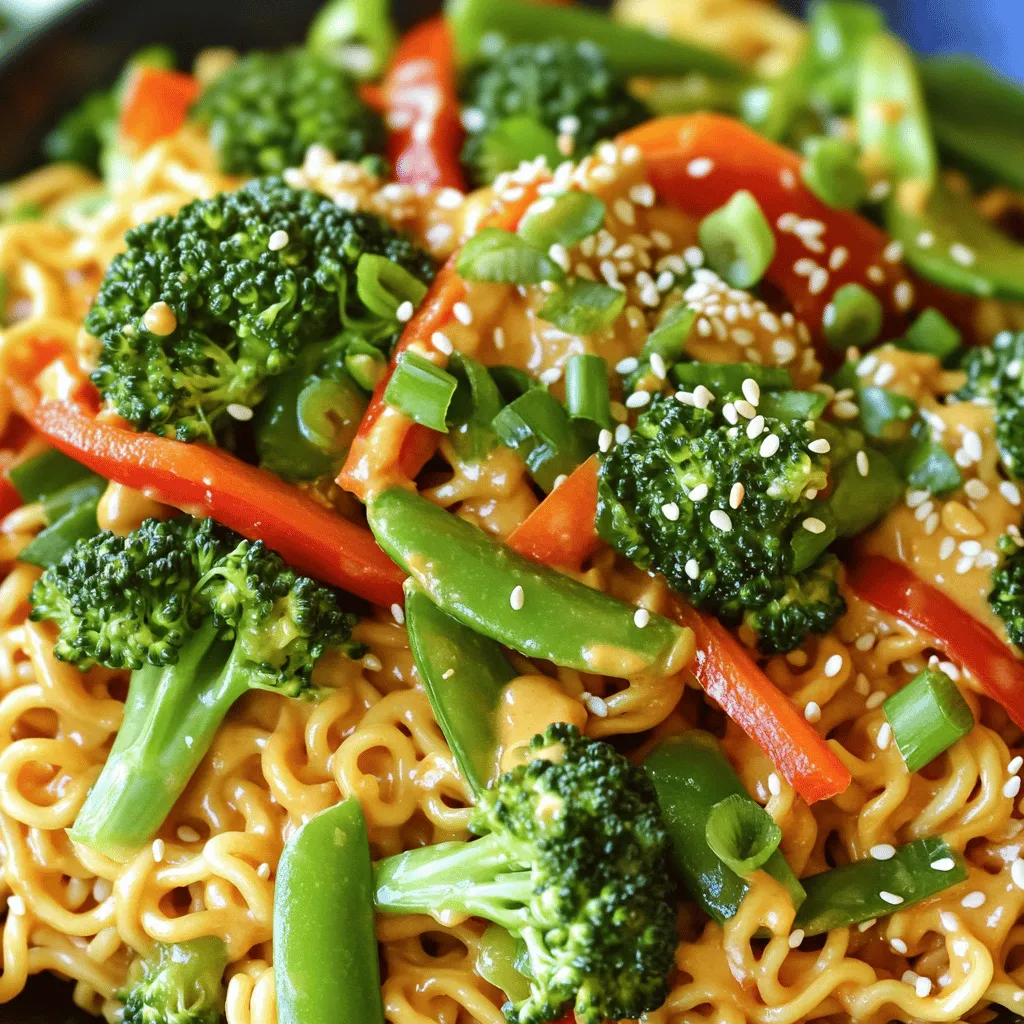
Minute Spicy Peanut Ramen Stir Fry Quick and Tasty Meal
Looking for a quick meal that bursts with flavor? You’re in the right place! My Minute Spicy Peanut Ramen Stir Fry is fast, tasty, and
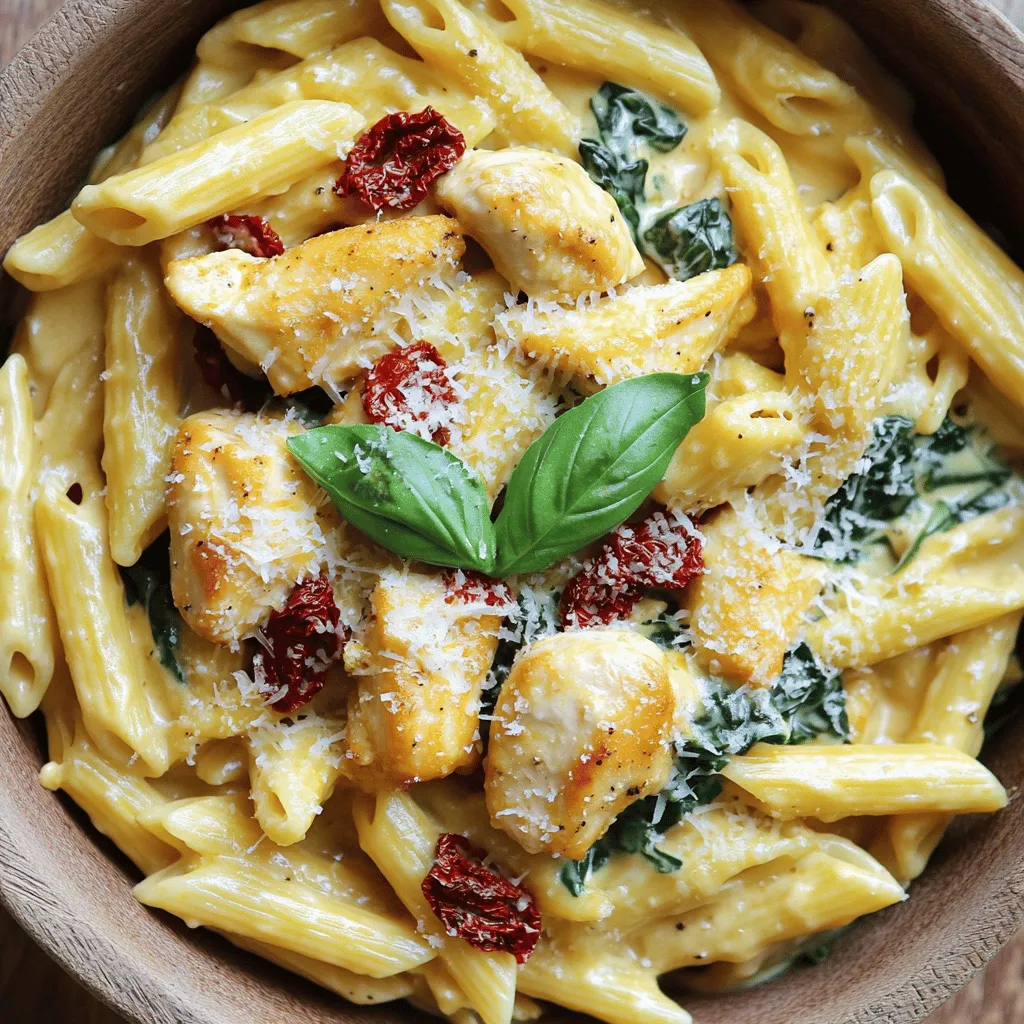
Instant Pot Creamy Tuscan Chicken Pasta Delight
Craving a rich and creamy pasta dish that’s easy to whip up? You’re in the right place! My Instant Pot Creamy Tuscan Chicken Pasta Delight
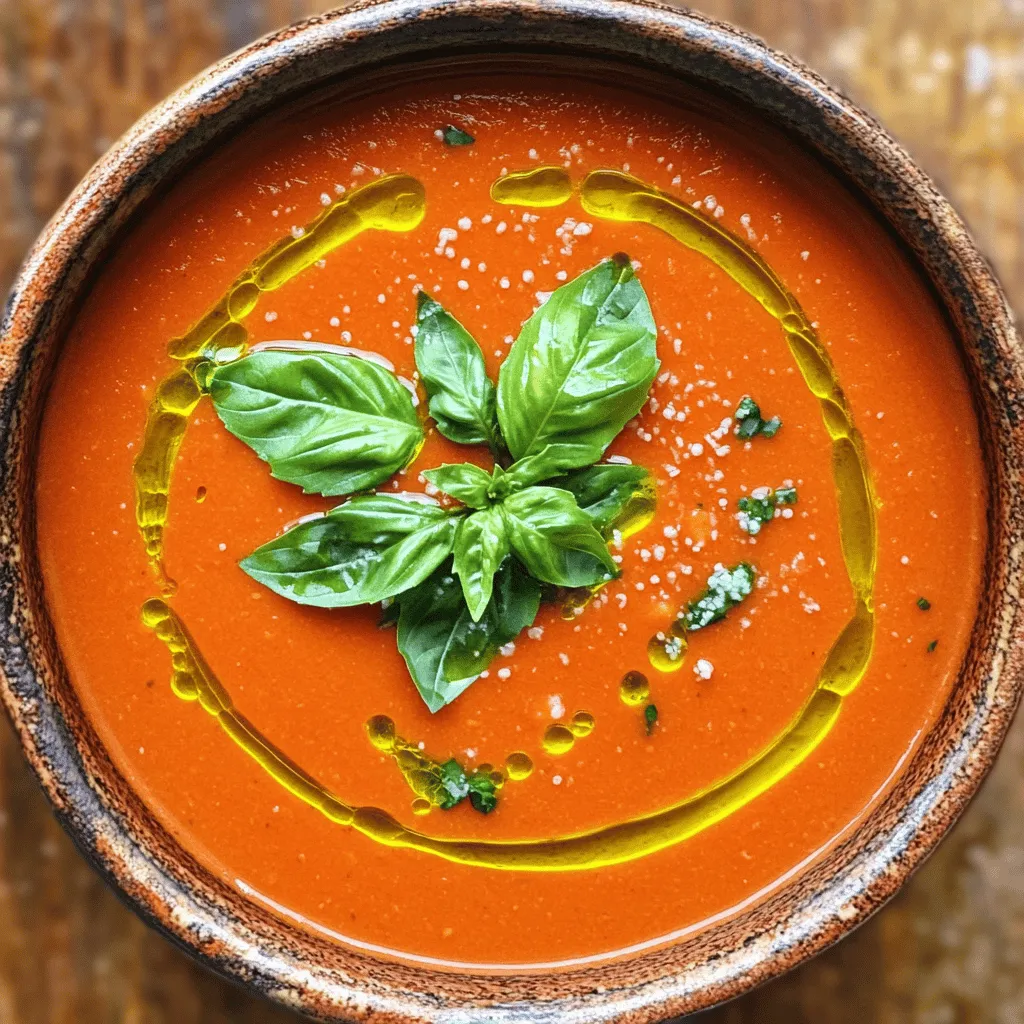
Instant Pot Creamy Tomato Basil Soup Simple Recipe
Ready to enjoy a bowl of creamy goodness? My Instant Pot Creamy Tomato Basil Soup is simple, delicious, and made in no time. With just
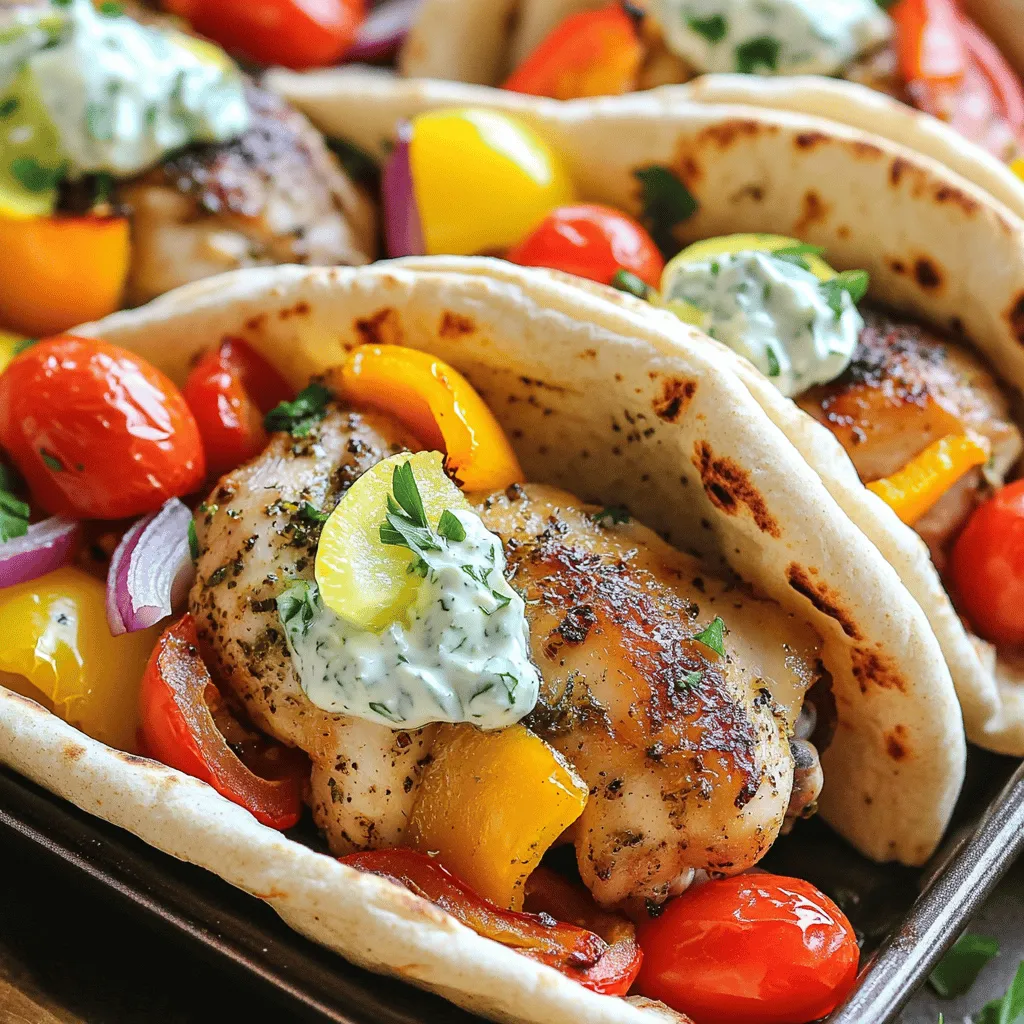
Flavorful Sheet-Pan Greek Chicken Pitas with Tzatziki
Are you ready to spice up your dinner routine? These Flavorful Sheet-Pan Greek Chicken Pitas with Tzatziki pack a punch! This easy recipe combines juicy
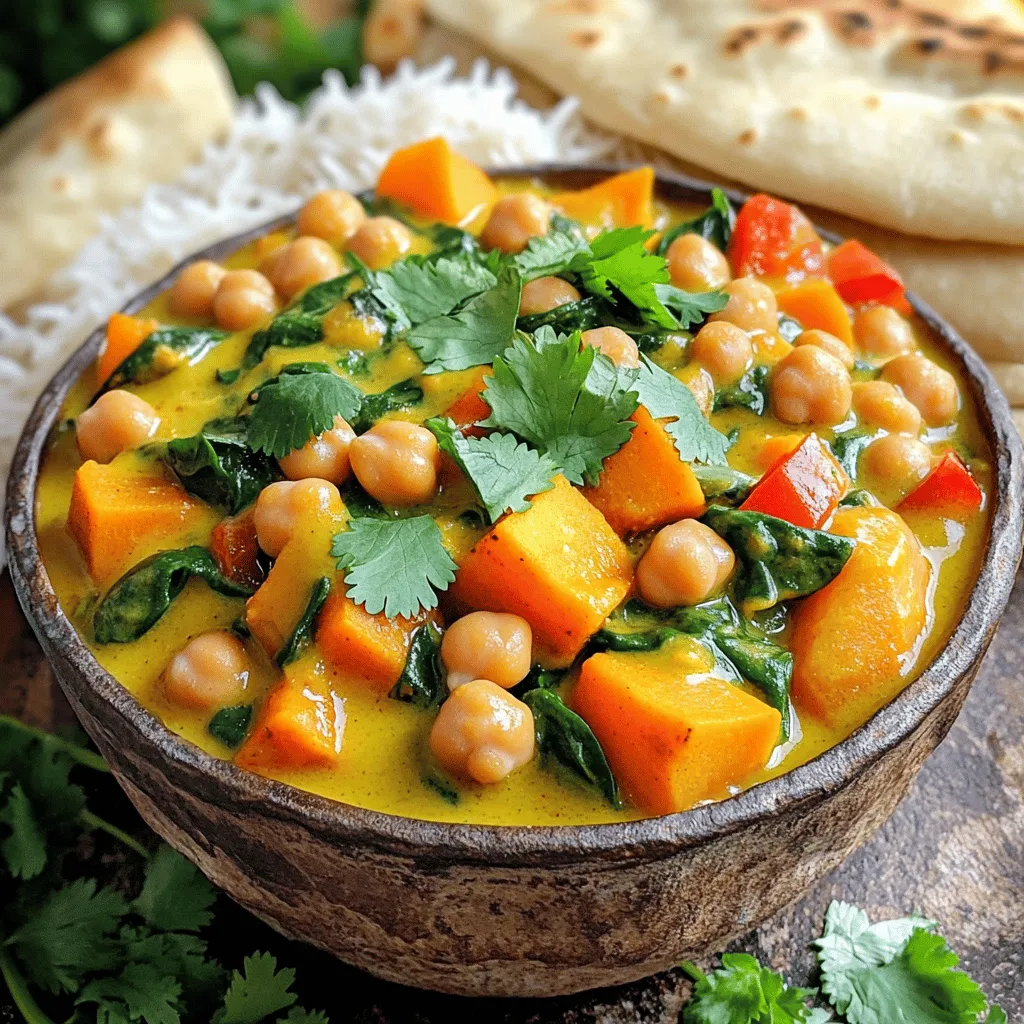
Slow Cooker Coconut Curry Chickpea Stew Delight
Looking for a warm, cozy meal that’s packed with flavor? Look no further than my Slow Cooker Coconut Curry Chickpea Stew Delight! This easy recipe
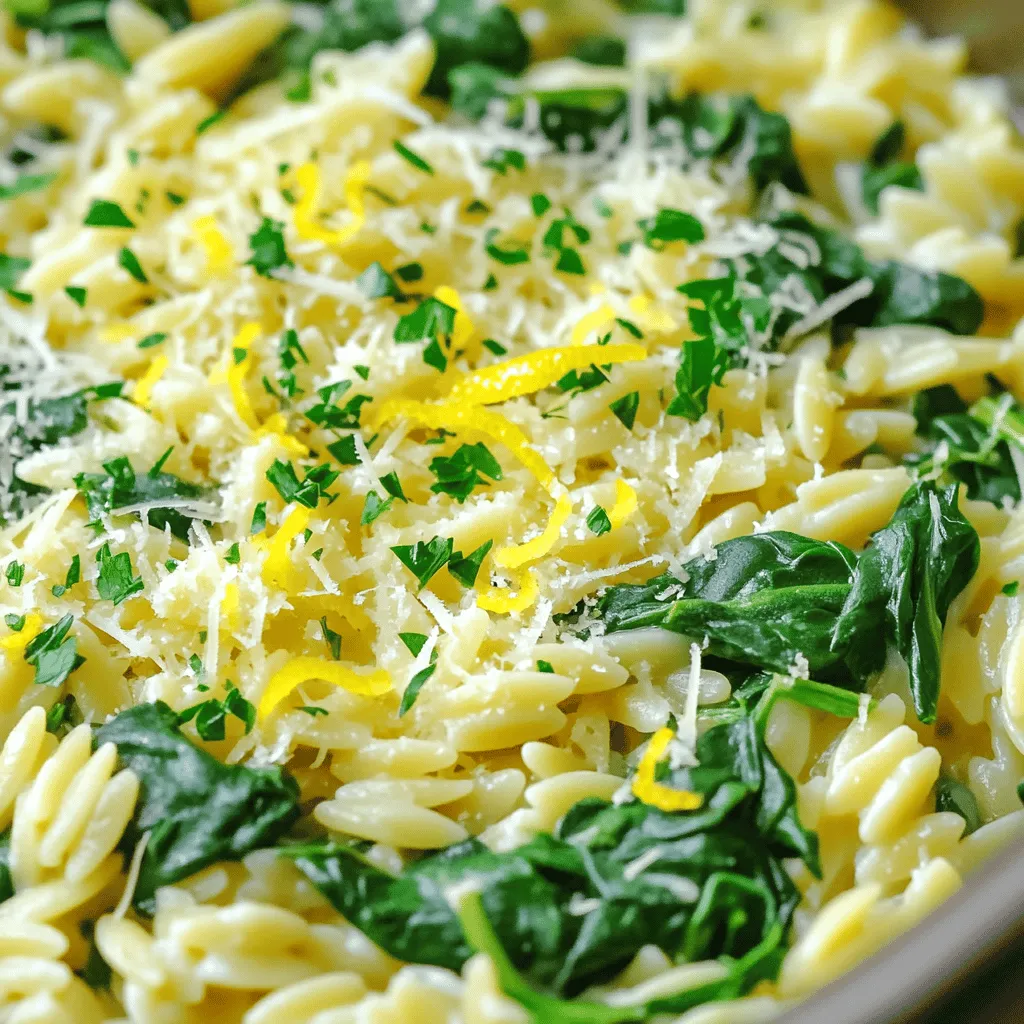
One-Pot Lemon Parmesan Orzo with Spinach Delight
Welcome to my kitchen, where simplicity meets flavor! Today, we’re diving into a delightful one-pot recipe: Lemon Parmesan Orzo with Spinach. This dish is creamy,
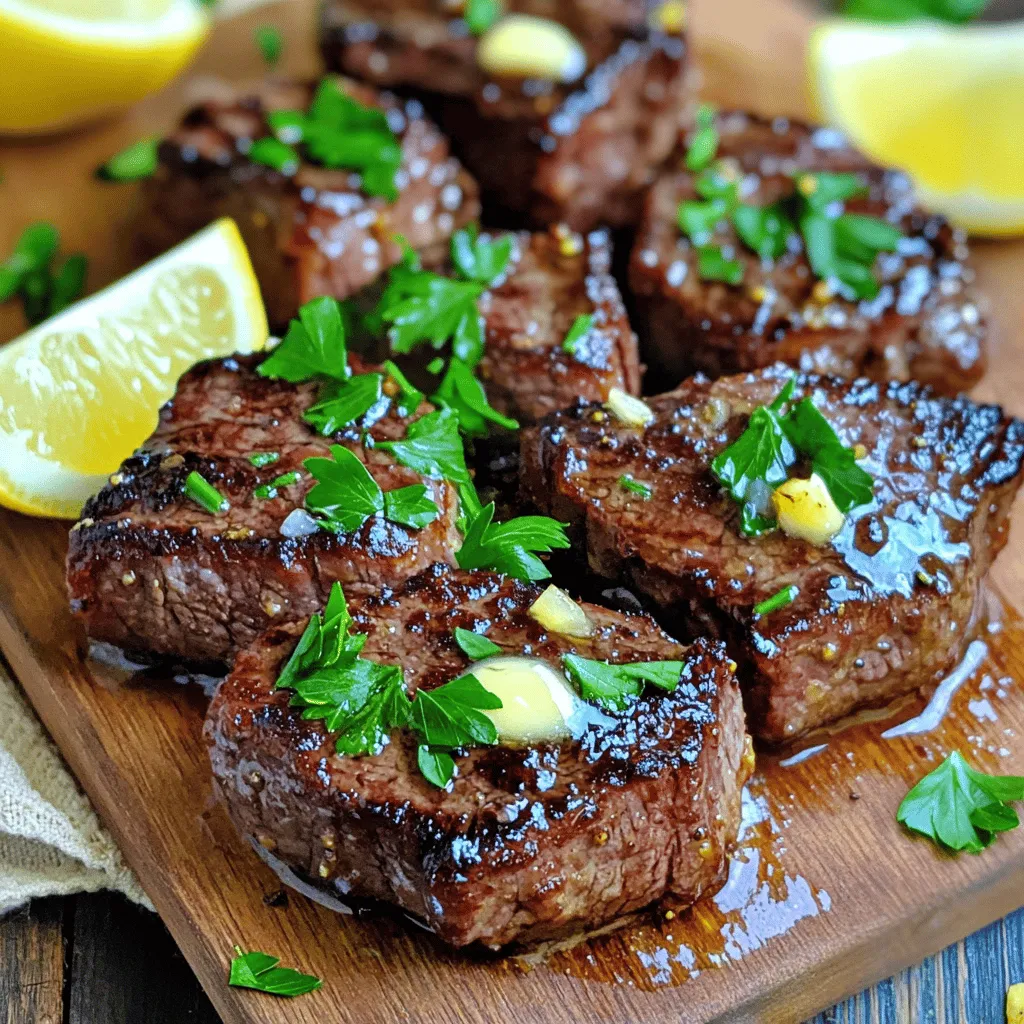
Skillet Garlic Butter Steak Bites Savory and Tender Bites
Craving a quick and tasty meal? Let me show you how to make Skillet Garlic Butter Steak Bites! This dish combines tender sirloin steak, rich
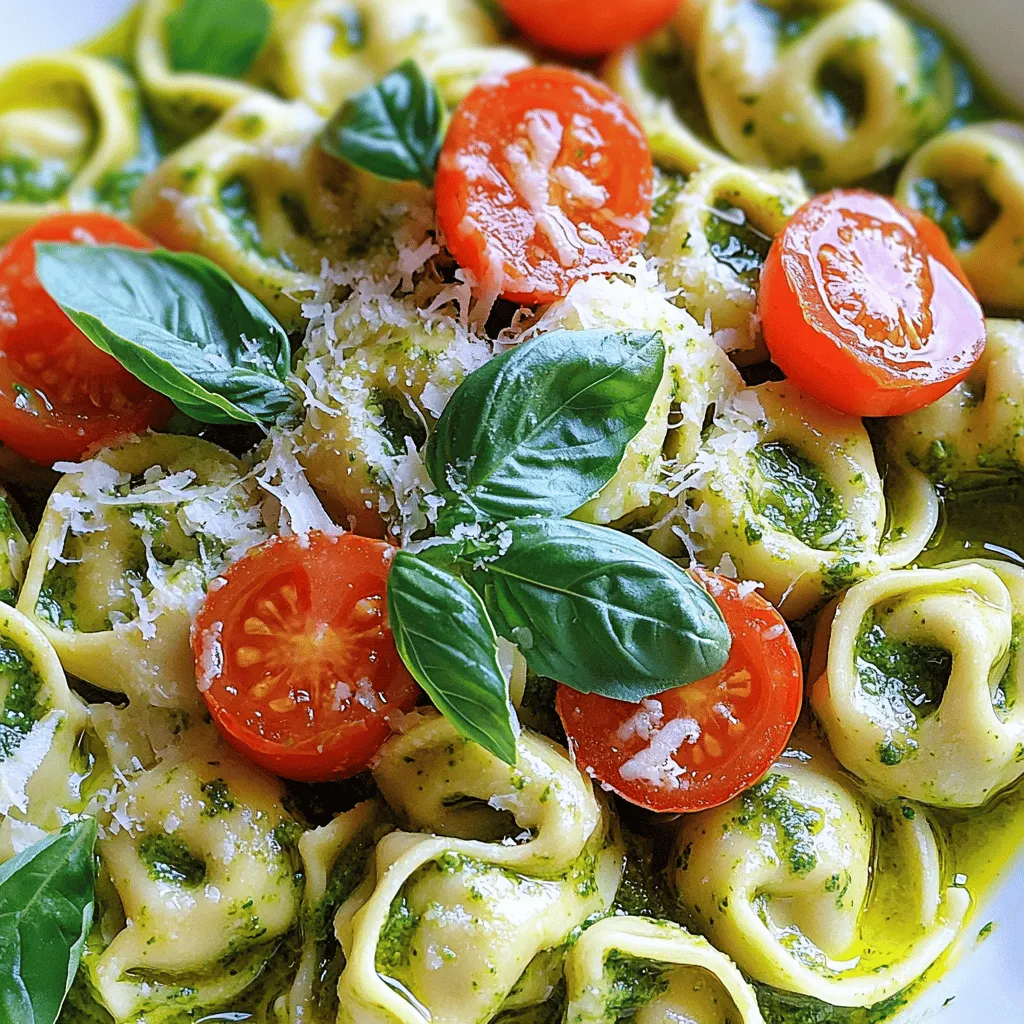
Minute Creamy Pesto Tortellini Quick and Easy Dish
Craving a quick, tasty meal? Look no further! This Minute Creamy Pesto Tortellini dish offers rich flavors in just minutes. With cheese tortellini, fresh basil

Sheet Pan Fajita Veggie Quesadillas Loaded Delight
Looking for a quick and tasty meal? These Sheet Pan Fajita Veggie Quesadillas Loaded Delight are your answer! Packed with fresh veggies, bold flavors, and

Slow Cooker Thai Peanut Chicken Delicious Dinner Recipe
Craving a flavorful dinner that takes minimal effort? Look no further than this Slow Cooker Thai Peanut Chicken! With just a few ingredients, you can