Dinner

One-Pot Creamy Tuscan Gnocchi Soup Delight
Craving a warm, creamy bowl of comfort? My One-Pot Creamy Tuscan Gnocchi Soup is your answer! This hearty dish combines fresh spinach, savory herbs, and
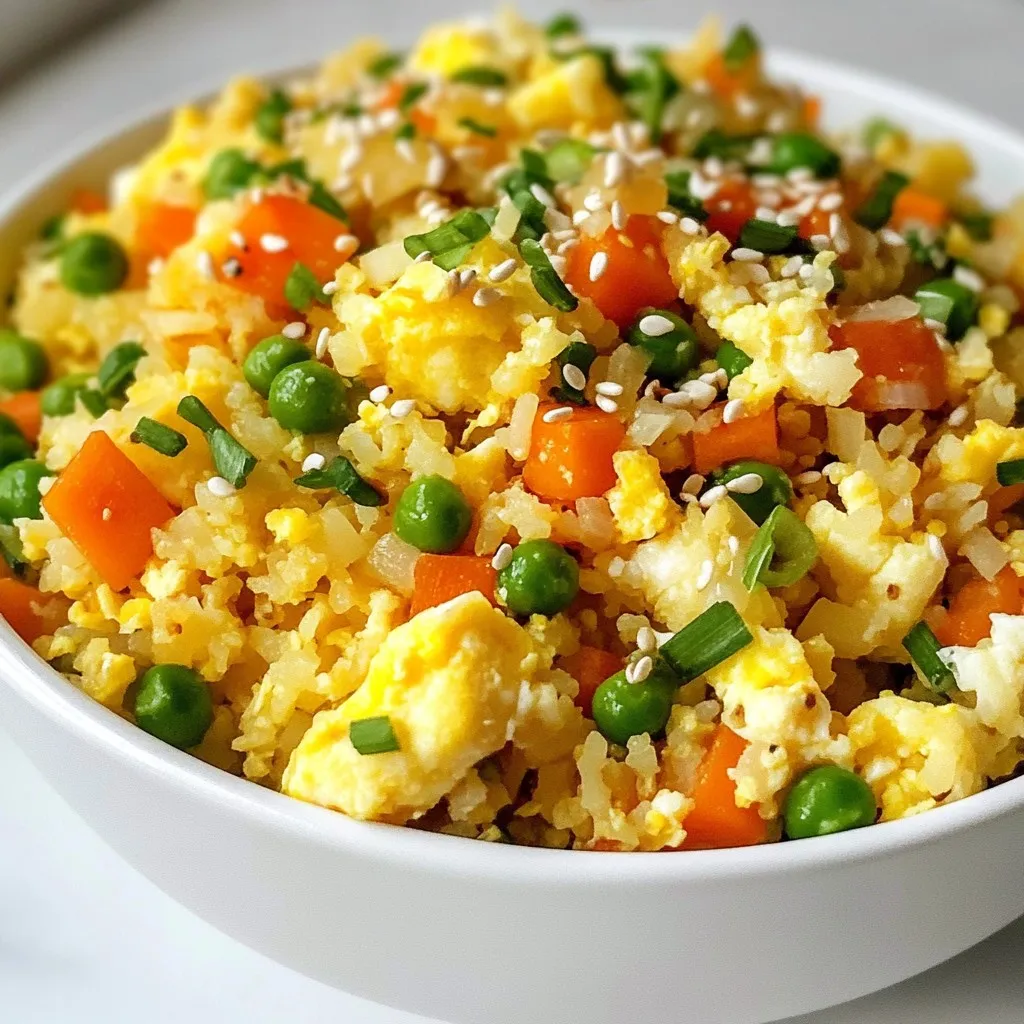
Cauliflower Fried Rice Flavorful and Healthy Dish
Looking for a healthy twist on a classic favorite? Let’s dive into cauliflower fried rice—an easy and tasty dish that’s packed with flavor and nutrition.

Savory Slow Cooker Tuscan White Bean Soup Recipe
Warm your kitchen and your heart with my Savory Slow Cooker Tuscan White Bean Soup. This delicious soup is easy to make and packed with

Minute Honey Sriracha Salmon Bowls Flavorful Delight
Are you ready to elevate your dinner game? Minute Honey Sriracha Salmon Bowls are easy, delicious, and packed with flavor! This simple recipe combines tender

One-Skillet Creamy Pesto Gnocchi Quick and Tasty Meal
Looking for a quick and tasty meal? One-Skillet Creamy Pesto Gnocchi hits the mark! This dish is simple, flavorful, and requires easy cleanup. You can
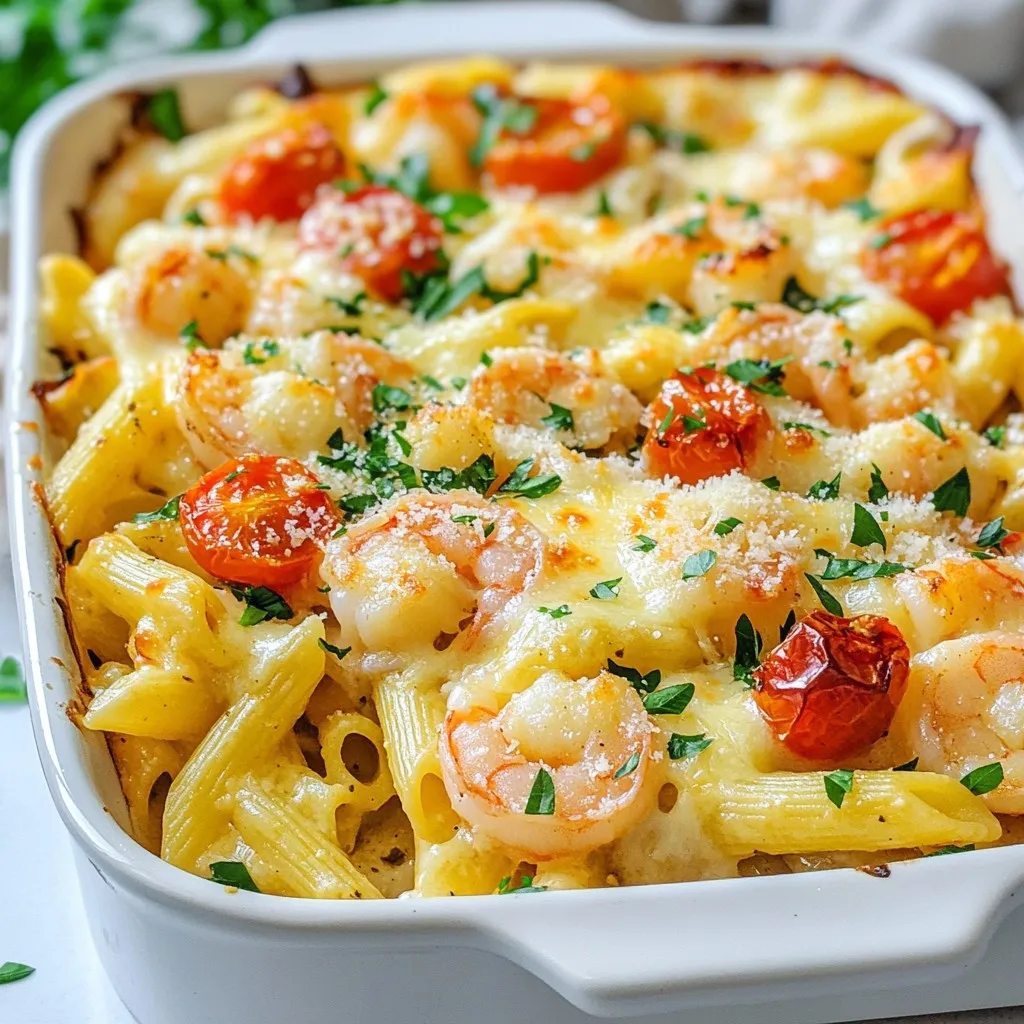
Shrimp Scampi Pasta Bake Rich and Flavorful Meal
If you’re craving a dish that’s rich and full of flavor, look no further! My Shrimp Scampi Pasta Bake combines tender shrimp and cheesy goodness

Whipped Cottage Cheese Alfredo Pasta Creamy Delight
Are you ready to indulge in a tasty, creamy treat? My Whipped Cottage Cheese Alfredo Pasta is here to elevate your dinner game. With just

Air Fryer Lemon Pepper Salmon Bites Simple Recipe
Want a quick, tasty meal? Try these Air Fryer Lemon Pepper Salmon Bites! This simple recipe packs bold flavors and is easy to make. In

Slow Cooker Creamy White Chicken Chili Easy Recipe
Looking for a cozy dinner idea? This Slow Cooker Creamy White Chicken Chili is the answer! In just a few easy steps, you can create

Air Fryer Stuffed Zucchini Boats Tasty and Healthy Meal
Looking for a tasty and healthy meal? Let me introduce you to Air Fryer Stuffed Zucchini Boats! In this easy recipe, you’ll learn how to