Dinner
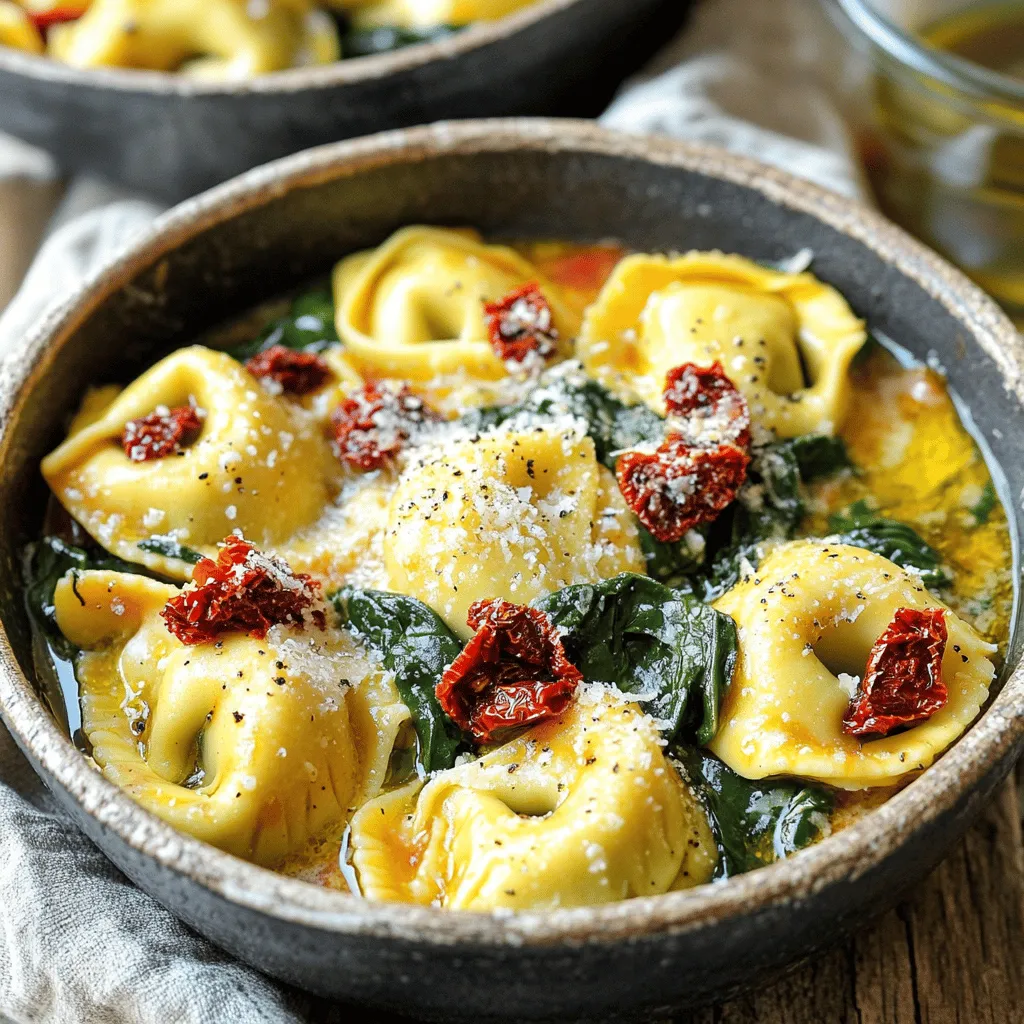
Sun Dried Tomato Spinach Tortellini Skillet Delight
Are you ready to elevate your dinner game? My Sun Dried Tomato Spinach Tortellini Skillet Delight is quick, easy, and bursting with flavor. This one-pan
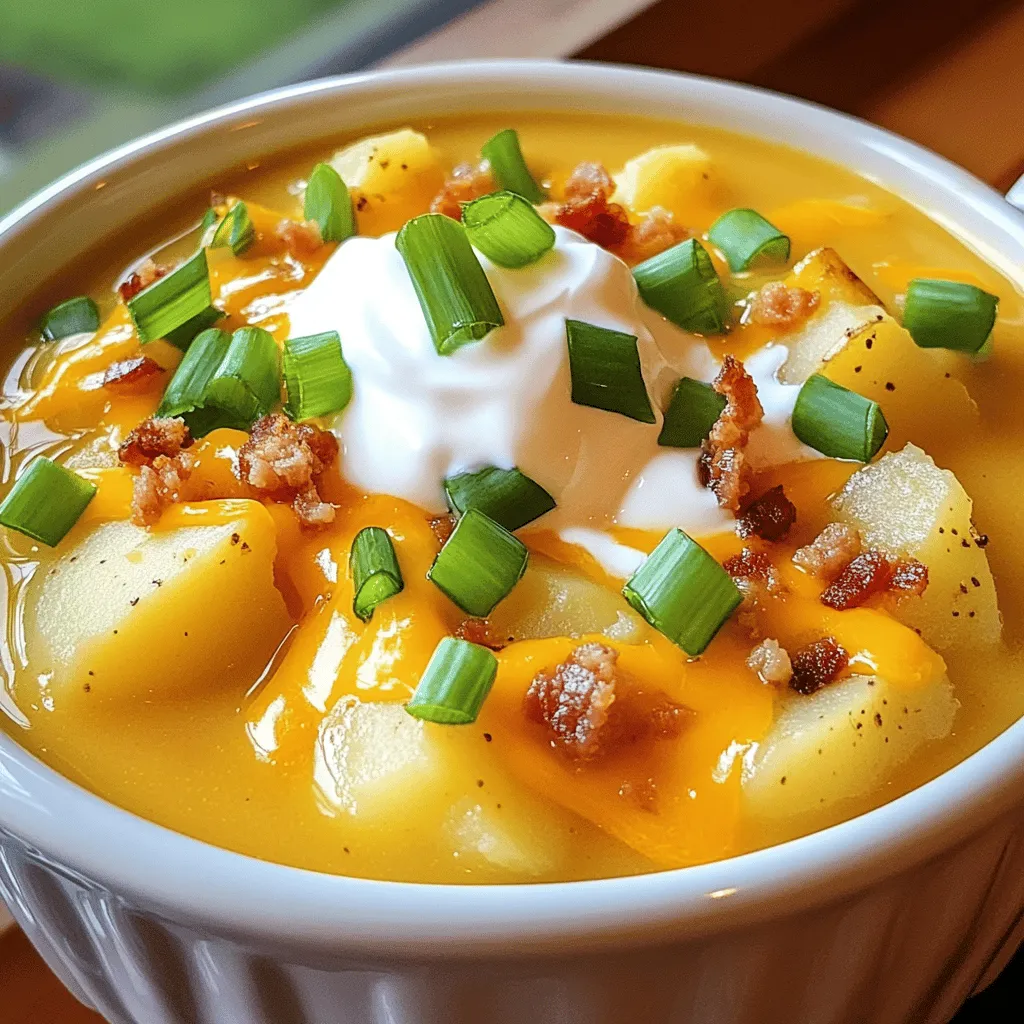
Slow Cooker Loaded Baked Potato Soup Rich and Creamy
Craving a warm, hearty dish? Let me introduce you to my Slow Cooker Loaded Baked Potato Soup. This rich and creamy delight is perfect for

Crispy Chicken Fajita Sheet Pan Easy Weeknight Meal
Are you looking for a quick, tasty dinner? My Crispy Chicken Fajita Sheet Pan recipe is the answer. It’s packed with flavor and takes just
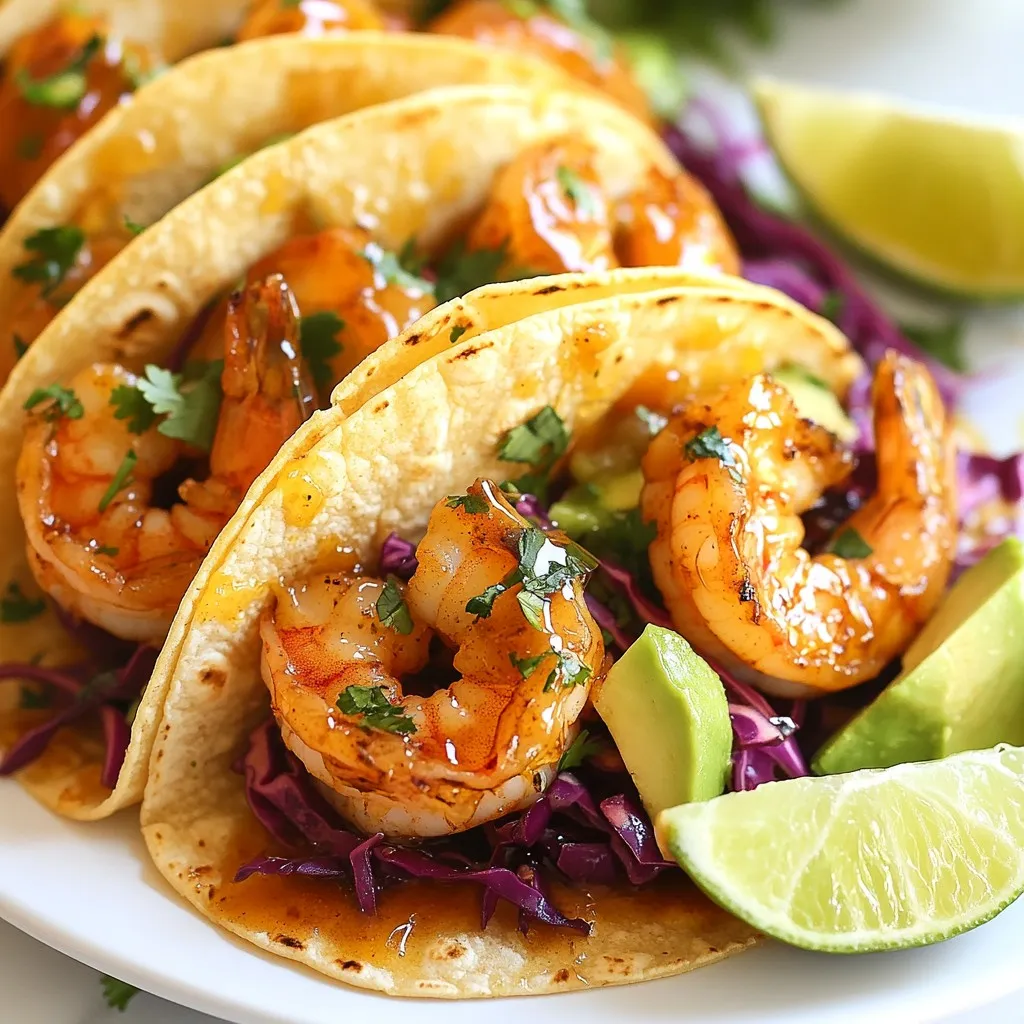
Honey Garlic Shrimp Tacos Flavorful and Easy Recipe
Craving a meal that’s quick, tasty, and fun? Dive into my Honey Garlic Shrimp Tacos recipe. These tacos bring together sweet and savory flavors for
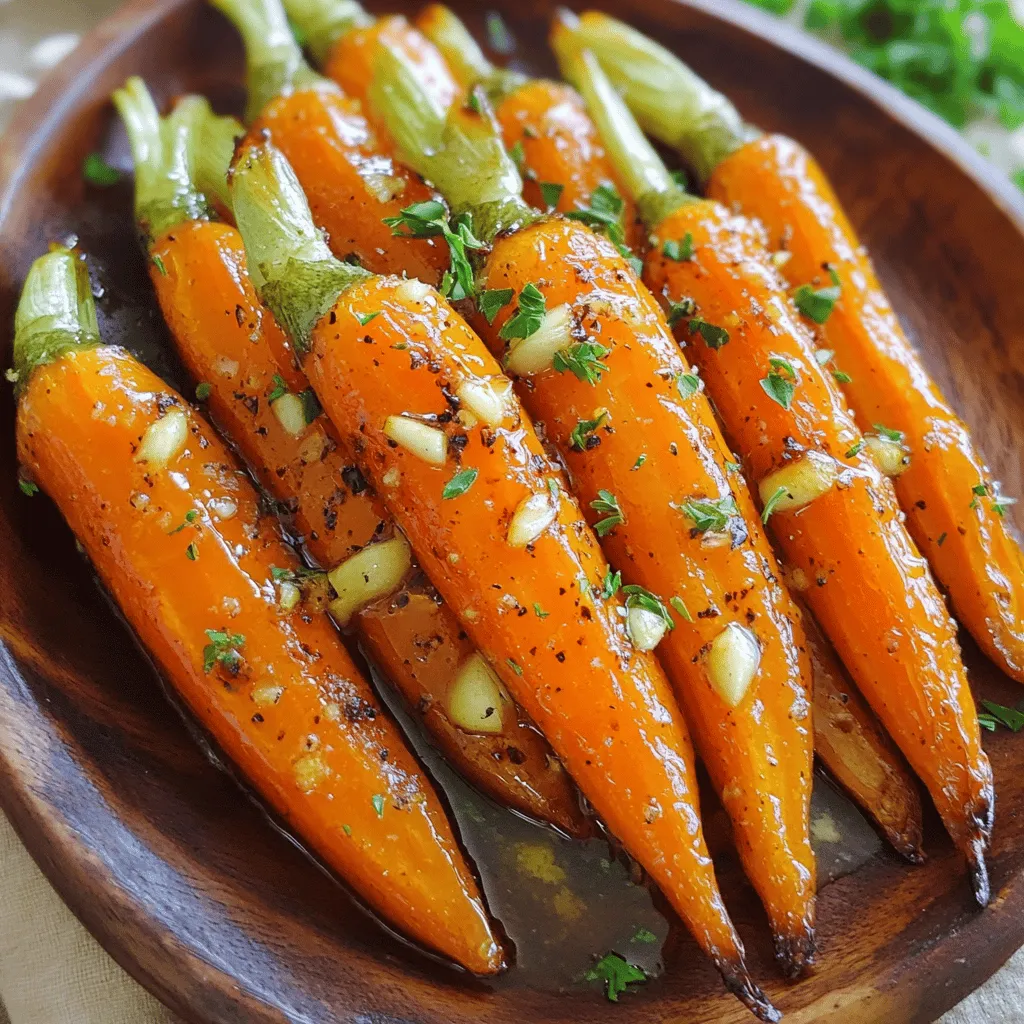
Honey Garlic Butter Roasted Carrots Simple Delight
Welcome to a tasty journey with Honey Garlic Butter Roasted Carrots! This dish is a simple delight, packing sweet and savory flavors into a bright
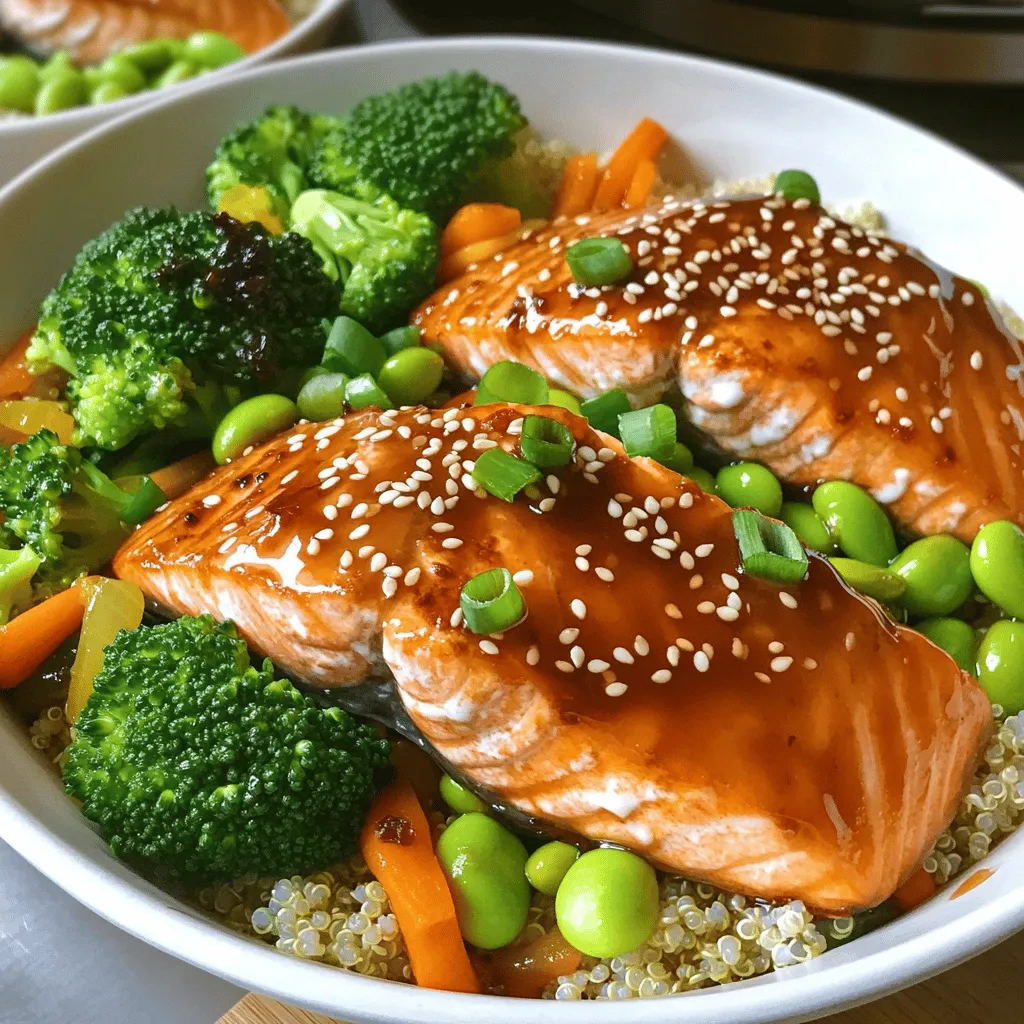
Teriyaki Glazed Salmon Bowls Easy and Healthy Meal
Craving a quick, tasty meal? Try my Teriyaki Glazed Salmon Bowls! This dish is easy to make and packed with flavor. With tender salmon glazed

Coconut Lime Chicken Skewers Flavorful and Easy Recipe
Get ready to elevate your grilling game with my Coconut Lime Chicken Skewers! This easy recipe bursts with bright flavors, perfect for any summer gathering
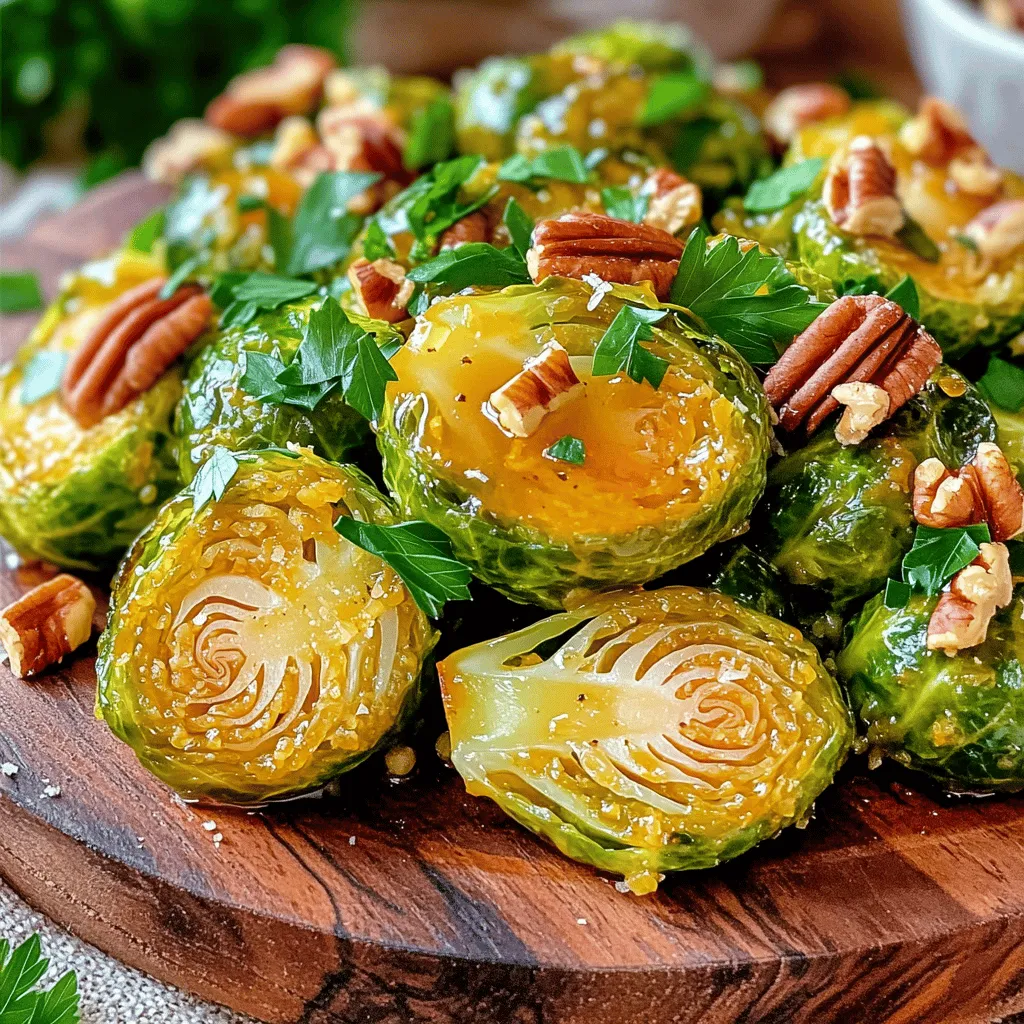
Maple Dijon Roasted Brussels Sprouts Tasty Side Dish
Are you ready to elevate your side dish game? Maple Dijon Roasted Brussels Sprouts blend sweet and tangy flavors for a delightful treat. This dish
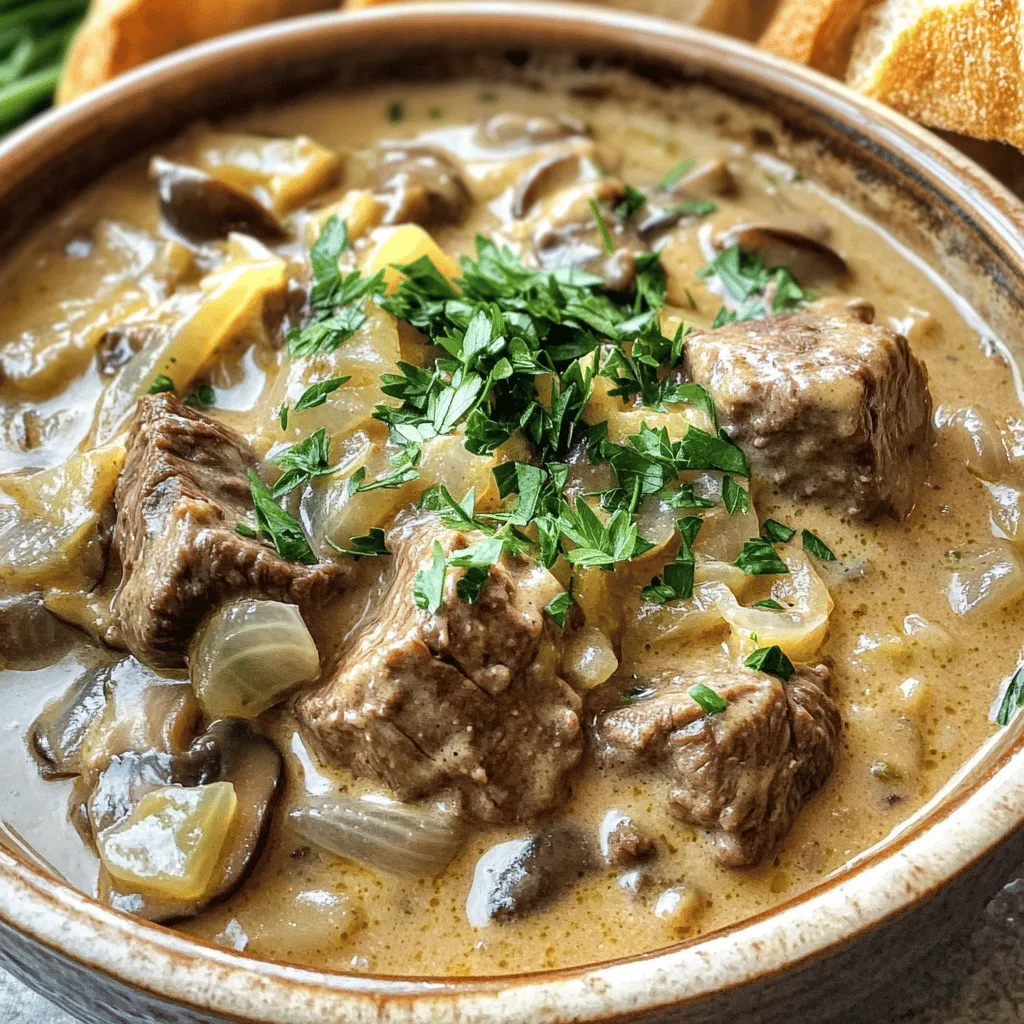
Slow Cooker Beef Stroganoff Easy Comfort Meal
Craving a warm, cozy meal that’s both easy to make and delicious? Slow Cooker Beef Stroganoff is your answer! With tender beef, rich flavors, and

Creamy Sun-Dried Tomato Tortellini Delightful Recipe
Looking for a simple yet delicious pasta dish? Look no further! My Creamy Sun-Dried Tomato Tortellini combines rich flavors with easy prep. You’ll love how