Dinner

Honey Garlic Chicken Rice Bowls Savory and Simple Meal
Looking for a meal that’s both tasty and easy to make? Honey garlic chicken rice bowls are your answer! This dish combines tender chicken with
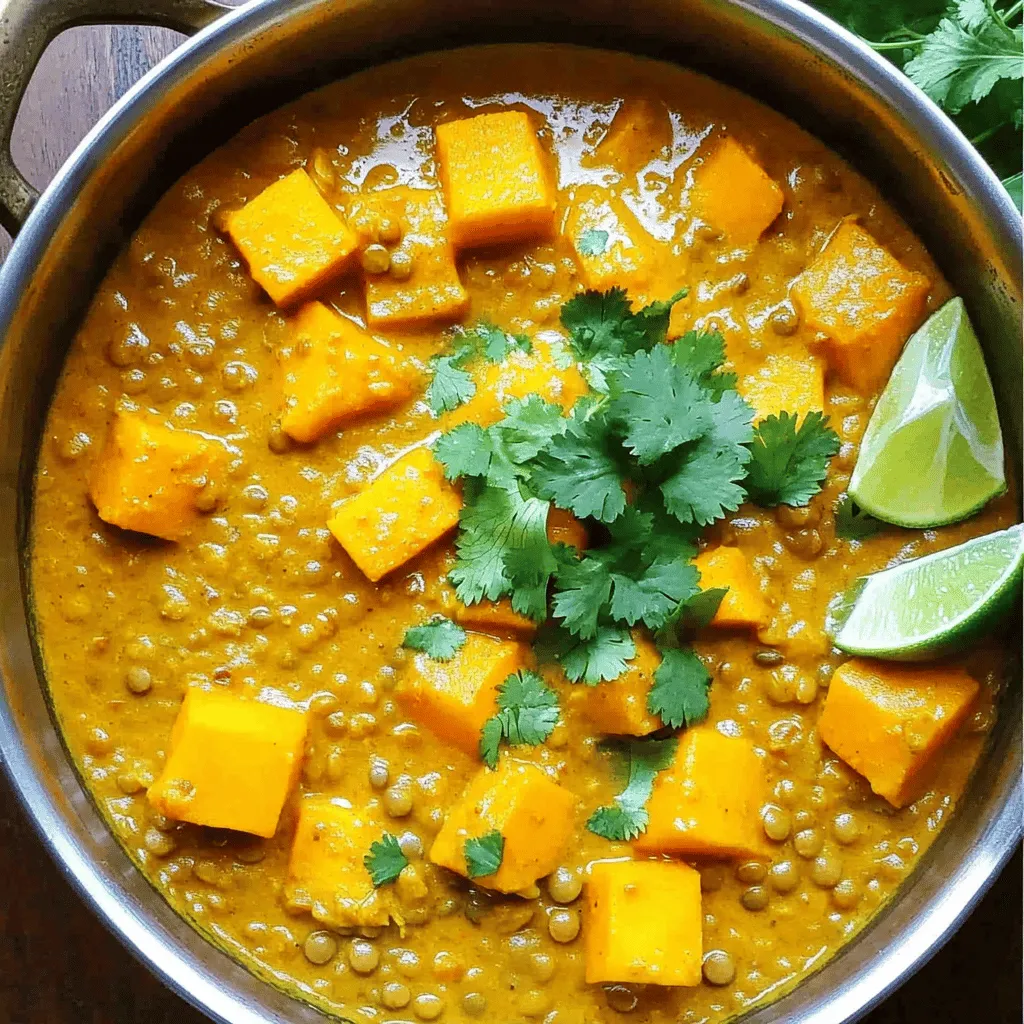
Lentil & Pumpkin Coconut Curry Flavorful and Simple Dish
Ready to spice up your meals with a burst of flavor? My Lentil & Pumpkin Coconut Curry is a delicious dish that’s both simple and

Slow Cooker Maple Glazed Carrots Simple and Flavorful
Looking for a simple yet delicious side dish? Try my Slow Cooker Maple Glazed Carrots! This recipe blends sweet maple syrup with buttery, tender carrots
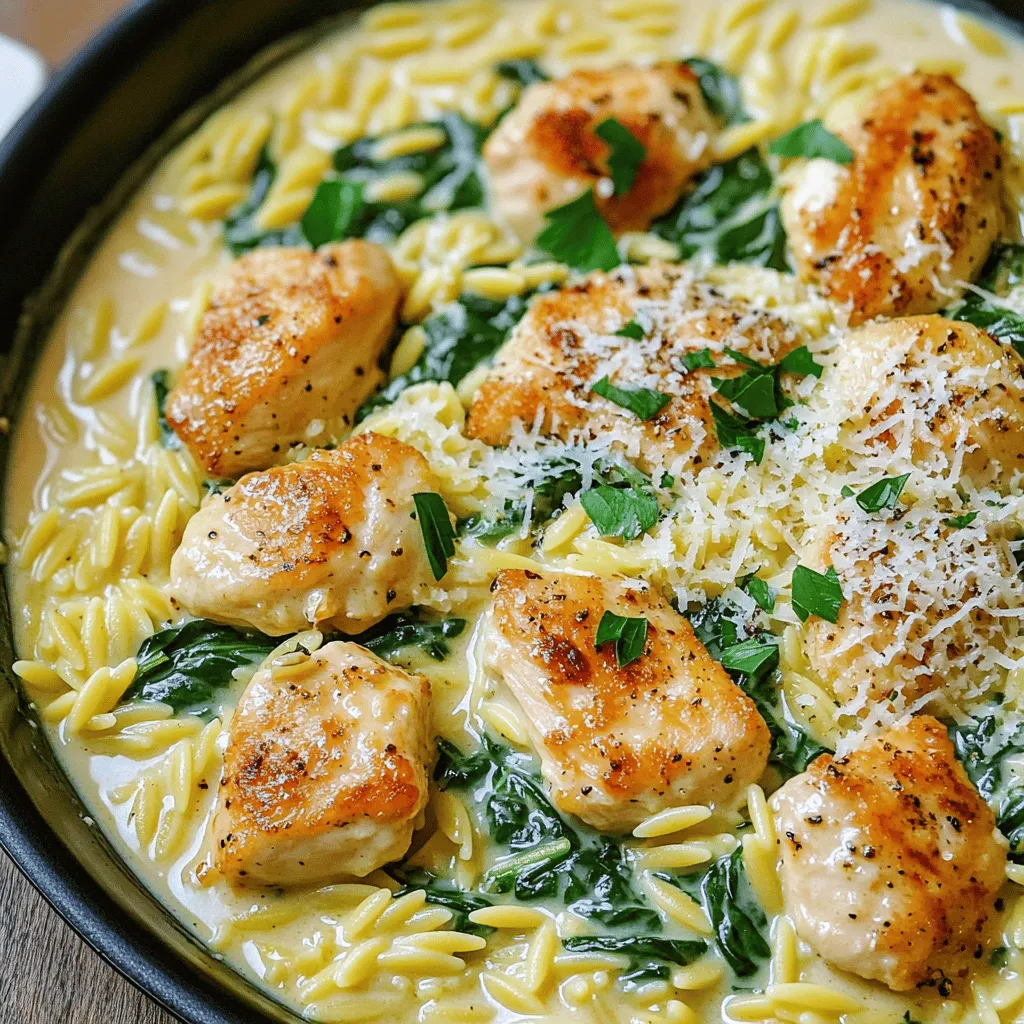
One-Pan Creamy Garlic Chicken Orzo Tasty Dinner Dish
Looking for a quick and delicious dinner? Try my One-Pan Creamy Garlic Chicken Orzo! This easy recipe combines juicy chicken, tender orzo pasta, and rich
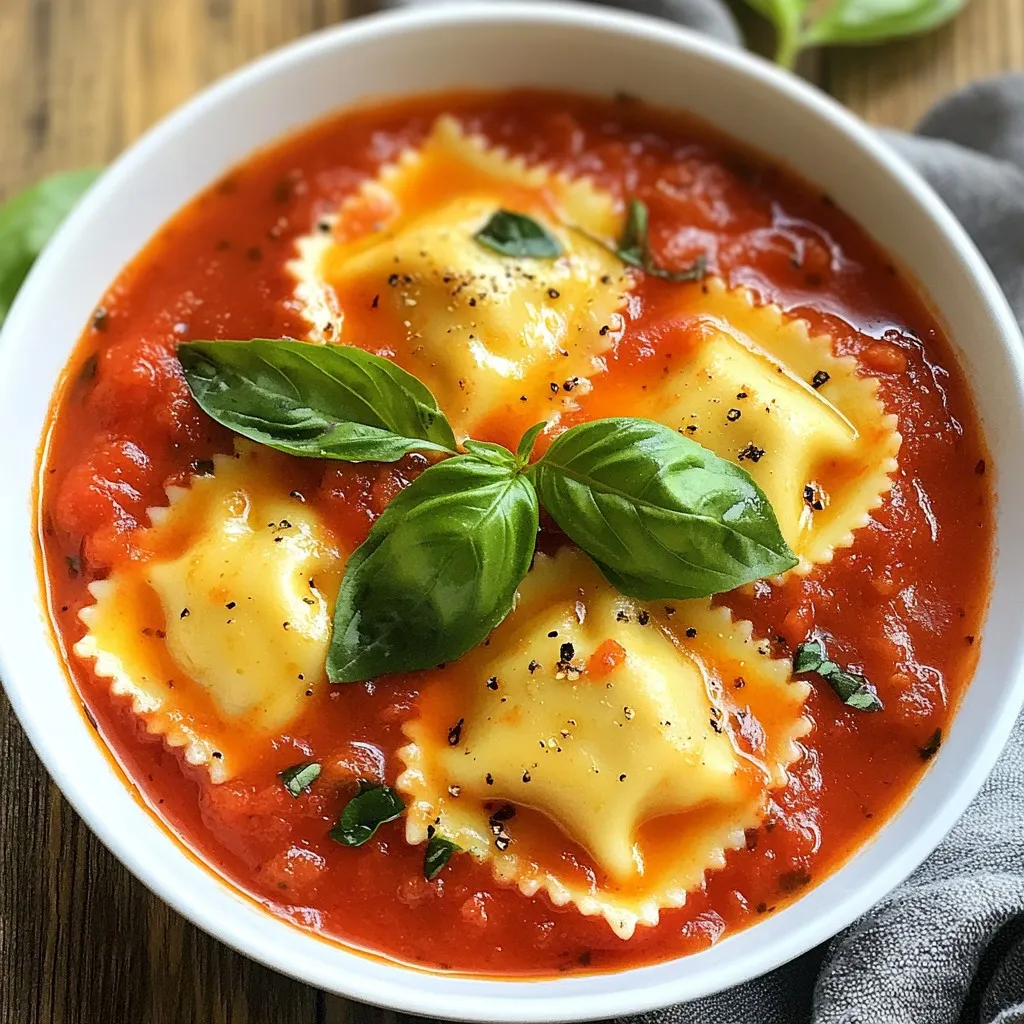
Homemade Ravioli Sauce Rich and Flavorful Recipe
If you crave a rich and flavorful sauce for your homemade ravioli, you’re in the right place! This easy recipe combines fresh ingredients like garlic,

Crockpot Coconut Lime Chicken Easy Family Meal Delight
Are you ready for a meal that’s easy, tasty, and loved by everyone? My Crockpot Coconut Lime Chicken is just what you need! This dish

Chicken Parmesan Stuffed Zucchini Boats Delight
Looking for a delicious way to enjoy zucchini? Try Chicken Parmesan Stuffed Zucchini Boats! This recipe is easy, fun, and bursting with flavor. You’ll love
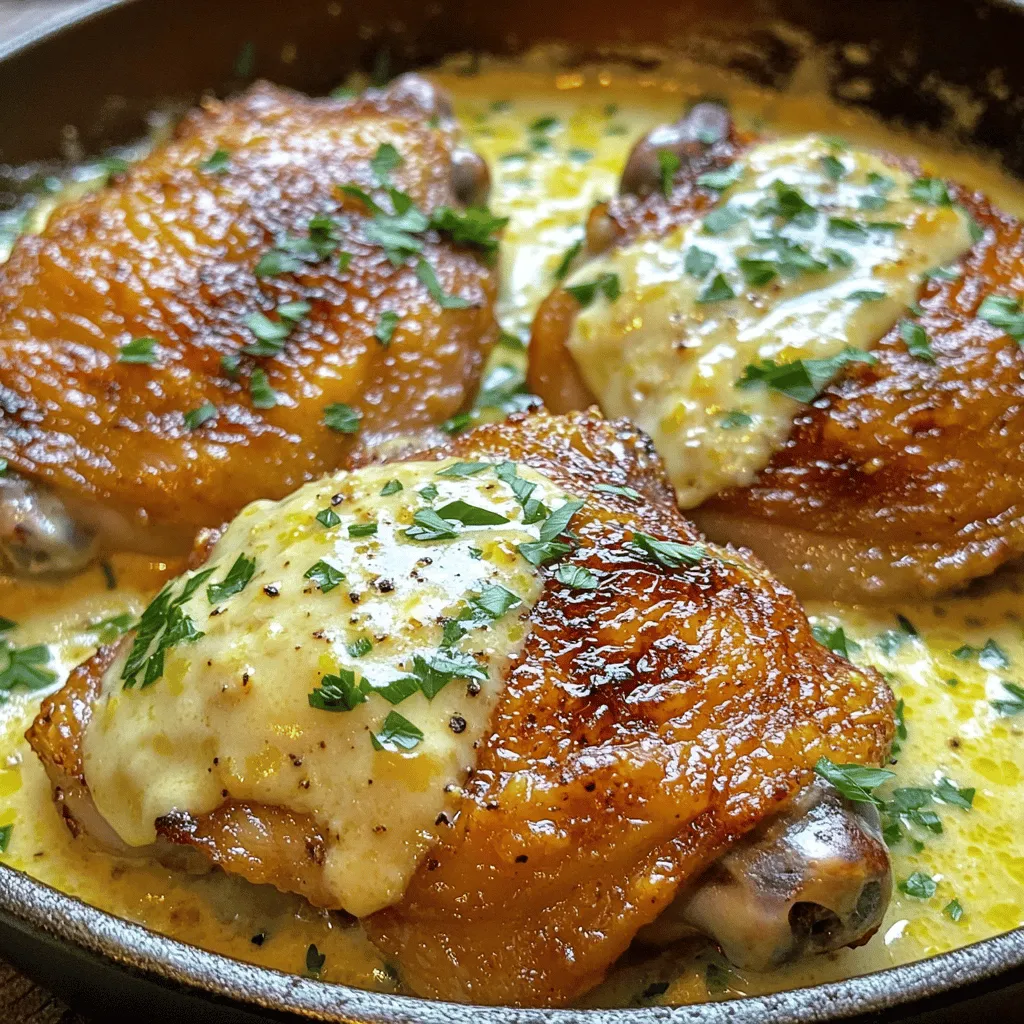
Creamy Garlic Parmesan Chicken Thighs Simple Recipe
Craving a dish that’s rich, comforting, and oh-so-simple? Look no further! This Creamy Garlic Parmesan Chicken Thighs recipe is your new go-to. With just a
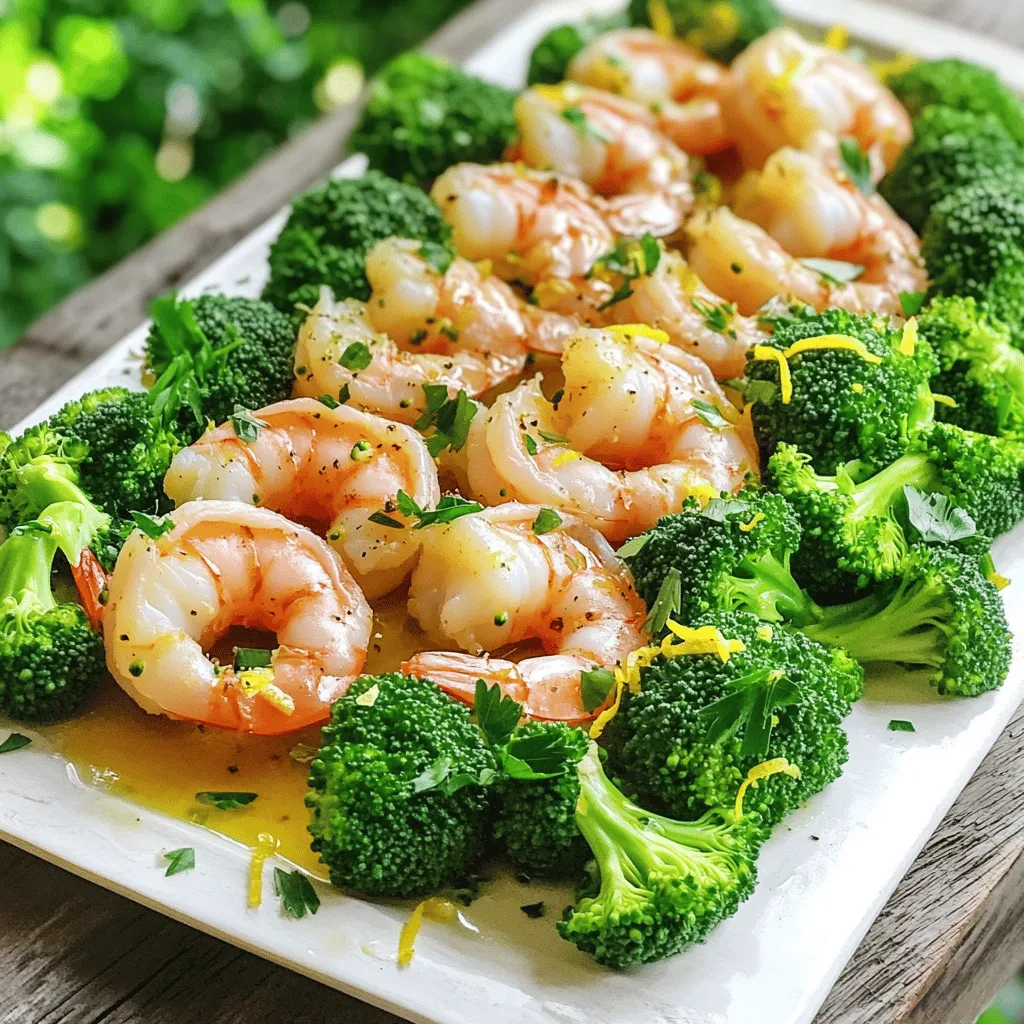
Sheet Pan Lemon Pepper Shrimp Broccoli Delight
Ready for a quick, tasty dinner? My Sheet Pan Lemon Pepper Shrimp Broccoli Delight is your go-to! It combines juicy shrimp and crisp broccoli, all
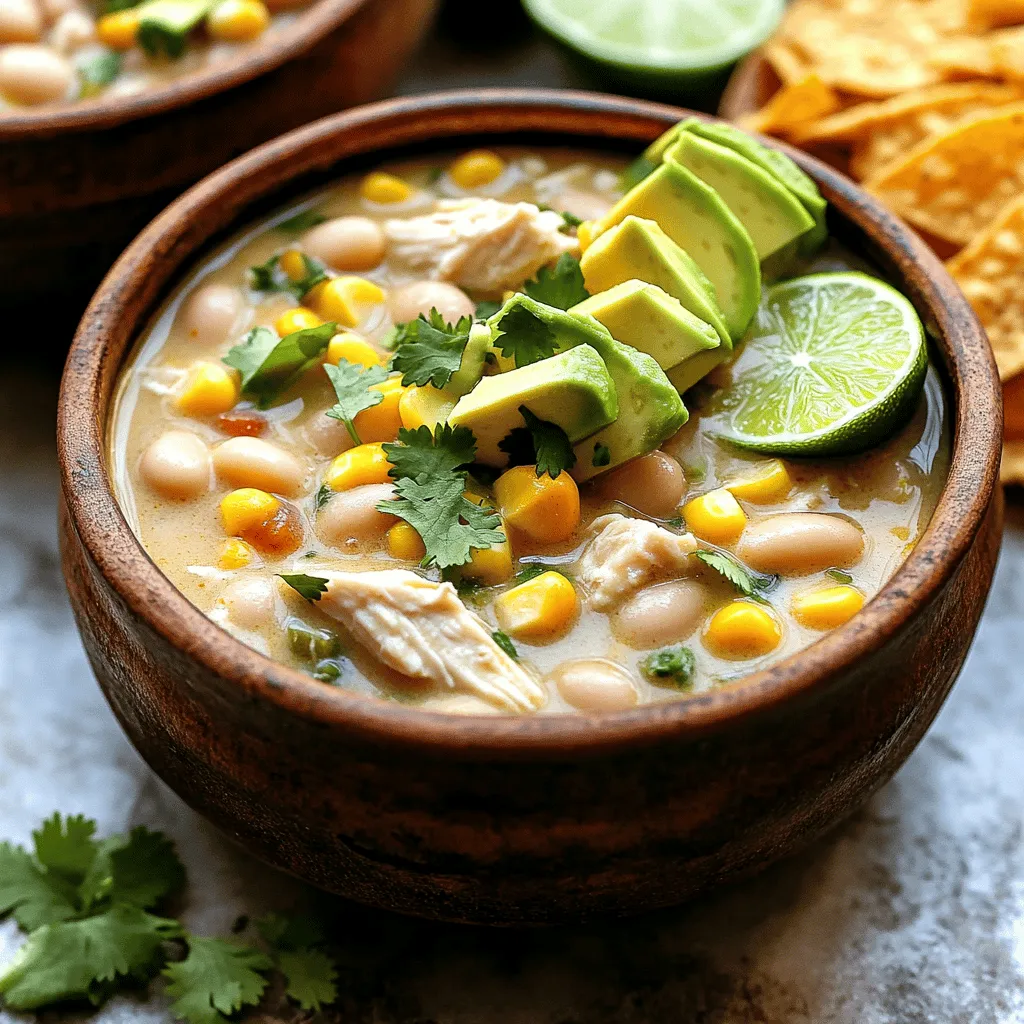
One-Pot Creamy White Chicken Chili Flavorful Dinner
Looking for a comforting, easy dinner? Try my One-Pot Creamy White Chicken Chili! This simple recipe brings together tender chicken, creamy beans, and zesty spices