Dinner
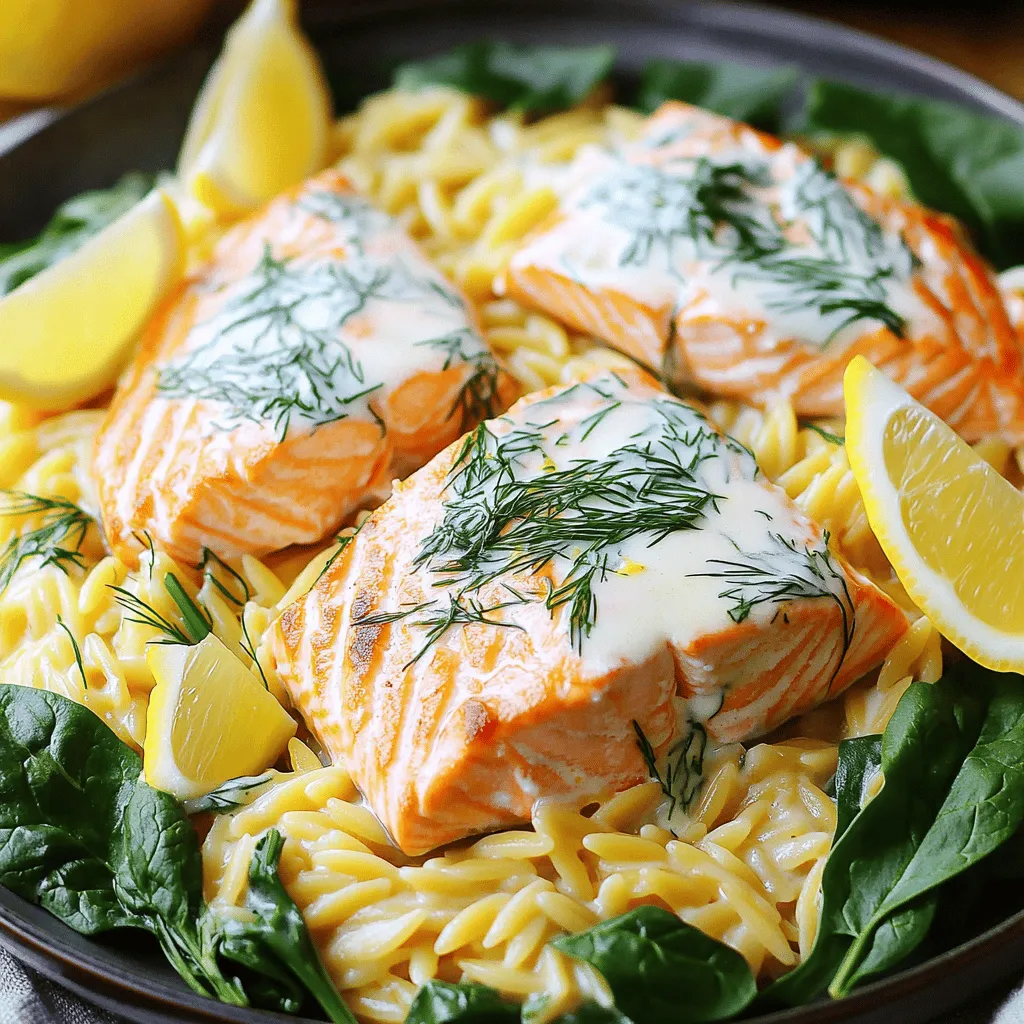
Creamy Lemon Dill Salmon Orzo Tasty Dinner Idea
Looking for a delicious and easy dinner idea? Try my Creamy Lemon Dill Salmon Orzo! This dish brings together flaky salmon, tender orzo, and a
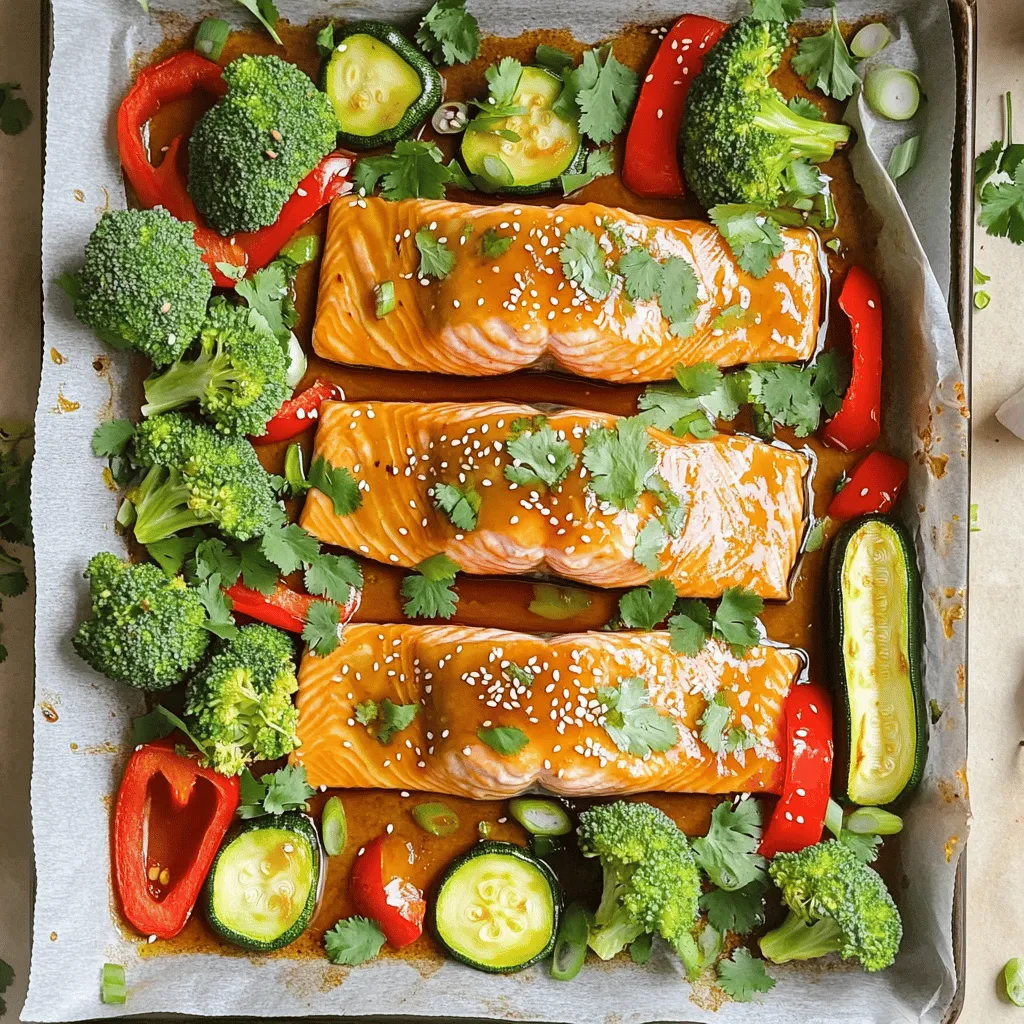
Honey Soy Salmon & Veggies Sheet Pan Delight
Are you ready to create a delicious and healthy meal? My Honey Soy Salmon & Veggies Sheet Pan Delight is your answer! This easy recipe

Creamy Mushroom Spinach Pasta Delightful Dinner Dish
Are you ready to impress your family with a delightful dinner? This Creamy Mushroom Spinach Pasta is a dish that strikes the perfect balance of

Brown Sugar Pineapple Chicken Simple Grilling Recipe
Get ready to impress your taste buds with my Brown Sugar Pineapple Chicken! This simple grilling recipe combines sweet and savory flavors that make dinner
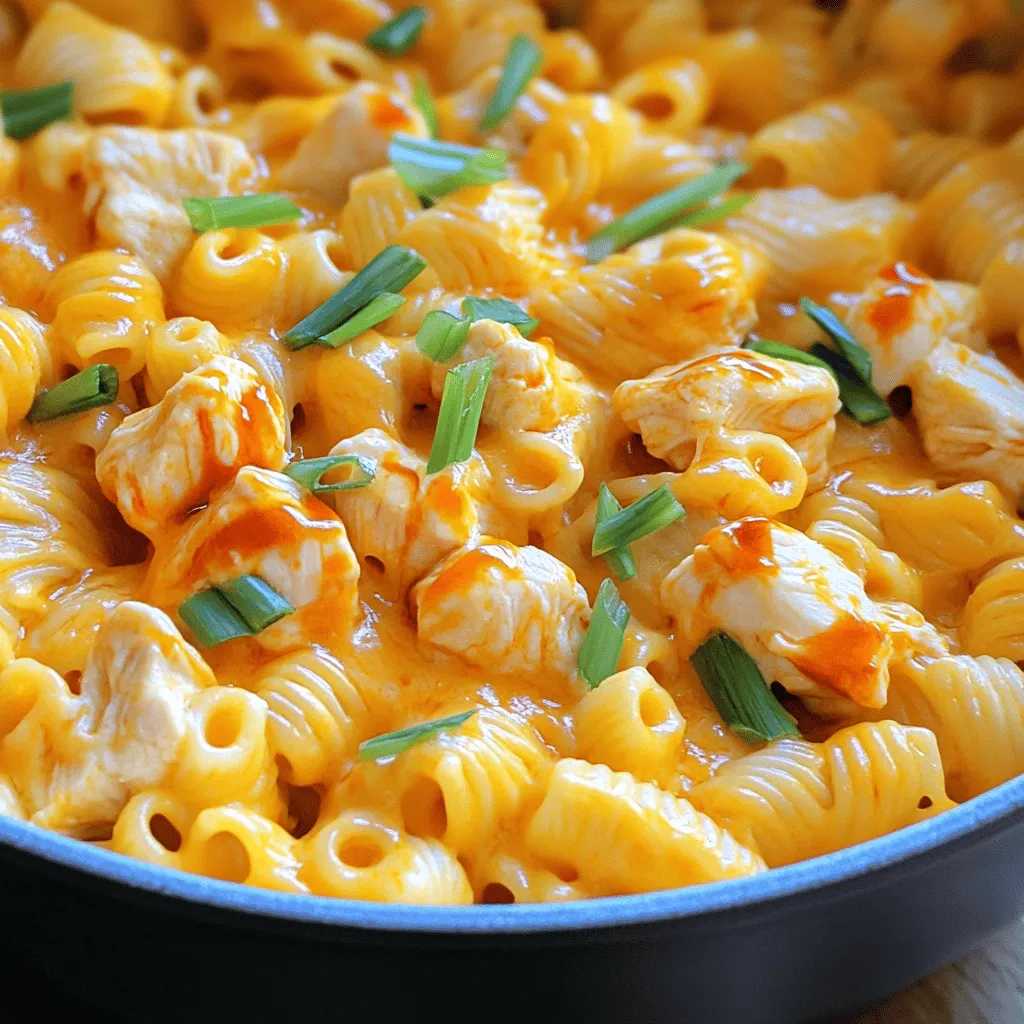
Buffalo Chicken Mac & Cheese One Pot Delight
Do you crave a dish that combines the comfort of mac and cheese with a spicy kick? Look no further! In this blog post, I’ll
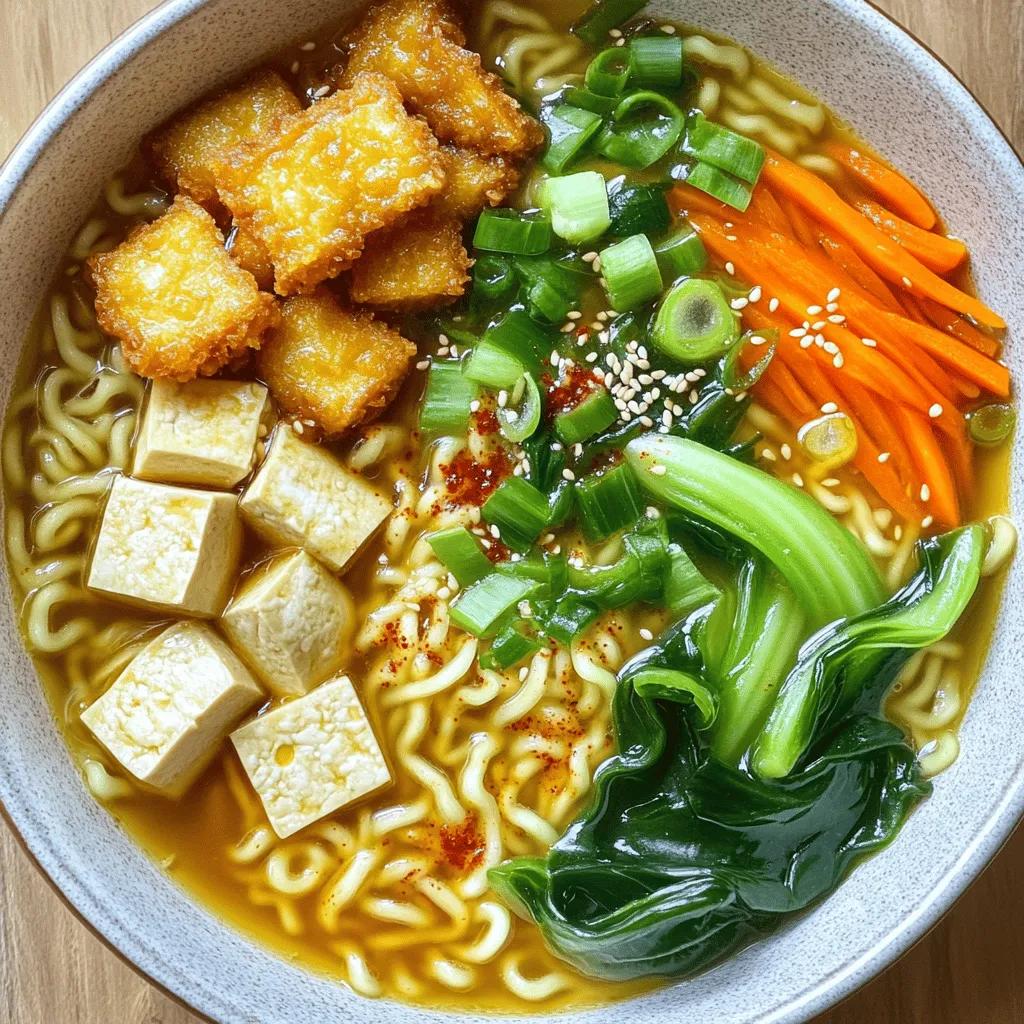
Miso Ginger Ramen with Crispy Tofu Flavorful Dish
If you love bold flavors and cozy bowls of comfort, you’ll adore this Miso Ginger Ramen with Crispy Tofu! This dish combines rich miso, fresh
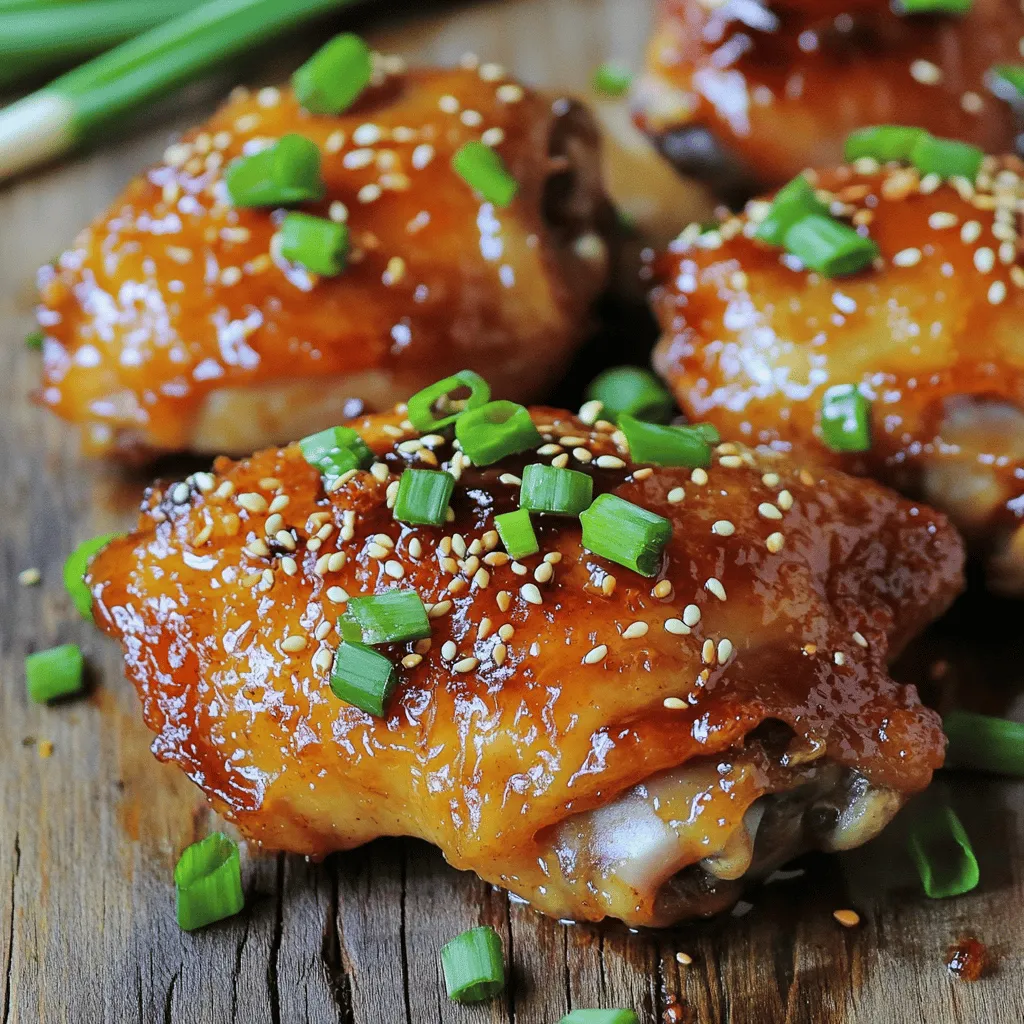
Spicy Honey Garlic Chicken Thighs Flavorful and Easy
Are you ready to spice up your dinner? These Spicy Honey Garlic Chicken Thighs are your answer! Juicy and packed with flavor, this dish pairs

Stuffed Bell Pepper Casserole Tasty Comfort Meal
Are you ready to turn a classic into a comforting casserole? Stuffed Bell Pepper Casserole is the perfect meal for busy nights. It’s packed with
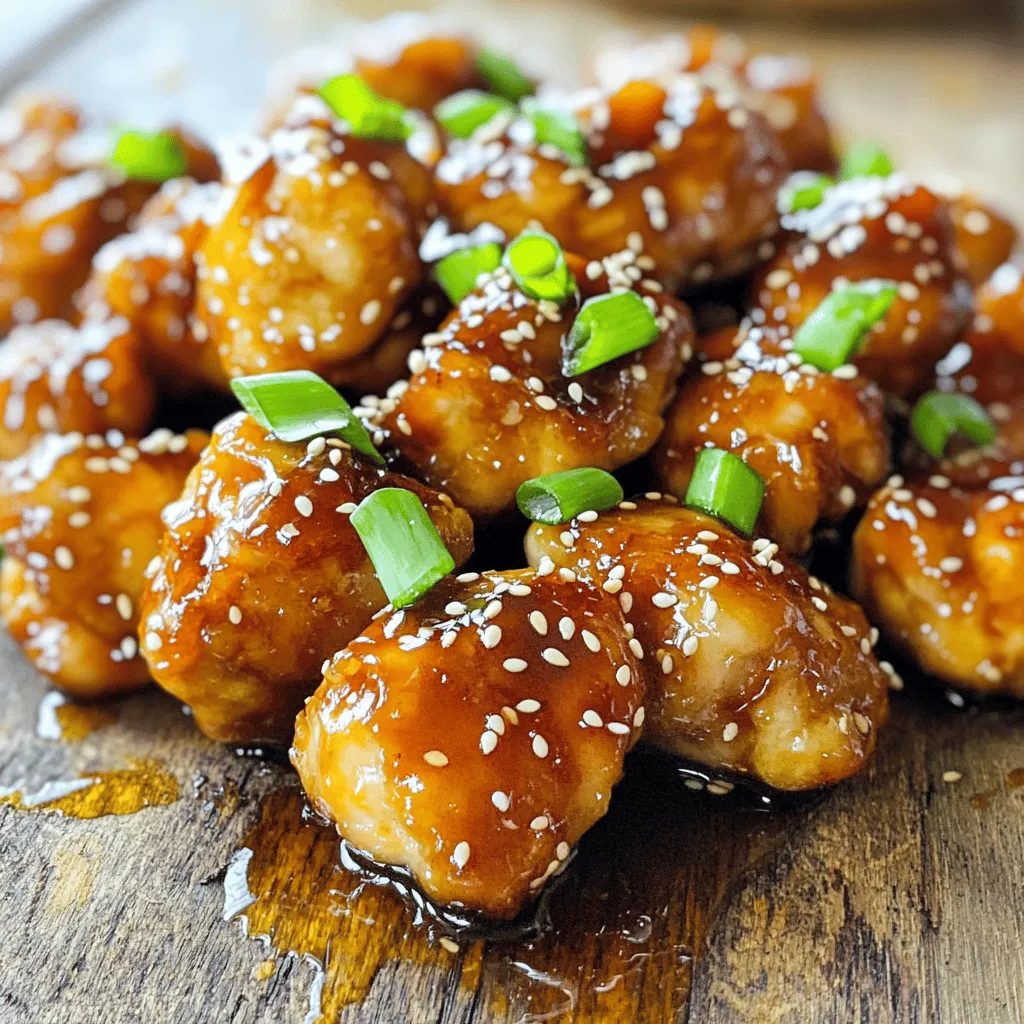
Honey Garlic Chicken Bites Tasty and Simple Recipe
If you crave a simple yet delicious dish, Honey Garlic Chicken Bites are for you! This quick recipe combines juicy chicken with sweet honey and
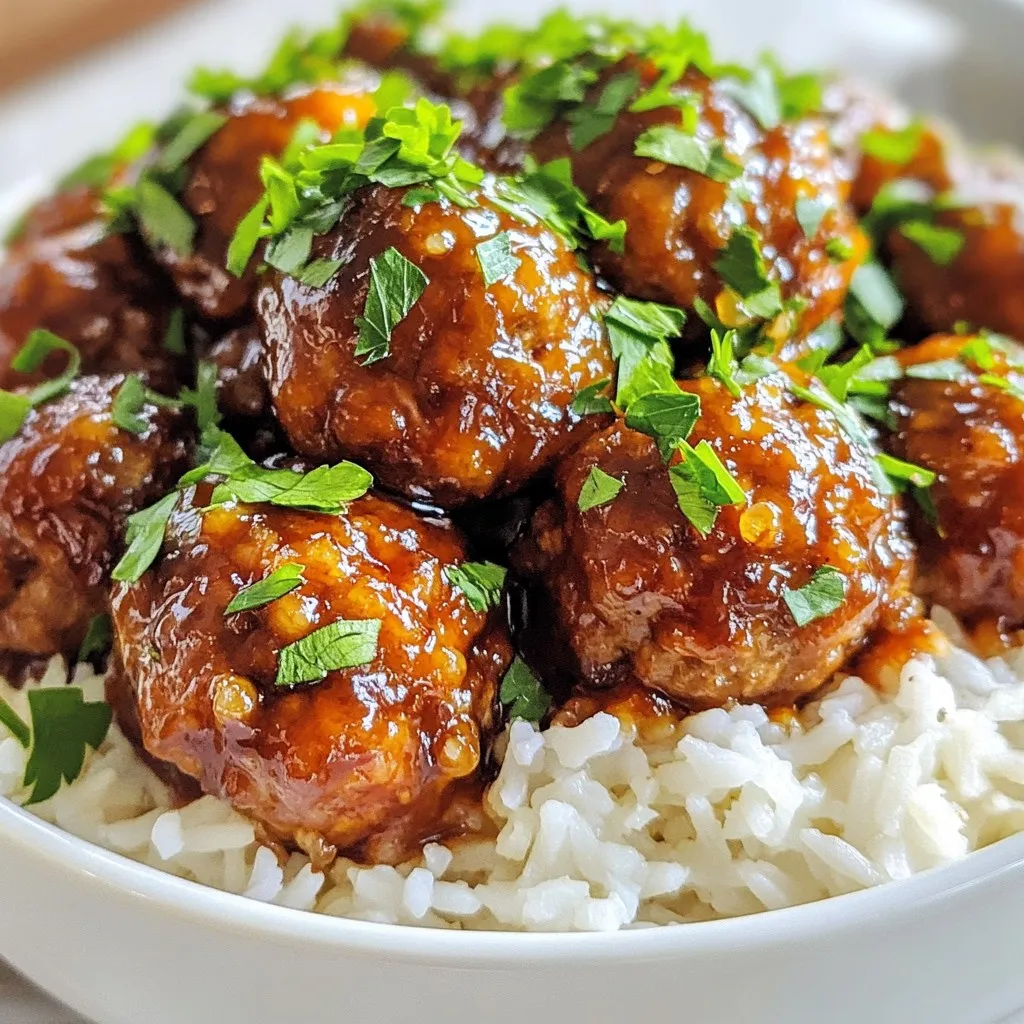
Savory Slow Cooker Honey Garlic Meatballs Recipe
Are you ready for a tasty meal that cooks itself? With my Savory Slow Cooker Honey Garlic Meatballs recipe, you’ll enjoy tender meatballs bathed in