Dinner

Vegan Buffalo Cauliflower Tacos Flavorful and Easy Meal
Looking for a tasty, plant-based meal? My Vegan Buffalo Cauliflower Tacos deliver bold flavors and easy steps. You’ll love how crispy and spicy the cauliflower
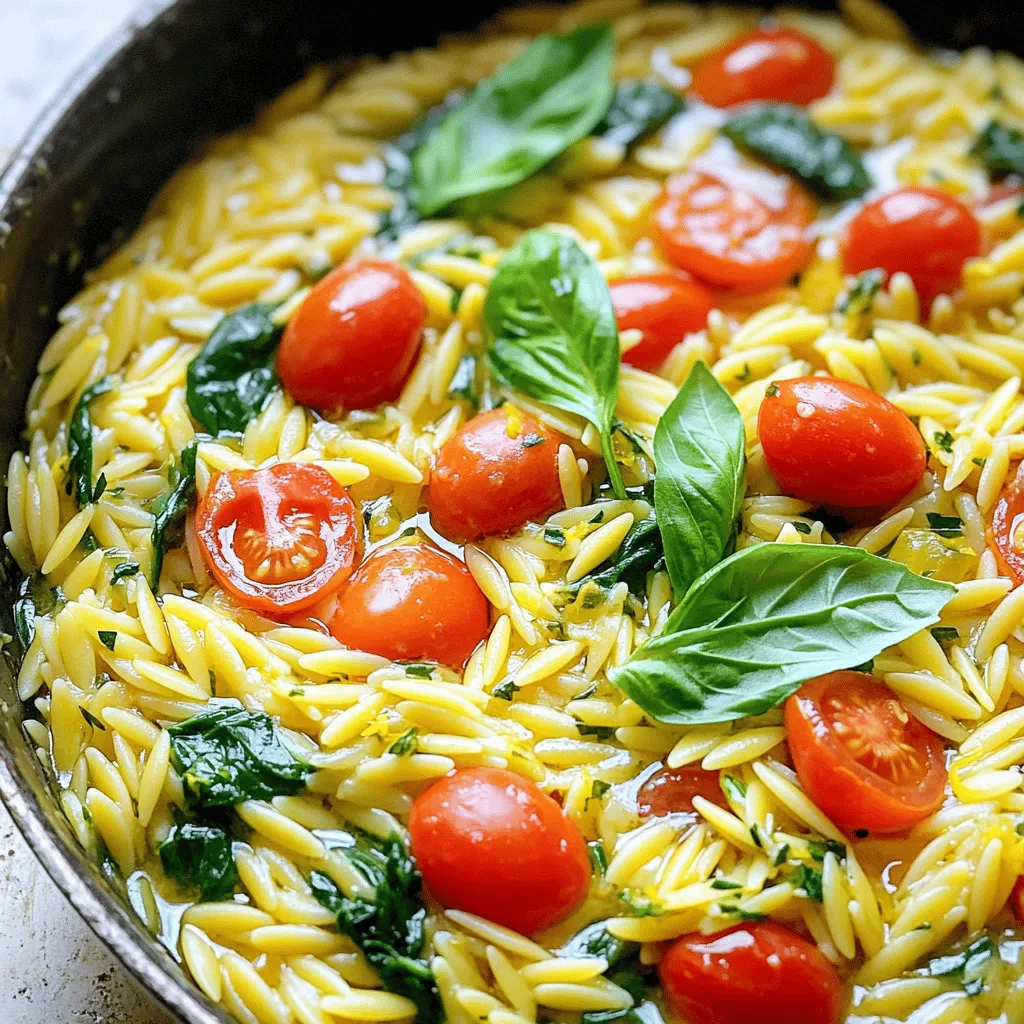
One-Pot Lemon Garlic Orzo Quick and Easy Recipe
Looking for a quick and easy meal that bursts with flavor? Try this One-Pot Lemon Garlic Orzo! This recipe is simple and perfect for busy
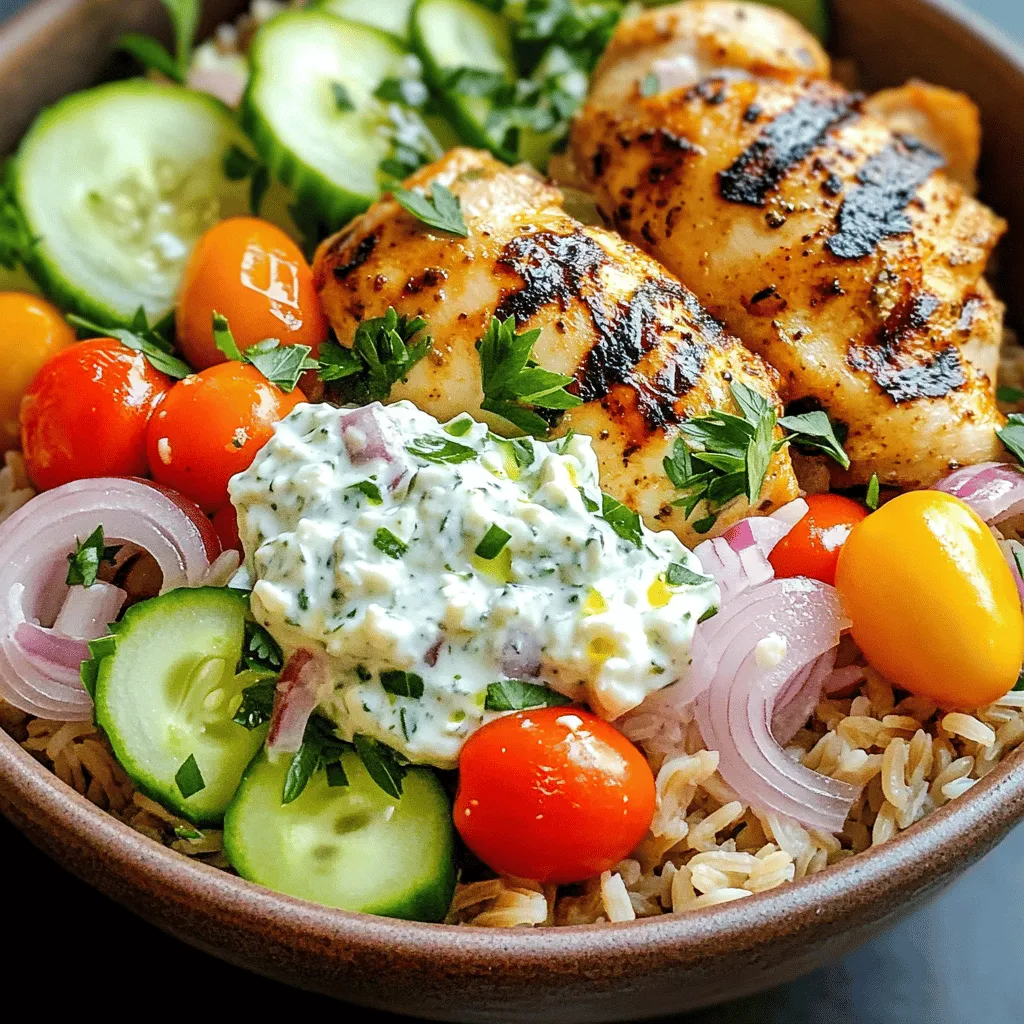
Greek Chicken Gyro Bowls Flavorful and Fresh Meal
If you’re craving a fresh and tasty meal, Greek Chicken Gyro Bowls are perfect for you! Packed with marinated chicken, vibrant veggies, and delicious toppings,
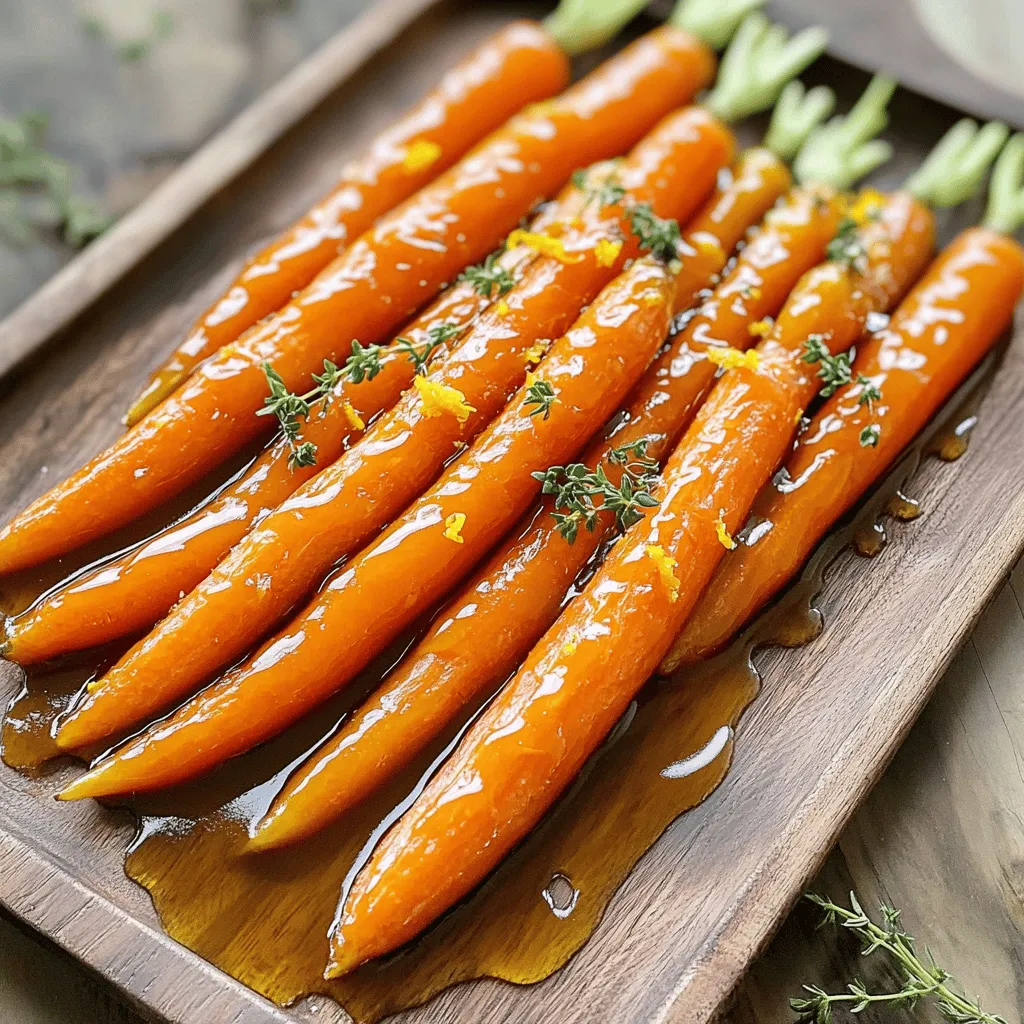
Maple Glazed Roasted Carrots Flavorful Side Delight
Do you want a side dish that shines at any meal? Maple glazed roasted carrots can steal the show! With just a few simple ingredients,
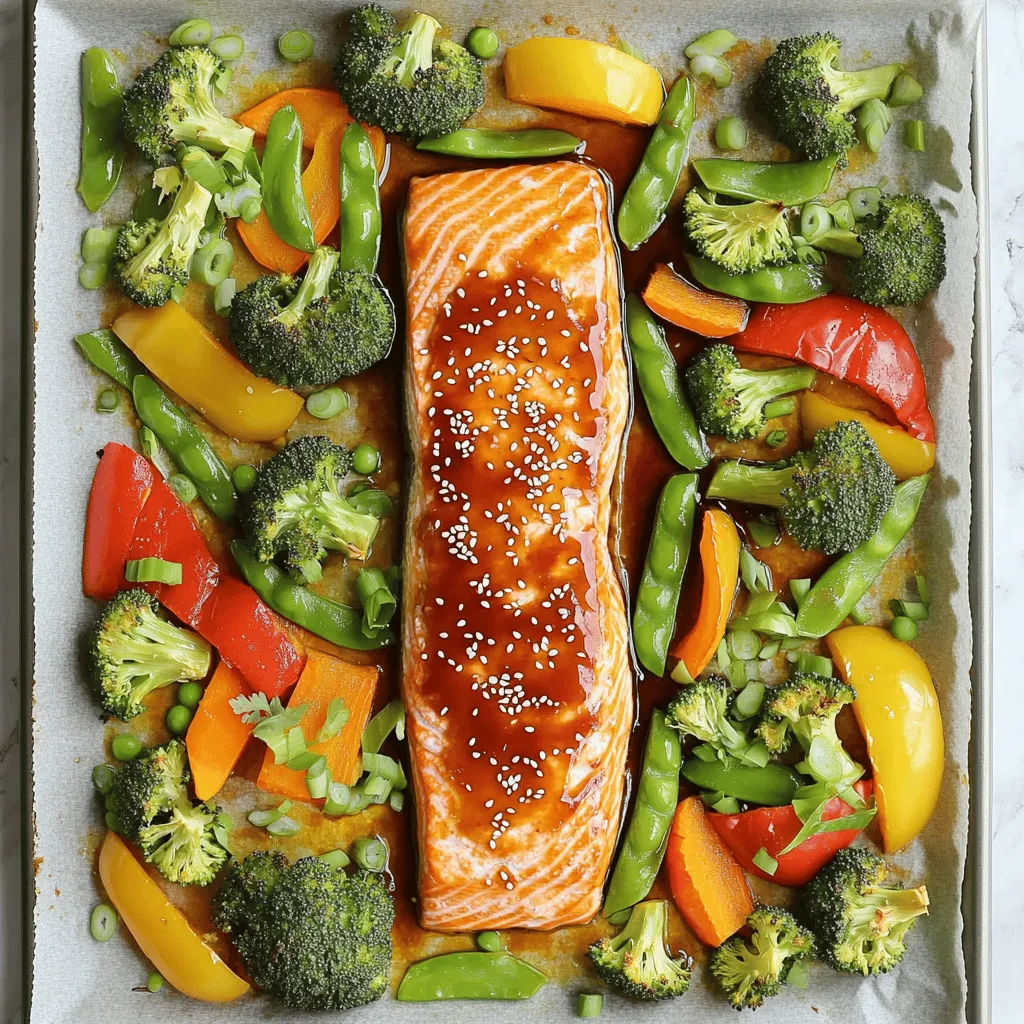
Sheet-Pan Teriyaki Salmon and Veggies Delight
Get ready to enjoy a quick and tasty meal with my Sheet-Pan Teriyaki Salmon and Veggies Delight! This dish combines fresh salmon and colorful veggies,
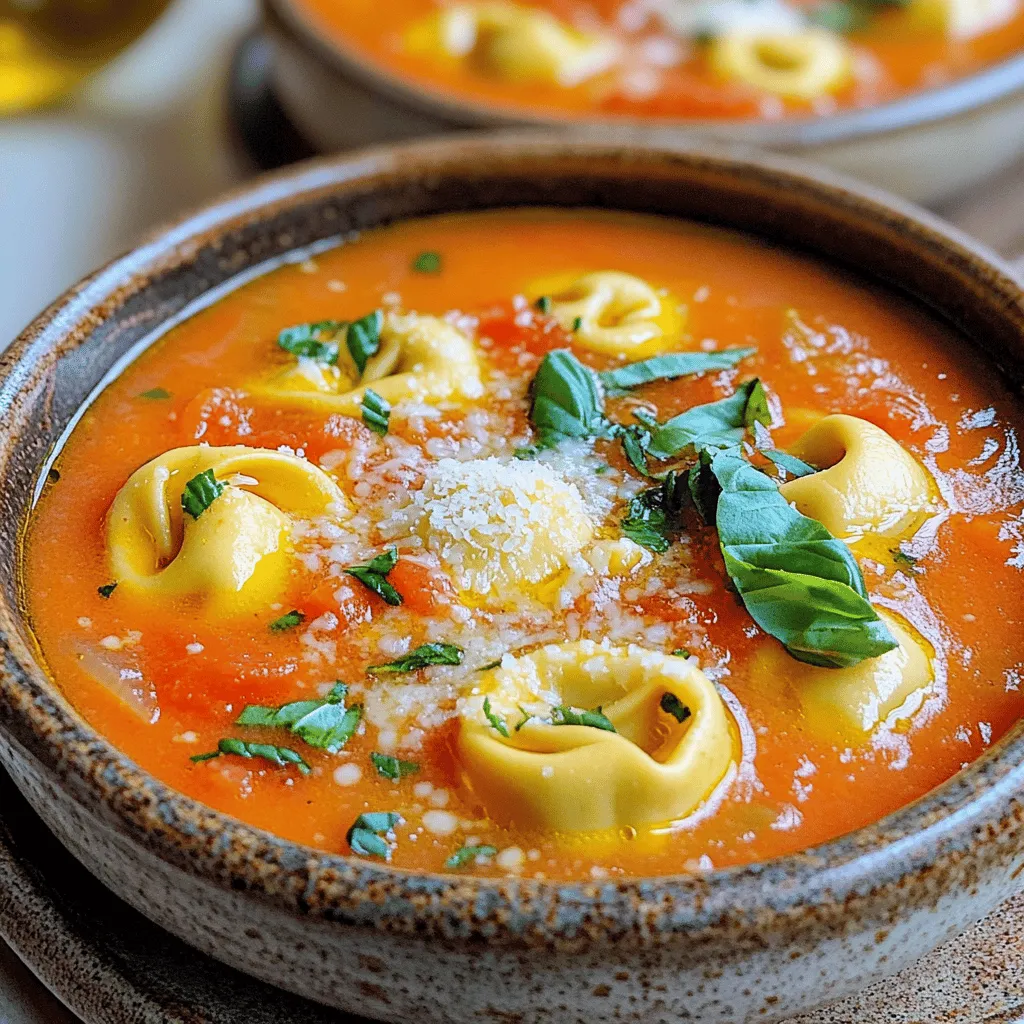
Creamy Tomato Basil Tortellini Soup Simple and Hearty
Are you ready for a cozy bowl of comfort? My Creamy Tomato Basil Tortellini Soup is simple and hearty. It’s perfect for a chilly day

Slow Cooker Honey Garlic Meatballs Tasty Weeknight Meal
Are you ready for a meal that’s both easy and delicious? Slow Cooker Honey Garlic Meatballs are perfect for busy weeknights. With simple ingredients and
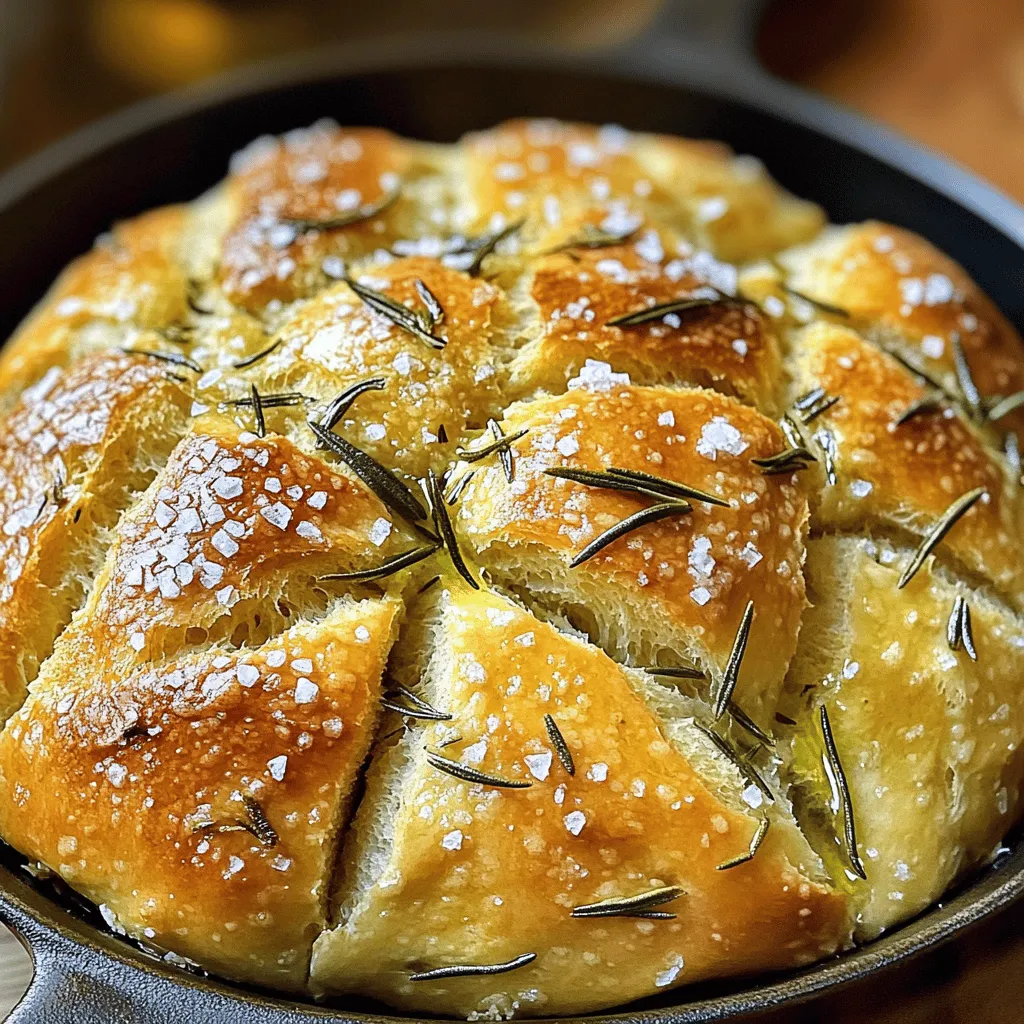
No-Knead Rosemary Skillet Bread Simple and Tasty Recipe
If you crave warm, fresh bread but dread the kneading, you’re in luck! This no-knead rosemary skillet bread is easy to make and full of
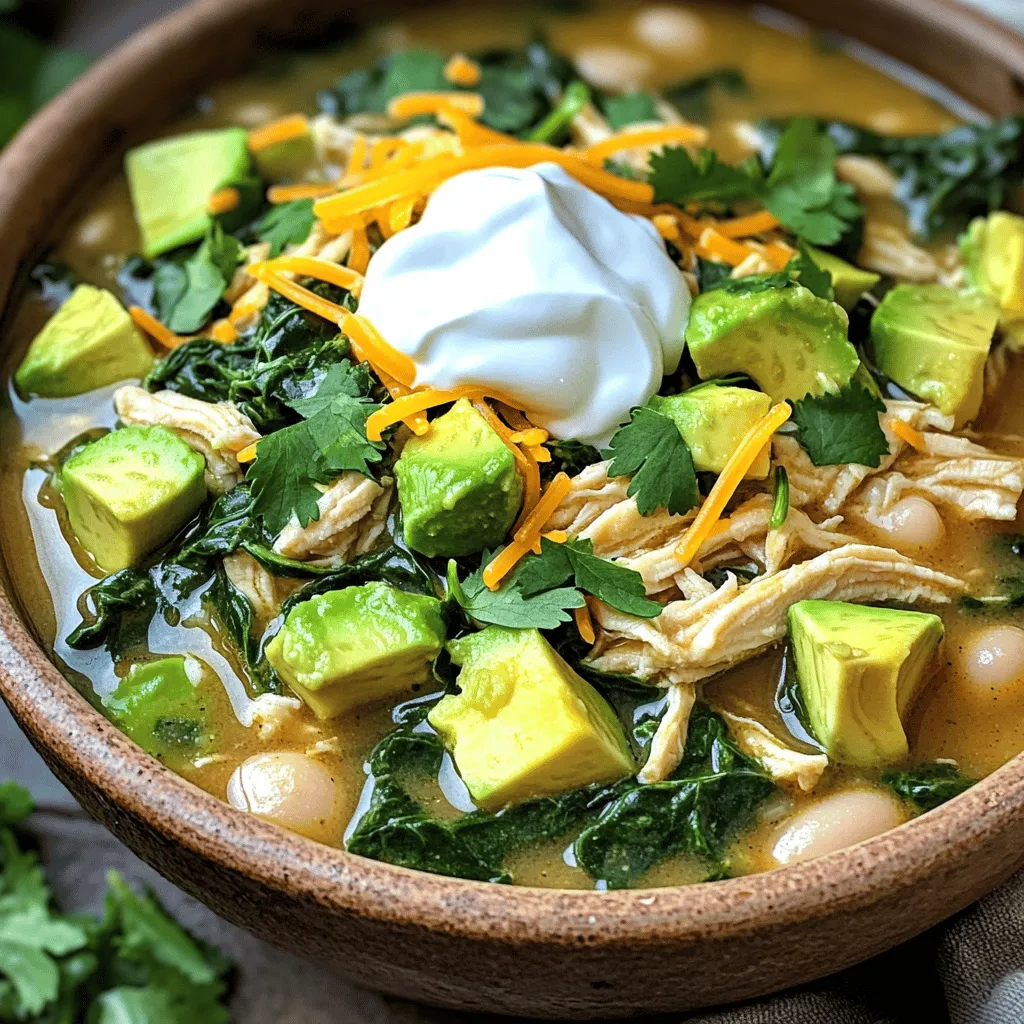
Savory Slow Cooker White Chicken Chili Recipe
Imagine returning home to the warm, savory aromas of Slow Cooker White Chicken Chili. It’s cozy, comforting, and packed with flavor. In this post, I’ll
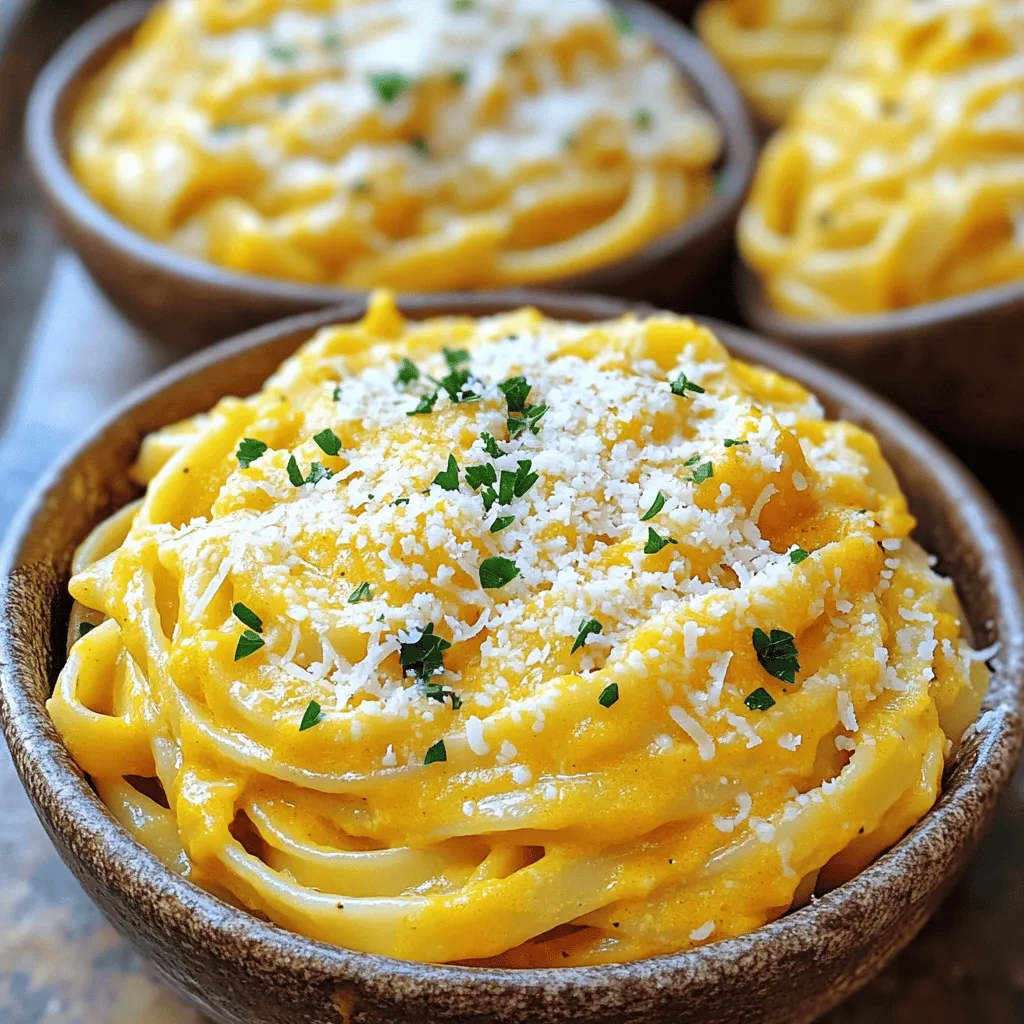
One-Pot Pumpkin Alfredo Creamy and Simple Dish
Craving a creamy, cozy meal with minimal cleanup? Look no further! My One-Pot Pumpkin Alfredo combines rich flavors and simple steps to create a dish