Dinner
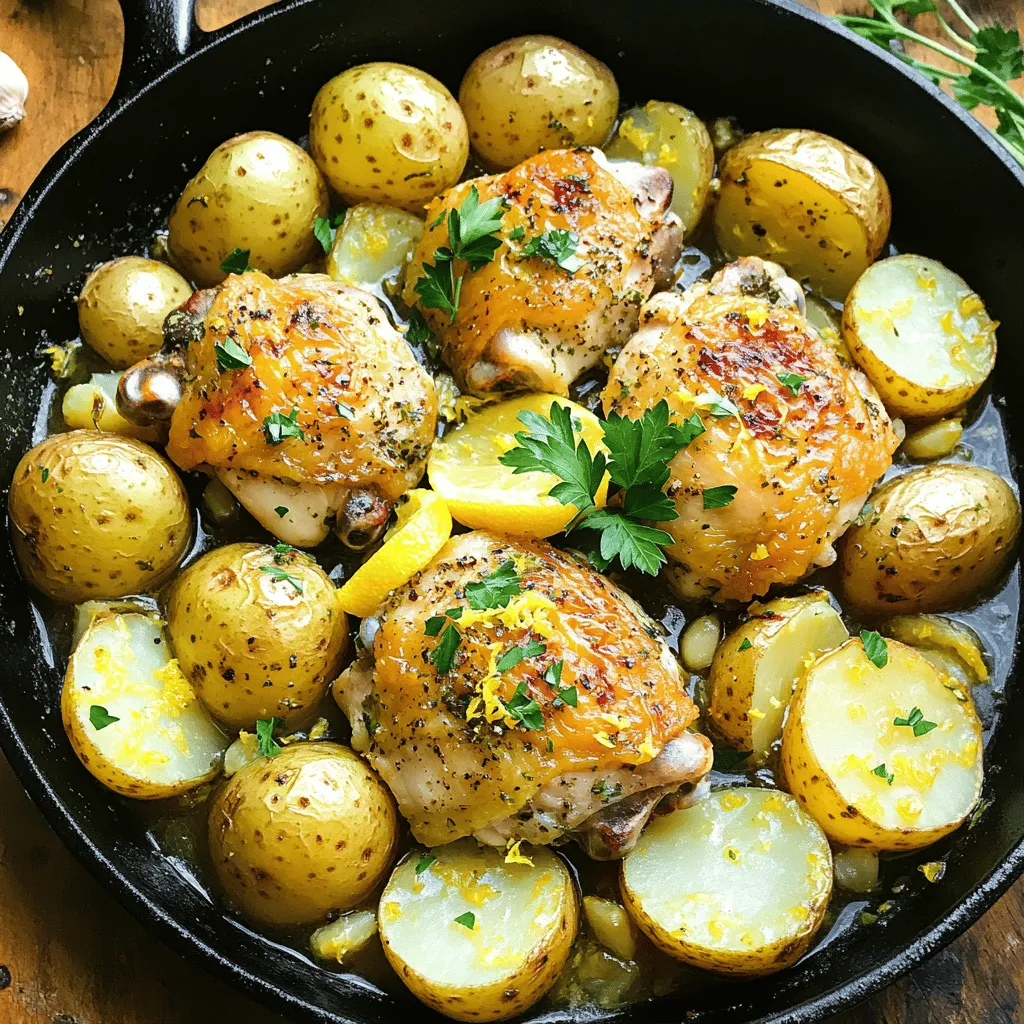
One-Pan Lemon Herb Chicken & Potatoes Quick Meal
Are you looking for a quick and easy meal that tastes great? One-Pan Lemon Herb Chicken & Potatoes is your answer! This dish combines juicy
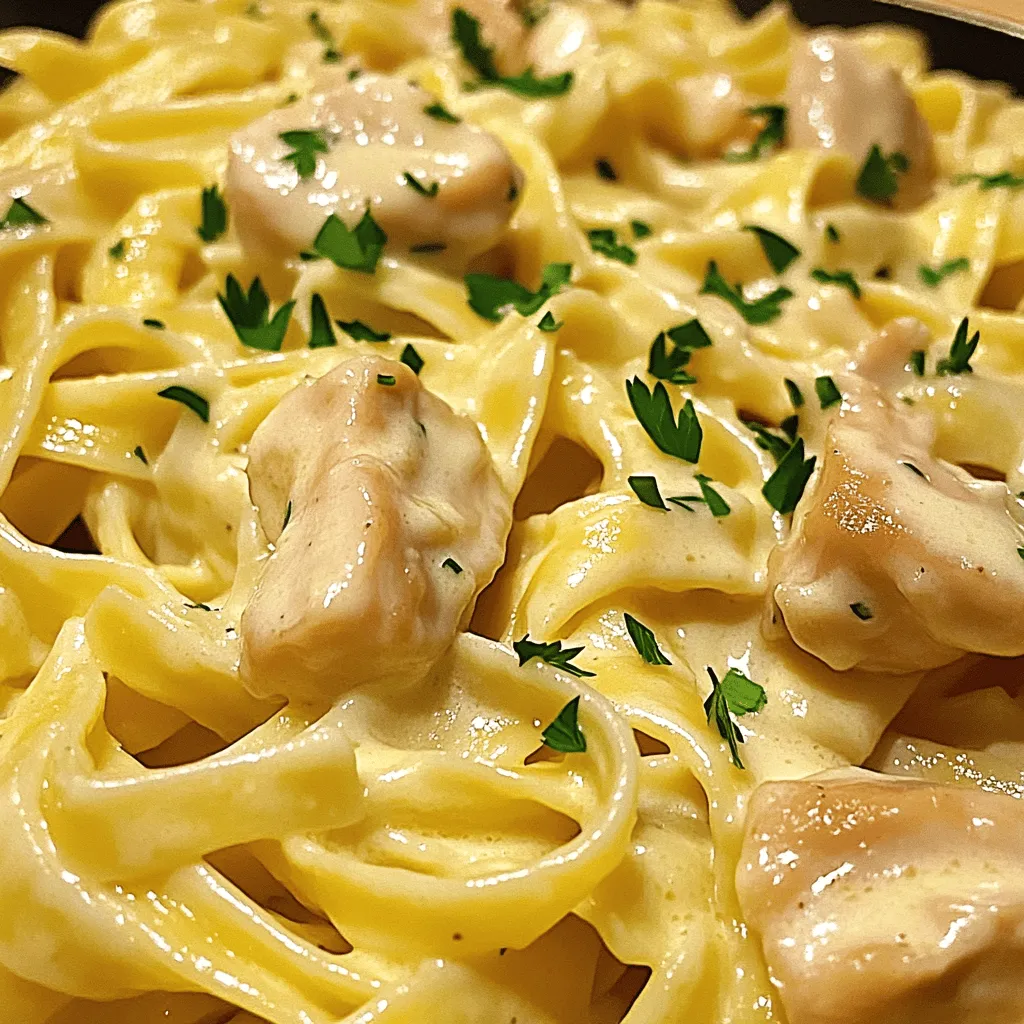
Instant Pot Chicken Alfredo Creamy Dinner Delight
Looking for a quick, creamy dinner that delights your taste buds? This Instant Pot Chicken Alfredo is your answer! With just a few simple ingredients

Honey Garlic Chicken & Sweet Potatoes Sheet Pan Delight
Looking for a simple, tasty dinner? You’ve found it! In this blog, I’ll show you how to make Honey Garlic Chicken and Sweet Potatoes on
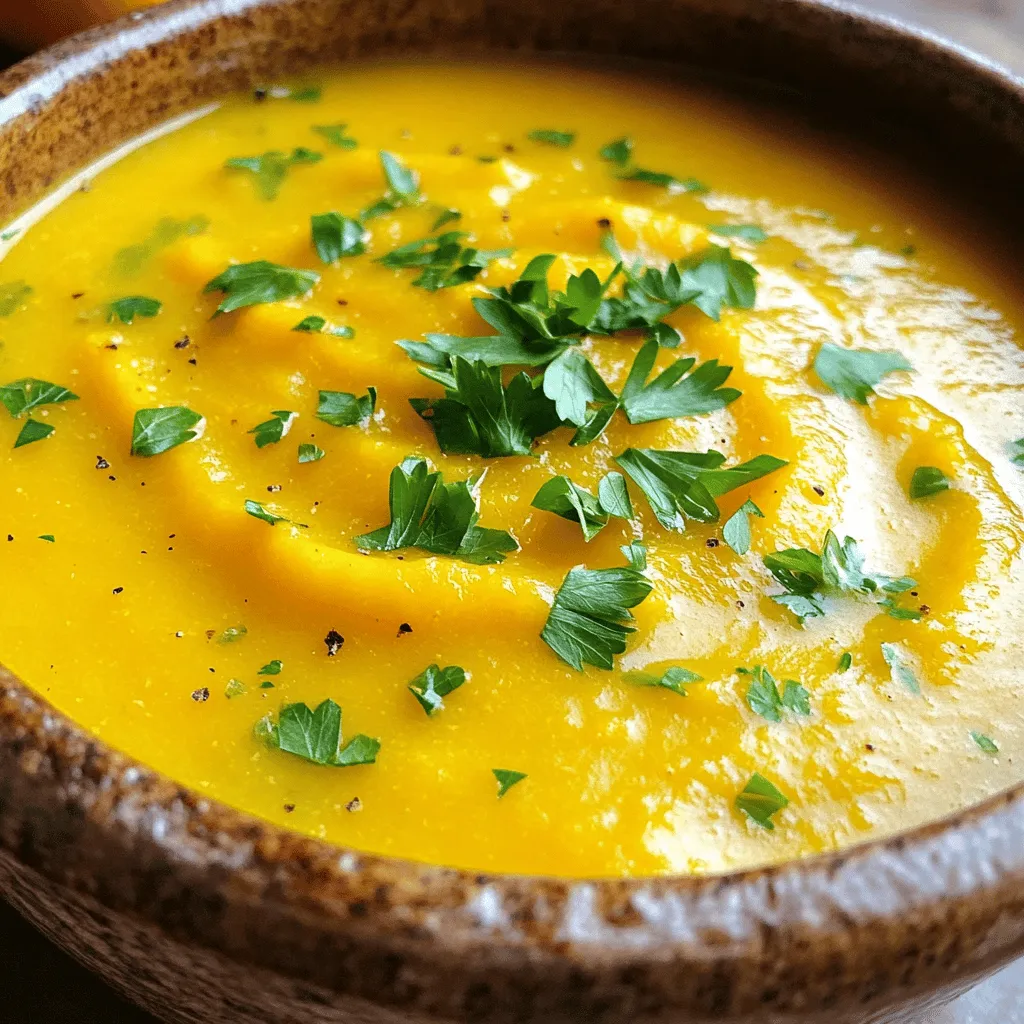
Slow Cooker Butternut Squash Soup Rich and Creamy Delight
If you crave a bowl of warm, creamy comfort, you’ve found it! My Slow Cooker Butternut Squash Soup is rich and full of flavor. This
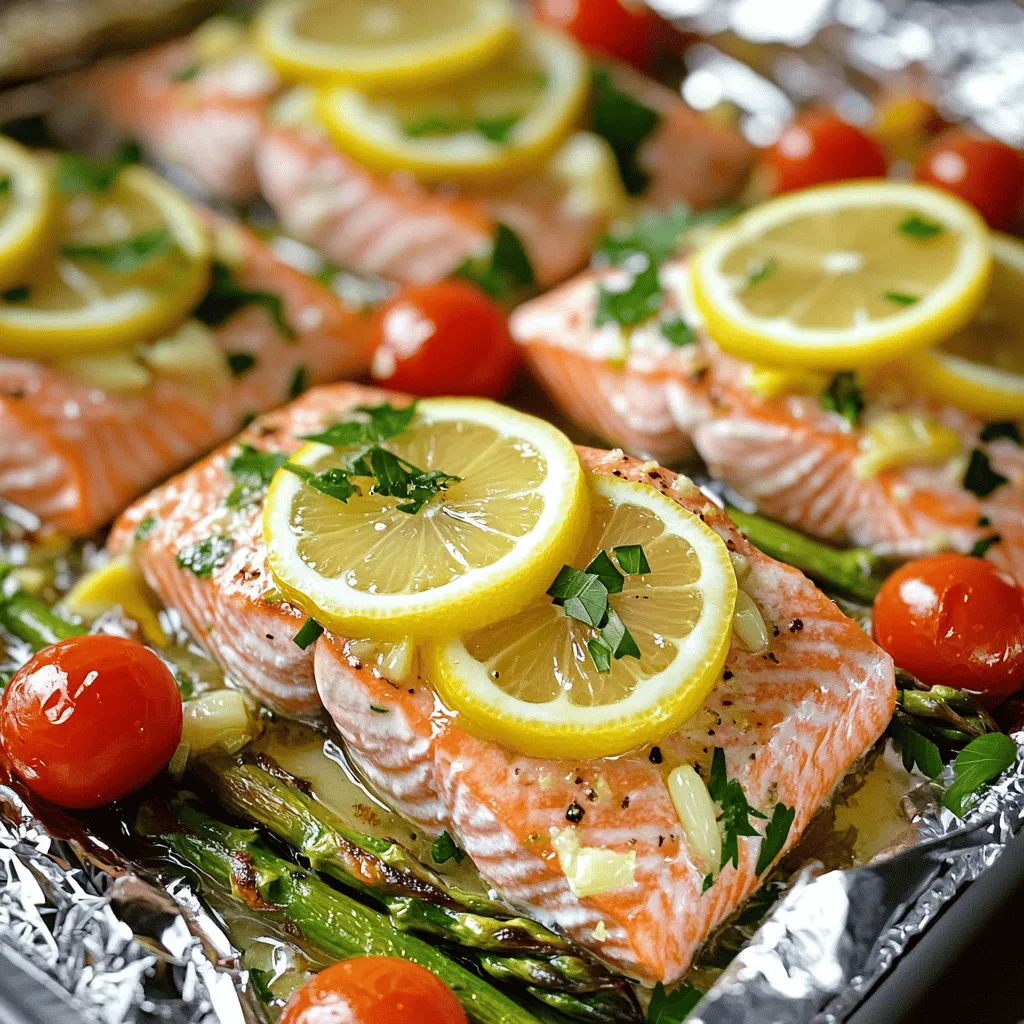
Lemon Garlic Butter Salmon Foil Packs Quick and Easy Dish
Looking for a quick and easy dinner idea? Try these Lemon Garlic Butter Salmon Foil Packs! They are simple to make, packed with flavor, and
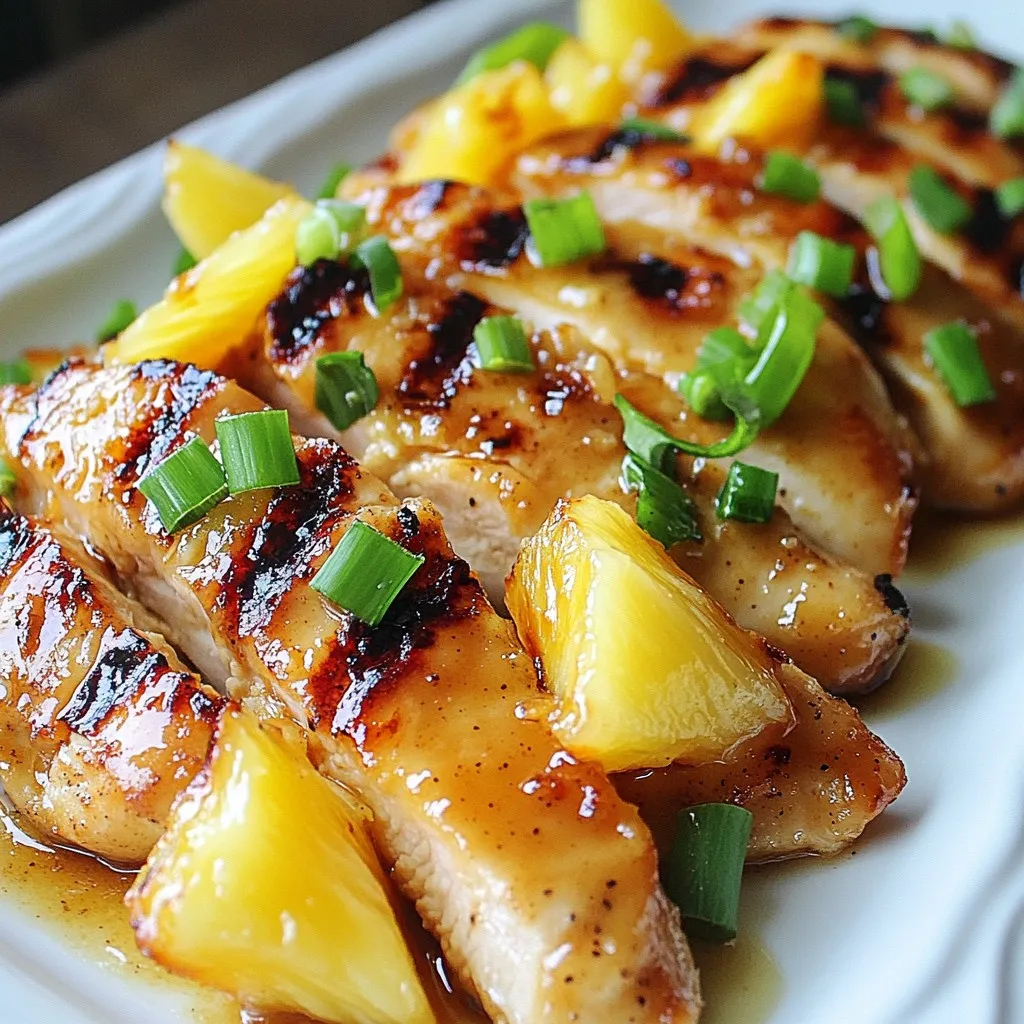
Brown Sugar Pineapple Chicken Simple Grilling Recipe
Get ready to impress your taste buds with my Brown Sugar Pineapple Chicken! This simple grilling recipe combines sweet and savory flavors that make dinner
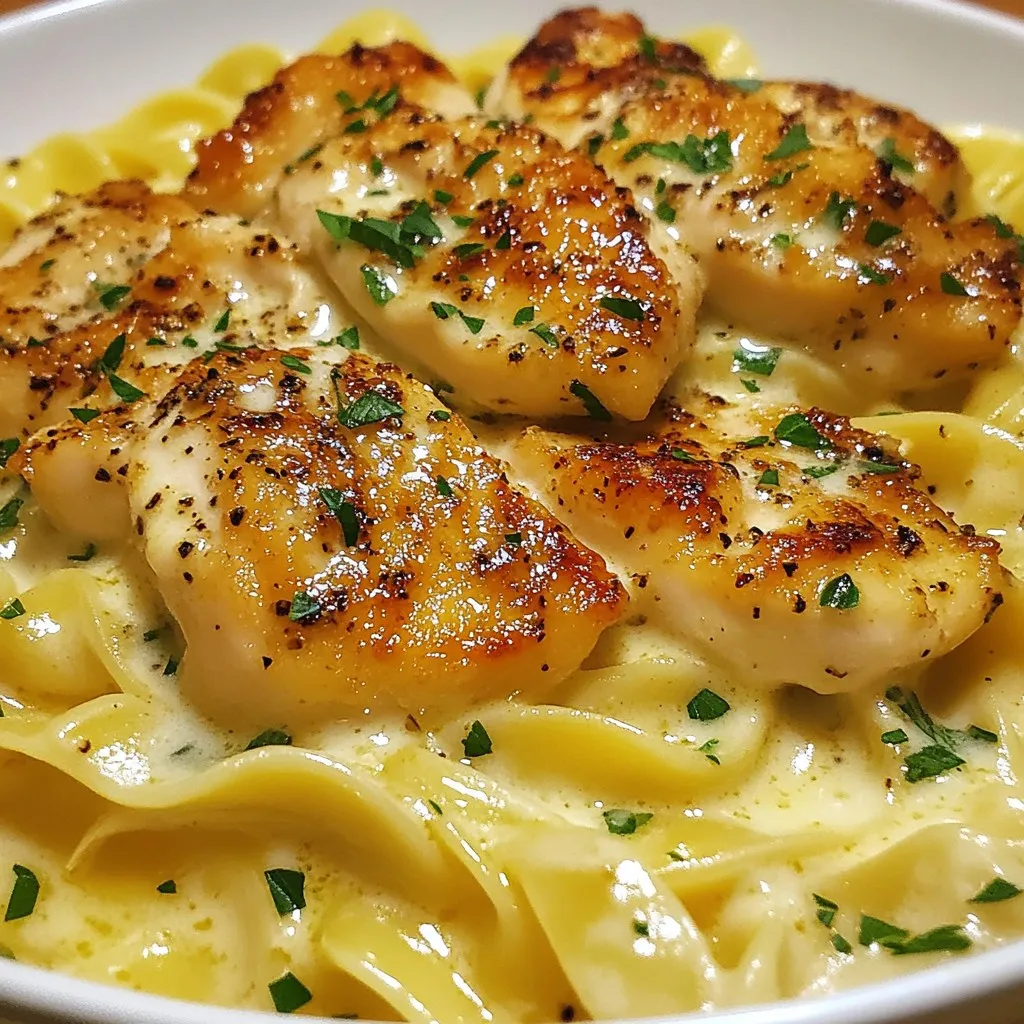
Savory Chicken with Buttered Noodles Simple Recipe
Are you ready to taste a simple yet mouth-watering dish? This Savory Chicken with Buttered Noodles recipe pairs juicy chicken with creamy, buttery noodles for
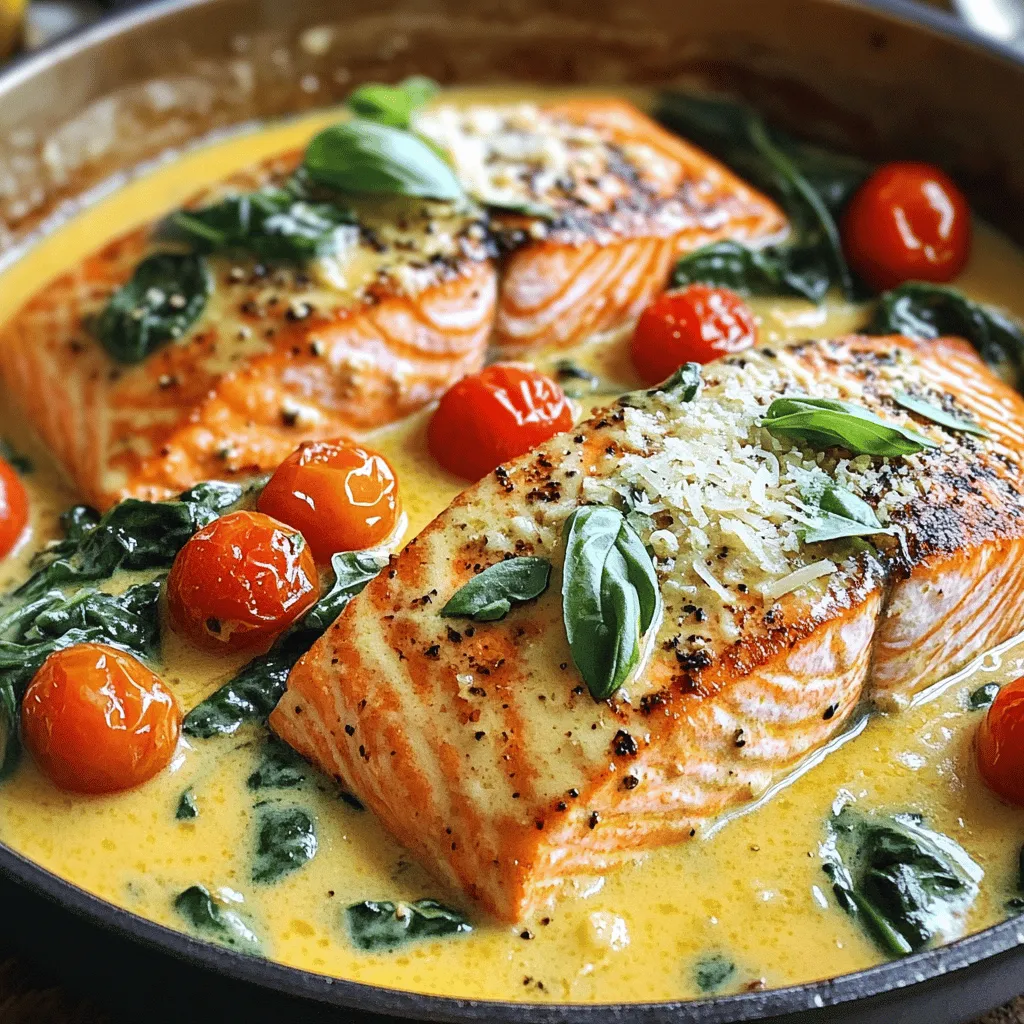
Creamy Tuscan Salmon Rich and Flavorful Dish
If you’re craving a meal that impresses, you’ll love this Creamy Tuscan Salmon. This dish blends rich flavors, fresh veggies, and tender salmon into a
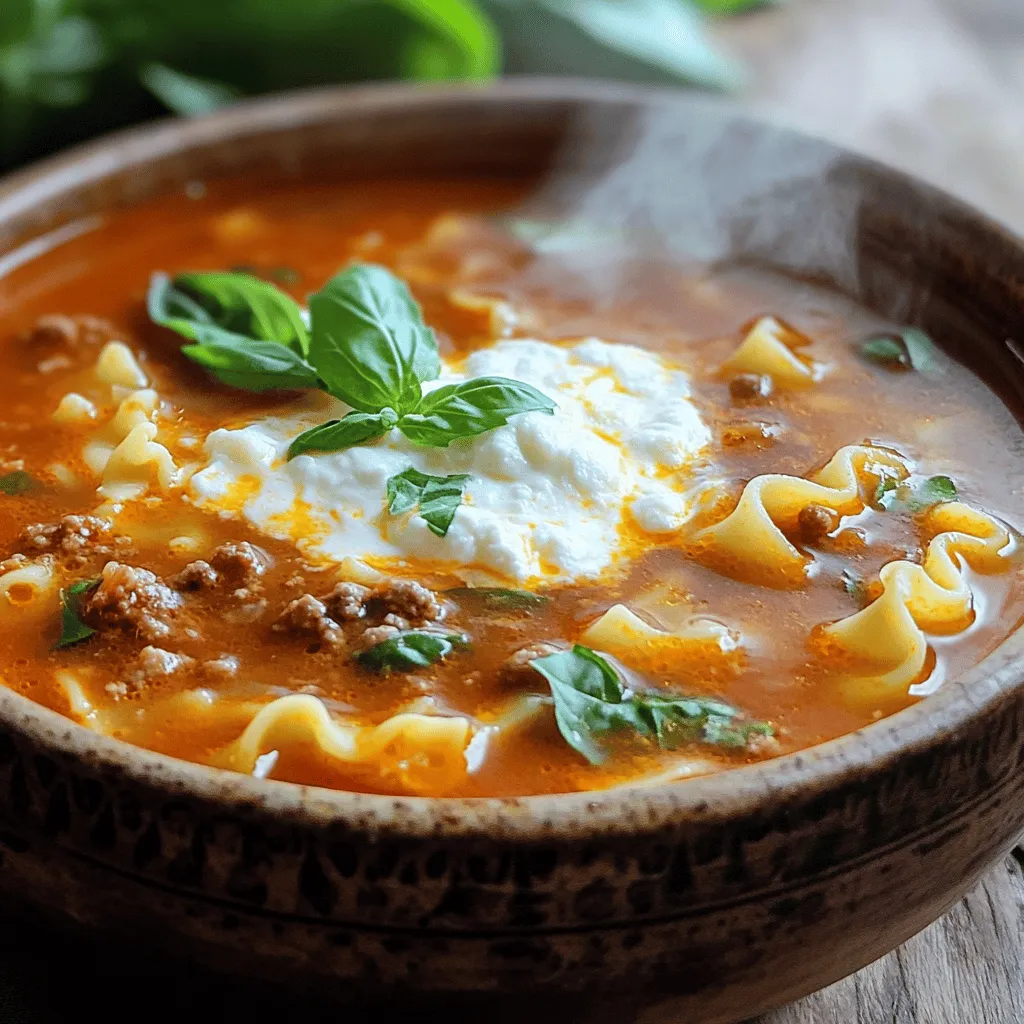
Cozy Lasagna Soup Tasty and Simple Comfort Dish
Cold nights call for warm meals, and nothing is cozier than Lasagna Soup. This dish is a mix of savory flavors and creamy cheese that
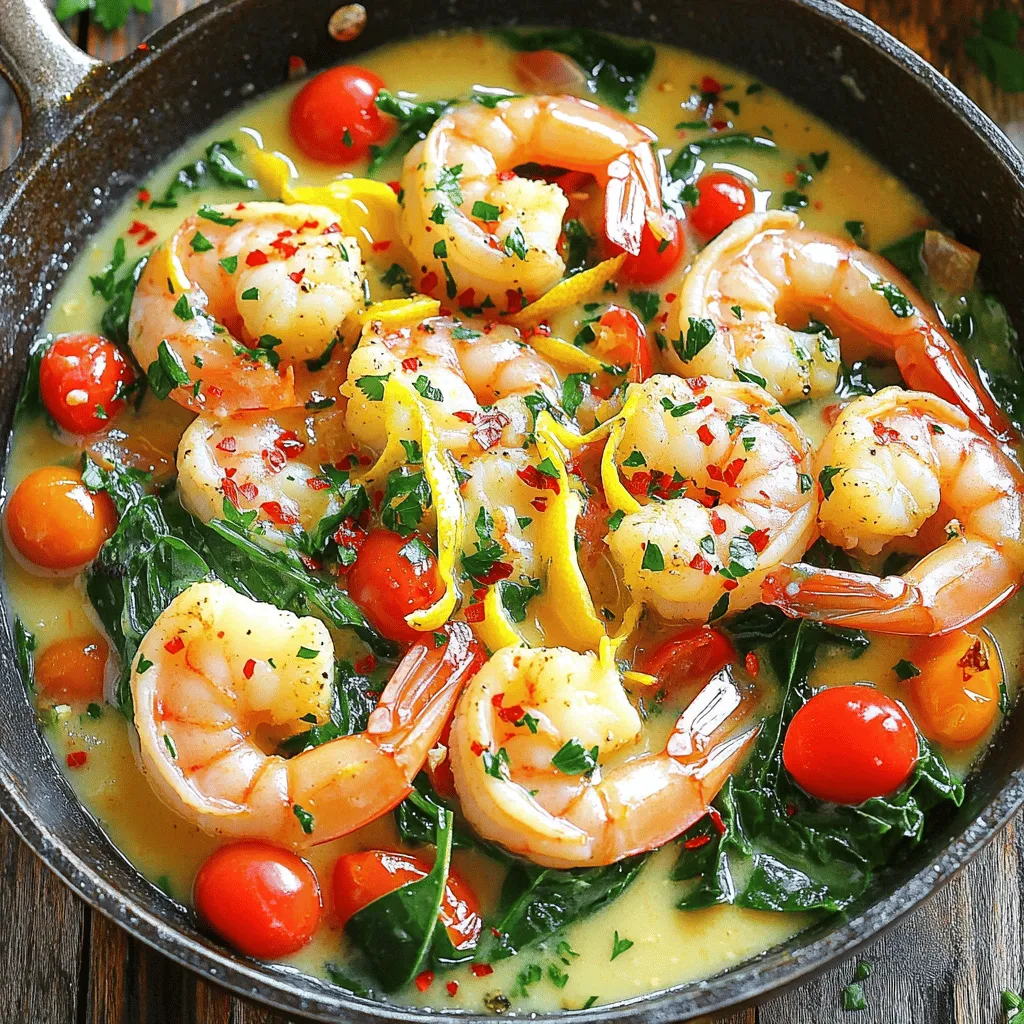
Lemon Garlic Butter Shrimp Skillet Quick and Easy Meal
If you’re craving a dish that’s quick, tasty, and easy to make, look no further! My Lemon Garlic Butter Shrimp Skillet is your new go-to