Dinner

Cheesy Hobo Ground Beef Casserole Flavorful Deal
Are you ready to whip up a comforting meal that’s easy and delicious? Meet the Cheesy Hobo Ground Beef Casserole—a dish that delivers big flavors

Spicy Butternut Sweet Potato Soup Hearty and Healthy
Looking for a warm, comforting dish that packs a healthy punch? Welcome to my spicy butternut sweet potato soup recipe! This hearty soup balances rich
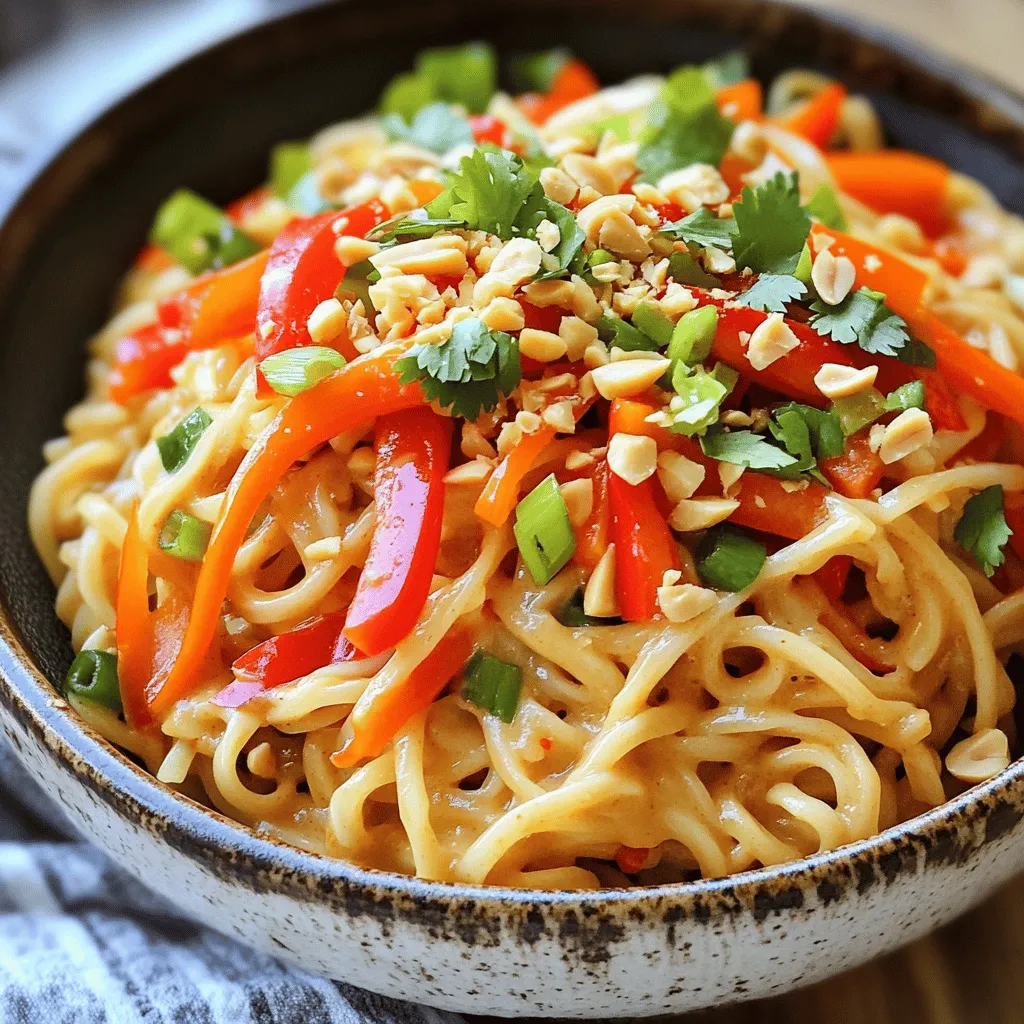
Spicy Thai Peanut Noodles Flavorful and Easy Recipe
If you’re craving bold flavors and a quick meal, you’re in the right place! My Spicy Thai Peanut Noodles recipe is not only delicious but

Quick Teriyaki Chicken Stir Fry Bold and Flavorful Meal
Are you ready to whip up a meal that packs a punch? This Quick Teriyaki Chicken Stir Fry is your answer for a satisfying, bold
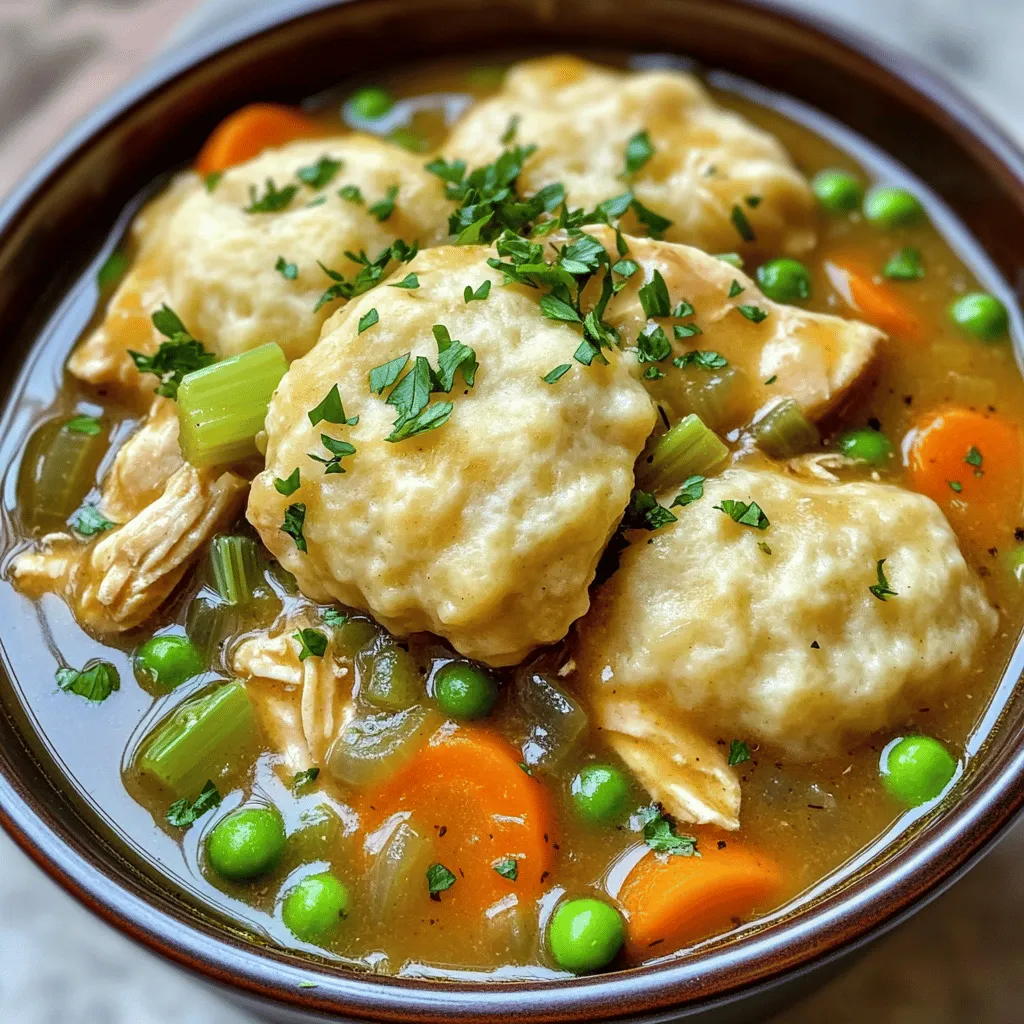
Instant Pot Chicken and Dumplings Simple Comfort Food
Are you craving a warm and hearty meal? My Instant Pot Chicken and Dumplings offers simple comfort food that hits the spot every time. With
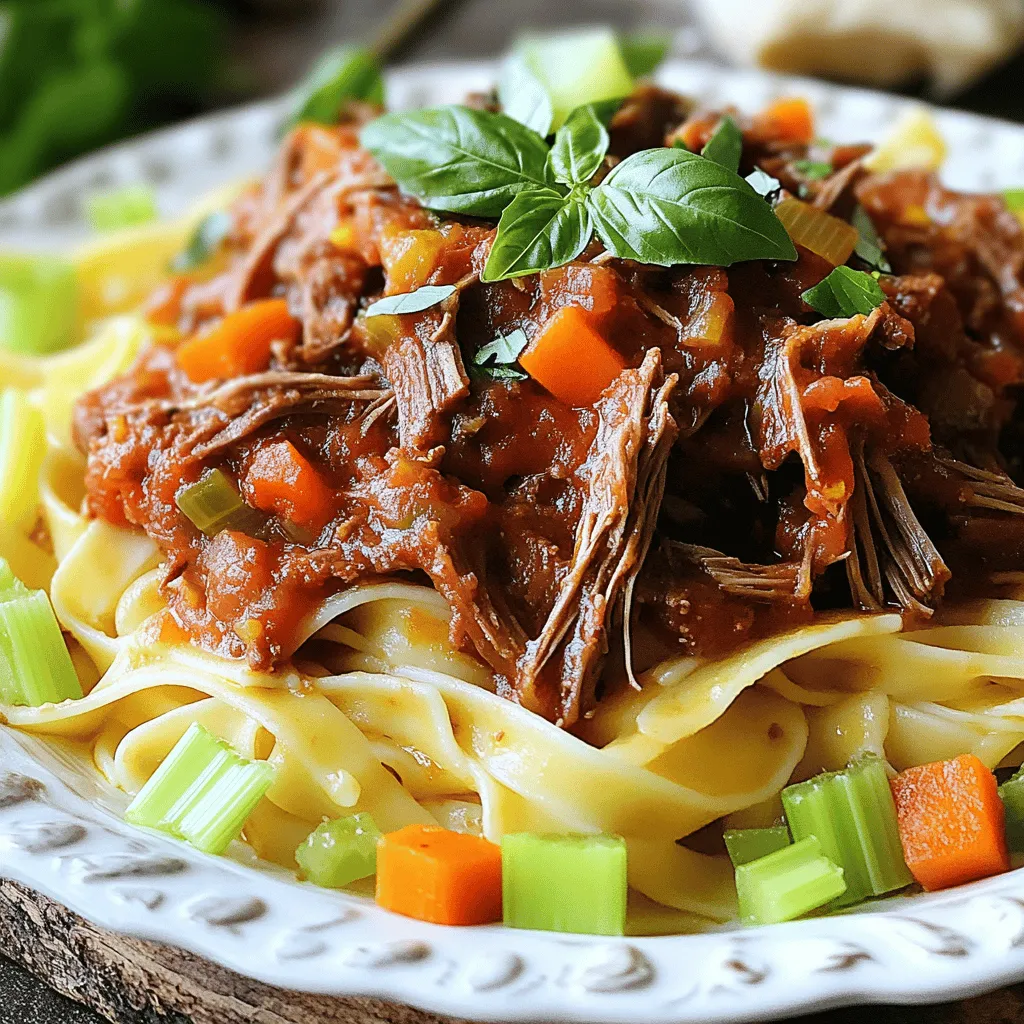
Slow-Simmered Short Rib Ragu Flavorful Comfort Meal
If you’re craving a warm, hearty meal, you’ll love my Slow-Simmered Short Rib Ragu. This dish is a cozy favorite, combining rich beef short ribs

Crockpot Chicken Corn Chowder Comforting and Easy Meal
If you’re craving a warm, comforting dish that simple to make, look no further! My Crockpot Chicken Corn Chowder combines tender chicken, sweet corn, and
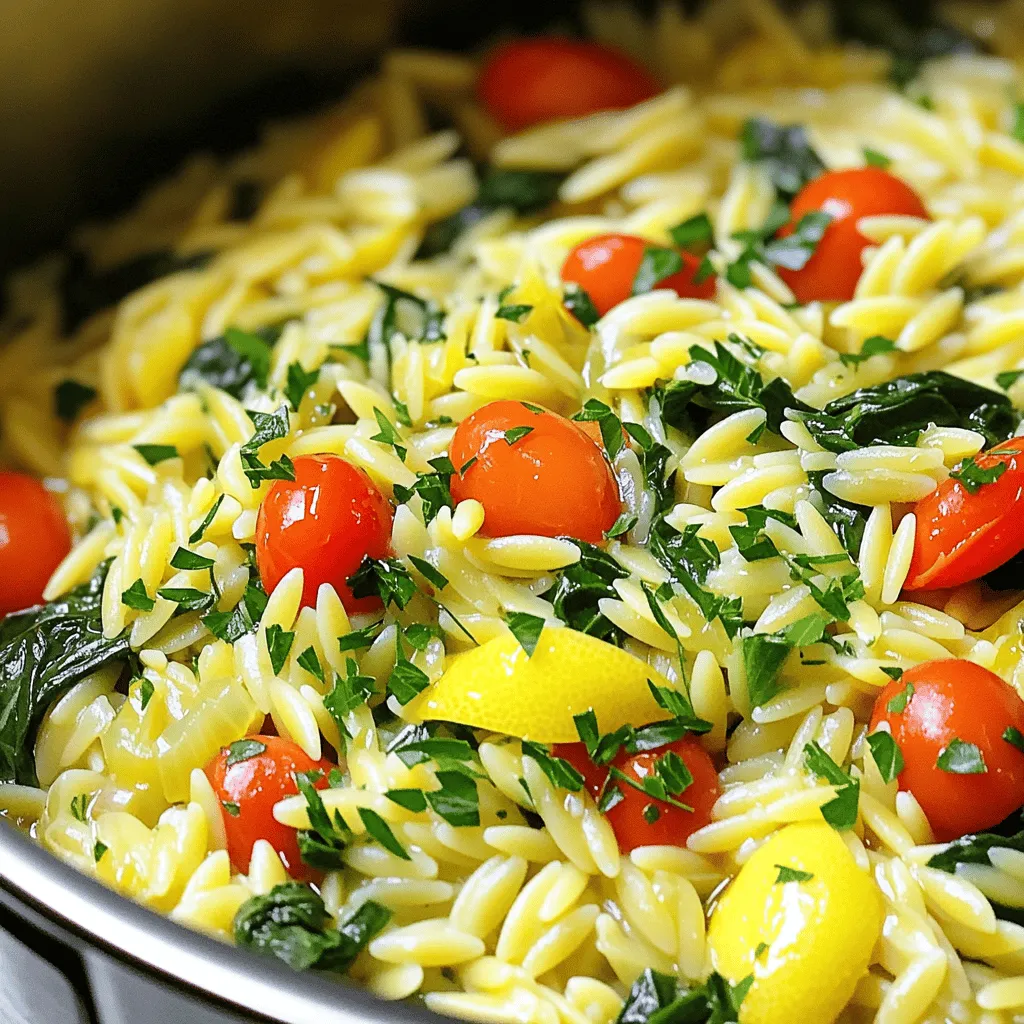
One-Pot Lemon Herb Orzo Flavorful and Simple Meal
Looking for a quick and tasty meal? This One-Pot Lemon Herb Orzo recipe is your answer! It’s simple to make and packed with flavor. With

Lasagna Soup Savory and Hearty Comfort Food
If you’re yearning for a warm, filling meal that wraps you in comfort, try lasagna soup! This dish combines the heartiness of traditional lasagna with

Savory Potato Kielbasa Soup Hearty and Comforting
Looking for a cozy meal that warms both heart and soul? My Savory Potato Kielbasa Soup delivers just that! With hearty kielbasa, creamy potatoes, and