Dinner
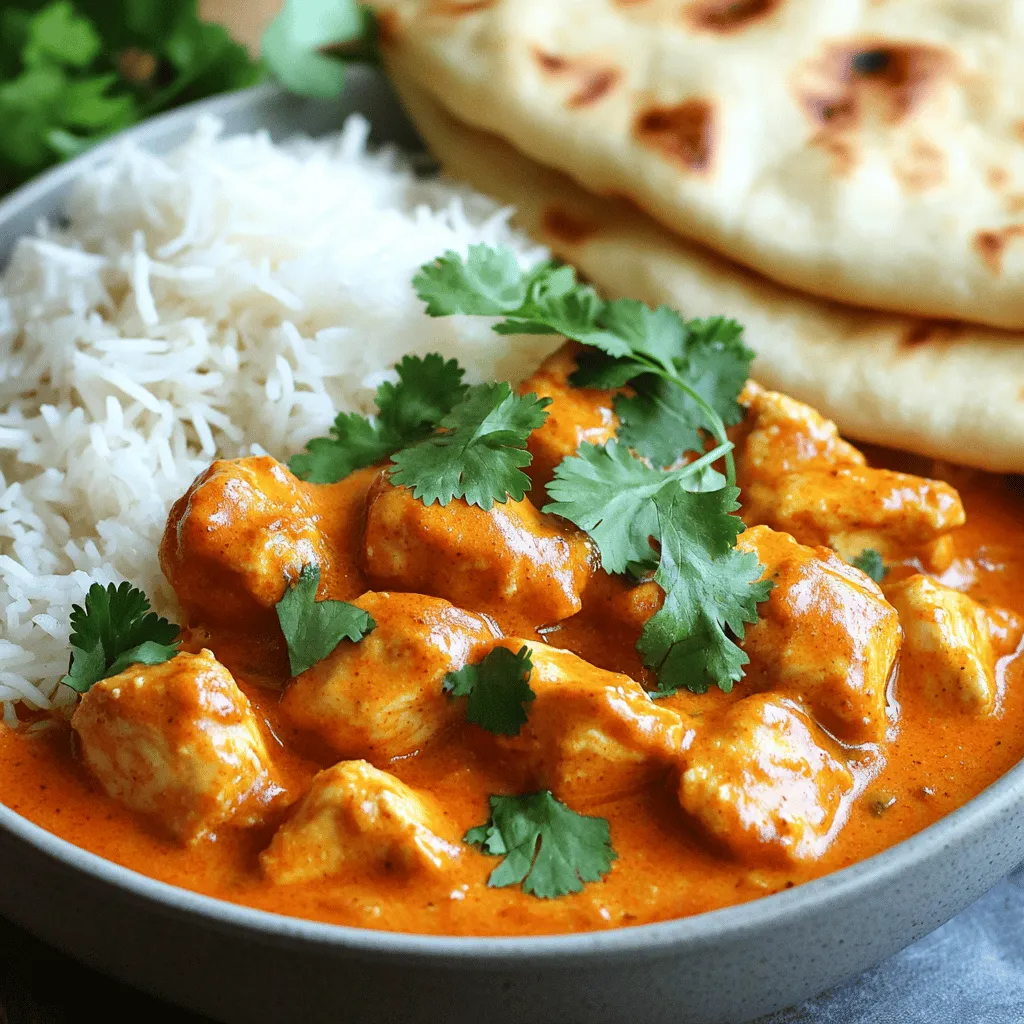
Instant Pot Chicken Tikka Masala Quick and Tasty Meal
Are you craving a quick and tasty meal? Look no further than my Instant Pot Chicken Tikka Masala! This dish brings rich flavors and tender
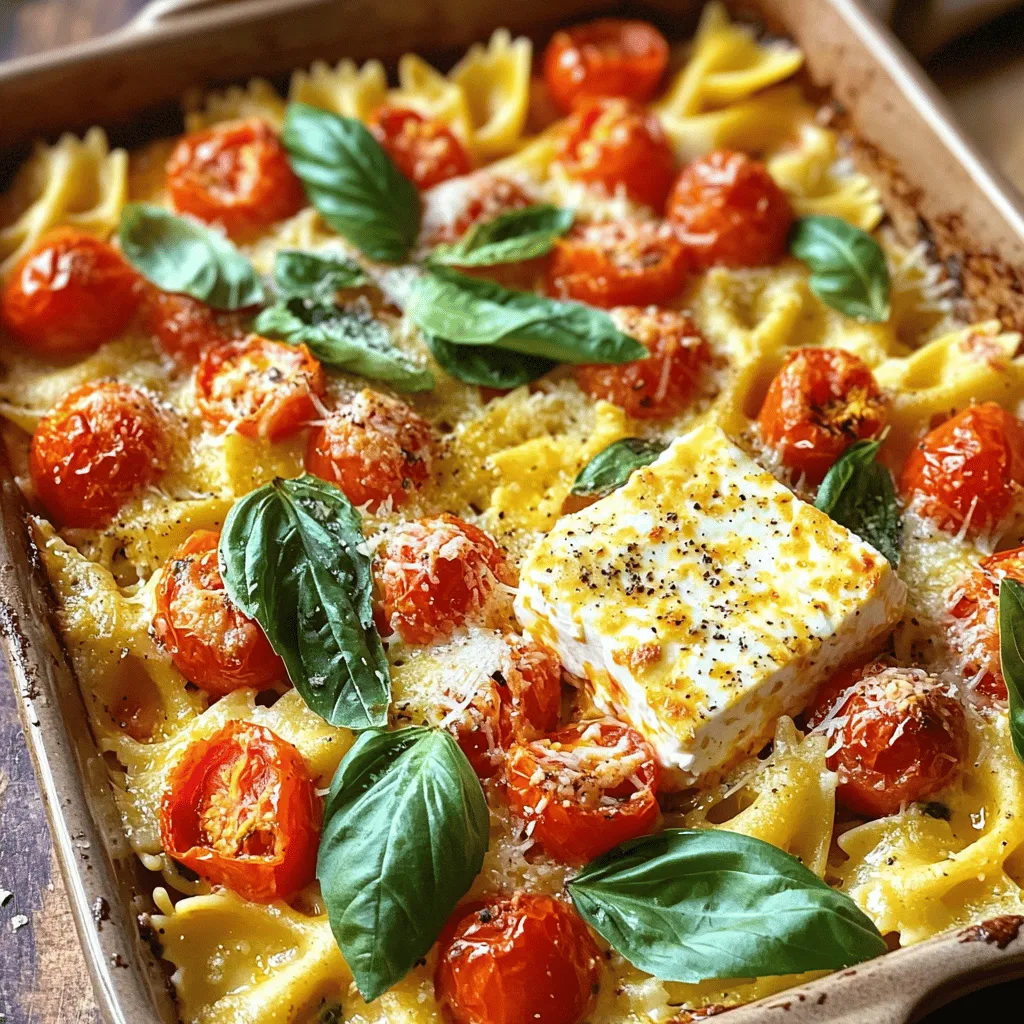
TikTok Baked Feta Pasta Simple and Flavorful Recipe
Looking for a quick and tasty meal? You’re in the right place! TikTok Baked Feta Pasta is simple to make and packed with flavor. With
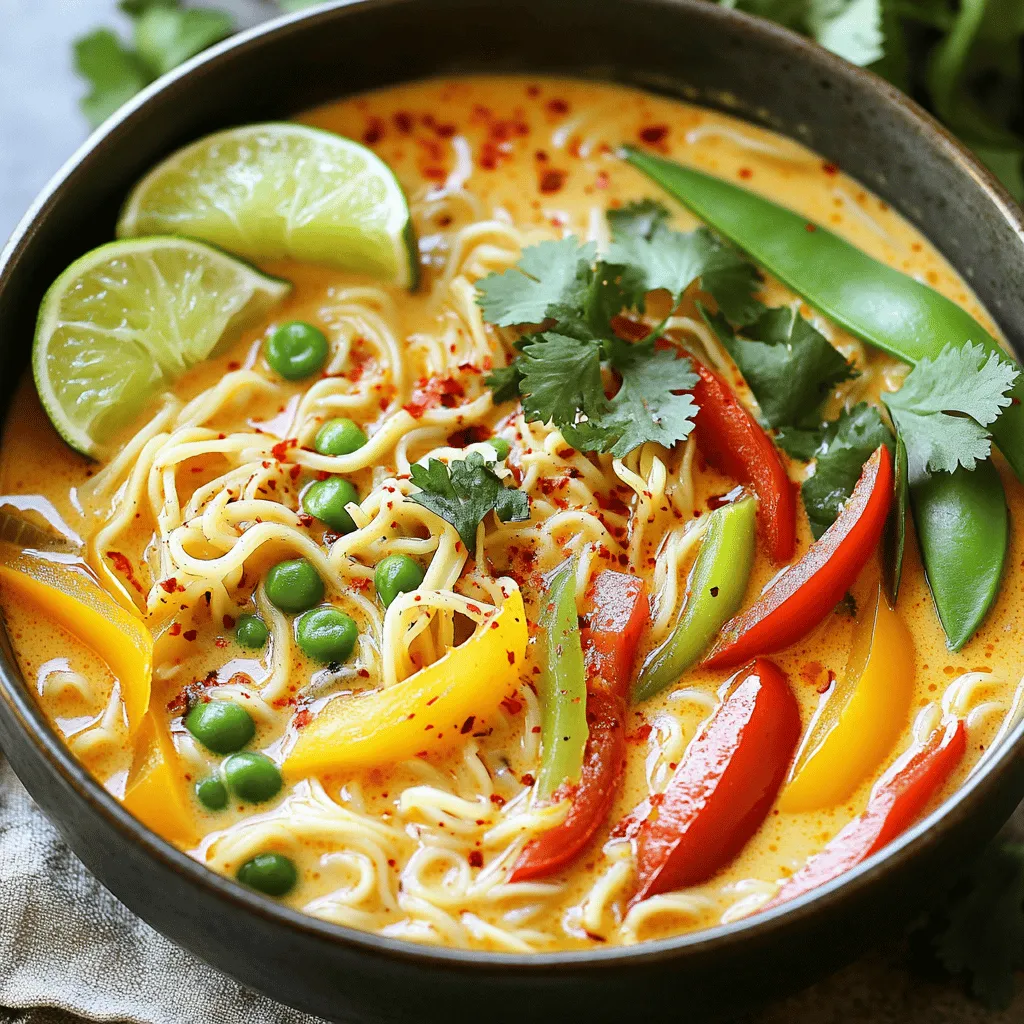
Thai Coconut Curry Ramen Flavorful and Easy Recipe
Are you craving a dish that’s both rich and comforting? Then you’ll love my Thai Coconut Curry Ramen! This easy recipe fills your bowl with
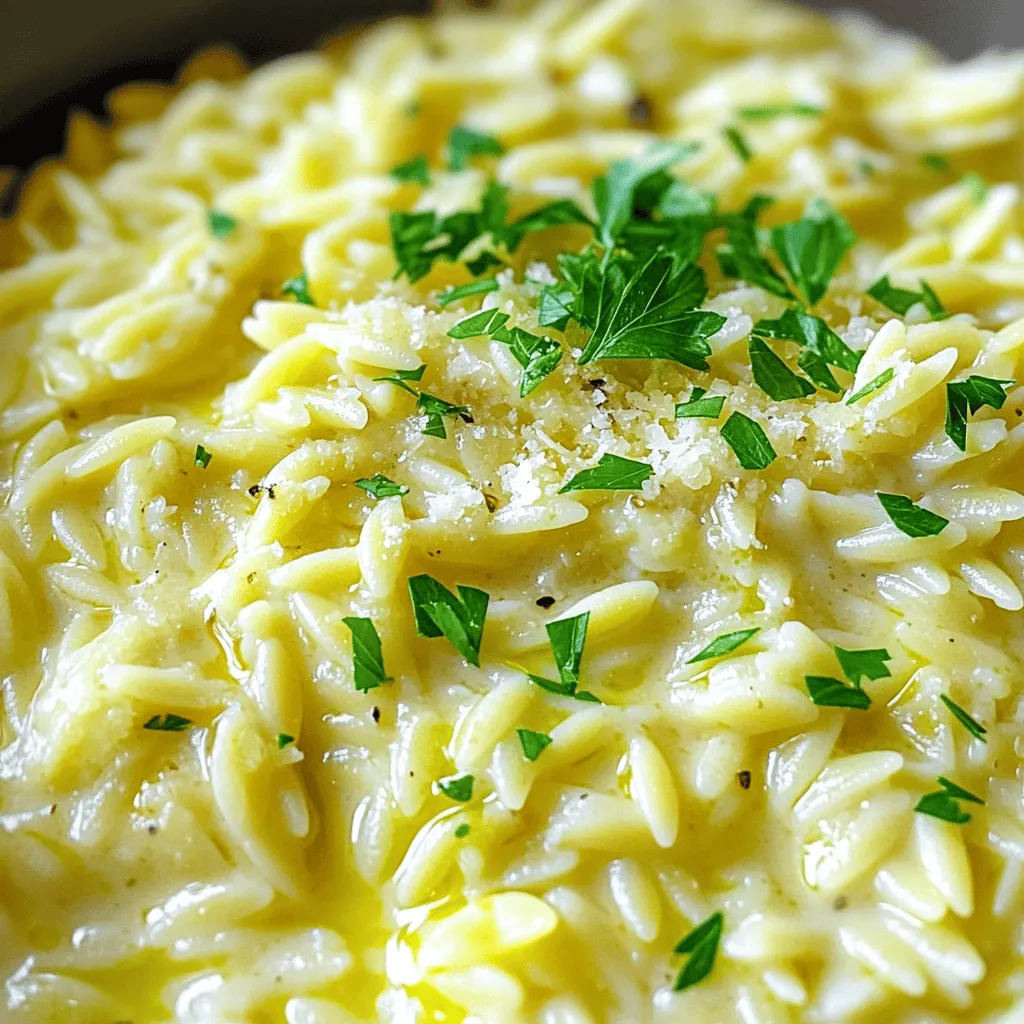
Creamy Garlic Parmesan Orzo Rich and Flavorful Dish
Looking for a dish that bursts with flavor and comfort? Try my Creamy Garlic Parmesan Orzo! This rich, creamy meal is simple to make and
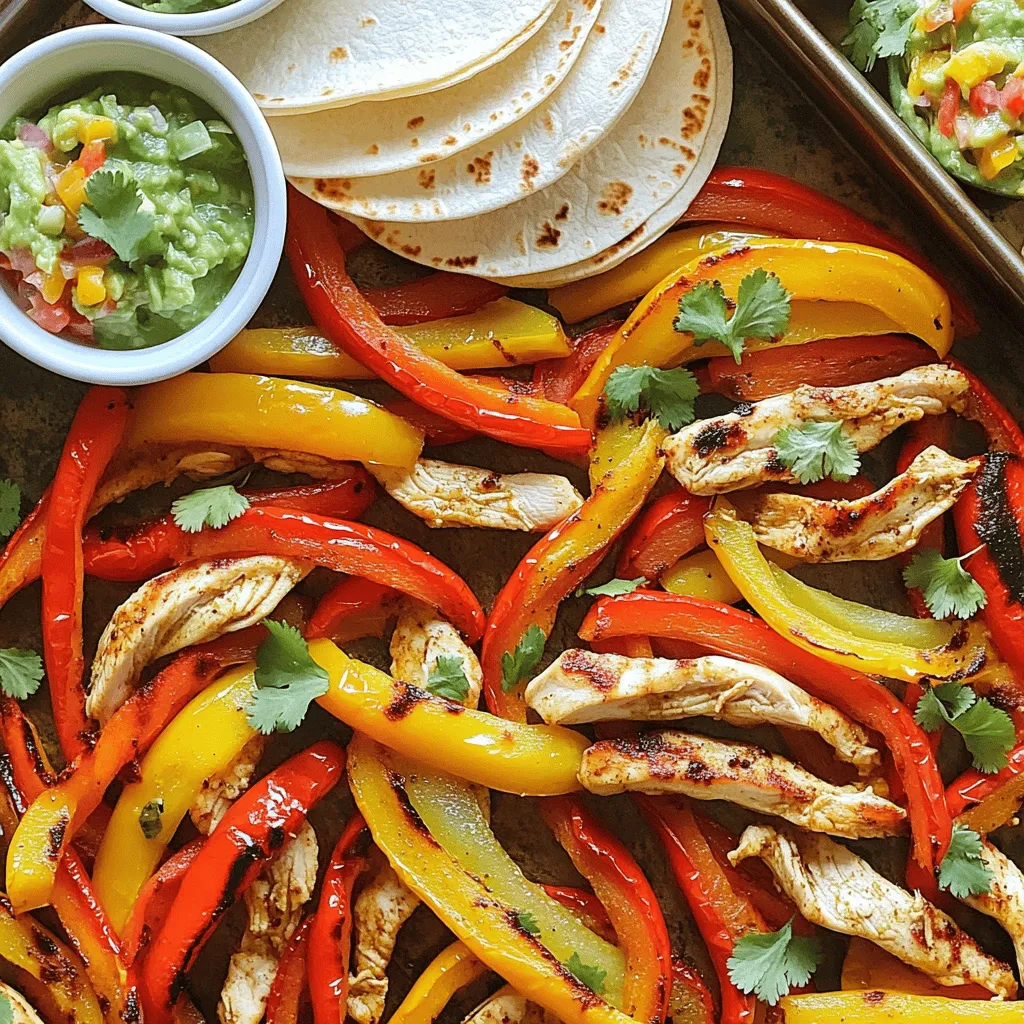
Sheet Pan Chicken Fajitas Flavorful and Easy Meal
Looking for a quick and tasty dinner? You’ve found it! My Sheet Pan Chicken Fajitas are packed with flavor and super easy to make. You’ll
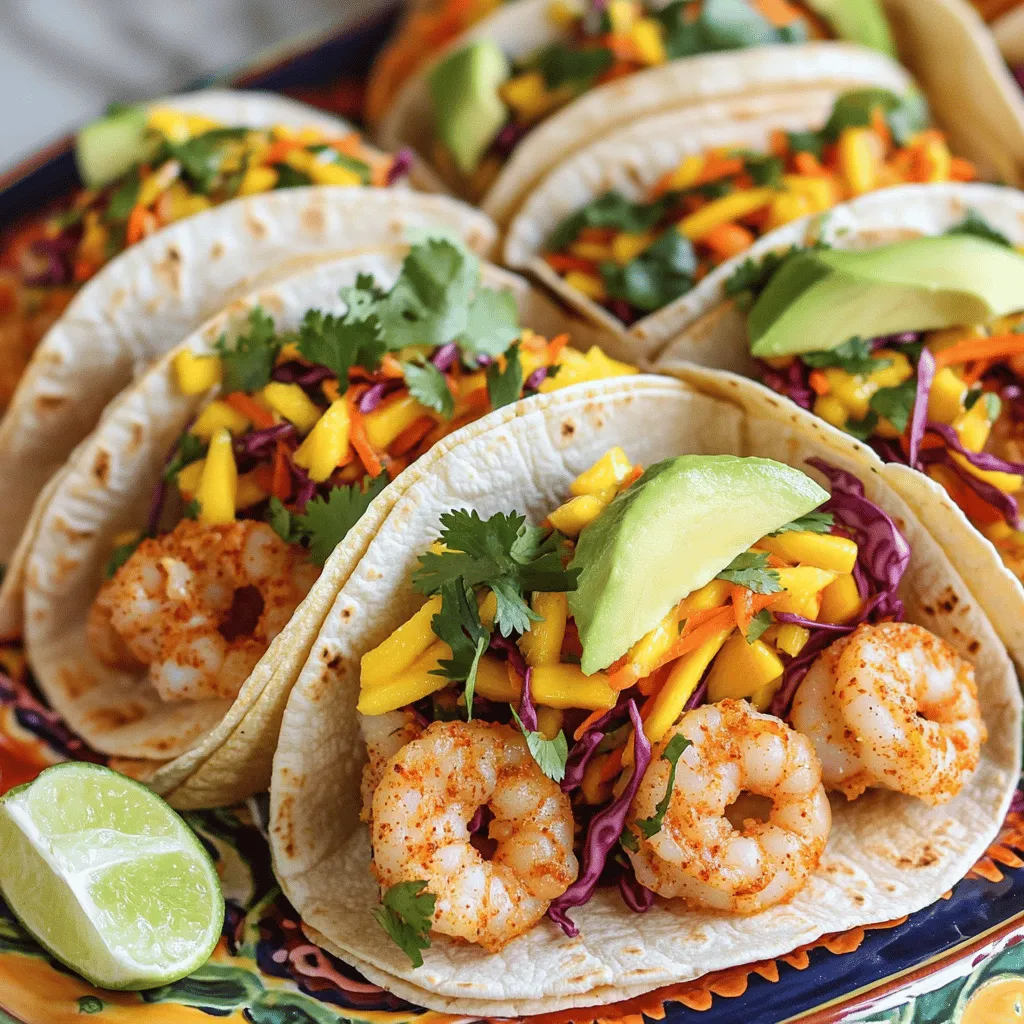
Spicy Shrimp Tacos with Mango Slaw Delightful Mix
Dive into a burst of flavor with my Spicy Shrimp Tacos with Mango Slaw! These tacos combine juicy shrimp, zesty spices, and crunchy mango slaw
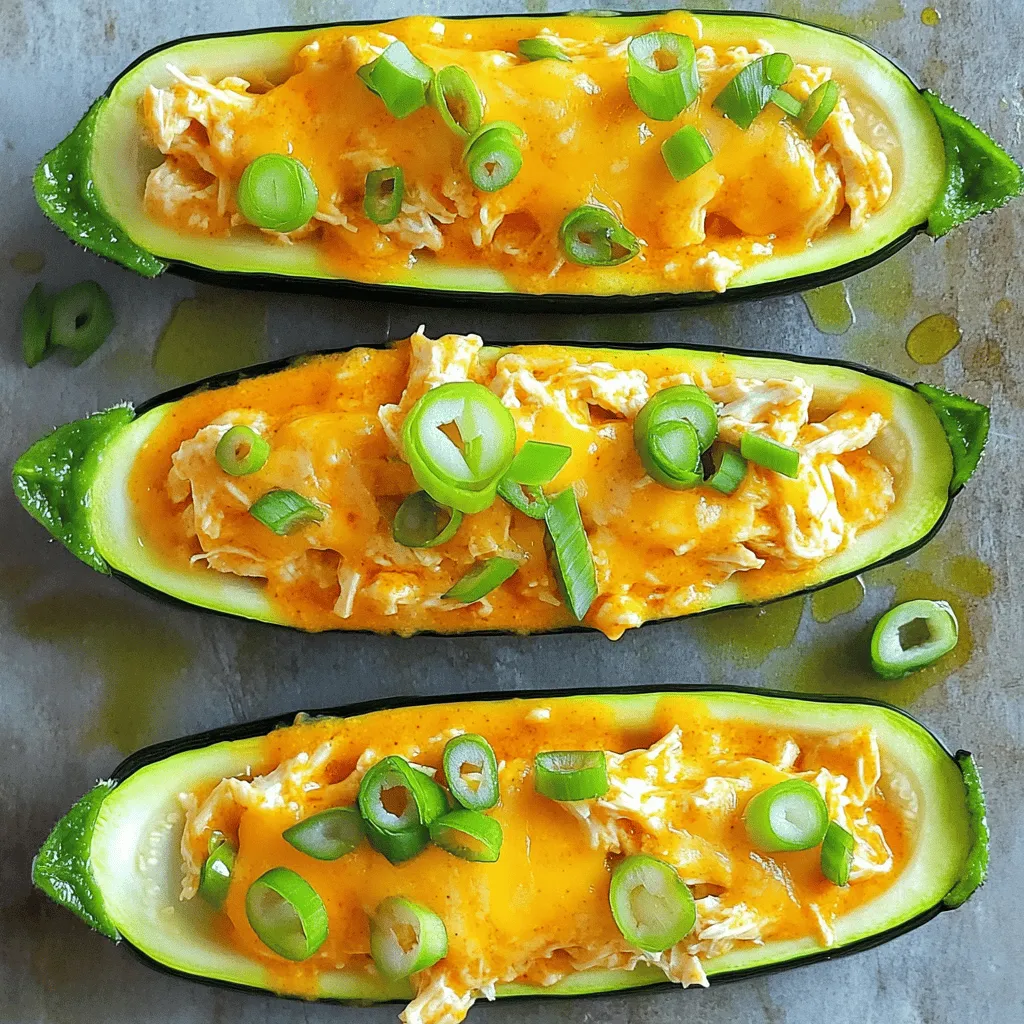
Buffalo Chicken Stuffed Zucchini Boats Flavorful Meal
If you love bold flavors, get ready for a treat! Buffalo Chicken Stuffed Zucchini Boats combine spicy, tender chicken with fresh zucchini for a perfect

Spicy Honey Sriracha Shrimp Tacos Delightful Recipe
Get ready to spice up your taco night with my Spicy Honey Sriracha Shrimp Tacos! This delightful recipe combines juicy shrimp, sweet honey, and a
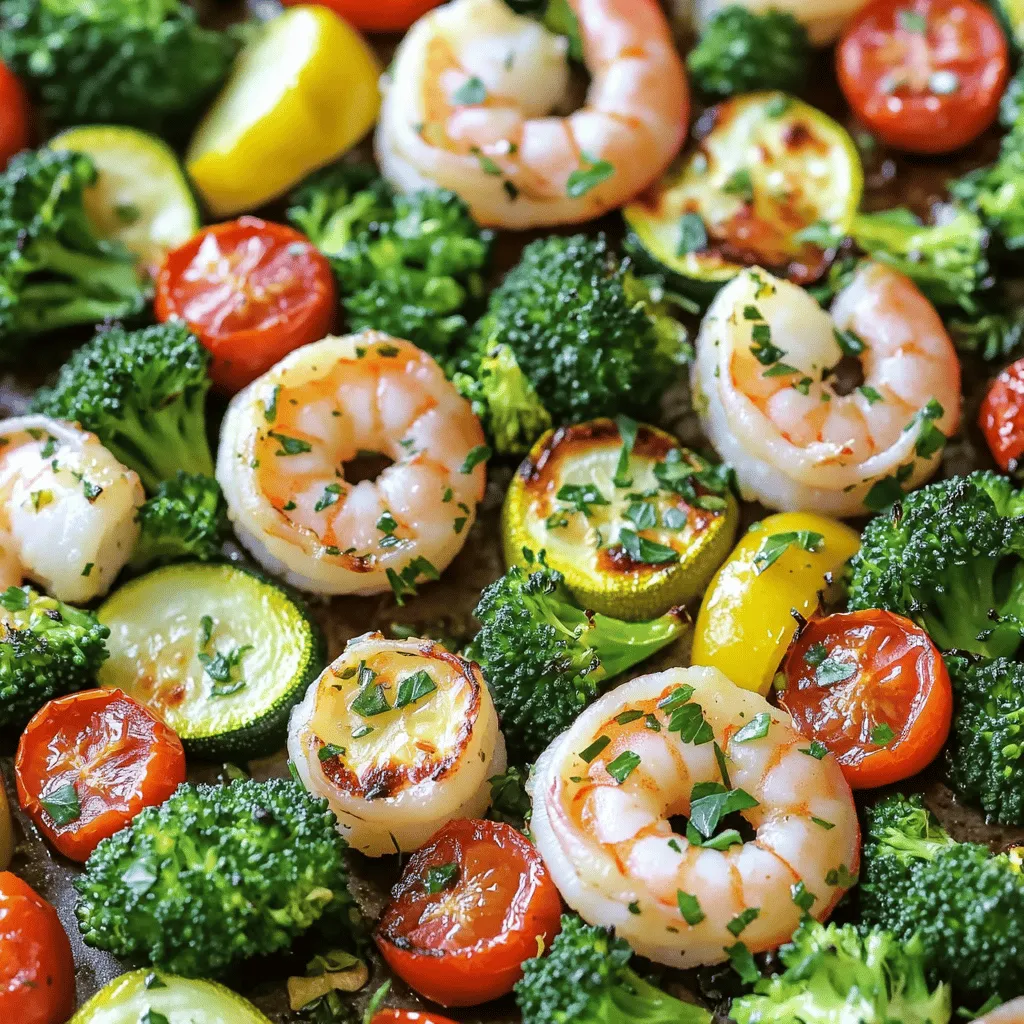
Sheet Pan Lemon Herb Shrimp & Veggies Delight
Welcome to my kitchen! Today, I’m excited to share a quick and tasty recipe for Sheet Pan Lemon Herb Shrimp & Veggies. This one-pan meal
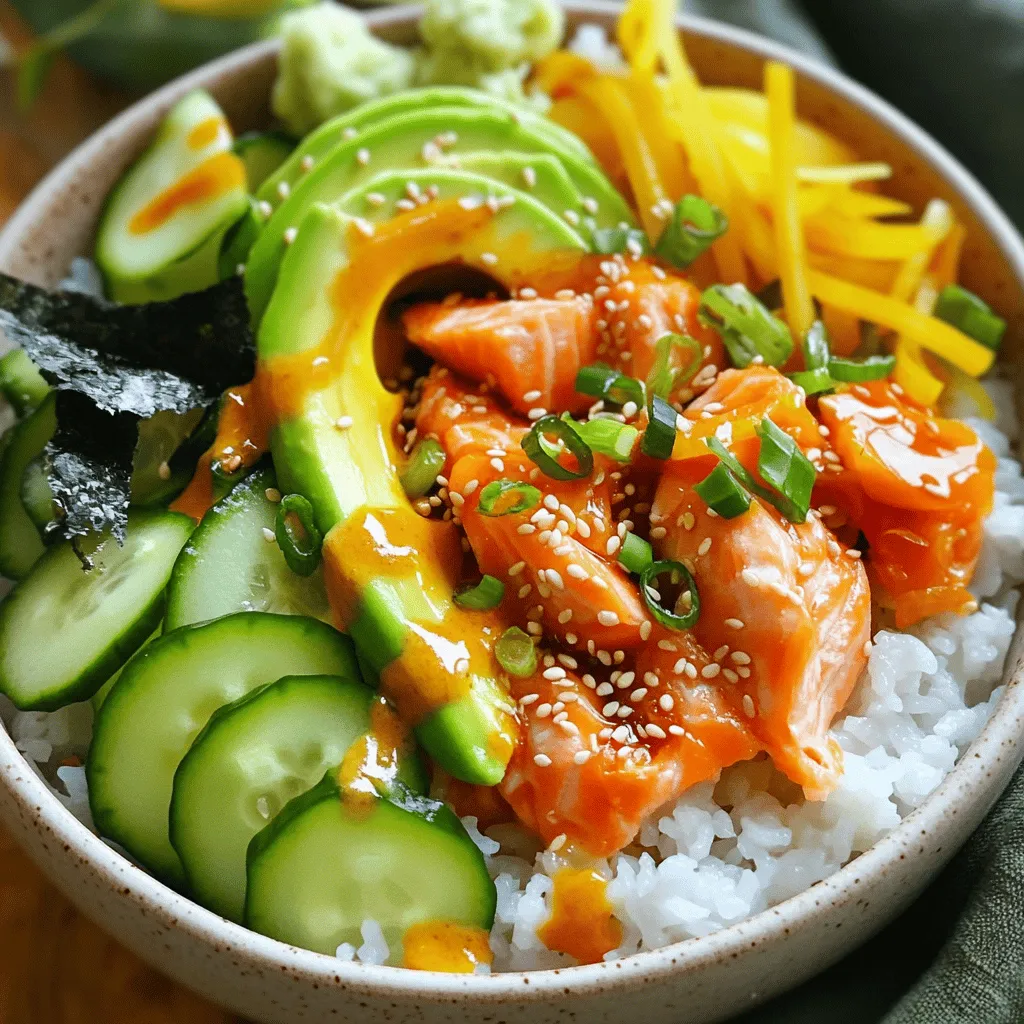
Minute TikTok Salmon Rice Bowl Quick and Tasty Meal
Looking for a quick, tasty meal? The Minute TikTok Salmon Rice Bowl is perfect! It combines fresh salmon, fluffy sushi rice, and vibrant veggies into