Dinner
Smash Chicken Caesar Tacos Flavorful and Simple Meal
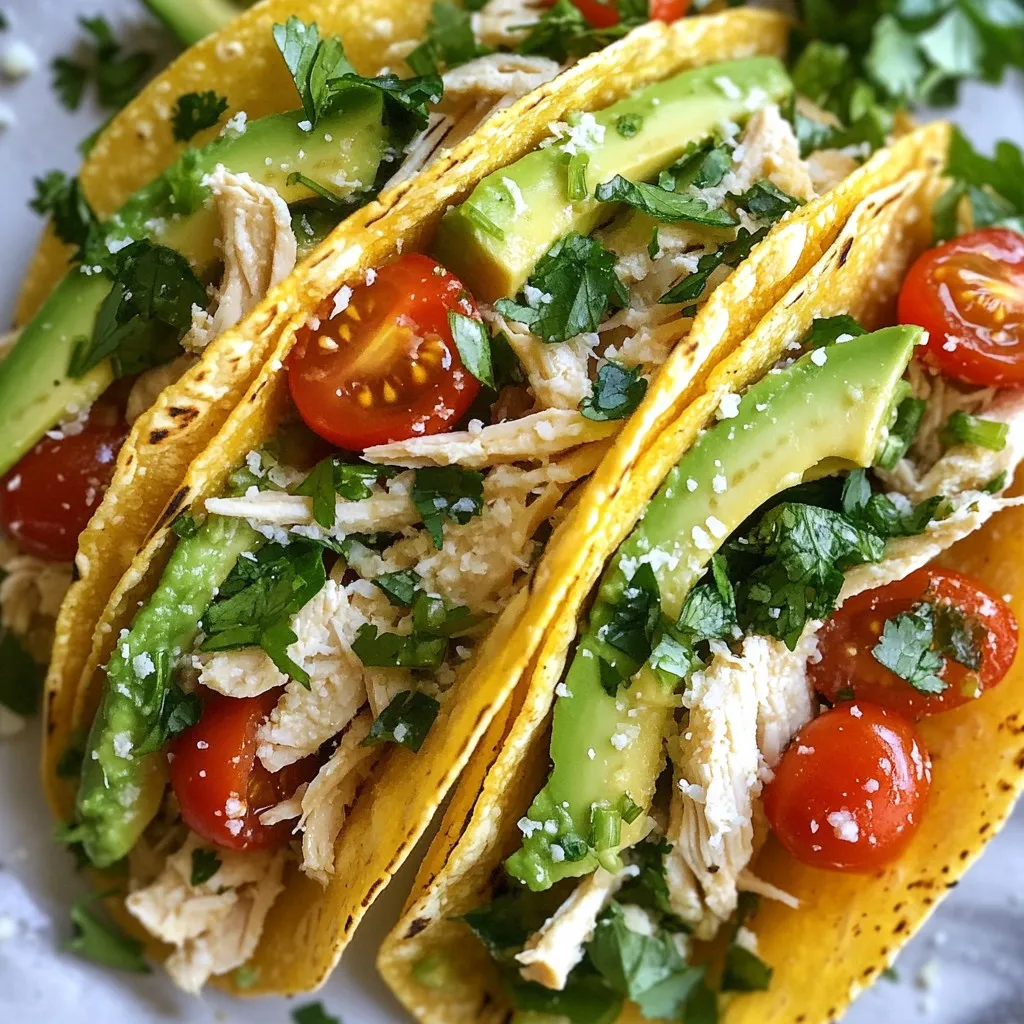
If you love Mexican food with a twist, then Smash Chicken Caesar Tacos are a must-try! This dish combines the classic flavors of Caesar salad
. To get the best flavor in this dish, use fresh herbs. Fresh basil adds a bright taste. Also, let the chicken marinate for at least 15 minutes. This time allows the flavors to seep in. Use a good quality balsamic vinegar. It enhances the sweet and tangy notes in the dish. You can even try different vinegars for a unique twist. To ensure your chicken is juicy, do not overcook it. Bake it until it reaches 165°F (75°C). Use a meat thermometer for accuracy. If you can, let the chicken rest for a few minutes after baking. This helps keep the juices locked inside. Always cut against the grain for the best texture when serving. Presentation matters! Arrange the veggies and chicken nicely on a plate. Use fresh basil leaves to add a pop of color. You can drizzle extra balsamic glaze on top for flair. Serve with a side of rice or crusty bread. This adds charm and makes the meal look inviting. When you plate it well, it makes the meal even more enjoyable. For the full recipe, be sure to check the details provided earlier. {{image_2}} You can use many veggies in this dish. Try carrots for a sweet crunch. Broccoli adds great color and flavor. Cauliflower works well too, soaking up the balsamic taste. Don't forget about asparagus; it brings a nice snap. Feel free to mix and match your favorites! If you want to switch the chicken, use turkey thighs instead. They cook similarly and taste great. You can also try shrimp for a lighter meal. Just adjust the cooking time to avoid overcooking. For a vegetarian option, use firm tofu. It absorbs the flavors well and gives a nice texture. Add fresh herbs for a flavor boost. Thyme or rosemary can make a big difference. You might also try a splash of lemon juice for brightness. If you like a kick, add red pepper flakes. For a sweet twist, drizzle honey or maple syrup over the veggies before baking. Each change can create a new dish! For the full recipe, check out the delicious one pan balsamic chicken and veggies. After enjoying your one pan balsamic chicken and veggies, store any leftovers in an airtight container. Make sure the chicken and veggies are cool before sealing. This helps keep them fresh. You can keep the leftovers in the fridge for up to three days. Label the container with the date for easy tracking. When you’re ready to eat the leftovers, there are a few ways to reheat them. The best way is to use the oven. Preheat it to 350°F (175°C) and place the chicken and veggies in an oven-safe dish. Heat for about 15-20 minutes or until warm. You can also use a microwave. Just place the food in a microwave-safe bowl and heat in 30-second intervals. Stir between each interval to ensure even heating. If you want to save the dish for later, freezing is a great option. Allow the chicken and veggies to cool completely. Then, place them in a freezer-safe container or bag. Remove as much air as possible to prevent freezer burn. You can freeze the dish for up to three months. When you're ready to enjoy it, thaw it in the fridge overnight before reheating. For the full recipe, check out the detailed steps to create this delicious meal! You can swap out the veggies in this recipe. Use what you have on hand. Broccoli, carrots, or asparagus work well. Just cut them into even pieces. This way, they cook at the same time as the chicken. Don't forget to adjust the cooking time if needed. The best way is to use a meat thermometer. Insert it into the thickest part of the chicken. It should read 165°F (75°C). If you don't have a thermometer, check if the juices run clear. If the juices are pink, the chicken is not done. Yes, you can prep this dish ahead. Marinate the chicken up to one day in advance. Keep it in the fridge until you are ready to cook. If you want to bake it later, store the veggies and chicken separately. This dish pairs well with rice or quinoa. You can also serve it with crusty bread. A fresh salad on the side adds a nice crunch. For a heartier meal, try mashed potatoes or couscous. The flavors of the chicken complement these sides perfectly. For the full recipe, refer to the earlier section. Balsamic chicken is simple and tasty, with many ways to make it your own. We covered key ingredients, step-by-step cooking, and helpful tips. Consider swapping veggies or proteins for variety. This dish is easy to store and reheat too. You can impress friends and family with your cooking skills. Enjoy your flavorful meal, and don’t hesitate to experiment. Your kitchen is a place for fun and creativity!](https://tossedrecipes.com/wp-content/uploads/2025/07/02d3411d-c055-492e-968c-37ab4a90b4e6.webp)
Delicious One Pan Balsamic Chicken and Veggies Meal
Are you ready to transform your dinner routine? This one pan balsamic chicken and veggies meal is quick, tasty, and hassle-free. With just a few

Cheddar Garlic Herb Potato Soup Comforting and Creamy
When the chill sets in, nothing warms you up like a bowl of Cheddar Garlic Herb Potato Soup. This creamy delight combines the rich flavors
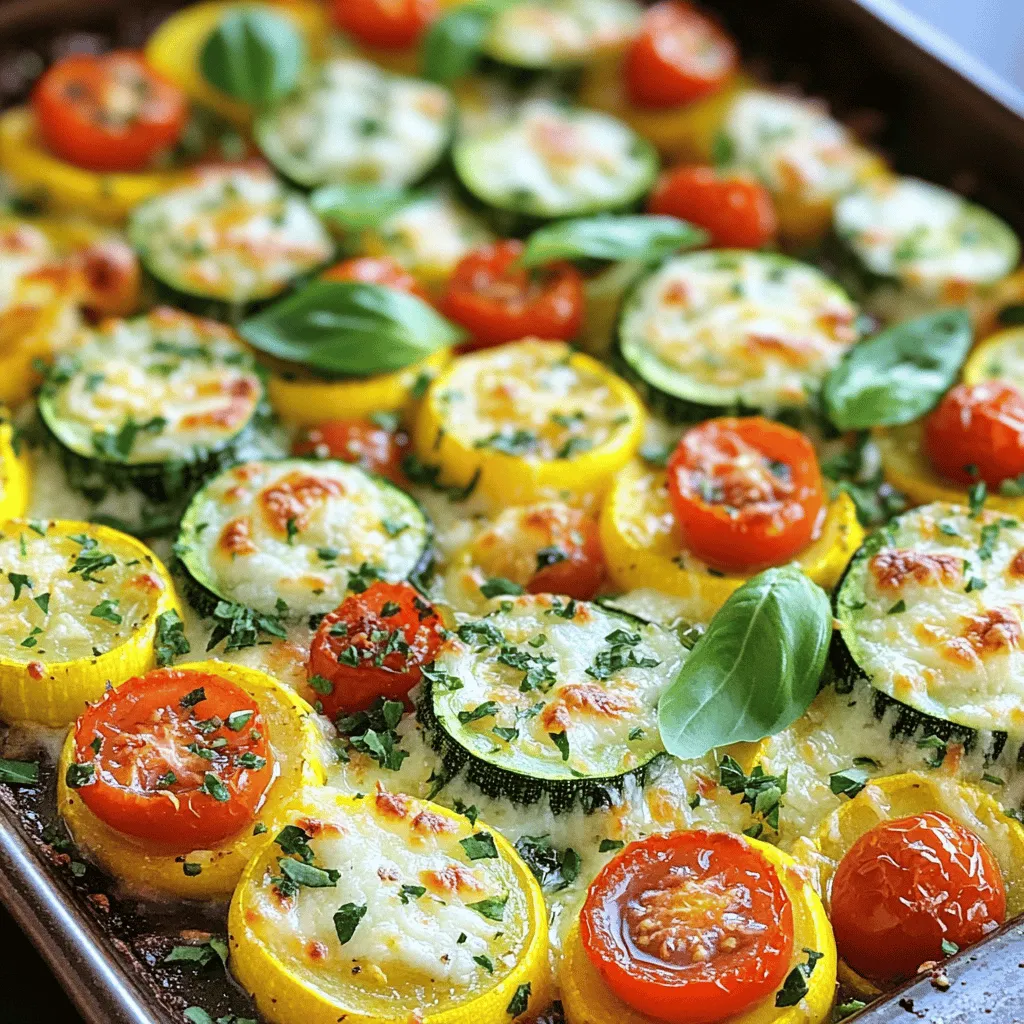
Delicious Baked Zucchini and Yellow Squash Recipe
If you’re looking for a tasty and simple dish, you’ve found it! My delicious baked zucchini and yellow squash recipe brings together fresh veggies and
![- 4 medium zucchinis - 1 cup cherry tomatoes, halved - 1 cup cooked quinoa - 1 cup shredded mozzarella cheese - 1/2 cup diced bell peppers (any color) - 1/4 cup fresh basil, chopped - 2 cloves garlic, minced - 1 tablespoon olive oil - 1 teaspoon Italian seasoning - Salt and pepper to taste When making Baked Zucchini, you want to choose the best ingredients. First, zucchinis are your main star. Look for firm ones with a bright color. They should feel heavy for their size. Next, cherry tomatoes add a sweet burst. Halving them helps release their juices, which mix well. Cooked quinoa is great for filling. It’s healthy and gives the dish a nice texture. Shredded mozzarella cheese melts beautifully. It adds creaminess and flavor to your dish. For optional add-ins, bell peppers add crunch and color. Fresh basil gives a garden-fresh flavor. Minced garlic packs a punch. Olive oil keeps everything moist and adds richness. Seasonings are key. Italian seasoning brings all the flavors together. Adjust salt and pepper to your taste. For the full recipe, be sure to check out the complete instructions. Enjoy your cooking adventure! - Preheat the oven to 375°F (190°C). - Slice zucchinis in half lengthwise and scoop out a small portion. Start by cutting each zucchini carefully. You want two long halves. Use a spoon to remove some flesh. Set the scooped-out flesh aside; it will add flavor to the filling. - Combine cooked quinoa, cherry tomatoes, bell peppers, mozzarella cheese, basil, garlic, olive oil, Italian seasoning, salt, and pepper. - Add chopped zucchini flesh to the filling mixture. In a large bowl, mix the cooked quinoa with the cherry tomatoes, diced bell peppers, and shredded mozzarella. Add the chopped basil and minced garlic next. Then, drizzle in the olive oil and sprinkle the Italian seasoning, salt, and pepper. This step brings all the flavors together. Don’t forget to stir in the chopped zucchini flesh. It makes the filling even tastier. - Fill zucchini halves with the quinoa mixture. - Place on a baking sheet and bake for 25-30 minutes. Now, take each zucchini half and fill it with the quinoa mixture. Press it down gently to pack it in. Once filled, place them on a baking sheet lined with parchment paper. Bake for 25-30 minutes. You’ll know they are ready when the zucchinis are tender and the cheese is melted and bubbly. Enjoy your colorful, healthy dish! For the full recipe, check the details above. To ensure your zucchinis are tender and the cheese is bubbly, follow a few steps. First, make sure to slice the zucchinis evenly. This helps them cook at the same rate. Next, hollow out enough flesh so the filling fits well. Don't forget to pack the filling tightly. This keeps it moist and flavorful. Bake them just right at 375°F (190°C) for 25 to 30 minutes. You want them soft but not mushy. Adjusting seasonings to your taste is key. Start with the recommended salt and pepper, but feel free to add more. A bit of extra Italian seasoning can enhance the flavor. Taste the filling before you stuff the zucchini. This way, you can make it just how you like it. When it's time to serve, think about how to make your dish pop. Garnish your baked zucchini with fresh basil. This adds color and a fresh taste. Drizzle a balsamic reduction on top for a sweet and tangy finish. It makes the dish look fancy! Pair your zucchini boats with a side salad or garlic bread. A light salad balances the rich flavors. Garlic bread adds a nice crunch and complements the meal perfectly. To make this dish, you need a few simple tools. Use a baking sheet, and line it with parchment paper. This keeps the zucchinis from sticking and makes cleanup easy. You’ll also need a sharp knife to slice the zucchinis. A spoon will help you scoop out the flesh. These tools make the process smooth and fun. Don’t forget to check the [Full Recipe] for all the steps! {{image_2}} You can easily switch up the cheese in your baked zucchini. If you want a salty kick, swap mozzarella for feta or cheddar cheese. Feta adds a tangy flavor, while cheddar gives a rich taste. You can also sprinkle some Parmesan on top for an extra layer of flavor. This will create a nice, crispy crust as it bakes. Adding protein to your zucchini makes it heartier. Try including cooked ground turkey or beef for a filling meal. If you want a vegetarian option, black beans work great. They add protein and fiber, making your dish even healthier. This allows you to customize your meal based on what you have on hand. Don't be afraid to get creative with flavors. You can experiment with different herbs like parsley or cilantro. These fresh herbs brighten up the dish. If you like some heat, add crushed red pepper flakes. This simple addition can take your baked zucchini to the next level. Explore these variations to find your favorite flavor profile! After enjoying your baked zucchini, store leftovers in airtight containers. They will stay fresh for about 3-4 days. When you're ready to eat them again, reheat in the oven. This method keeps the zucchini tender and the cheese bubbly. If you want to save some for later, freeze the assembled zucchini boats before baking. Wrap each boat tightly in plastic wrap and place them in a freezer bag. When you want to enjoy them, thaw in the fridge overnight. Bake directly from frozen, adding a few extra minutes to the cooking time. To keep your zucchini fresh, avoid cutting them until you are ready to use them. Store them in a cool, dry place. If you have leftover filling, keep it separate from the zucchini for the best flavor. Always check for signs of spoilage before using any leftovers. You know baked zucchini is done when it is soft. The cheese on top should be melted and bubbly. Use a fork to pierce the zucchini. If it goes in easily, it's ready. Yes, you can use many different vegetables. Bell peppers, eggplants, and even mushrooms work well. Try adding spinach or kale for extra nutrients. Just make sure to chop them finely. Yes, you can prepare them ahead of time. Stuff the zucchinis and cover them. Store them in the fridge for up to a day. When ready, just bake them as directed. This makes meal prep easy and fast. In this post, I shared a fun recipe for Zesty Baked Zucchini Boats. I covered essential ingredients, cooking tips, and even tasty variations. You learned how to make a flavorful filling with quinoa, veggies, and cheese. Plus, I provided storage tips to keep leftovers fresh. Cooking can be simple and rewarding. Don’t shy away from trying new add-ins. Explore flavors, enjoy the process, and share your delicious meals!](https://tossedrecipes.com/wp-content/uploads/2025/07/336db178-1078-4faa-a9fe-079a95043f60.webp)
Baked Zucchini Recipe Flavorful and Healthy Dish
Looking for a tasty and healthy dish? Baked zucchini is your answer! This simple recipe features fresh veggies and hearty quinoa, making it both delicious
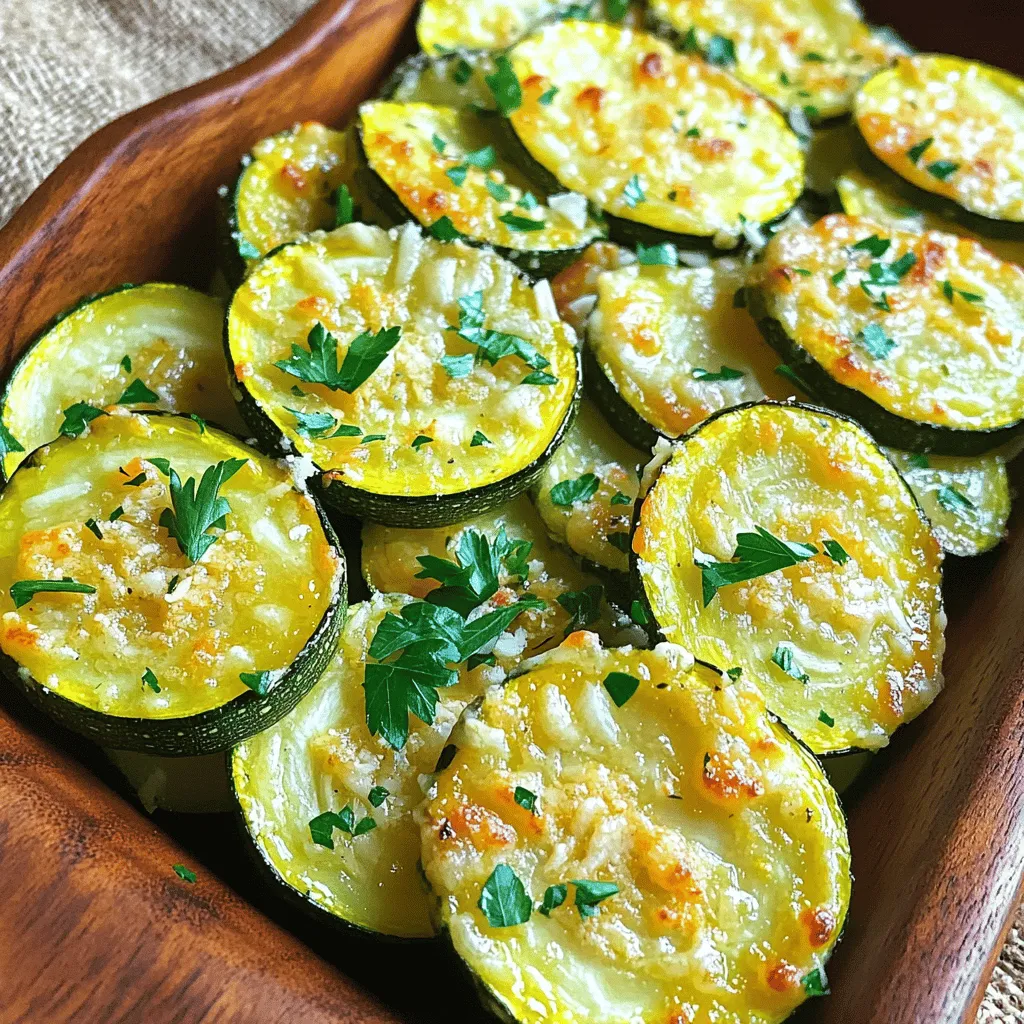
Roasted Garlic Parmesan Zucchini and Squash Delight
Are you ready to transform your weeknight dinner? My Roasted Garlic Parmesan Zucchini and Squash Delight is delicious, easy, and healthy. With just a few

High-Protein Buffalo Chicken Pasta Quick and Easy Meal
Craving a quick and tasty meal? Let me introduce you to my High-Protein Buffalo Chicken Pasta! This dish is packed with protein and bursting with
![To make stuffed patty pan squash, you need these core ingredients: - 4 medium patty pan squashes - 1 cup quinoa, rinsed - 2 cups vegetable broth - 1 tablespoon olive oil - 1 small onion, finely chopped - 2 cloves garlic, minced - 1 red bell pepper, diced - 1 zucchini, grated - 1 teaspoon dried oregano - 1 teaspoon smoked paprika - Salt and pepper to taste - ½ cup feta cheese, crumbled - Fresh parsley, chopped for garnish Each ingredient adds flavor and nutrition. Quinoa serves as a healthy base. The veggies bring color and crunch. Feta cheese adds a creamy touch. You can add these optional ingredients for extra depth: - Fresh herbs like basil or thyme - Chopped nuts for a crunch - A splash of lemon juice for brightness - Chili flakes for some heat These extra ingredients can elevate your dish. Feel free to mix and match based on your taste. To make this recipe vegan, swap out the feta cheese. Use a vegan cheese or omit it entirely. You can also replace quinoa with brown rice or farro. Adjust your seasonings to keep the taste vibrant. These changes make the dish just as tasty while fitting a vegan diet. For the full recipe, check the earlier sections. Enjoy cooking! First, preheat your oven to 375°F (190°C). Next, take the patty pan squashes and carefully slice off their tops. Use a spoon to scoop out the flesh, making sure to keep the skin intact. Set the flesh aside for later use. This step creates a little bowl for the tasty filling. In a medium saucepan, combine 1 cup of rinsed quinoa with 2 cups of vegetable broth. Bring it to a boil, then reduce the heat to low. Cover it and let it simmer for about 15 minutes until fluffy. While the quinoa cooks, heat 1 tablespoon of olive oil in a large skillet over medium heat. Add 1 small chopped onion and 2 minced garlic cloves. Sauté until the onion turns translucent, which takes about 3-4 minutes. Then, add 1 diced red bell pepper and 1 grated zucchini. Cook for another 5 minutes until they soften. After that, stir in the reserved squash flesh, 1 teaspoon of dried oregano, 1 teaspoon of smoked paprika, and salt and pepper to taste. Cook for another 3-4 minutes. Once the quinoa is ready, mix it into the skillet with the veggies. Add ½ cup of crumbled feta cheese and stir well. Now it’s time to stuff the squashes! Fill each patty pan squash with the quinoa mixture, packing it in gently. Place the filled squashes in a baking dish and cover them with foil. Bake in your preheated oven for 25 minutes. After that, remove the foil and bake for an additional 10 minutes to get a nice golden top. Allow them to cool for a few minutes before garnishing with fresh parsley. Enjoy your stuffed patty pan squash! For more details, check the Full Recipe. When picking patty pan squash, look for ones that feel firm. They should be free of blemishes. Choose small to medium sizes for the best flavor. The skin should be shiny and bright yellow or green. Avoid those with soft spots or wrinkles. Fresh squash will taste better and hold up well during cooking. To make sure your stuffed squash cooks evenly, bake them at 375°F. Pre-cook the filling ingredients. This helps blend the flavors well. When stuffing, pack the mixture gently but firmly. Leave a little space at the top to prevent overflow while baking. Cover with foil during the first part of cooking. This keeps the moisture in and ensures tenderness. Stuffed patty pan squash is colorful and eye-catching. Serve it on a bright platter. Drizzle with olive oil for extra flavor. Sprinkle with fresh parsley for a nice touch. Pair this dish with a light salad or crusty bread. A glass of white wine or sparkling water complements it well. Enjoy this dish as a main or side for a balanced meal. {{image_2}} You can use many fillings for stuffed patty pan squash. One tasty option is brown rice mixed with beans. This adds protein and fiber. You might also try using ground meat, like turkey or beef. This gives you a heartier dish. For a vegetarian twist, consider lentils combined with chopped veggies. These flavors blend well and add great texture. Baking is a popular method for stuffed patty pan squash. It gives you a soft, tender texture. However, grilling adds a smoky flavor that many people love. To grill, simply place the stuffed squash on a hot grill. Cook each side for about 5-7 minutes. This method creates nice grill marks and a slight char. Both methods are delicious, so choose based on your mood. Stuffed patty pan squash works in all seasons. In the summer, fill them with fresh tomatoes and basil. These bright flavors shine in warm weather. In the fall, try sweet potatoes and spices like cinnamon. This gives a cozy, warm taste. For winter, use hearty greens like kale and winter squash. Each season brings unique flavors to your stuffed patty pan squash. Explore these variations to keep your meals exciting and fresh. For the full recipe, check out the [Full Recipe]. After enjoying your stuffed patty pan squash, let it cool to room temperature. Place any leftovers in an airtight container. Store them in the fridge for up to three days. This keeps the flavors fresh and the texture intact. If you want to save your stuffed squash for later, freezing is a great option. Wrap each stuffed squash tightly in plastic wrap. Then, place them in a freezer-safe bag or container. They can last up to three months in the freezer. When you’re ready to enjoy them, just thaw in the fridge overnight. To reheat, place the stuffed squash in a preheated oven at 350°F (175°C). Bake for about 20 minutes or until warmed through. This method helps keep the squash tender and the filling moist. You can also microwave them for a quick option. Just cover with a damp paper towel to prevent drying out. For the best flavor, avoid reheating more than once. Enjoy your delicious meal again! Cooking stuffed patty pan squash takes about 50 minutes. This includes 15 minutes for prep and 35 minutes in the oven. You’ll want to bake them at 375°F (190°C) for the best results. Keep an eye on them to ensure they’re tender but not mushy. Yes, you can make stuffed patty pan squash ahead of time. Prepare the filling and stuff the squash. Then, cover them and store in the fridge for up to 24 hours. When you’re ready, bake them straight from the fridge. This saves time and makes meal prep easy. Patty pan squash is packed with nutrients. It is low in calories and high in fiber, which helps digestion. It also contains vitamins A and C, which support your immune system. Plus, it provides antioxidants that fight free radicals. Eating patty pan squash can boost your health while satisfying your taste buds. Stuffed patty pan squash is tasty and fun to make. We covered essential and optional ingredients, as well as vegan swaps. I guided you through the preparation and cooking steps. With tips on choosing squash and serving ideas, you can impress anyone. Explore variations like grilling or seasonal fillings for more flavor. Finally, remember how to store and reheat leftovers for future meals. Enjoy cooking and get creative with this versatile dish!](https://tossedrecipes.com/wp-content/uploads/2025/07/e2b3fe8d-5f1d-427c-8007-1751b5eafe72.webp)
Stuffed Patty Pan Squash Savory and Flavorful Dish
Are you looking for a dish that dazzles with flavor and looks amazing on your plate? Stuffed Patty Pan Squash might be just what you
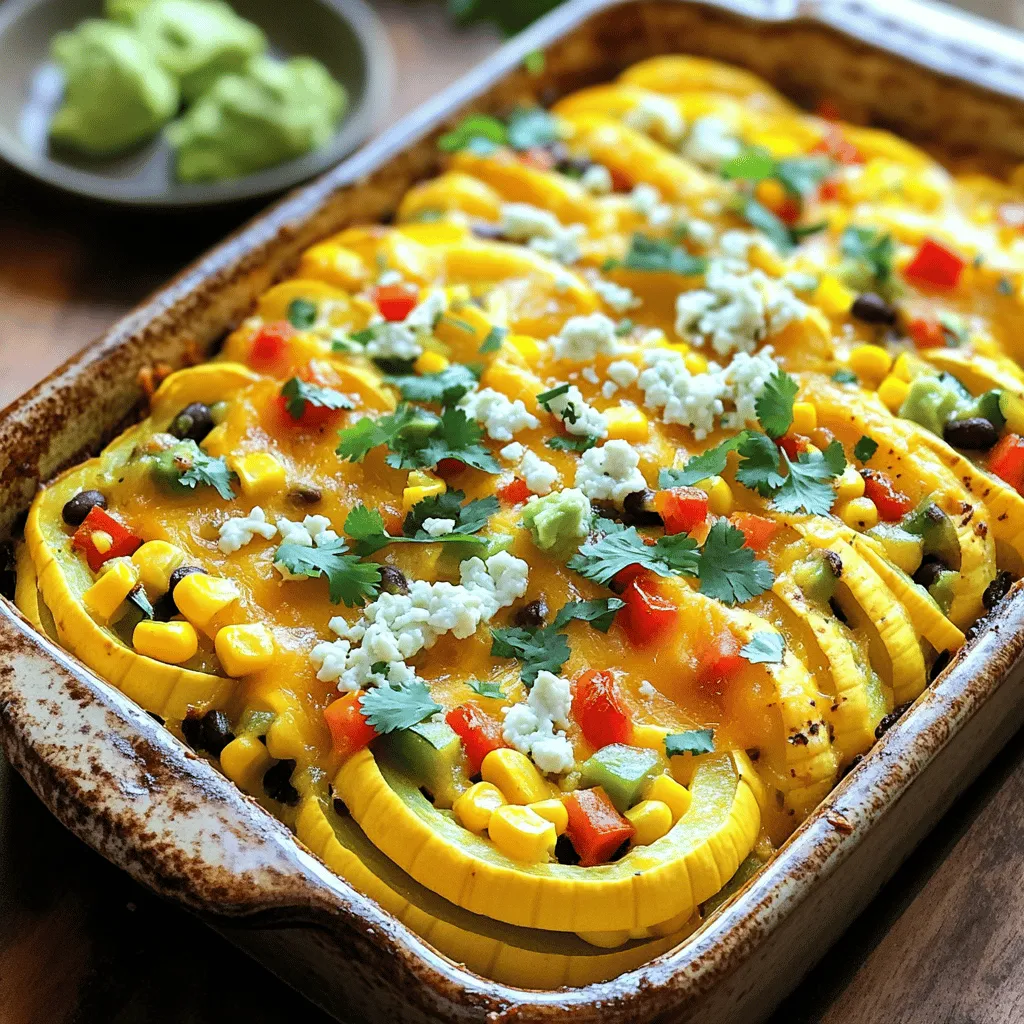
Tex Mex Summer Squash Casserole Flavorful and Easy Dish
Looking for a flavorful dish that’s easy to prepare? You’ve found it! This Tex Mex Summer Squash Casserole mixes bright veggies, hearty beans, and gooey
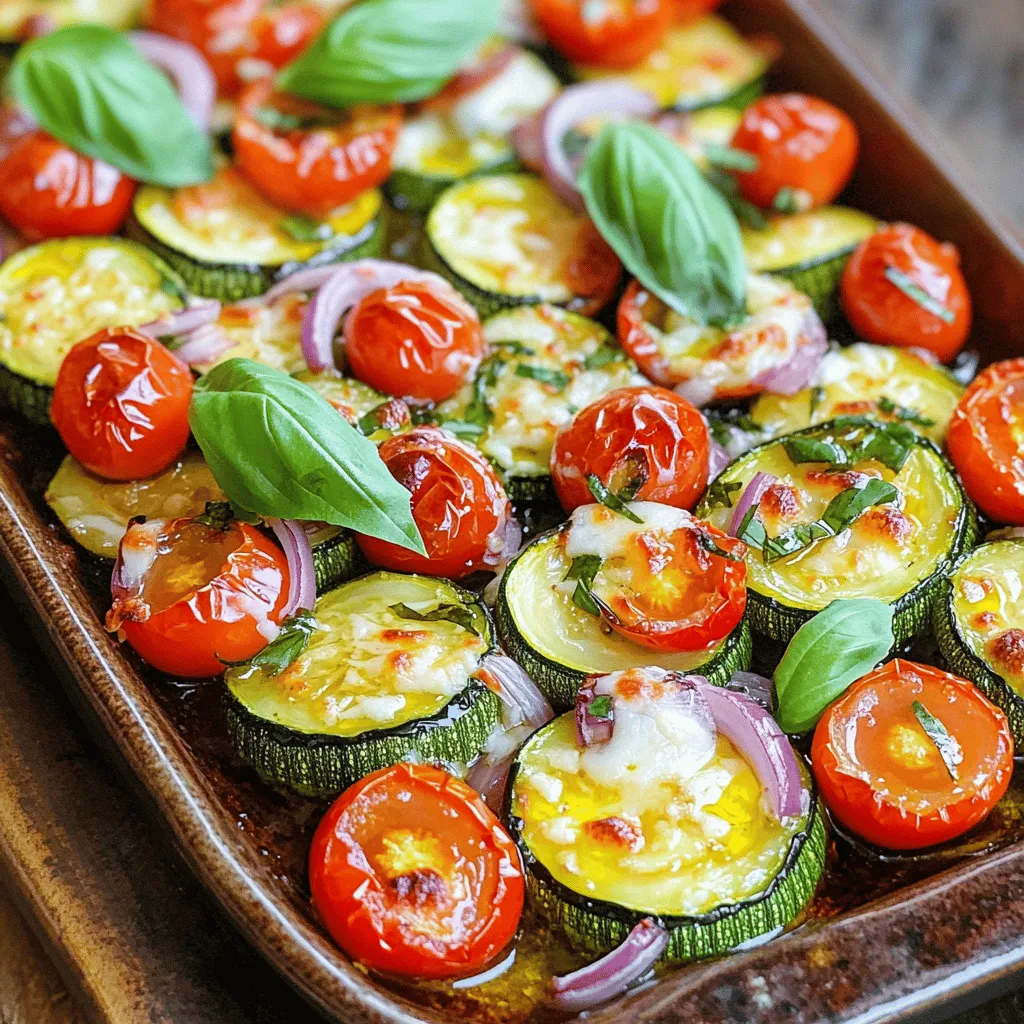
Savory Baked Zucchini with Tomatoes Easy and Flavorful
Are you ready to try a dish that’s easy, healthy, and bursting with flavor? Savory Baked Zucchini with Tomatoes is your new go-to recipe! I’ll