Dinner

Zucchini Onion Pie Simple and Tasty Family Meal
Looking for a simple and tasty family meal? You’ve come to the right place! Zucchini onion pie is a delicious dish that everyone will love.

Zucchini Corn Casserole Flavorful and Easy Recipe
Are you ready to whip up a delicious Zucchini Corn Casserole? This flavorful dish is not only easy to make, but it also packs a

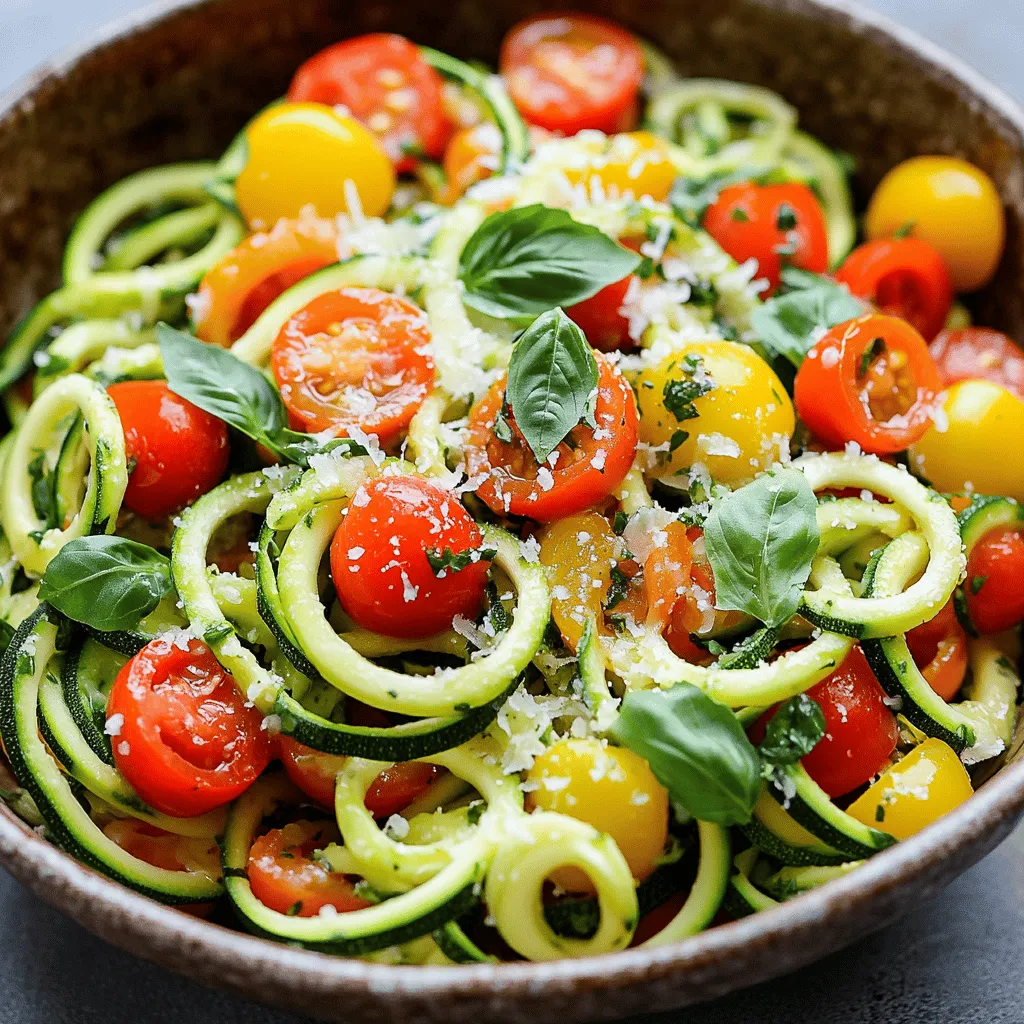
Healthy Tomato Zucchini Pasta Flavorful and Simple Meal
Are you ready for a fresh, nutritious meal that’s quick to whip up? My Healthy Tomato Zucchini Pasta is bursting with flavor and simple enough
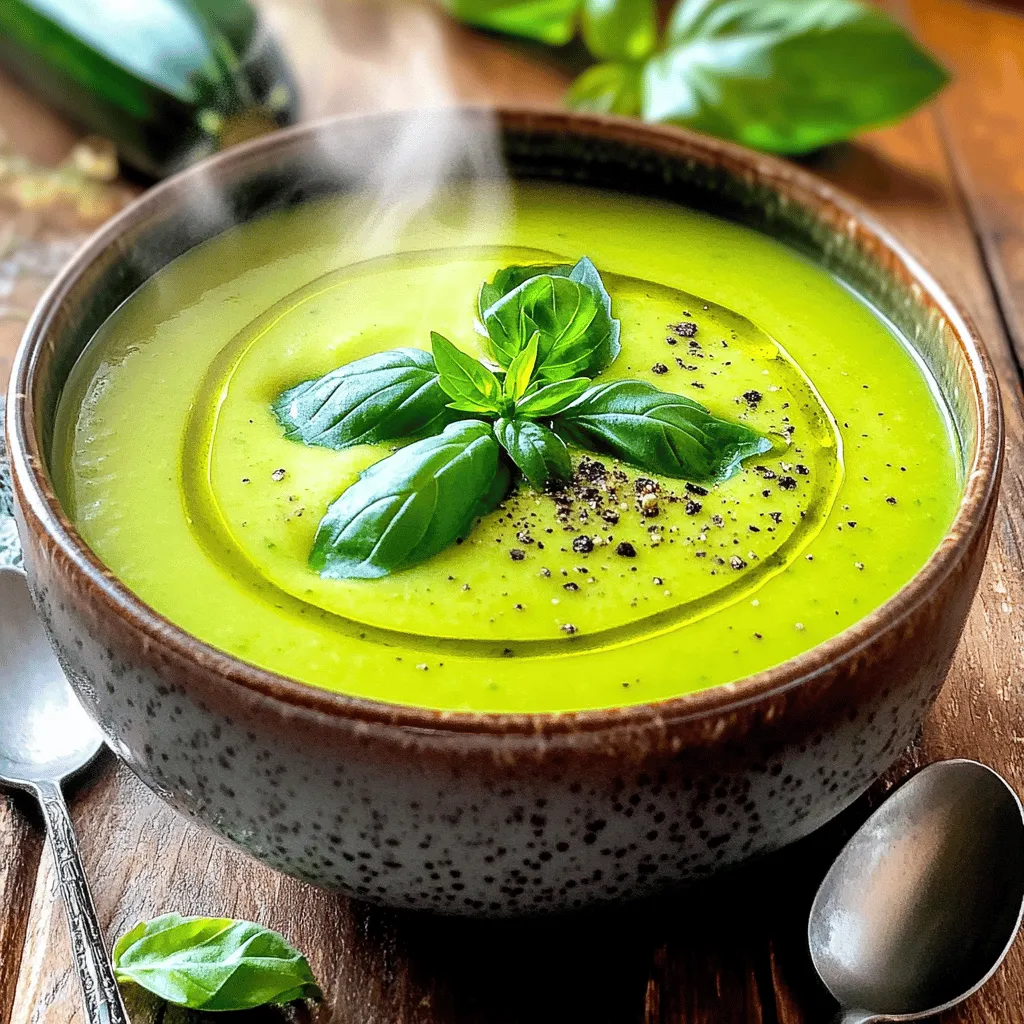
Zucchini Soup Deliciously Simple for Every Meal
Looking for a yummy dish that’s easy to make? Look no further than zucchini soup! With just a few simple ingredients like zucchini, broth, and

Cottage Cheese Zucchini Quiche Simple and Tasty Dish
Are you looking for a simple and tasty dish that impresses? Look no further than this Cottage Cheese Zucchini Quiche! Packed with fresh flavors and
Zucchini Pasta Recipe Simple and Flavorful Delight
Looking for a simple yet delicious way to enjoy your veggies? This Zucchini Pasta Recipe is your answer! I’ll guide you through easy steps to

Crispy Chicken Parmesan Perfectly Fried Delight
Welcome to crispy chicken paradise! In this post, I will show you how to make a mouthwatering, perfectly fried Chicken Parmesan that will impress anyone.
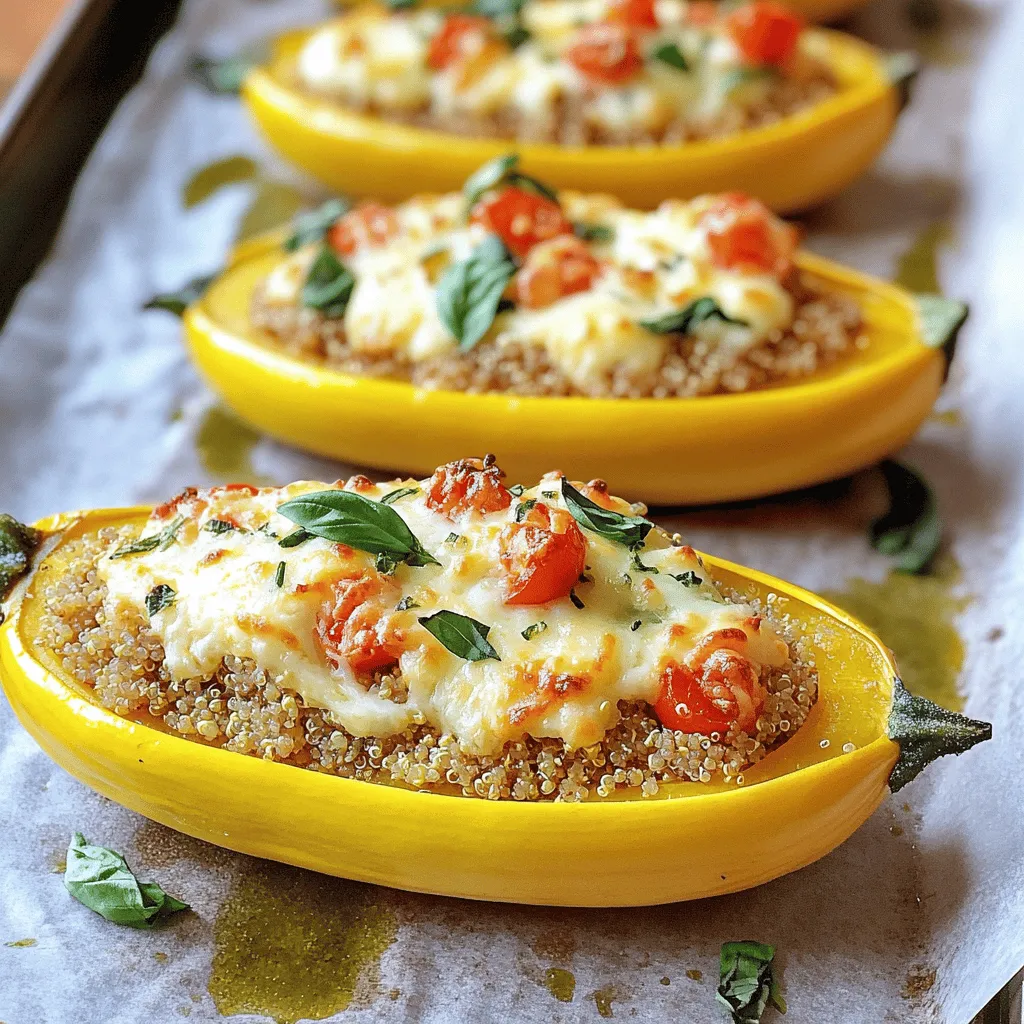
Easy Stuffed Yellow Squash Flavorful and Simple Recipe
Are you looking for a simple yet tasty dish that impresses? Try my Easy Stuffed Yellow Squash recipe! This flavorful meal lets you customize fillings
![To make this dish, you need fresh veggies that add great flavor. Here’s what you'll need: - 2 medium zucchinis, sliced into half-moons - 1 cup mushrooms, sliced (button or cremini) - 1 medium onion, thinly sliced - 2 cloves garlic, minced - 2 tablespoons olive oil - 1 teaspoon dried thyme - 1 teaspoon smoked paprika - Salt and pepper to taste - Fresh parsley, chopped (for garnish) Getting the right amounts is key to tasty sautéed veggies. Here’s a simple breakdown: - Zucchini: Two medium ones create good volume. - Mushrooms: One cup adds a nice texture. - Onion: One medium onion gives a sweet base. - Garlic: Two cloves bring a punch of flavor. - Olive oil: Two tablespoons help cook the veggies evenly. - Thyme and paprika: One teaspoon each adds depth to the dish. - Salt and pepper: Use them to taste for the best balance. If you want to switch things up, try these options: - Use yellow squash instead of zucchini for a different flavor. - Swap mushrooms for bell peppers or eggplant if you prefer. - Replace olive oil with avocado oil for a different taste. - Add fresh herbs like basil or oregano for a fresh twist. For the full recipe, check the [Full Recipe]. Start by washing the zucchinis and mushrooms. Cut the zucchinis into half-moons. Slice the mushrooms thinly. For the onion, remove the skin and slice it thin too. Mince the garlic cloves finely. Having all the veggies ready makes cooking easier and faster. Heat the olive oil in a large skillet over medium heat. Once hot, add the sliced onions. Sauté them for about 2-3 minutes until they soften. It’s important to stir often to avoid burning. Next, add the minced garlic. Cook for one more minute while stirring. You want the garlic to smell great but not burn. Now, it’s time for the mushrooms. Add them to the skillet and cook for about 4-5 minutes. They will release moisture and turn a nice golden brown. After that, add the sliced zucchini, dried thyme, and smoked paprika. Mix everything well. Sauté for another 5-7 minutes. The zucchini should be tender but still crisp. Season with salt and pepper to taste. For a bright finish, garnish with fresh parsley. You can find the full recipe above for more details. To get the best taste, use a large skillet. Heat the olive oil over medium heat. When the oil shimmers, it's ready. Add onions first; they need more time. Sauté them until soft, about 2-3 minutes. Then add garlic for a minute to bring out its flavor. Next, add mushrooms, which will let out moisture. Cook until they are golden brown. Finally, add zucchini and seasonings for the last sauté. Keep stirring for even cooking. Seasoning makes a big difference. Use dried thyme and smoked paprika for depth. Salt and pepper balance the flavors. You can also try a pinch of red pepper flakes for a kick. Fresh herbs like parsley add brightness. Always taste during cooking. Adjust seasonings to your liking for the best outcome. Serve the sautéed dish in a shallow bowl. Drizzle with extra olive oil for richness. A sprinkle of fresh parsley on top looks nice. Adding a lemon wedge gives a fresh zing. You can pair this dish with grilled chicken or fish. It's also great with rice or quinoa. For a vegetarian option, add chickpeas for protein. Check out the Full Recipe for more serving ideas! {{image_2}} You can easily add protein to this dish. Chicken, shrimp, or even tofu works great. Cook your protein first, then set it aside. Sauté the veggies as usual, then mix in your cooked protein at the end. This adds flavor and makes the meal more filling. Feel free to mix in other veggies. Bell peppers, carrots, or spinach add great taste and color. Just chop them up and add them at the right time. For example, bell peppers can go in with the onions. Spinach should join the mix towards the end, so it wilts perfectly. This recipe is quite flexible for special diets. For a vegan option, skip any animal protein. You can also replace olive oil with avocado oil for a different flavor. If you need gluten-free, this dish is naturally safe. Just make sure any added sauces or seasonings are gluten-free as well. For the full recipe, check out Sautéed Garden Delight: Zucchini, Mushrooms & Onions. To keep your sautéed zucchini, mushrooms, and onions fresh, let them cool first. Place them in an airtight container. This keeps moisture out and helps them stay crisp. Store the container in the fridge. They stay good for about 3-4 days. When you're ready to eat the leftovers, you have a few options. You can reheat them on the stove. Heat a skillet over medium heat, add a splash of olive oil, and warm them up for about 5 minutes. You can also use the microwave. Place them in a microwave-safe dish, cover it, and heat for 1-2 minutes. Make sure to stir halfway through for even heating. If you want to save some for later, freezing is a great option. First, cool the dish completely. Then, portion it into freezer-safe bags or containers. Make sure to remove as much air as possible to avoid freezer burn. You can freeze them for up to 2-3 months. When ready to eat, thaw in the fridge overnight and reheat. For more details, check our Full Recipe. Yes, you can use frozen vegetables for this dish. However, fresh veggies give the best taste and texture. If using frozen zucchini or mushrooms, add them directly to the pan. Cook them longer to ensure they heat through and lose excess water. I recommend using yellow onions for this recipe. They have a sweet flavor when cooked. You can also try red onions for a milder taste. White onions work too but can be sharper in flavor. To spice things up, add red pepper flakes or cayenne pepper. Start with a small pinch and adjust to your taste. You can also add sliced jalapeños for a fresh kick. For a smoky flavor, increase the smoked paprika in the recipe. For the full recipe, check [Full Recipe]. This blog post covered all you need to know. We explored fresh ingredients, measurements, and alternatives. I shared step-by-step instructions for preparing and cooking. You learned tips for sautéing and enhancing flavors. We even discussed tasty variations and storage info. Now, you have the tools to make a delicious dish. Enjoy experimenting with different flavors and personal touches. Happy cooking!](https://tossedrecipes.com/wp-content/uploads/2025/07/a29d7a02-f82f-4643-93a5-12702d3f46b2.webp)
Sautéed Zucchini, Mushrooms & Onions Flavorful Dish
Looking for a quick, tasty dish to boost your veggie intake? In this post, I’ll show you how to make a delicious sautéed zucchini, mushrooms,
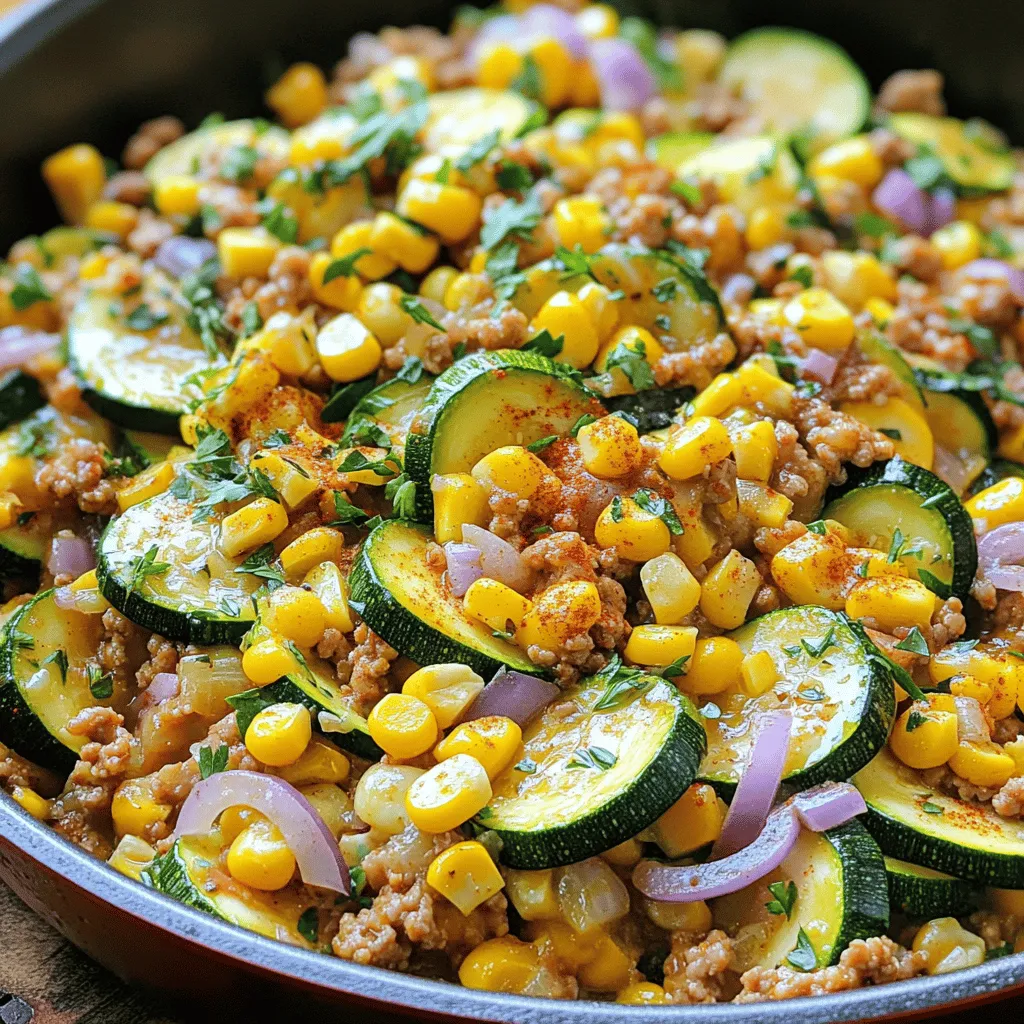
Ground Turkey Skillet with Zucchini and Corn Delight
Looking for a quick and tasty meal? This Ground Turkey Skillet with Zucchini and Corn Delight is your answer. Packed with fresh veggies and lean