Dinner
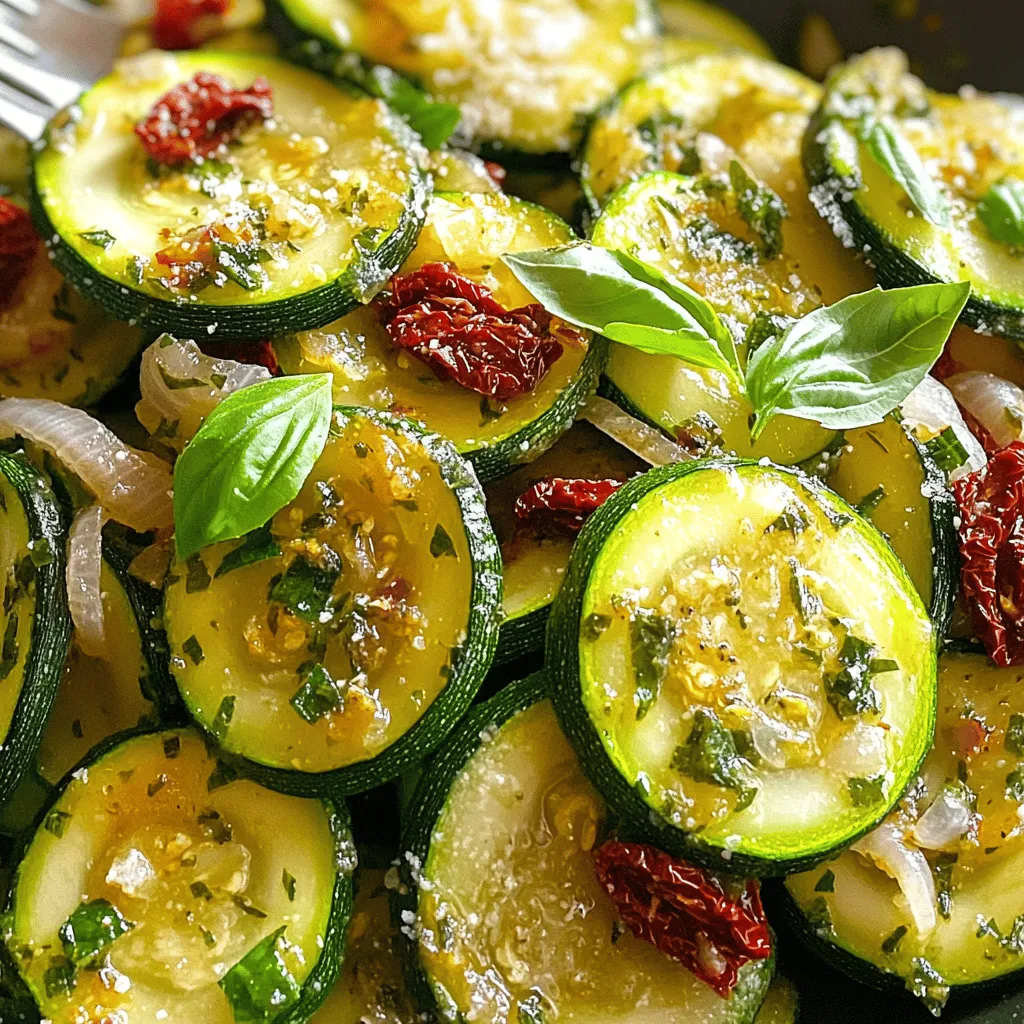
Sauteed Zucchini with Sun Dried Tomatoes Delight
Are you ready to elevate your vegetable game? In Sauteed Zucchini with Sun Dried Tomatoes Delight, I’ll guide you through a simple yet flavorful recipe.
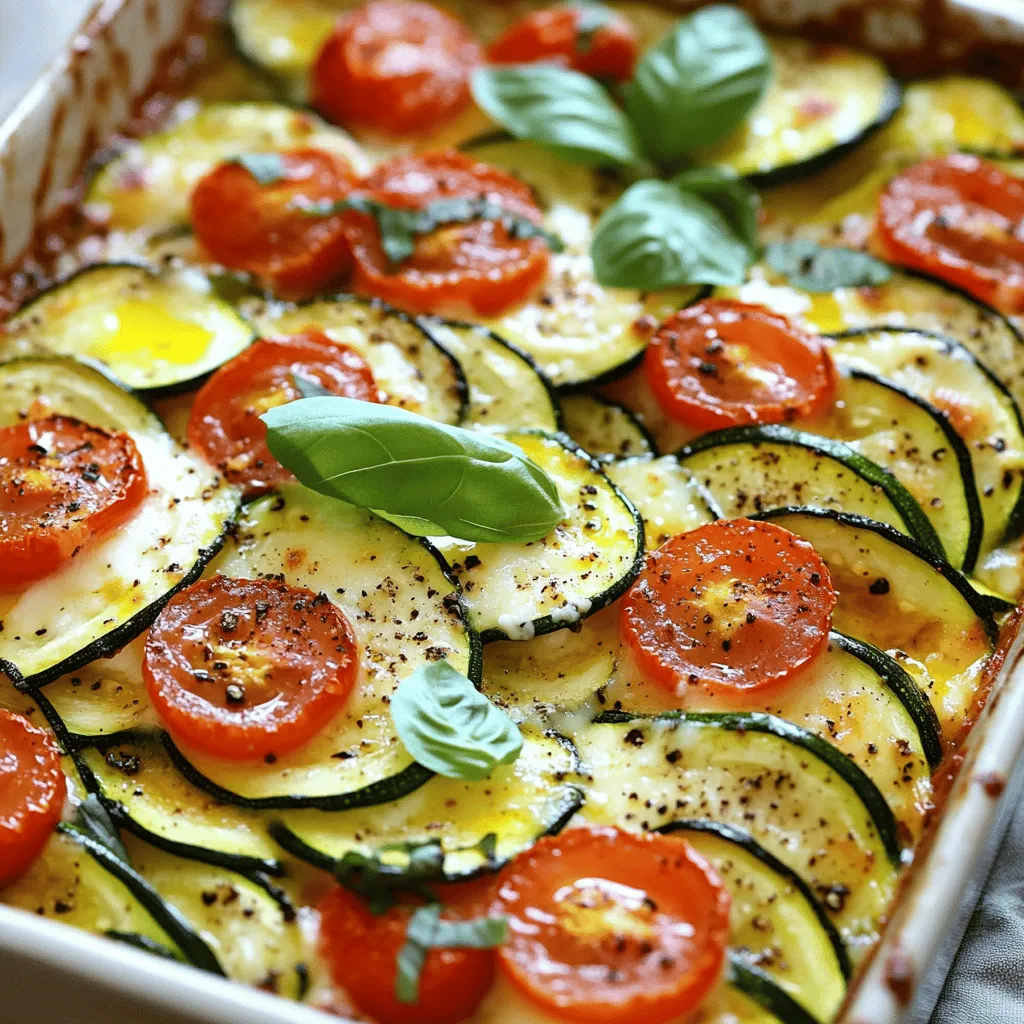
Delicious Baked Zucchini Parmesan Casserole Recipe
Ready to elevate your dinner with a delicious twist? This Baked Zucchini Parmesan Casserole will wow your taste buds and delight your guests. With layers
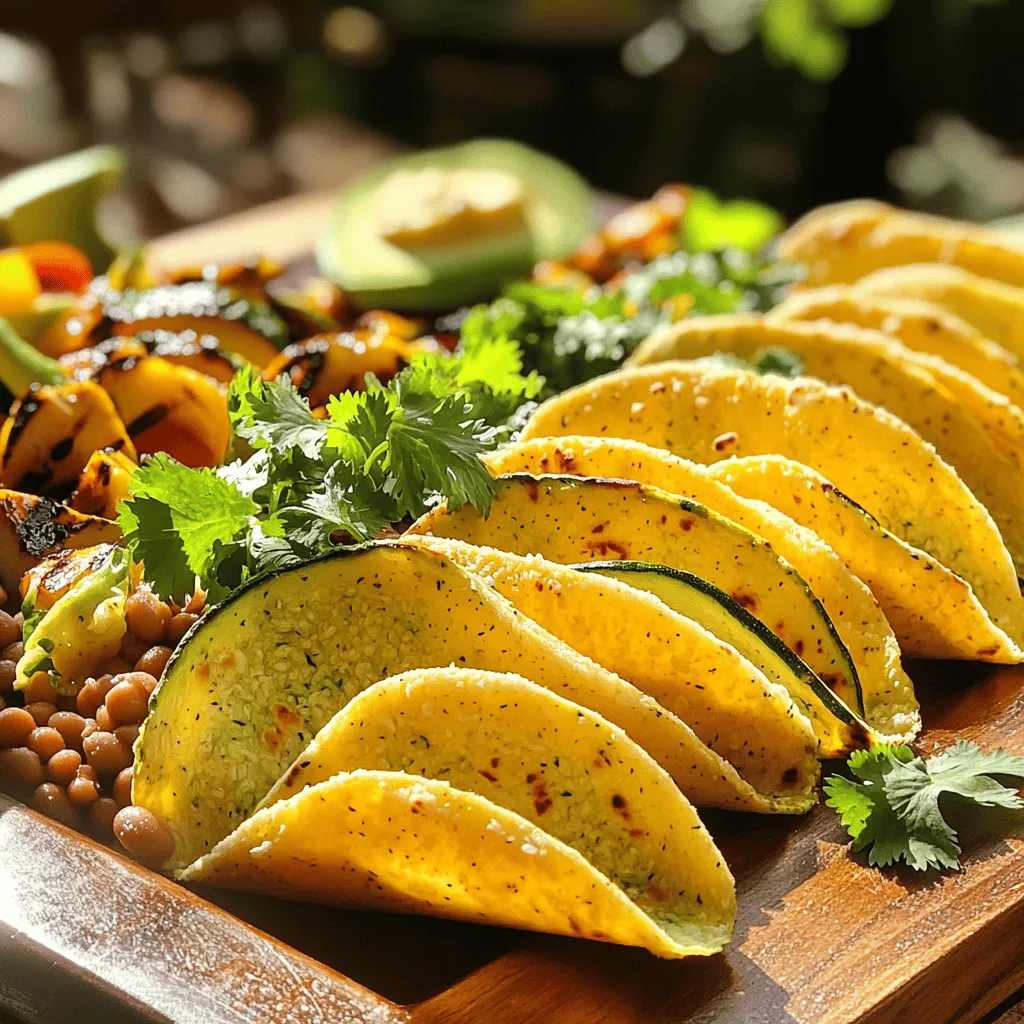
Soft Zucchini Taco Shells Flavorful and Healthy Recipe
If you’re ready to switch up your taco game, these Soft Zucchini Taco Shells are a must-try! Packed with flavor and health benefits, they’re the
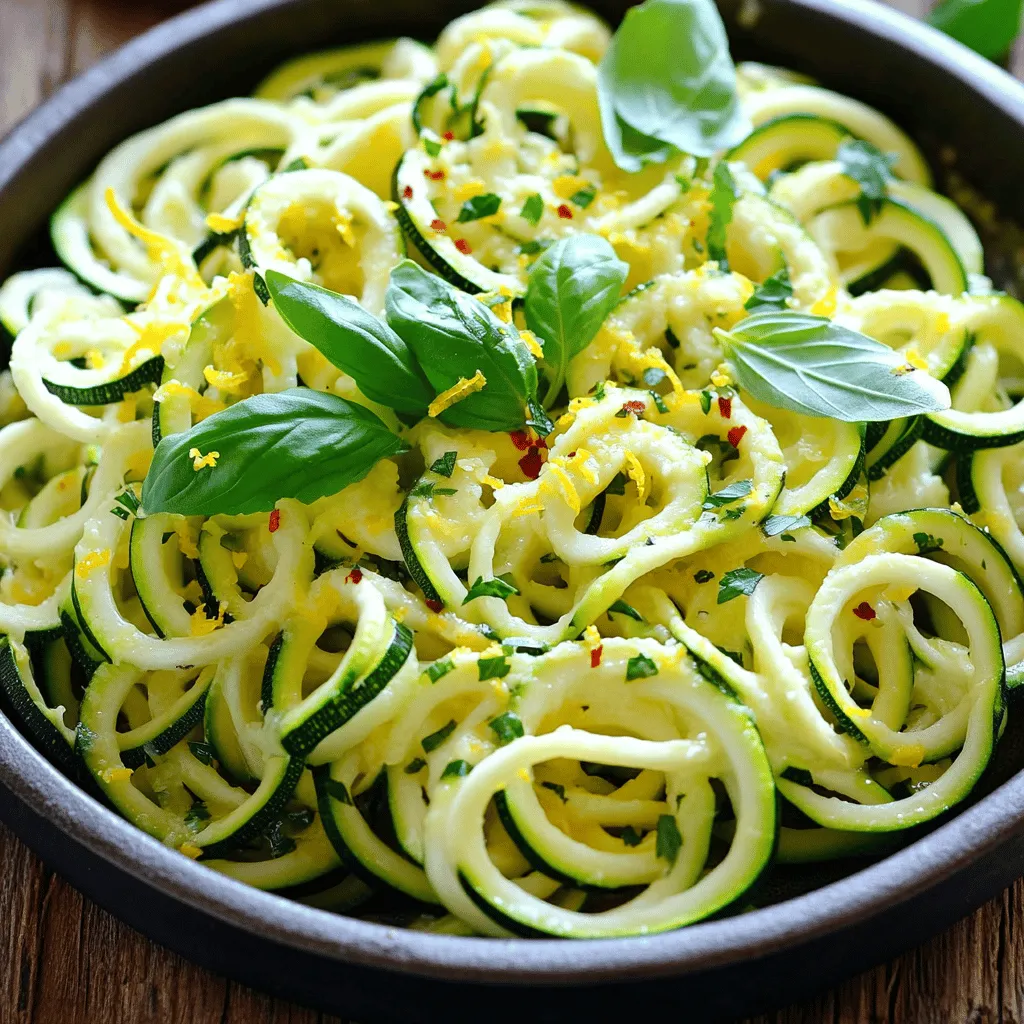
Zucchini Noodles Perfectly Cooked Healthy and Simple Dish
Are you looking to make a delicious and healthy meal in no time? Zucchini noodles, or zoodles, are the perfect answer! With just a few

Parmesan Crusted Chicken Juicy and Flavorful Dish
Welcome to a delicious journey! Today, I’m excited to share my recipe for Parmesan Crusted Chicken, a dish that is juicy and full of flavor.
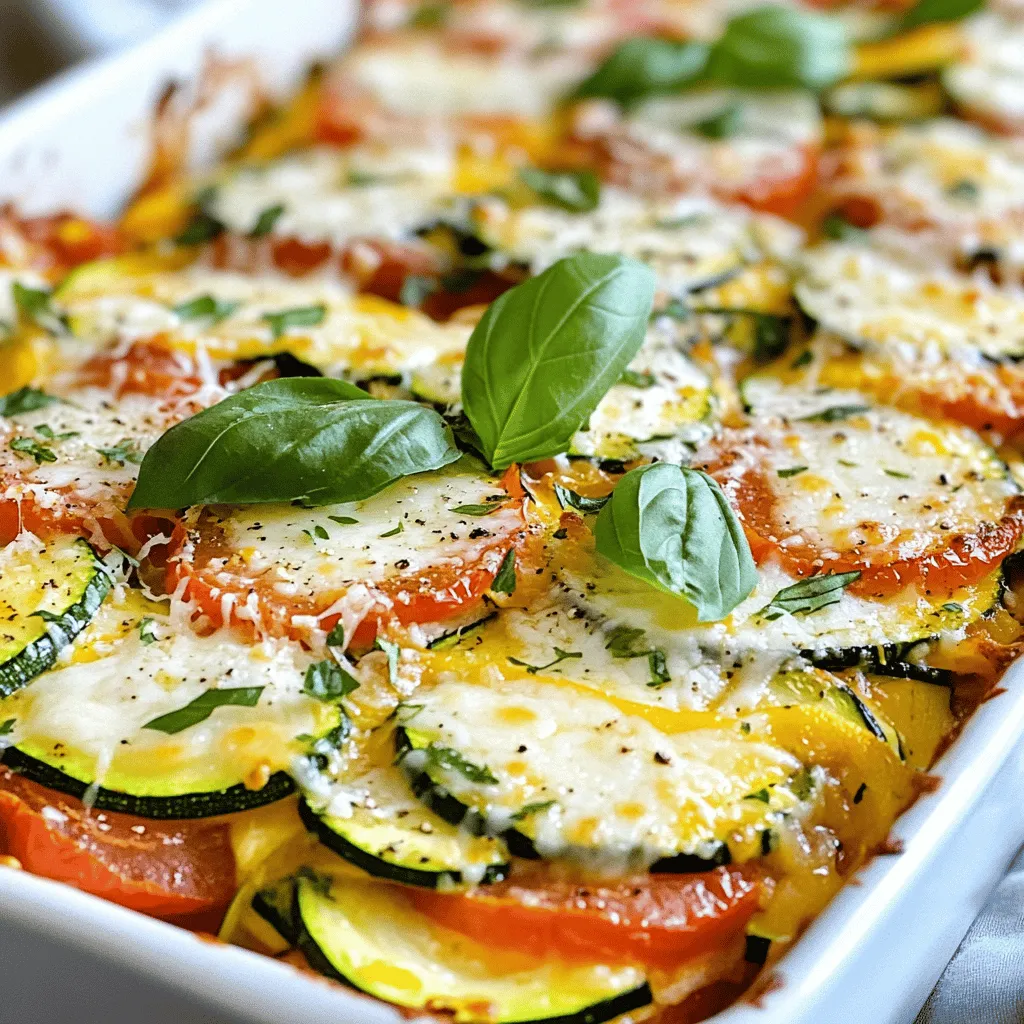
![- 2 medium zucchinis, spiralized into noodles - 2 boneless, skinless chicken breasts - 1 cup heavy cream - 1 tablespoon olive oil - 3 cloves garlic, minced - Salt and pepper to taste - 1 cup grated Parmesan cheese - 1/4 teaspoon nutmeg - Fresh parsley, chopped (for garnish) When I make Zucchini Noodle Chicken Alfredo, I love using fresh ingredients. The zucchini noodles give the dish a light feel, while the chicken adds protein. Heavy cream makes the sauce rich and creamy. The olive oil is key for cooking the chicken perfectly. Garlic brings a wonderful aroma and flavor. Don't forget the salt and pepper! They enhance every bite. Parmesan cheese adds a salty, nutty taste that you cannot skip. A hint of nutmeg gives the sauce depth. Finally, fresh parsley brightens up the dish and adds a pop of color. For the full recipe, check out the detailed steps to create this creamy dinner delight. 1. Grab 2 medium zucchinis. 2. Use a spiralizer to turn them into long, noodle-like strands. 3. Once spiralized, set the noodles aside. 1. Take 2 boneless, skinless chicken breasts. 2. Season them with salt and pepper on both sides. 3. Heat 1 tablespoon of olive oil in a large skillet over medium heat. 4. Add the chicken to the skillet. Cook for 6-7 minutes on each side. 5. Make sure the chicken turns golden brown and is fully cooked. 6. Remove the chicken and let it rest for a few minutes. 7. Slice the chicken into strips once it has cooled. 1. In the same skillet, add 3 minced garlic cloves. 2. Sauté the garlic for about 30 seconds until it smells good. 3. Pour in 1 cup of heavy cream and bring it to a gentle simmer. 4. Stir the cream with the garlic to mix well. 5. Slowly add 1 cup of grated Parmesan cheese. Stir until the cheese melts and the sauce is creamy. 6. Sprinkle in 1/4 teaspoon of nutmeg and mix everything well. 1. Toss the zucchini noodles into the skillet with the Alfredo sauce. 2. Coat the noodles fully in the sauce. 3. Cook the noodles for 2-3 minutes until they are just tender. 4. Add the sliced chicken to the skillet. Mix gently to combine all the ingredients. 5. Taste your dish and adjust seasonings if needed. 6. Serve hot, garnished with fresh chopped parsley. For the complete recipe, refer to the [Full Recipe]. To get the perfect creaminess, use heavy cream. It gives a rich texture. Stir the cream gently over low heat. This helps it blend well with the cheese. If you heat it too fast, it can curdle. To avoid curdling, add the cheese slowly. Keep stirring as you add it. This helps create a smooth sauce. Cook zucchini noodles just right. They need only 2-3 minutes in the sauce. If you cook them too long, they get mushy. To keep their texture, use fresh zucchinis. Spiralize them right before cooking. This way, they stay firm. You can adjust this dish for different diets. If you need a dairy-free option, use coconut cream. It offers a nice flavor. For cheese, nutritional yeast works well for a cheesy taste. If you need a gluten-free option, make sure the chicken and other ingredients are certified gluten-free. Enjoy your meal with these simple swaps! Don’t forget to check the Full Recipe for more details. {{image_2}} You can swap chicken for shrimp or tofu. Shrimp cooks fast, about 3-4 minutes. Just add them in after the garlic. Tofu takes longer. You should sauté it until golden. Cook it for about 8-10 minutes. Adjust your cooking times based on the protein you use. This keeps your meal delicious and safe to eat. Adding fresh herbs and spices can boost taste. Basil, thyme, or oregano work great. You can mix in one teaspoon of dried herbs for depth. Try adding spinach or mushrooms for extra veggies. Sauté them with garlic before adding the cream. Each addition gives a new twist to this dish. For the full recipe, check [Full Recipe]. To store your Zucchini Noodle Chicken Alfredo, let it cool first. Place it in an airtight container. This keeps the flavors fresh. It will last in the fridge for 3 to 4 days. Make sure to check for any signs of spoilage before serving. When reheating, use a skillet over low heat. This helps keep the creamy texture. Stir gently to avoid sticking. You can also use a microwave. Heat in short bursts and stir in between. If you want to freeze it, part the dish into smaller portions. Use freezer-safe containers or bags. It lasts up to 2 months in the freezer. Thaw in the fridge overnight before reheating. Zucchini noodles, or zoodles, are thin strands made from zucchini. You can create them using a spiralizer or a vegetable peeler. They are a great low-carb alternative to pasta. Zucchini noodles are packed with nutrients and are low in calories. They provide fiber, vitamins, and minerals. This makes them a healthy choice for any meal. They soak up sauces well and offer a pleasant crunch. Plus, they are easy to make and can be used in many dishes. Yes, you can make this dish vegan! Instead of chicken, try using tofu or tempeh. For the sauce, swap heavy cream with coconut milk or cashew cream. Nutritional yeast can replace Parmesan cheese for a cheesy flavor. Use plant-based butter or olive oil for cooking. Adding fresh herbs like basil or thyme can enhance the flavor. These swaps create a creamy, tasty vegan version while keeping it delicious. To avoid watery zucchini noodles, start by salting them. After spiralizing, sprinkle salt on the noodles and let them sit for 10 minutes. This helps draw out excess moisture. Pat them dry with a paper towel before cooking. Cooking them briefly in the sauce also helps. Tossing them for just 2-3 minutes allows them to soften without becoming soggy. This way, you'll enjoy a flavorful meal without watery noodles. This blog post showed you how to make a tasty chicken Alfredo with zucchini noodles. We covered the main ingredients and easy steps to prepare the dish. You learned tips for perfect sauce and cooking. We also explored variations and storage options. In conclusion, this dish is fun to make and good for you. Enjoy cooking it your way!](https://tossedrecipes.com/wp-content/uploads/2025/07/32b8d39f-ab03-4a1a-ac0d-f77248af47c5.webp)
Zucchini Noodle Chicken Alfredo Creamy Dinner Delight
Are you ready to enjoy a creamy, delicious meal that’s good for you? My Zucchini Noodle Chicken Alfredo is a perfect choice! This dish uses
Baked Ranch Chicken Simple and Flavorful Delight
Are you ready to elevate your dinner routine? Baked Ranch Chicken is both simple and packed with flavor. With just a few quality ingredients, you

Zucchini Tomato Gratin Simple and Flavorful Recipe
Are you ready to enjoy a fresh twist on comfort food? My Zucchini Tomato Gratin is both simple and flavorful. This dish combines tender zucchini
Zucchini Tomato Casserole Flavorful and Simple Dish
Are you ready for a simple, tasty dish that highlights summer’s finest produce? My Zucchini Tomato Casserole is just what you need! With fresh zucchini,
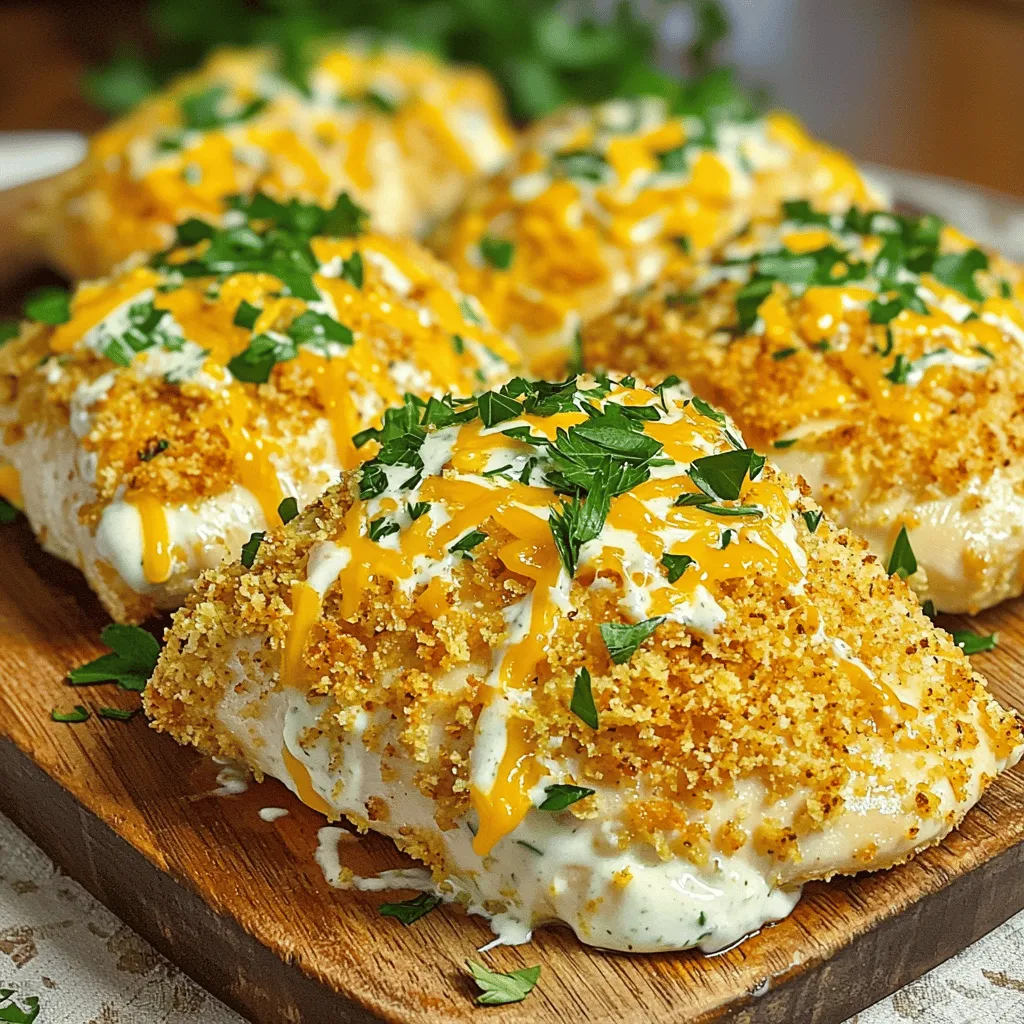
![To make Baked Tuscan Chicken, you need fresh and tasty ingredients. Here’s what you will use: - 4 boneless, skinless chicken breasts - 1 cup cherry tomatoes, halved - 1 cup baby spinach - 1/2 cup sun-dried tomatoes, chopped - 1/2 cup mozzarella cheese, shredded - 1/3 cup grated Parmesan cheese - 3 cloves garlic, minced - 1 teaspoon dried Italian herbs (oregano, thyme, basil) - 1/4 cup olive oil - Salt and pepper to taste - Fresh basil leaves for garnish (optional) These ingredients work well together. They bring bright flavors and colors to your dish. Measuring ingredients correctly is key. Use a dry measuring cup for solids and a liquid cup for liquids. For example, pack the sun-dried tomatoes into the cup before chopping them. When you measure olive oil, pour it into a liquid measuring cup. This ensures you have just the right amount for flavor. You can change some ingredients if you like. If you do not have fresh spinach, try kale or arugula. Instead of chicken breasts, use thighs for a juicier dish. You can also use feta or provolone cheese instead of mozzarella. If you want a lighter option, use less cheese or replace it with nutritional yeast. This gives a cheesy taste without the calories. Start by preheating your oven to 400°F (200°C). This step is key for even cooking. Next, take a large bowl. Mix olive oil, minced garlic, dried Italian herbs, salt, and pepper. This blend gives the chicken its rich flavor. Now, add your chicken breasts to the bowl. Make sure they are well-coated in the mixture. If you have time, let the chicken marinate for about 15 minutes. This extra time helps the flavors soak in. While the chicken marinates, you can prepare your baking dish. Arrange the marinated chicken breasts in a single layer. This helps them cook evenly. Next, gather your other ingredients: halved cherry tomatoes, baby spinach, and chopped sun-dried tomatoes. Scatter these across the chicken. The veggies add color and taste to your dish. Now it’s time to add the cheese. Sprinkle the shredded mozzarella and grated Parmesan on top of the chicken and veggies. This will melt beautifully during baking. Place the baking dish in the preheated oven. Bake for 25-30 minutes. You’ll know it’s done when the chicken is cooked through and the cheese is bubbly and golden. Once baked, let it rest for about 5 minutes. This helps keep the juices in. Garnish with fresh basil leaves before serving. Enjoy this vibrant meal that is full of flavor! For the full recipe, check the recipe section above. To make your chicken juicy, choose quality meat. Look for fresh, boneless, skinless chicken breasts. Marinate them for at least 15 minutes. This step adds flavor. Use a mix of olive oil, garlic, and herbs. Don’t rush this step; let the meat soak up those tasty spices. When baking, keep the chicken in a single layer. This helps it cook evenly and stay moist. One common mistake is overcooking the chicken. Use a meat thermometer to check doneness. Chicken should reach 165°F (75°C) inside. Another mistake is skipping the resting time after baking. Letting it rest for 5 minutes keeps the juices inside. Lastly, don’t forget to season well. Salt and pepper enhance every bite. You can add extra flavors easily. Try adding olives or capers for a briny kick. Fresh herbs like thyme or rosemary boost the dish's taste. If you love spice, sprinkle in some red pepper flakes. For a creamier texture, mix in a splash of heavy cream before baking. Feel free to experiment; cooking should be fun! For the full recipe, check the section above. {{image_2}} If you want to cut carbs, skip the sun-dried tomatoes. Instead, use sliced zucchini or mushrooms. These veggies add great flavor and keep it light. You can also serve the chicken over a bed of leafy greens instead of pasta or rice. Seasonal vegetables can change the dish's taste. In spring, try asparagus or peas. In summer, add bell peppers or eggplant. In fall, roasted butternut squash works well too. Just chop them up and mix them in with the chicken before baking. Cheese can change the flavor of your Baked Tuscan Chicken. If you want a stronger taste, use feta or goat cheese. For a creamier texture, add cream cheese or ricotta. Experimenting with cheeses keeps the dish fresh and exciting. For the [Full Recipe], refer back to the top for all the details! After you enjoy your meal, let any leftovers cool. Place them in an airtight container. Make sure to store them in the fridge. They will stay fresh for up to three days. Label the container with the date. This helps you keep track of how long it has been stored. To reheat your Baked Tuscan Chicken, use the oven for the best results. Preheat the oven to 350°F (175°C). Place the chicken on a baking sheet. Cover it with foil to keep it moist. Heat for about 15-20 minutes, or until it is hot. You can also use a microwave if you are in a hurry. Just heat it in 30-second intervals until warm. If you want to save your meal for later, freezing is a good option. First, let the chicken cool completely. Wrap each piece tightly in plastic wrap. Then, place them in a freezer-safe bag or container. Make sure to remove as much air as possible. This helps prevent freezer burn. You can freeze the chicken for up to three months. When you're ready to eat, thaw it in the fridge overnight before reheating. For the full recipe, check the detailed steps provided. You can serve Baked Tuscan Chicken with a side of pasta. A simple spaghetti works great. Garlic bread or a fresh salad also pairs nicely. Try a Caesar or mixed greens salad for a crisp bite. Roasted vegetables like zucchini or bell peppers add color and nutrition. Serve with a glass of white wine for a special touch. Yes, you can make Baked Tuscan Chicken ahead. Prepare the dish and store it in the fridge before baking. Cover it tightly to keep it fresh. You can also bake it, let it cool, and store leftovers in the fridge. Just warm it up before serving. It tastes great even the next day! Baked Tuscan Chicken is a healthy choice. Chicken breasts are lean protein. The dish includes fresh vegetables like spinach and tomatoes, which are full of vitamins. You use olive oil, which is heart-healthy. You can control the cheese amount to reduce calories. Overall, it’s a balanced meal that’s good for you. For a complete guide, refer to the Full Recipe. In this article, we explored the key ingredients for Baked Tuscan Chicken, how to measure them, and smart substitutions. I outlined clear steps for preparing, marinating, and baking your chicken to perfection. We shared tips for avoiding common mistakes and enhancing flavors. You can even try different variations for a unique twist. Lastly, I explained how to store leftovers and answer common questions. Follow these steps for a tasty, easy dish that your family will love. Enjoy making this meal and the smiles it brings!](https://tossedrecipes.com/wp-content/uploads/2025/06/cd5faa29-a1af-47f8-921b-3664ae15eb15.webp)
Baked Tuscan Chicken Flavorful Dinner Delight
If you’re looking for a dinner that bursts with flavor, try Baked Tuscan Chicken. This dish combines juicy chicken with fresh herbs and simple ingredients,