Dinner

Minute Lemon Garlic Shrimp Zoodles Flavorful Meal
Are you craving a quick and tasty meal? Look no further! Minute Lemon Garlic Shrimp Zoodles is packed with flavor and takes just minutes to
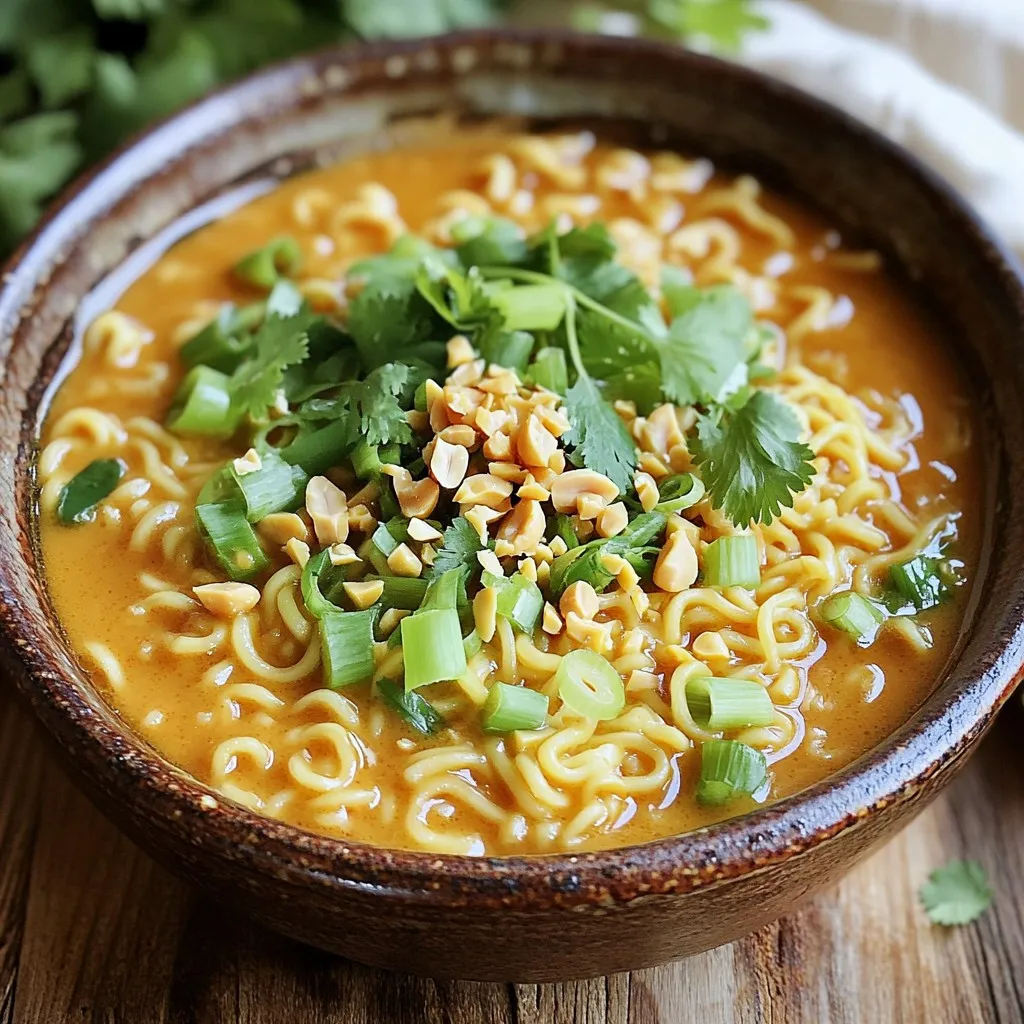
Minute Spicy Peanut Ramen Quick and Flavorful Meal
Are you ready for a quick, tasty meal? This Minute Spicy Peanut Ramen is easy to make and packed with flavor. With just a few
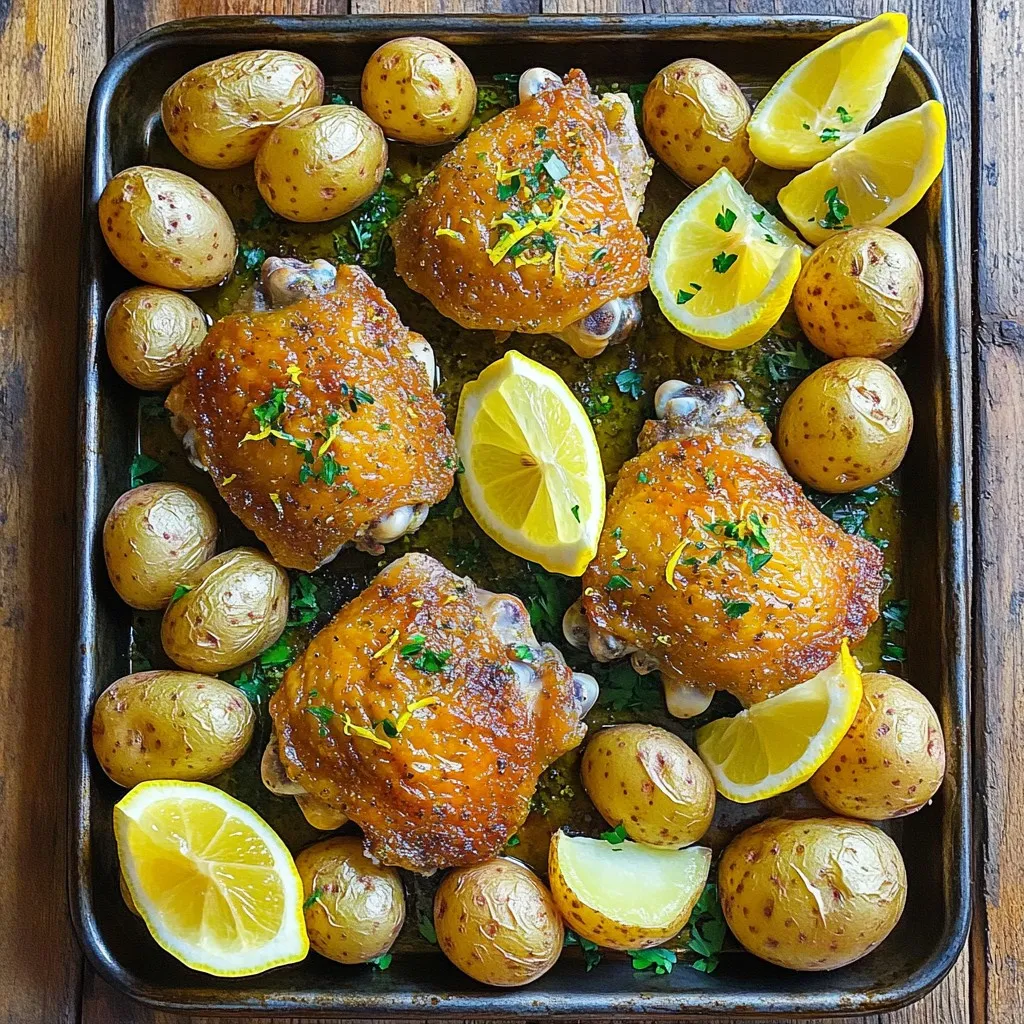
Sheet-Pan Greek Lemon Chicken & Potatoes Delight
Get ready to delight your taste buds with my Sheet-Pan Greek Lemon Chicken & Potatoes! This dish is simple, full of flavor, and perfect for
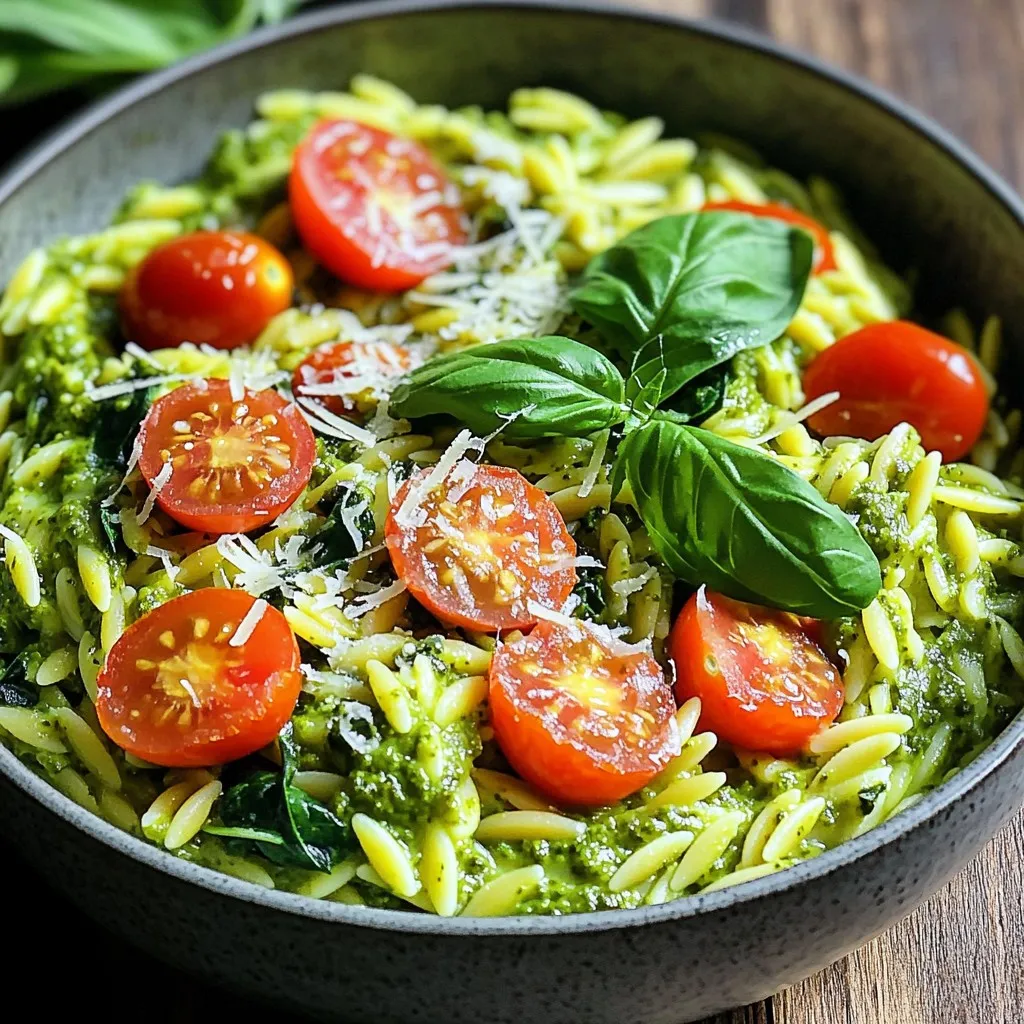
One-Pot Creamy Pesto Orzo Easy and Flavorful Meal
Craving a quick meal that’s packed with flavor? Look no further than this One-Pot Creamy Pesto Orzo! This dish combines the rich taste of basil

Instant Pot Creamy Chicken Tortellini Delight
Are you ready to whip up a delicious meal in no time? My Instant Pot Creamy Chicken Tortellini Delight is perfect for busy days. This
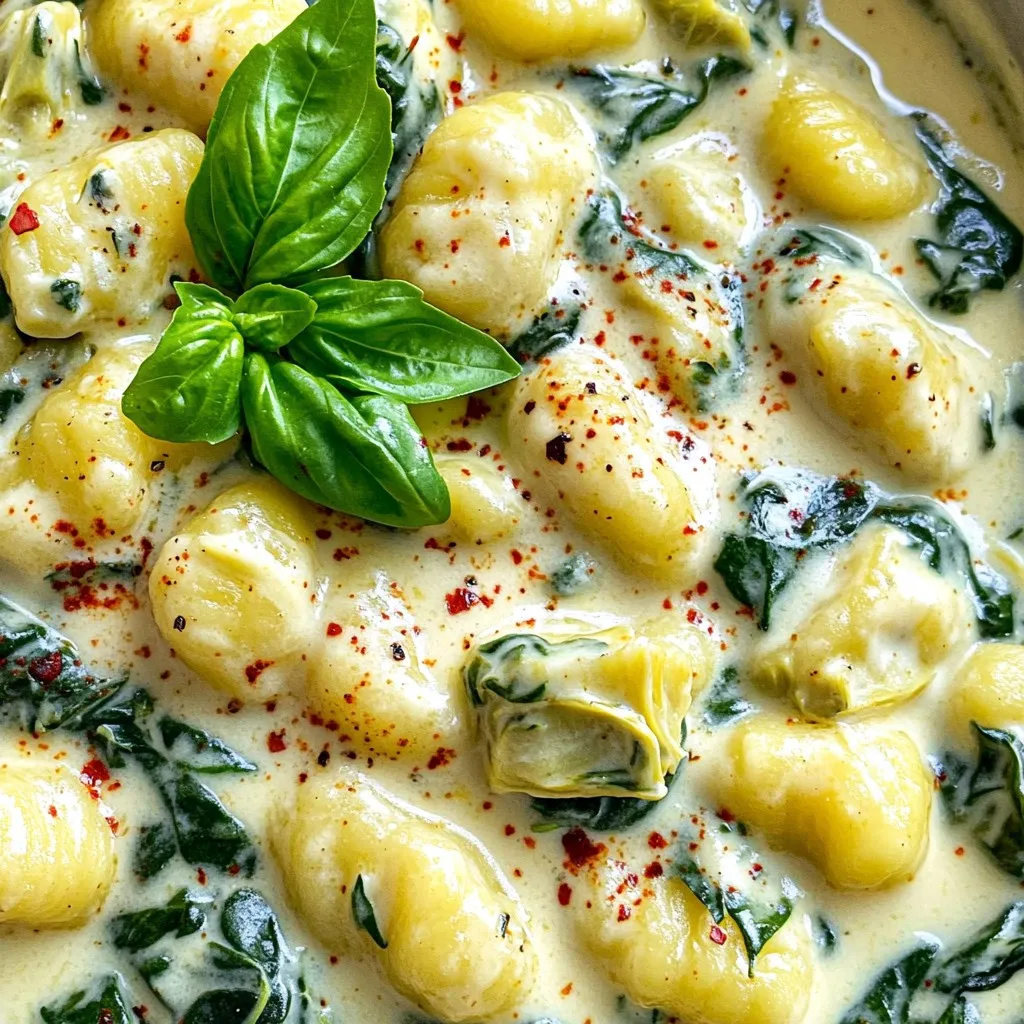
Creamy Spinach Artichoke Gnocchi Tasty Dinner Idea
Craving a cozy dinner that’s quick and satisfying? Try my Creamy Spinach Artichoke Gnocchi! This dish combines soft potato gnocchi with creamy cheese, spinach, and

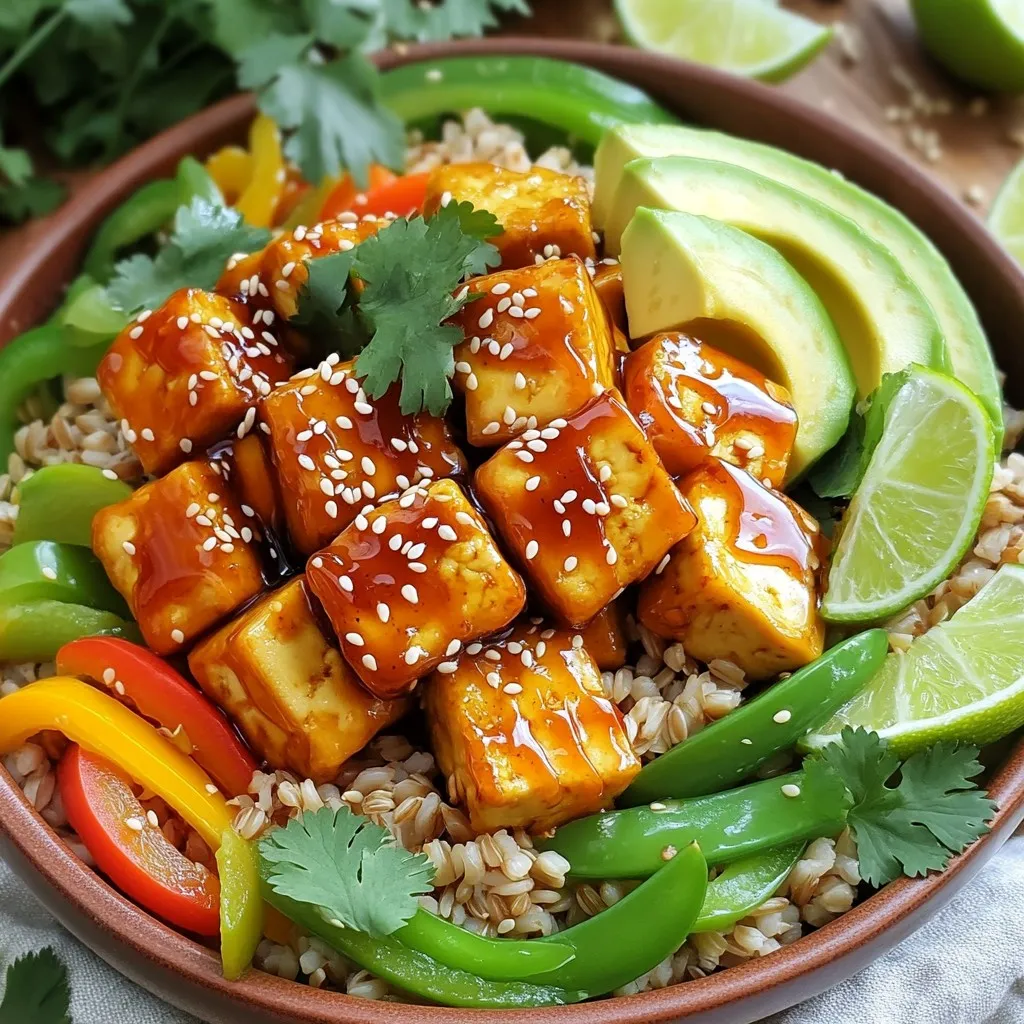
Sheet-Pan Teriyaki Tofu Stir Fry Simple Flavor Boost
Are you ready to elevate your weeknight dinners with a delicious, easy recipe? This Sheet-Pan Teriyaki Tofu Stir Fry packs big flavor with simple steps.
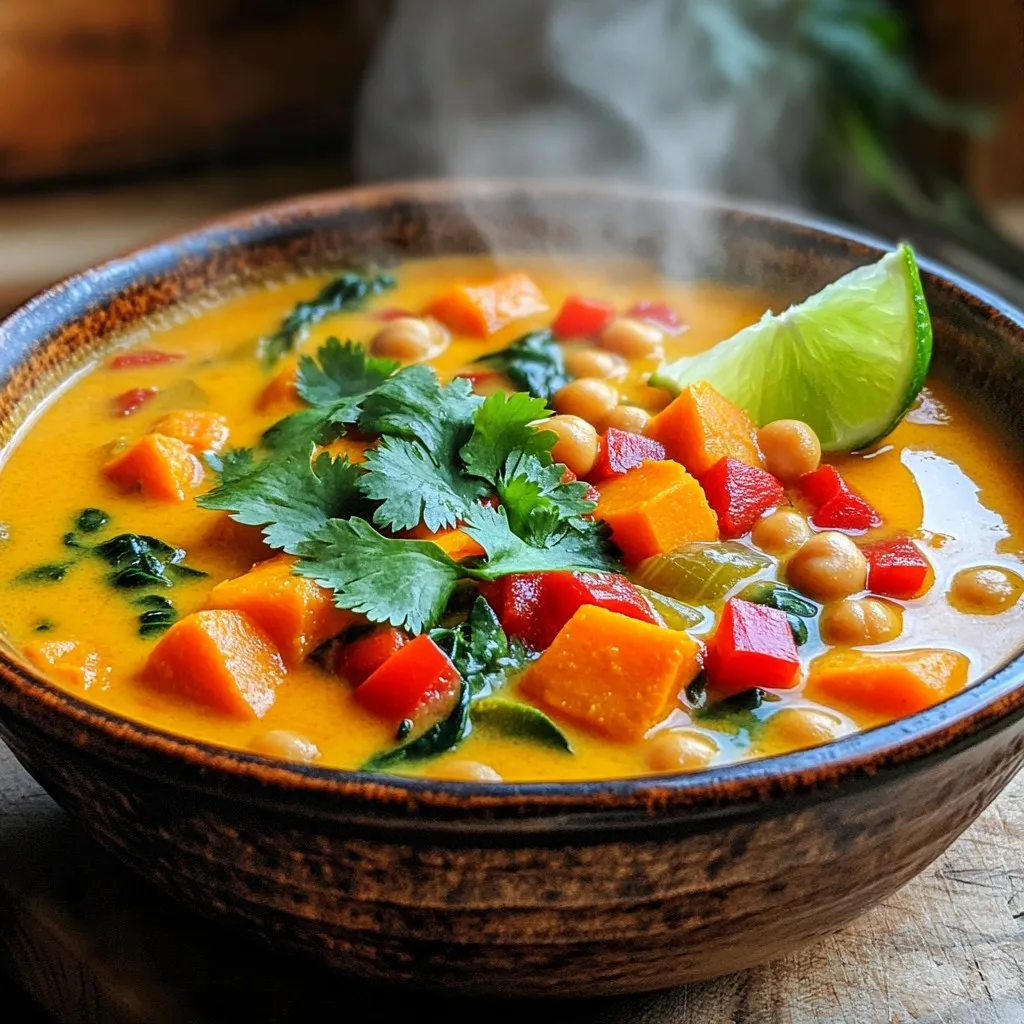
Coconut Curry Chickpea Soup Flavorful One-Pot Meal
If you’re craving a warm, tasty meal that’s easy to make, you’ll love this Coconut Curry Chickpea Soup. It’s a one-pot wonder that bursts with
Minute Honey Sriracha Tofu Bowls Flavorful and Easy
If you’re craving a meal that’s both quick and packed with flavor, you’re in the right place! My Minute Honey Sriracha Tofu Bowls are easy
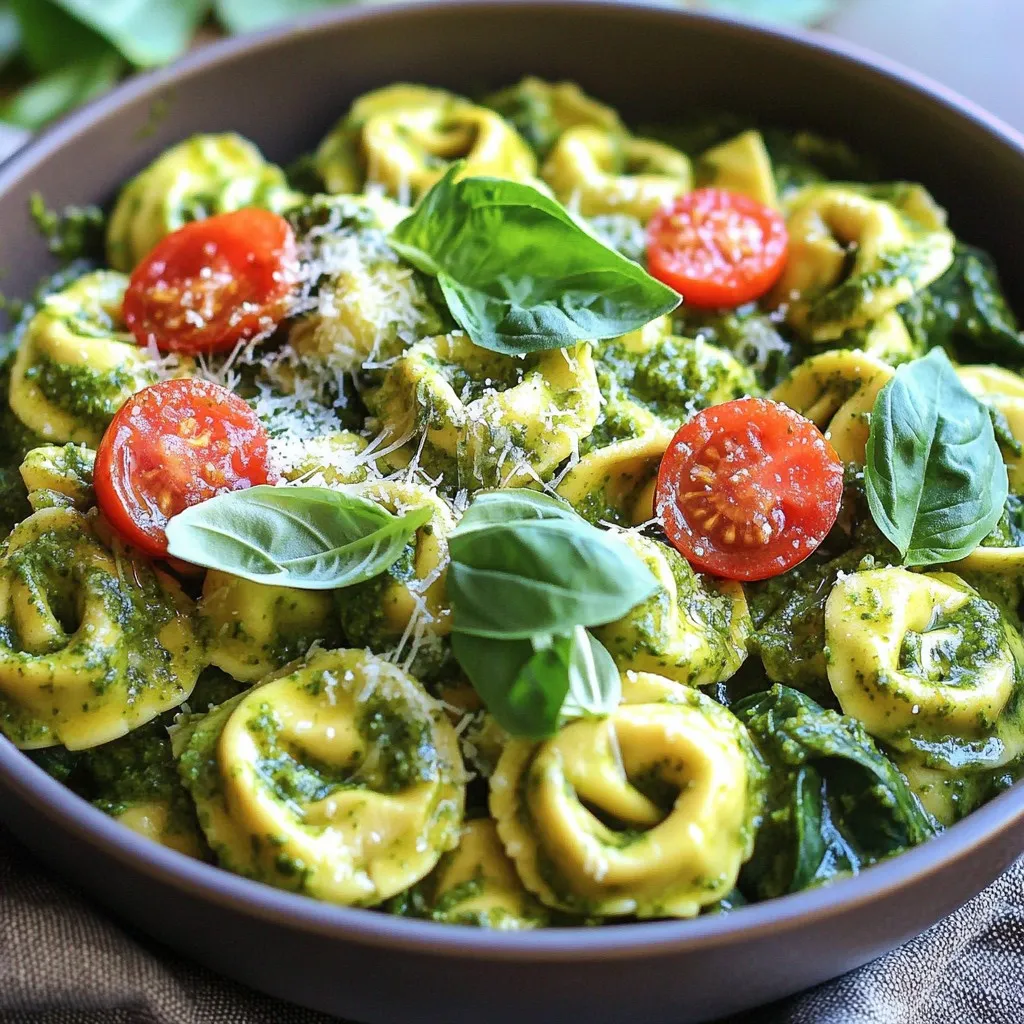
One-Pot Creamy Pesto Tortellini Simple and Tasty Dish
Looking for a quick, tasty meal that requires minimal clean-up? You’re in the right place! This One-Pot Creamy Pesto Tortellini is your new go-to dish.