Dinner
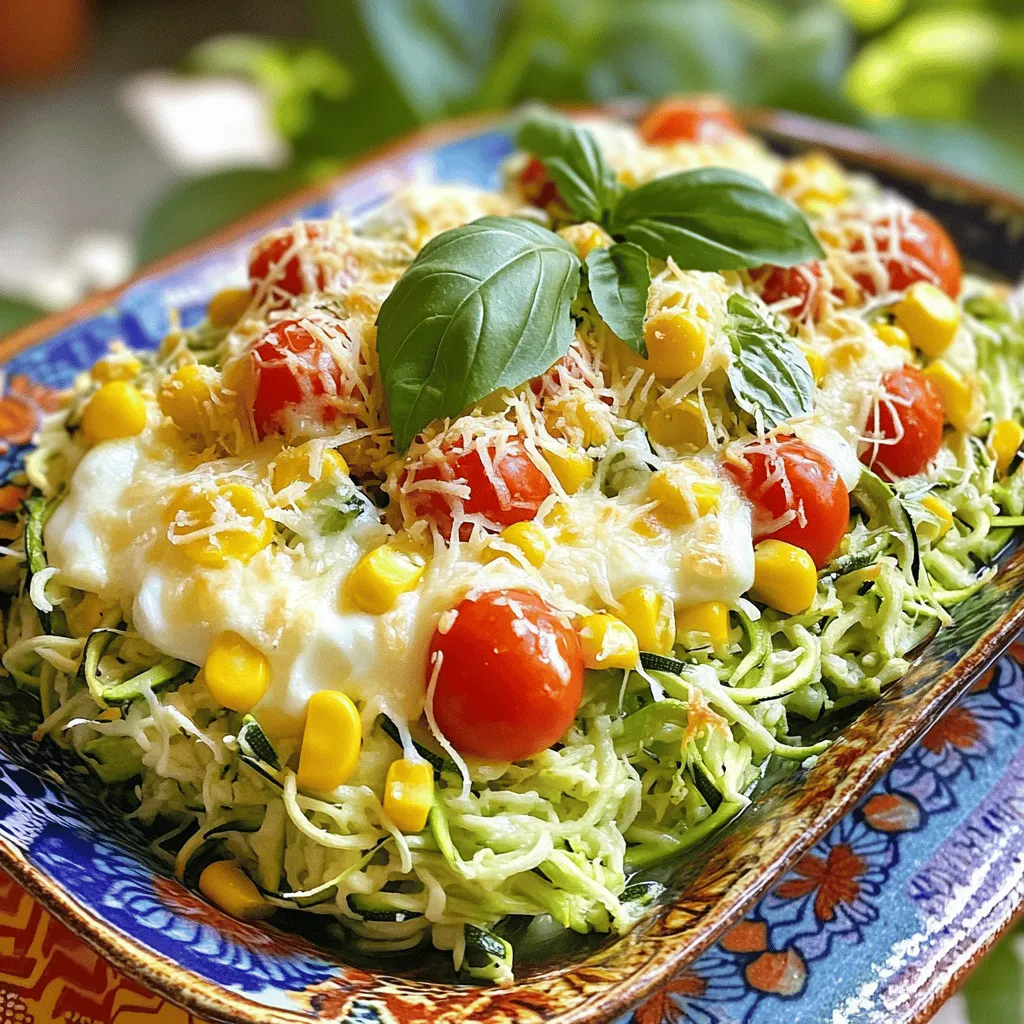
Summer Garden Crustless Zucchini Pie Delightful Dish
Looking for a fresh and tasty dish this summer? Try my Summer Garden Crustless Zucchini Pie! Packed with fresh veggies and cheese, this pie is
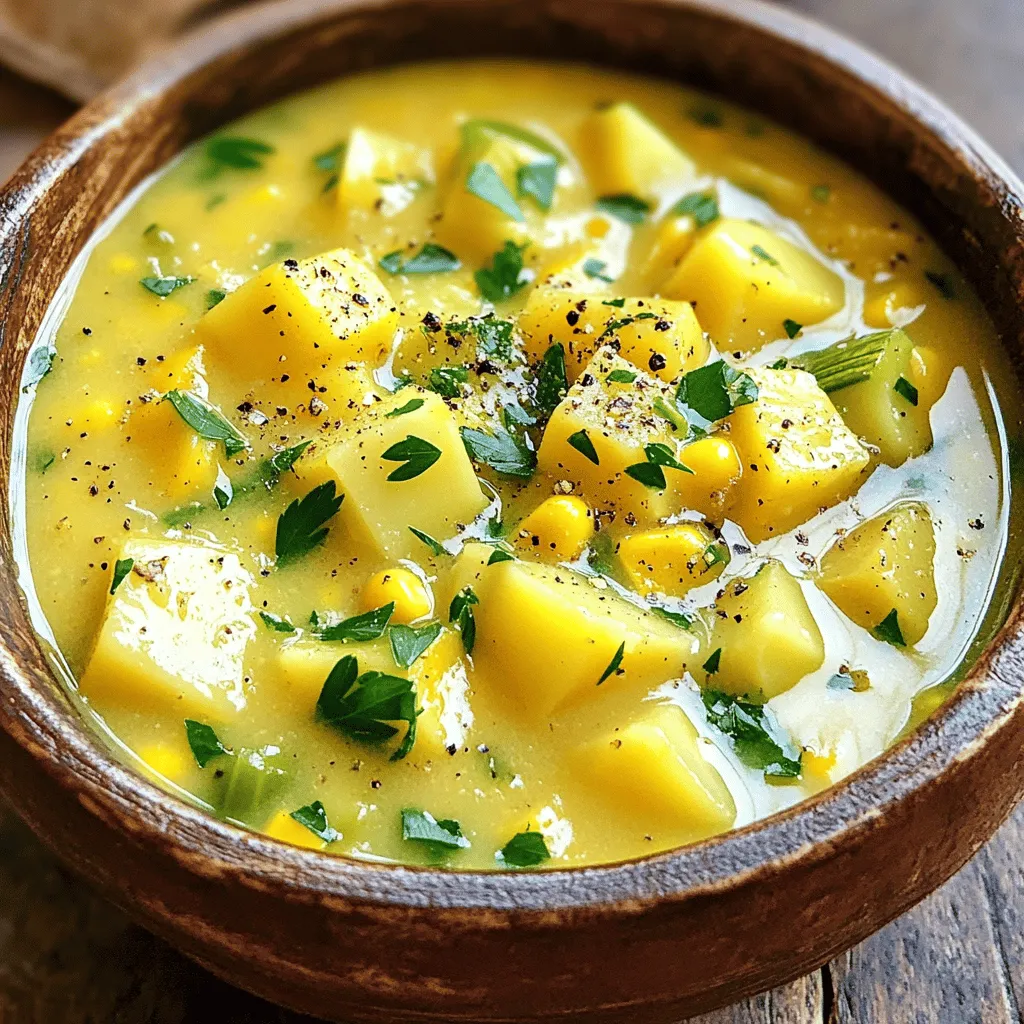
Summer Squash and Corn Chowder Creamy Delight
Welcome to a creamy delight that captures the essence of summer! This Summer Squash and Corn Chowder is refreshing, vibrant, and perfect for warm days.
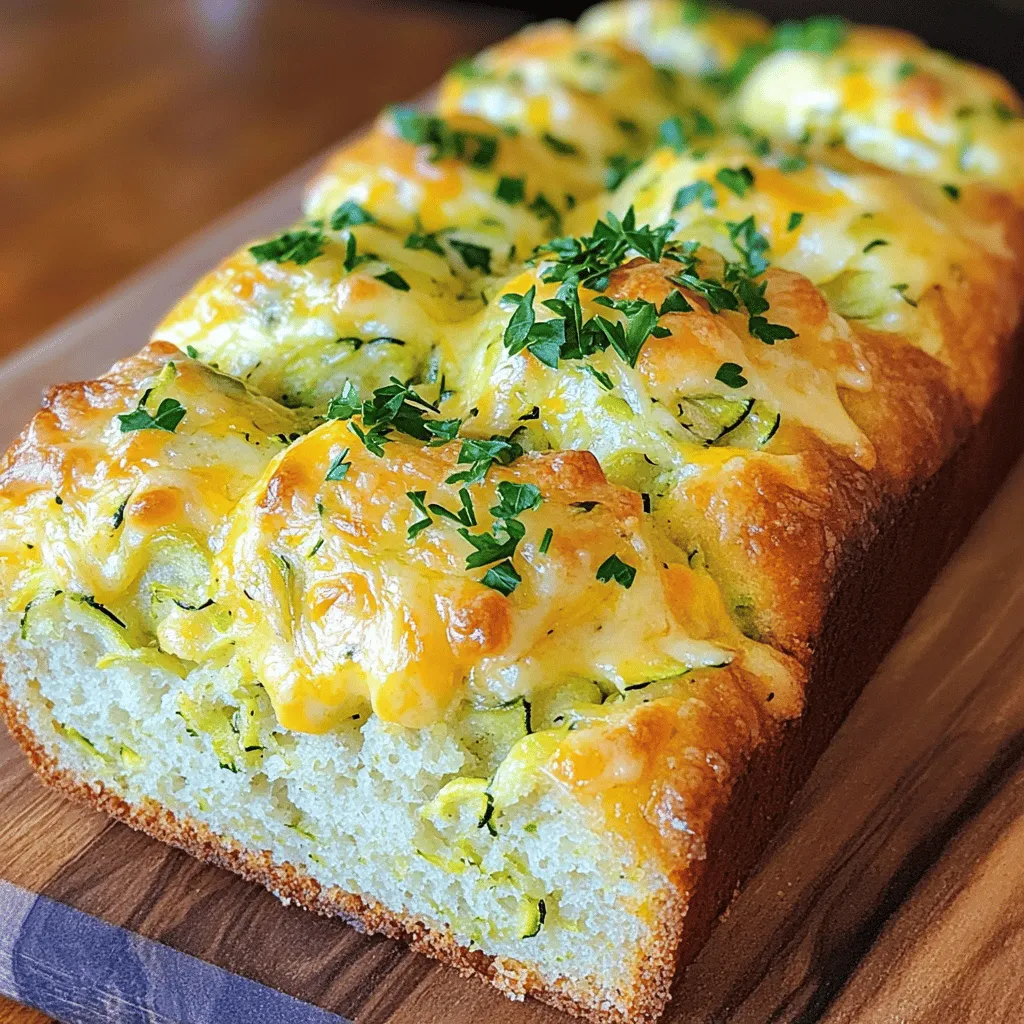
Zucchini Cheddar Herb Bread Flavorful and Easy Recipe
Are you ready to bake something delicious? My Zucchini Cheddar Herb Bread is the perfect blend of savory and comfort. It’s easy to make and

Melt in Your Mouth Chicken Breast Juicy Delight Recipe
If you crave tender, juicy chicken that melts in your mouth, you’re in the right place. This Melt in Your Mouth Chicken Breast recipe combines
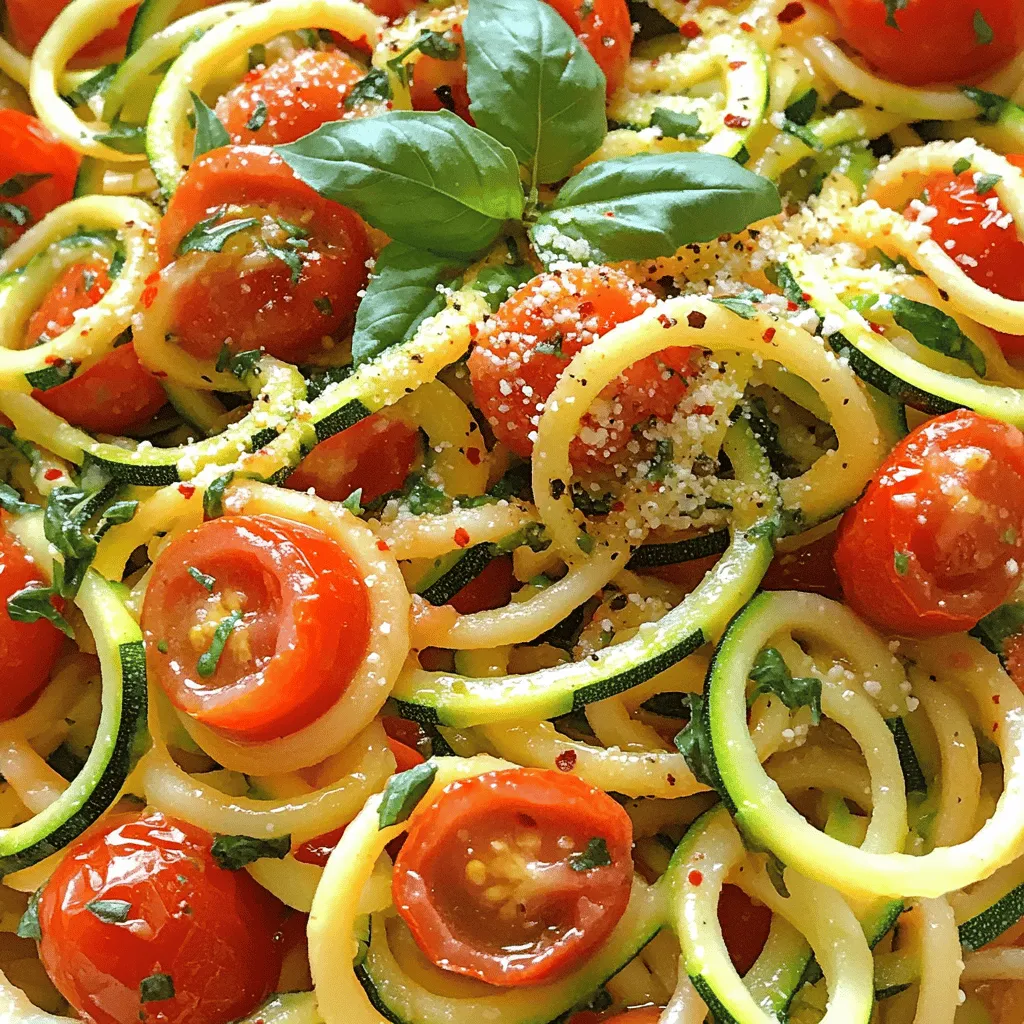
Healthy Tomato Zucchini Pasta Quick and Tasty Recipe
Are you ready to try a delicious dish that’s quick and healthy? This Healthy Tomato Zucchini Pasta packs flavor and nutrients into every bite. I’ll
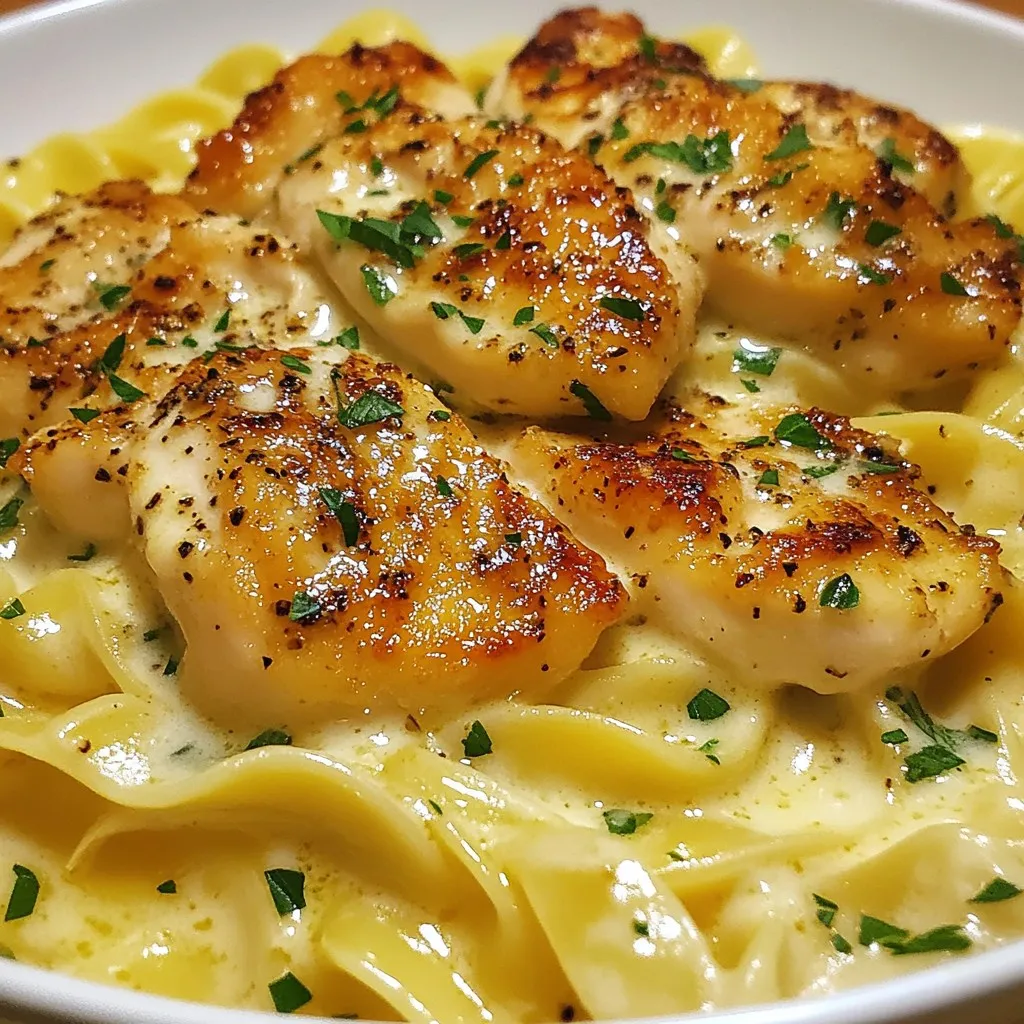
Savory Chicken with Buttered Noodles Simple Recipe
Are you ready to taste a simple yet mouth-watering dish? This Savory Chicken with Buttered Noodles recipe pairs juicy chicken with creamy, buttery noodles for
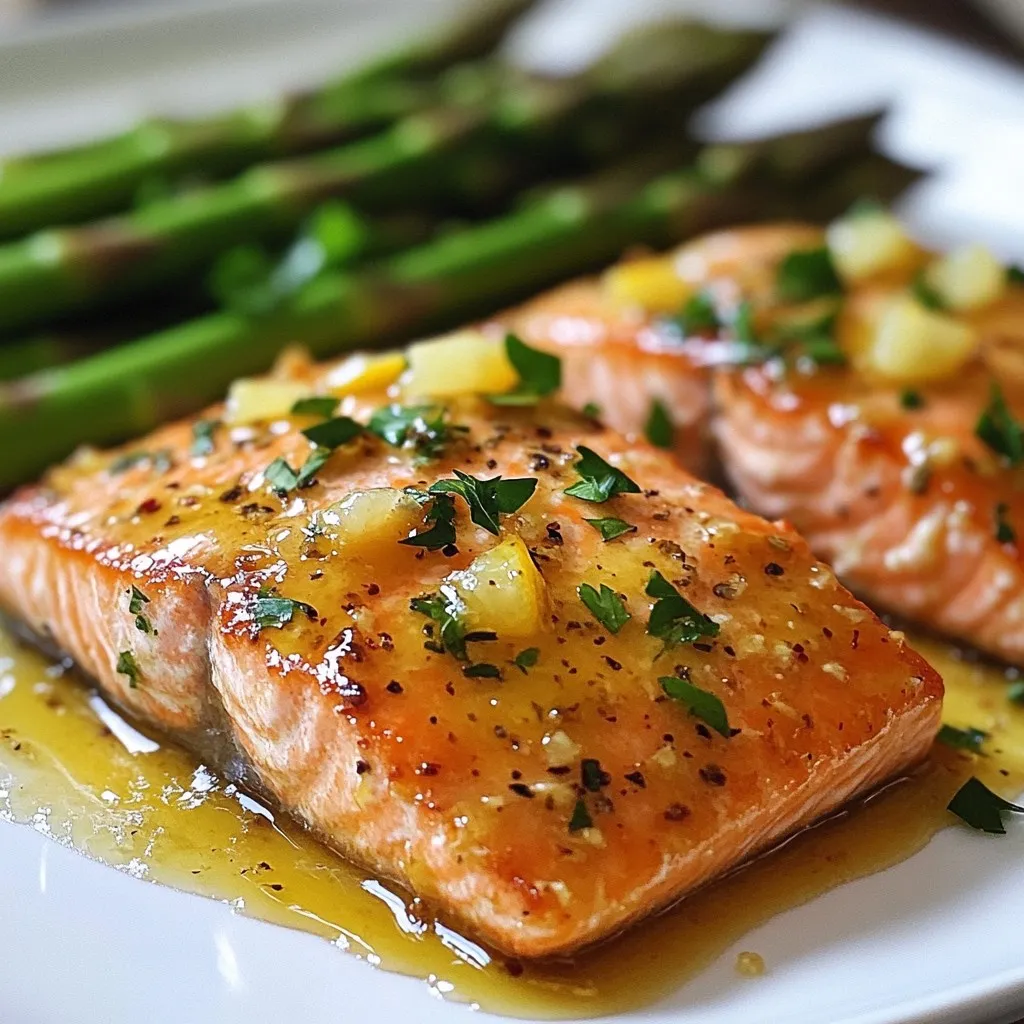
Zesty Lemon Garlic Salmon Flavorful and Simple Dish
Looking for a simple yet flavorful dish that impresses? I’ve got the perfect recipe for you: Zesty Lemon Garlic Salmon. This dish combines the bright
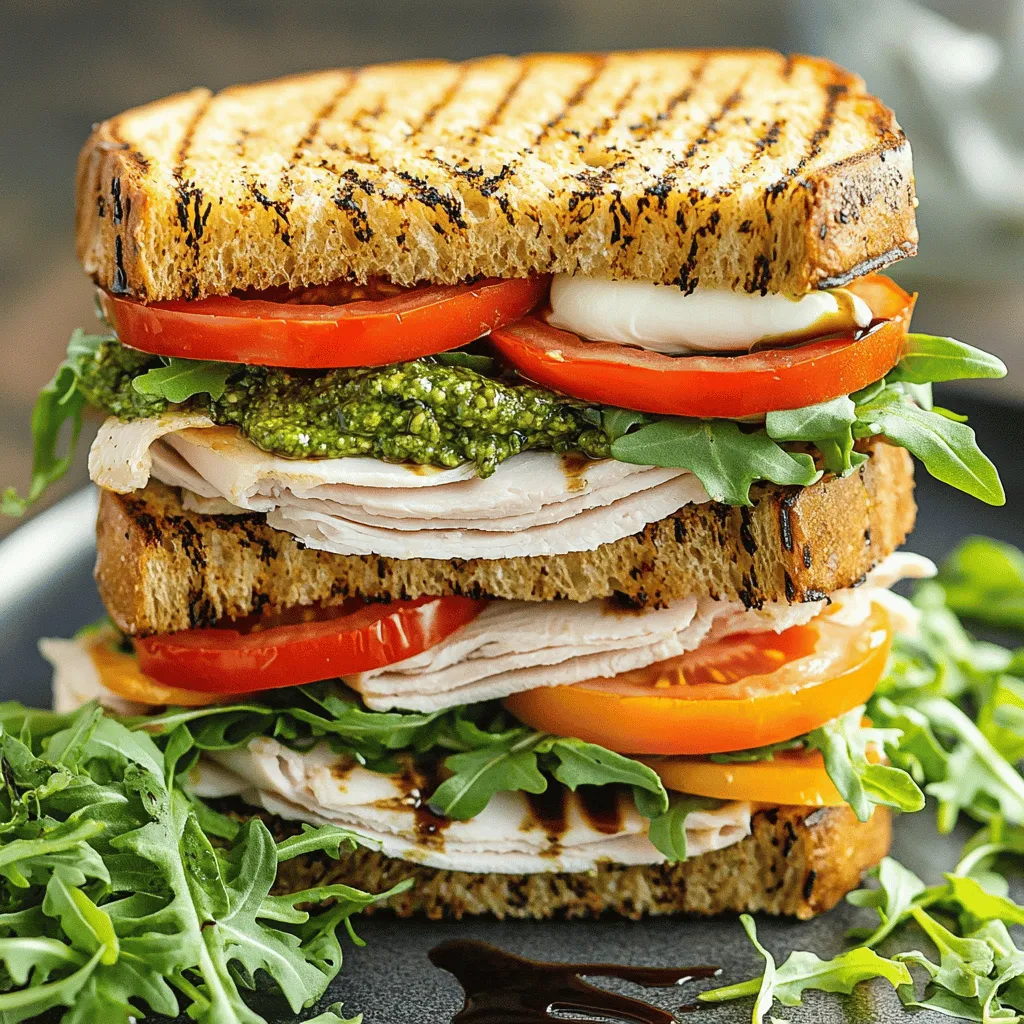
Italian Turkey Club Sandwiches Flavorful and Simple Meal
Italian Turkey Club Sandwiches are a tasty and easy meal for anyone. You can whip up this sandwich quickly, and it’s full of flavor. With
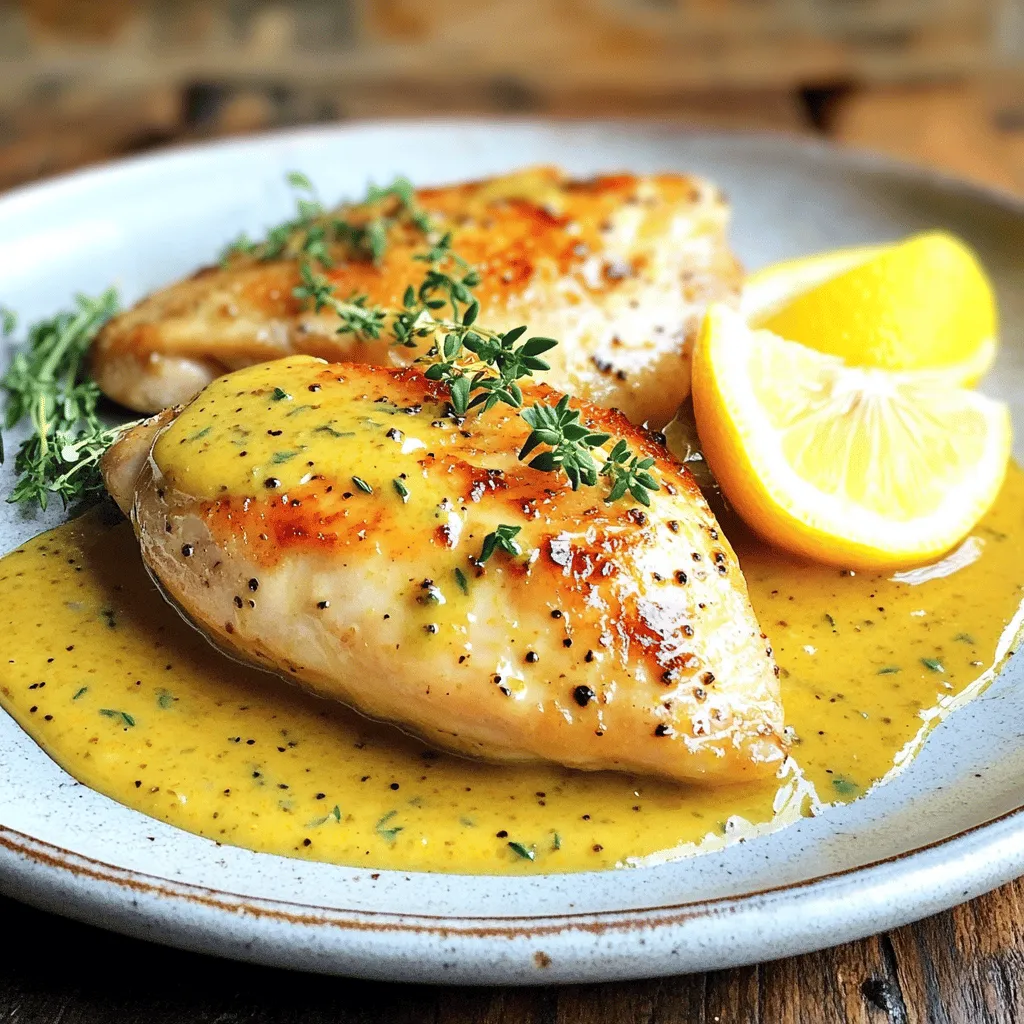
Pan Seared Chicken with Lemon Mustard Sauce Delight
Are you ready to elevate your dinner game? My Pan Seared Chicken with Lemon Mustard Sauce is a quick and tasty option that’s packed with
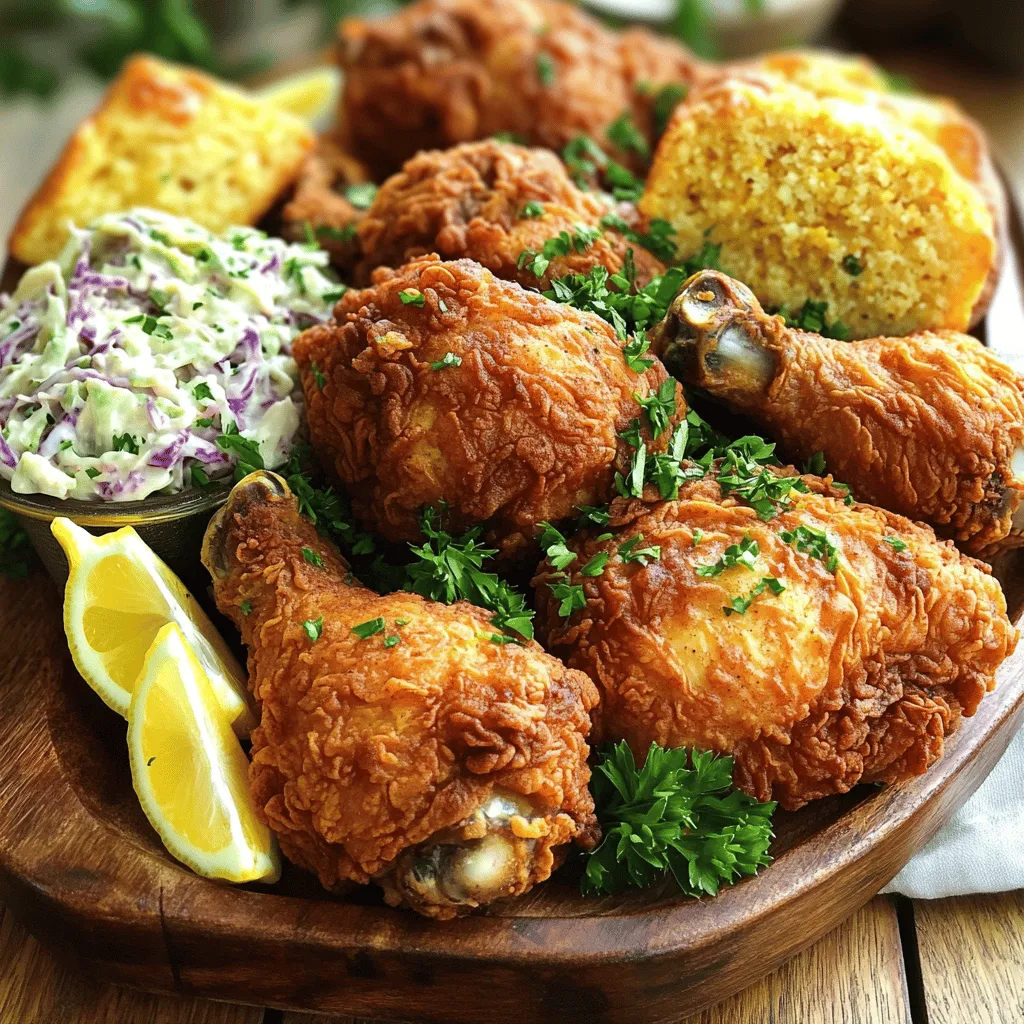
Southern Fried Chicken Crispy and Delicious Recipe
Are you ready to master the art of Southern fried chicken? In this post, I’ll share my ultimate, crispy, and delicious recipe that will impress