Dinner
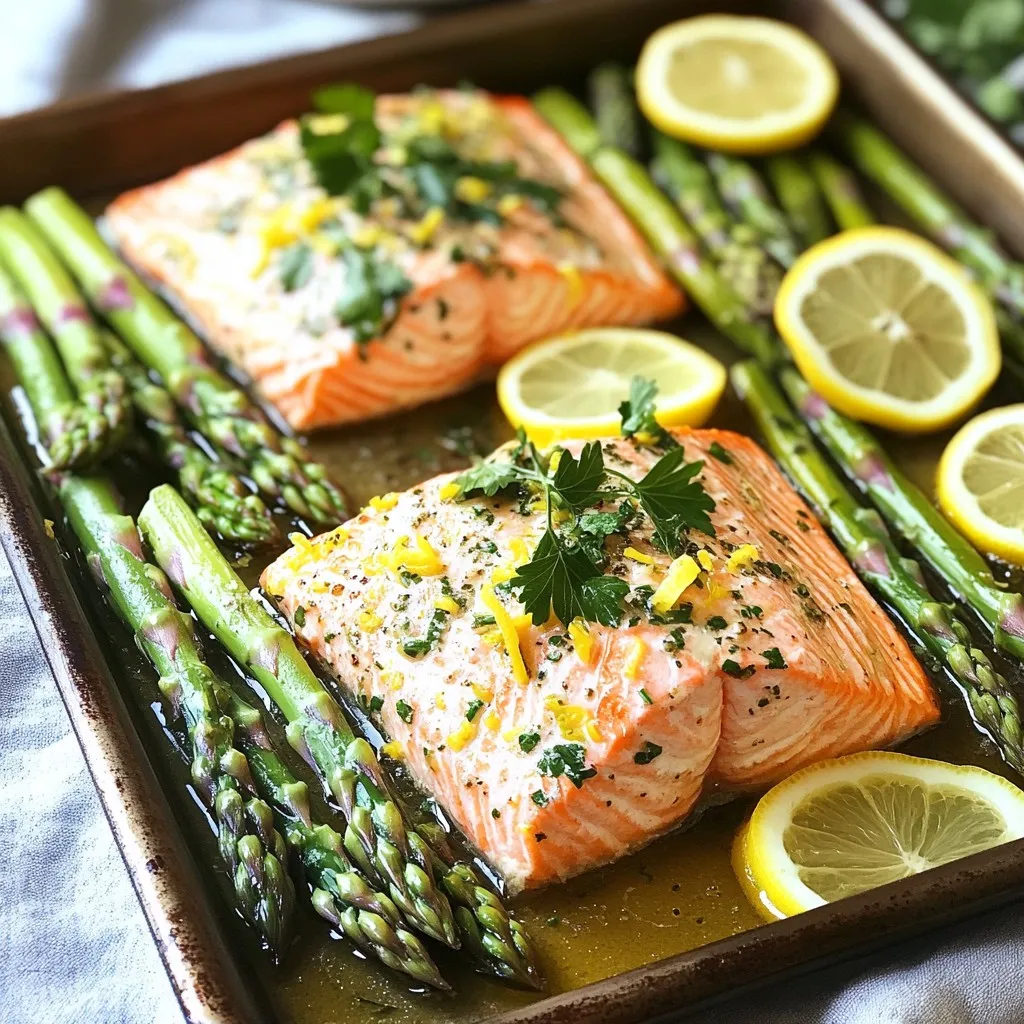
Sheet-Pan Lemon Herb Salmon & Asparagus Delight
Looking for a quick and tasty dinner? Try my Sheet-Pan Lemon Herb Salmon & Asparagus Delight! This easy recipe packs fresh flavors, using just a
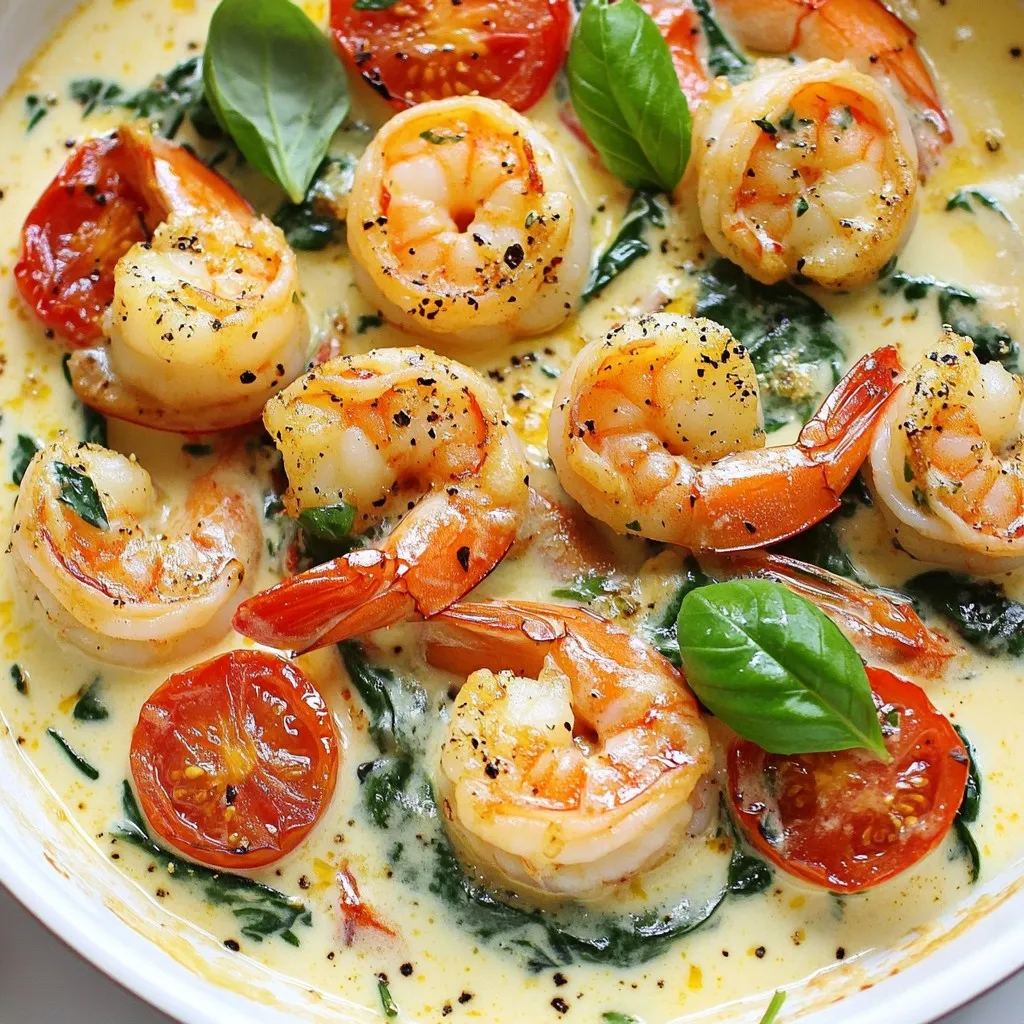
Creamy Tuscan Shrimp Skillet Irresistible Dinner Idea
Looking for a quick yet delicious dinner idea? This Creamy Tuscan Shrimp Skillet is your answer! With juicy shrimp, fresh spinach, and a rich, creamy
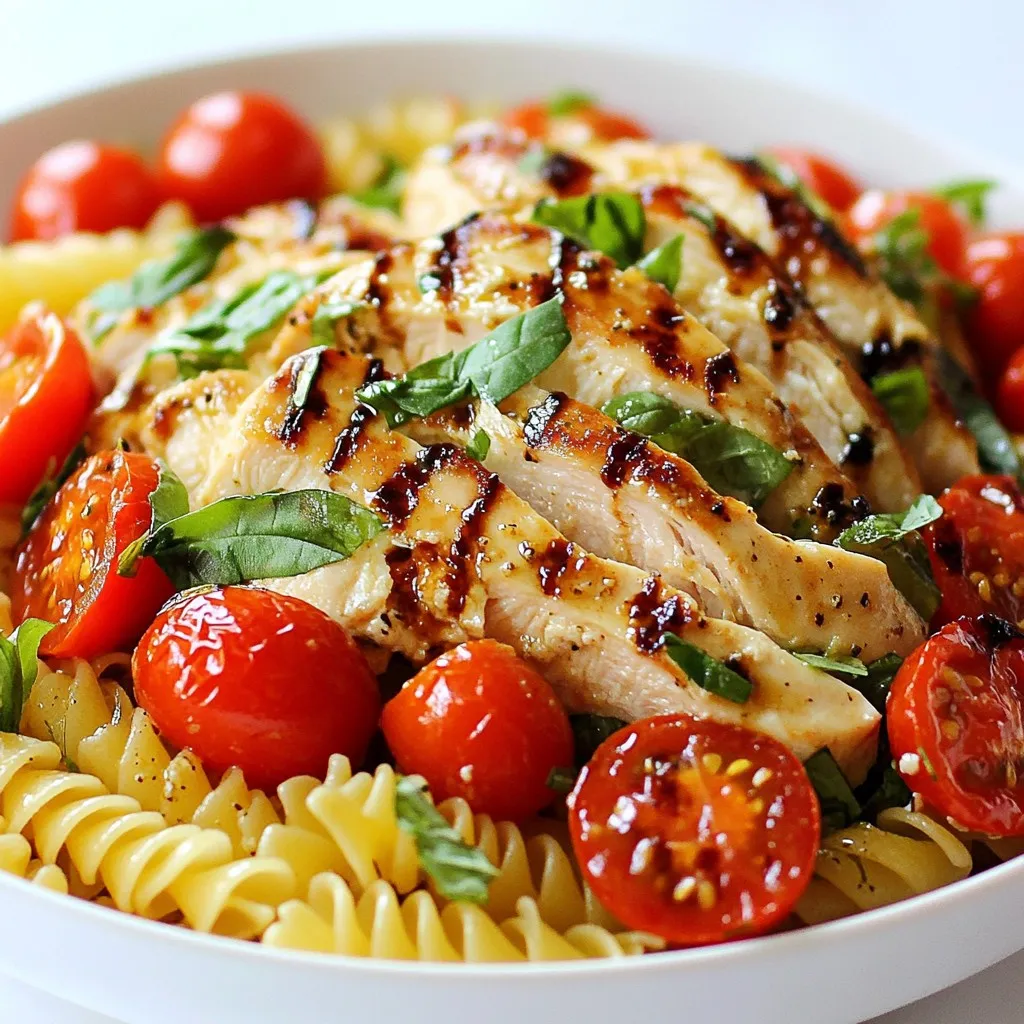
Bruschetta Chicken Pasta Flavorful and Easy Recipe
If you crave a delicious pasta dish that’s simple to make, you’ve come to the right place! Bruschetta Chicken Pasta bursts with fresh flavors and

Chicken and Broccoli Orzo Flavorful Dinner Delight
Looking for a quick and tasty dinner? Let’s explore Chicken and Broccoli Orzo! This dish packs flavor and is easy to make. I’ll show you
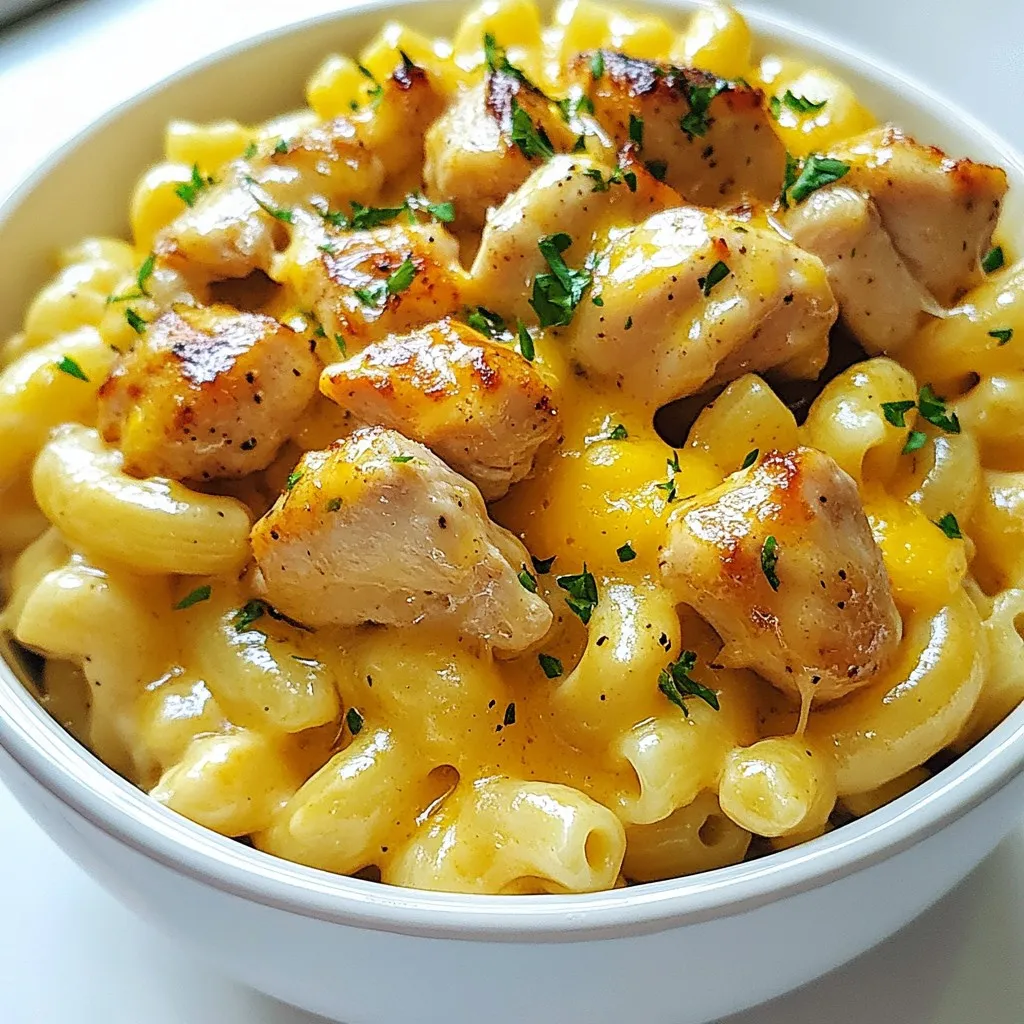
Honey Garlic Butter Chicken Mac and Cheese Delight
Are you ready to enjoy a dish that combines the comfort of mac and cheese with the sweet and savory flavors of honey garlic butter
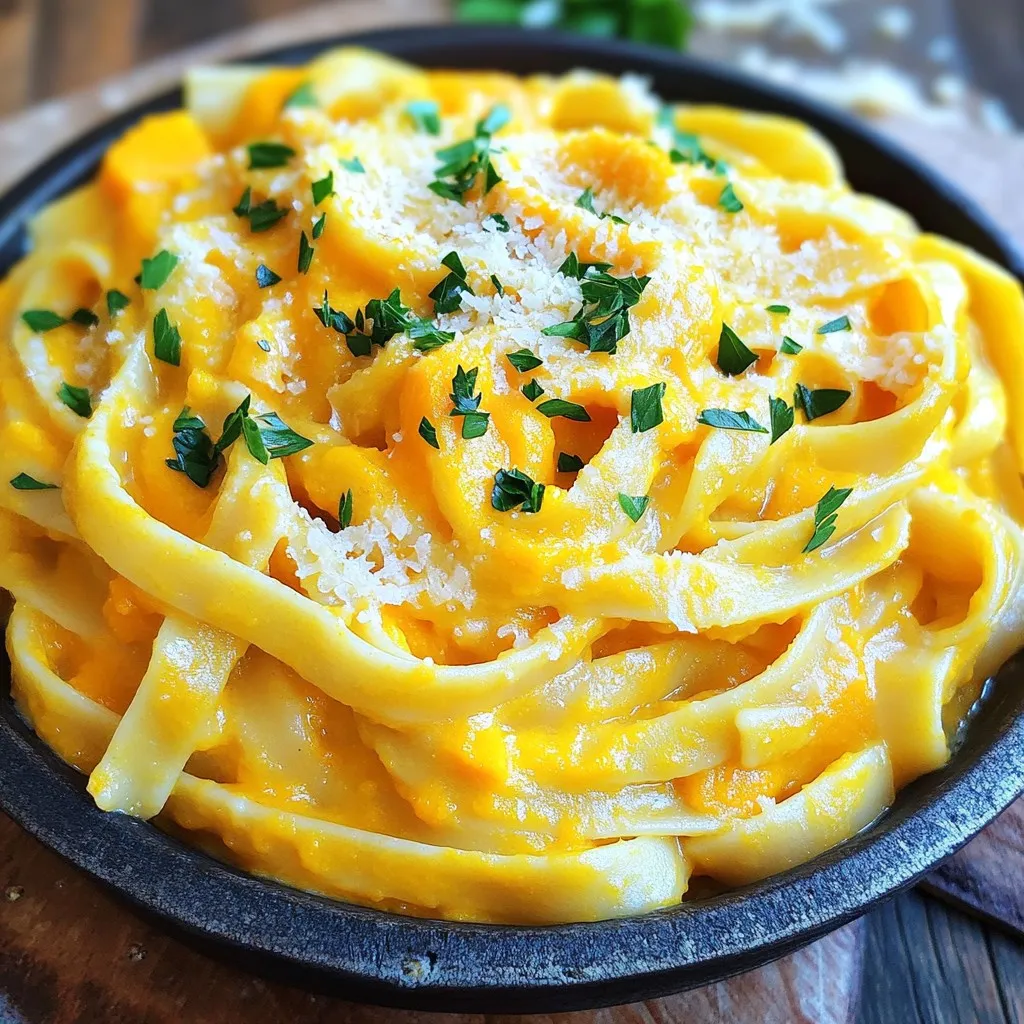
Creamy Butternut Squash Alfredo Pasta Delight
Welcome to your new favorite dish: Creamy Butternut Squash Alfredo Pasta! This recipe blends the sweet taste of butternut squash with rich cream to create
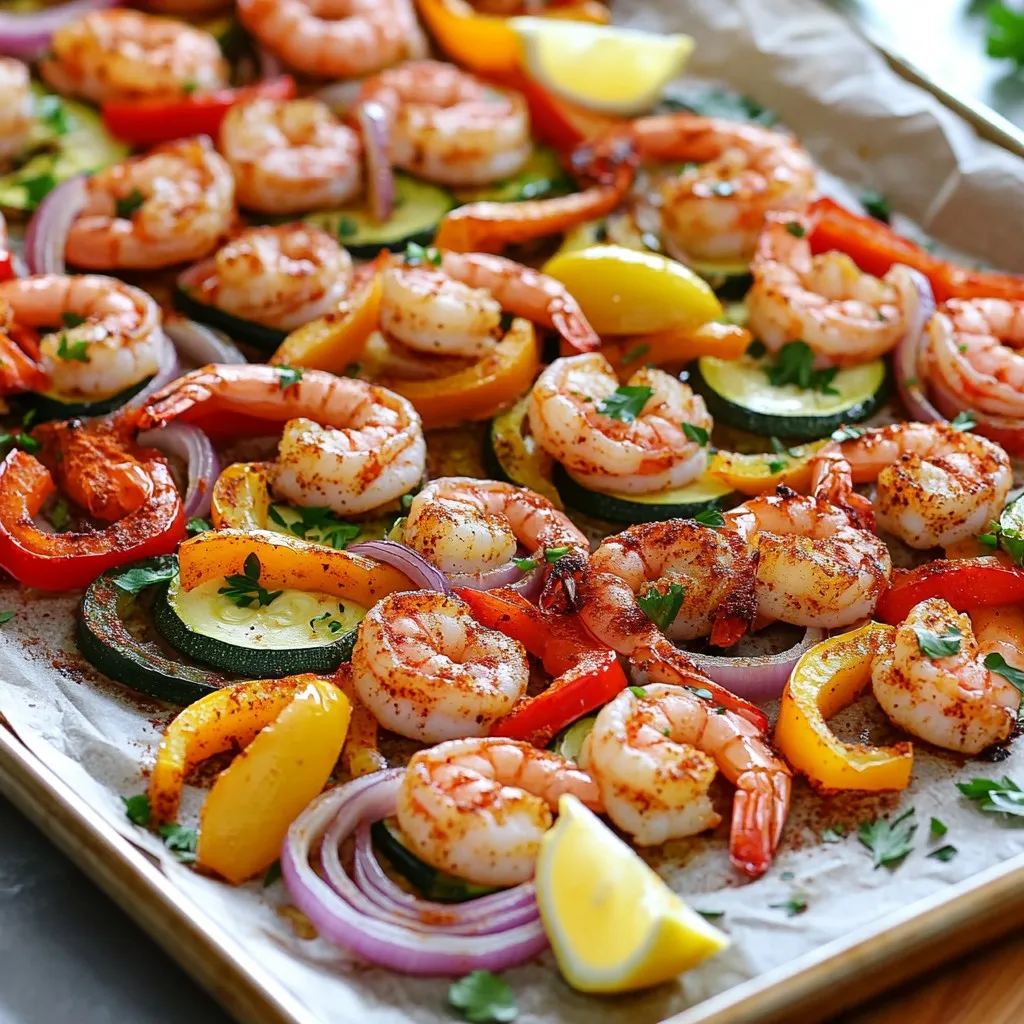
Sheet Pan Cajun Shrimp & Veggies Easy Flavorful Meal
Looking for a quick, tasty meal? My Sheet Pan Cajun Shrimp & Veggies is easy to prepare and loaded with flavor. With just a few

Instant Pot Lasagna Soup Flavorful and Simple Recipe
Are you ready to enjoy a warm bowl of comfort? My Instant Pot Lasagna Soup recipe is quick, tasty, and packed with flavor. You can
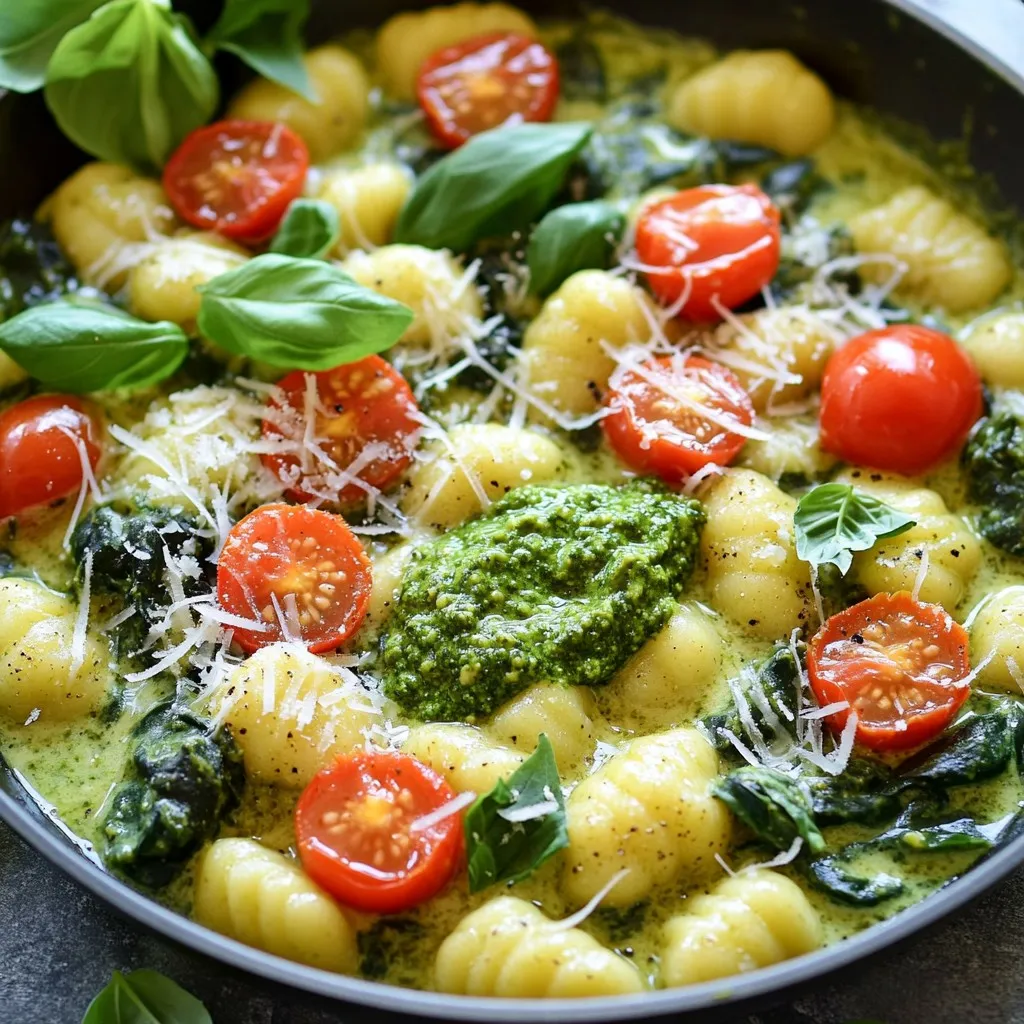
One-Pot Creamy Pesto Gnocchi Simple and Tasty Meal
Are you craving a delicious meal that’s quick and simple? One-Pot Creamy Pesto Gnocchi delivers big flavor with little fuss! In this post, I’ll share

Spicy Garlic Butter Shrimp Tacos Flavorful Feast
Get ready for a treat with my Spicy Garlic Butter Shrimp Tacos! This dish bursts with bold flavors that are sure to please your taste