Dinner
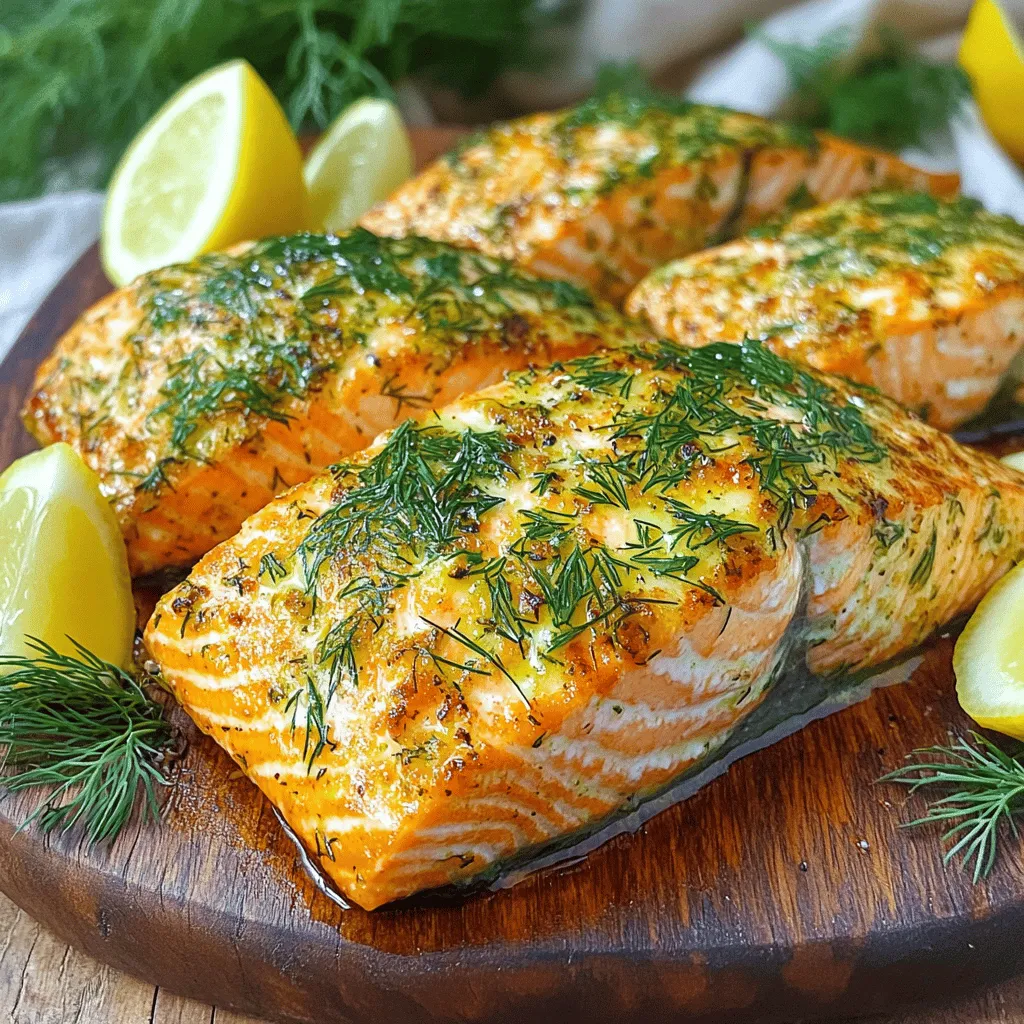
Air Fryer Salmon Crispy and Flavorful Recipe
Looking to make a quick and tasty meal? Air fryer salmon is your answer! This dish is crispy and full of flavor. I’ll guide you
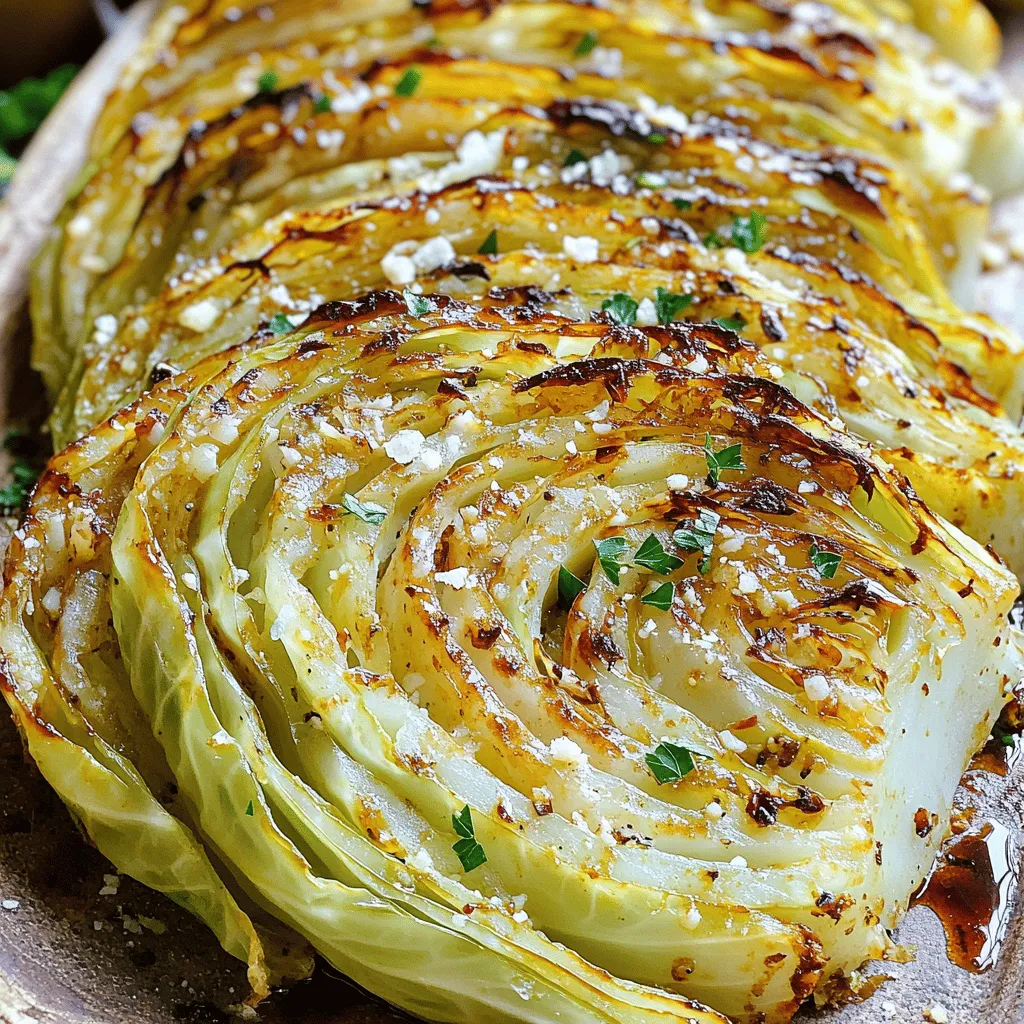
Oven Roasted Garlic Cabbage Steaks Flavorful Delight
Are you ready to discover a new way to enjoy cabbage? In this blog, I’ll show you how to make Oven Roasted Garlic Cabbage Steaks,
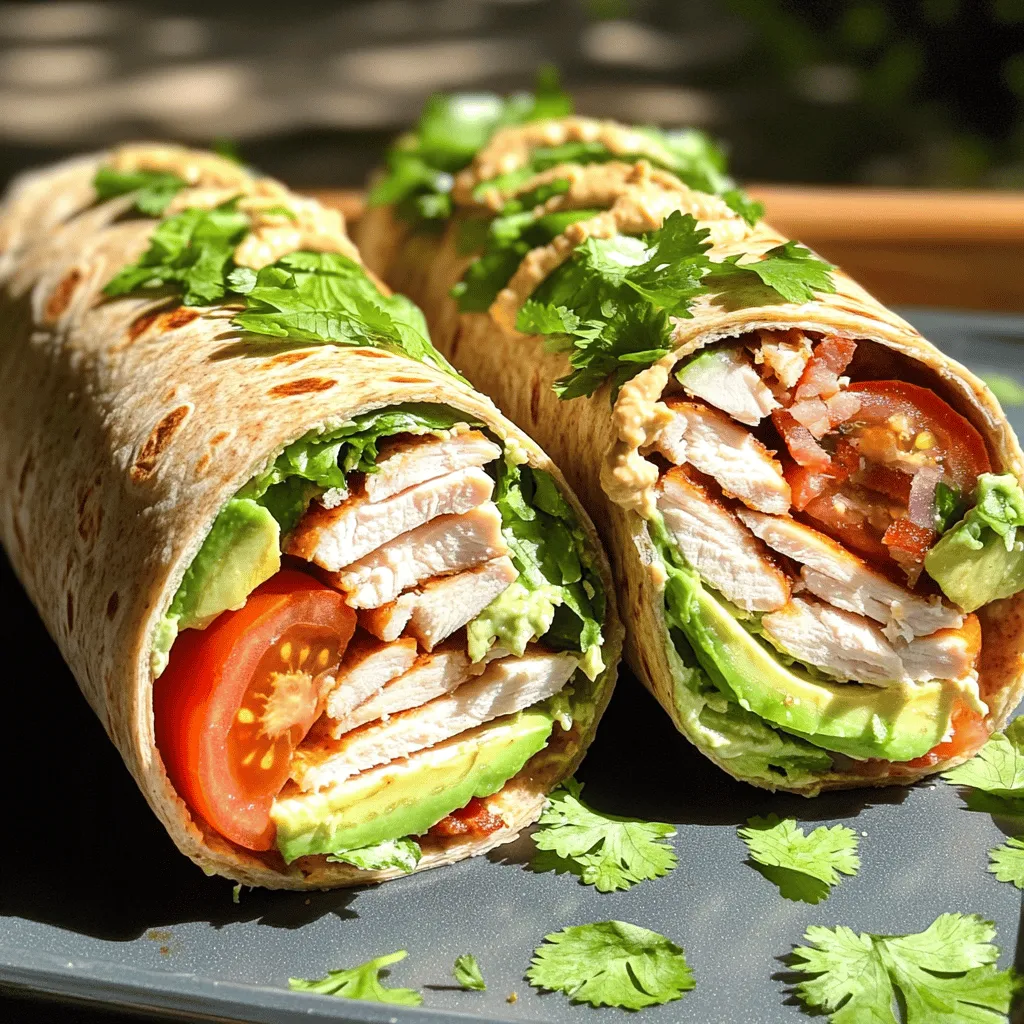
California Turkey Club Wraps Flavorful and Easy Delight
If you’re looking for a quick, tasty meal, California Turkey Club Wraps are a fantastic choice! These wraps combine savory turkey, creamy avocado, and fresh

Savory Smash Burger Tacos Easy to Make at Home
If you crave a fun twist on taco night, let’s dive into Smash Burger Tacos! These tasty treats combine the juicy goodness of smash burgers
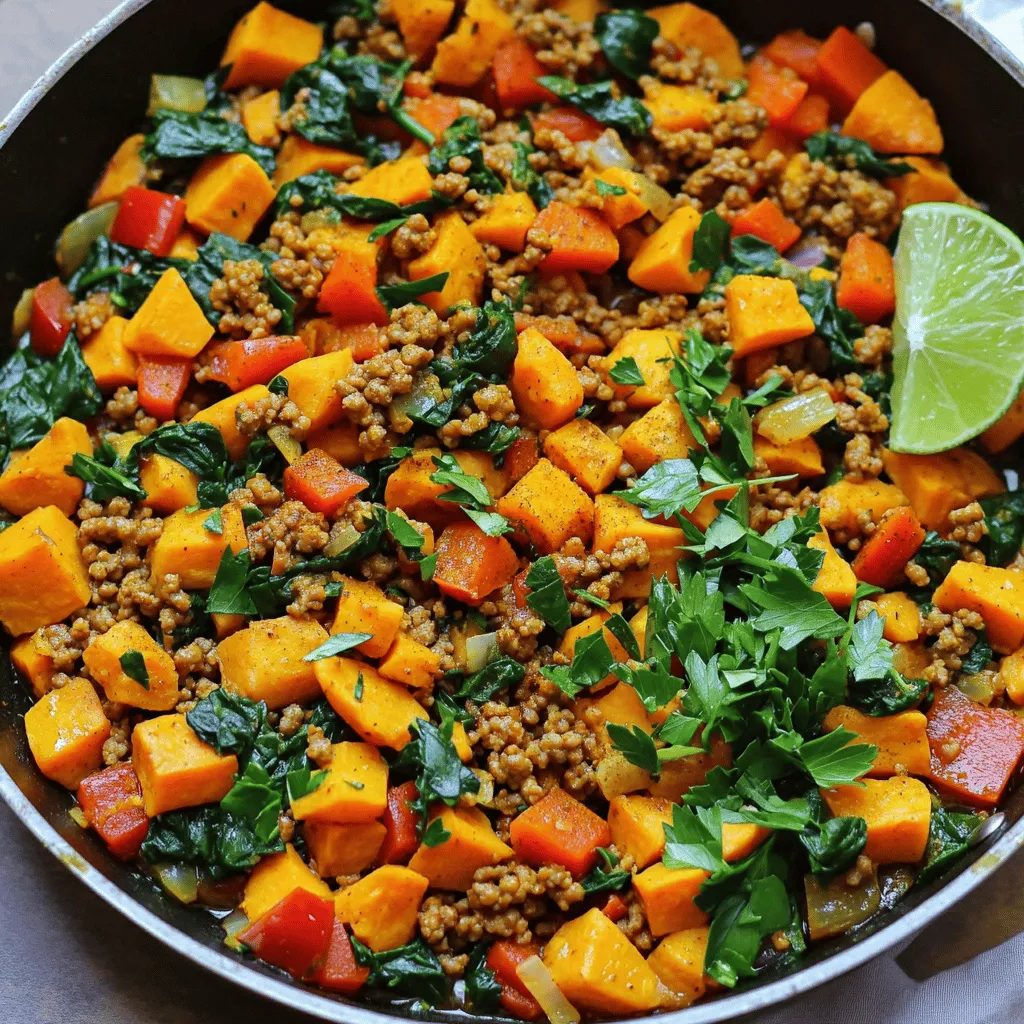
Ground Turkey Sweet Potato Skillet Healthy Delight
Are you looking for a simple, healthy meal that packs flavor? You’ve found it with my Ground Turkey Sweet Potato Skillet. This dish brings together
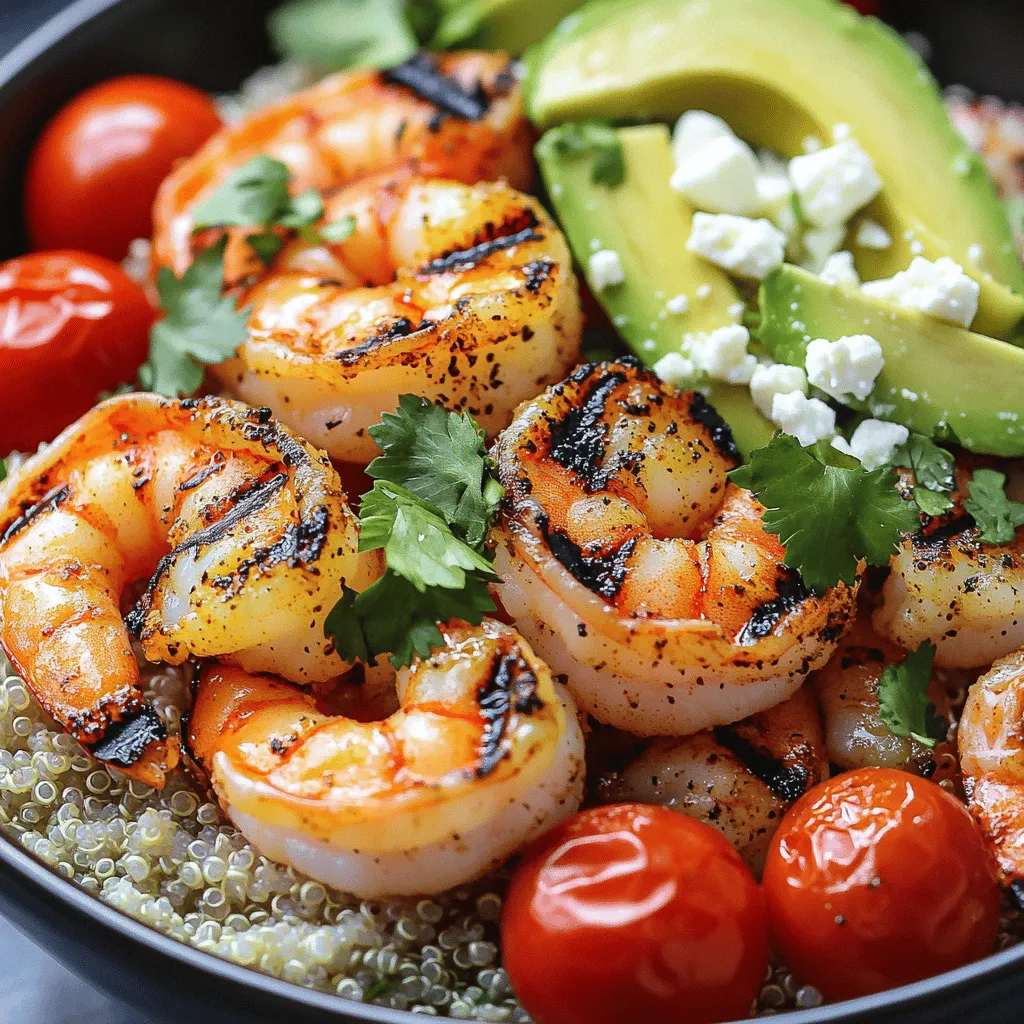
Grilled Shrimp Bowl Flavorful and Fresh Meal Idea
Are you ready to enjoy a fresh and tasty meal? The Grilled Shrimp Bowl is easy to make and full of flavor. I’ll guide you
![Here is what you need for Air Fryer Garlic Butter Steak Bites: - 1 lb filet mignon or sirloin steak, cut into 1-inch cubes - 4 tablespoons unsalted butter, melted - 4 cloves garlic, minced - 1 tablespoon fresh parsley, chopped - 1 teaspoon salt - ½ teaspoon black pepper - 1 teaspoon smoked paprika - 1 tablespoon olive oil - Optional: Fresh lemon wedges for serving Gather these ingredients before you start. The quality of your steak matters. I always choose fresh cuts for the best taste. Filet mignon is tender, while sirloin has great flavor. Both work well with garlic butter. Melted butter is key. It adds richness and helps flavor the meat. Garlic provides a savory aroma that makes every bite special. Fresh parsley gives a pop of color and freshness. Seasoning is important. Salt enhances all the flavors. Black pepper adds a nice kick. Smoked paprika brings a hint of smokiness, making the dish unique. Finally, the olive oil helps to prevent sticking in the air fryer. You can serve with lemon wedges for a zesty touch. These ingredients come together to make a savory treat you won't forget. For the complete recipe, check out the [Full Recipe]. To start, I mix the garlic butter ingredients. In a medium bowl, I combine: - 4 tablespoons unsalted butter, melted - 4 cloves garlic, minced - 1 tablespoon fresh parsley, chopped - 1 teaspoon salt - ½ teaspoon black pepper - 1 teaspoon smoked paprika I stir this mixture well. Next, I add the steak cubes, about 1 lb of filet mignon or sirloin, cut into 1-inch pieces. I pour the garlic butter over the steak. I toss gently to coat each piece. I let the steak marinate for 15 to 30 minutes. This step is key for rich flavor. Before frying, I preheat the air fryer to 400°F (200°C). This takes about 5 minutes. While it heats, I lightly drizzle the air fryer basket with olive oil to stop sticking. Then, I arrange the marinated steak bites in a single layer in the basket. I make sure not to overcrowd them, so they cook evenly. I air fry the steak bites for 8-10 minutes. Halfway through, I shake the basket to promote even cooking. For medium-rare, I check the internal temperature. It should reach around 130°F (54°C). Once done, I remove the steak bites from the air fryer and let them rest for a few minutes. Resting helps keep them juicy. I serve them warm, garnished with extra parsley and fresh lemon wedges for a zesty kick. For the complete method and more details, check the Full Recipe. Marinating your steak bites is key to great taste. I suggest a marinating time of 15 to 30 minutes. This lets the flavors soak into the meat. If you are short on time, even a quick 10-minute marinate helps. Do not overcrowd the air fryer. This step is very important. If you put too many steak bites in at once, they won't cook evenly. Cook in batches if needed. This ensures each piece gets that nice, crispy texture. To check steak doneness, use a meat thermometer. For medium-rare, the internal temp should be 130°F (54°C). If you like it more done, adjust the cooking time. Add a couple of minutes for medium or well-done. Everyone has their own taste. If you prefer a bit more char, you can increase the cook time slightly. Just keep an eye on it to prevent overcooking. Garnish your steak bites with fresh parsley. This adds a pop of color and flavor. A squeeze of fresh lemon juice also brightens the dish. For sides, consider serving with roasted veggies or a fresh salad. Both pair well with the rich flavors of the steak. You can find the full recipe for Air Fryer Garlic Butter Steak Bites in the earlier section. Enjoy your meal! {{image_2}} You can switch up the steak cut for this dish. While filet mignon or sirloin works best, you can try ribeye, flank, or even chuck steak. Each cut offers a unique flavor and texture. Ribeye gives more marbling, making it juicier. Flank steak is leaner but still tender if cooked right. Chuck steak needs a bit more care, but it can be tasty too. Feel free to get creative with your seasonings! You can add a pinch of cayenne for heat or rosemary for a fresh taste. Try using garlic powder instead of fresh garlic for convenience. Mixing in a bit of Worcestershire sauce can add a savory depth. You can also play with spices like cumin or coriander for a twist. The options are endless! If you are on a low-carb or keto diet, this recipe fits right in. The steak and butter are great for low-carb plans. You can skip any added sugar or breading and stick with the meat and spices. For gluten-free options, ensure all your ingredients are gluten-free. Most spices and herbs are safe, but it's always good to check labels. Enjoy your steak bites without worry! To keep your steak bites fresh, store them in an airtight container. Place a paper towel inside to absorb excess moisture. This helps keep the steaks tender. They can last in the fridge for up to three days. When ready to eat, just take out what you need! To reheat the steak bites, use your air fryer. Set it to 350°F (175°C). Heat the bites for about 3-5 minutes. This keeps them juicy and warm. You can also use a skillet on low heat. Just add a little butter to keep them flavorful. Avoid using a microwave, as it can dry them out. If you want to save some for later, freezing works great! First, let the steak bites cool completely. Then, place them in a freezer-safe bag and remove as much air as you can. They can be frozen for up to three months. When you're ready to enjoy them, thaw in the fridge overnight. Reheat using your air fryer or skillet for the best taste. Yes, you can use frozen steak. However, thawing it first gives better results. It helps the meat cook evenly and absorb flavors. If you use frozen steak, let it thaw overnight in the fridge. This way, your garlic butter will stick well. To keep your steak bites moist, marinate them well. The garlic butter mix adds flavor and moisture. Don't skip the marinating step. Also, avoid overcooking. Check the steak's doneness using a meat thermometer. Aim for 130°F for medium-rare. Rest the steak bites before serving to lock in the juices. Scaling up is easy! Just multiply the ingredients by the number of servings you need. For example, for six servings, use 2 lbs of steak and double the butter and spices. Make sure to cook in batches if your air fryer is small. This helps each batch cook evenly. For the full recipe, check out the instructions above. This post shared a simple way to make tasty steak bites. We covered ingredients, preparation, cooking, and tips for best flavor and doneness. Remember to marinate well and don’t overcrowd your air fryer. You can also try different cuts and spices to suit your taste. Store leftovers properly to enjoy them later. These steak bites are easy, fun, and perfect for any meal. Happy cooking!](https://tossedrecipes.com/wp-content/uploads/2025/05/95d6be5b-7a39-46ff-a013-ea0ac29c5957.webp)
Air Fryer Garlic Butter Steak Bites Savory Treat
Looking for a quick and tasty meal? These Air Fryer Garlic Butter Steak Bites are the perfect solution! You’ll love the rich flavor of garlic

Burger Bowls Flavorful and Easy Meal Prep Idea
Looking for a simple yet delicious meal prep idea? Burger bowls might be just what you need! Packed with flavor and easy to customize, these
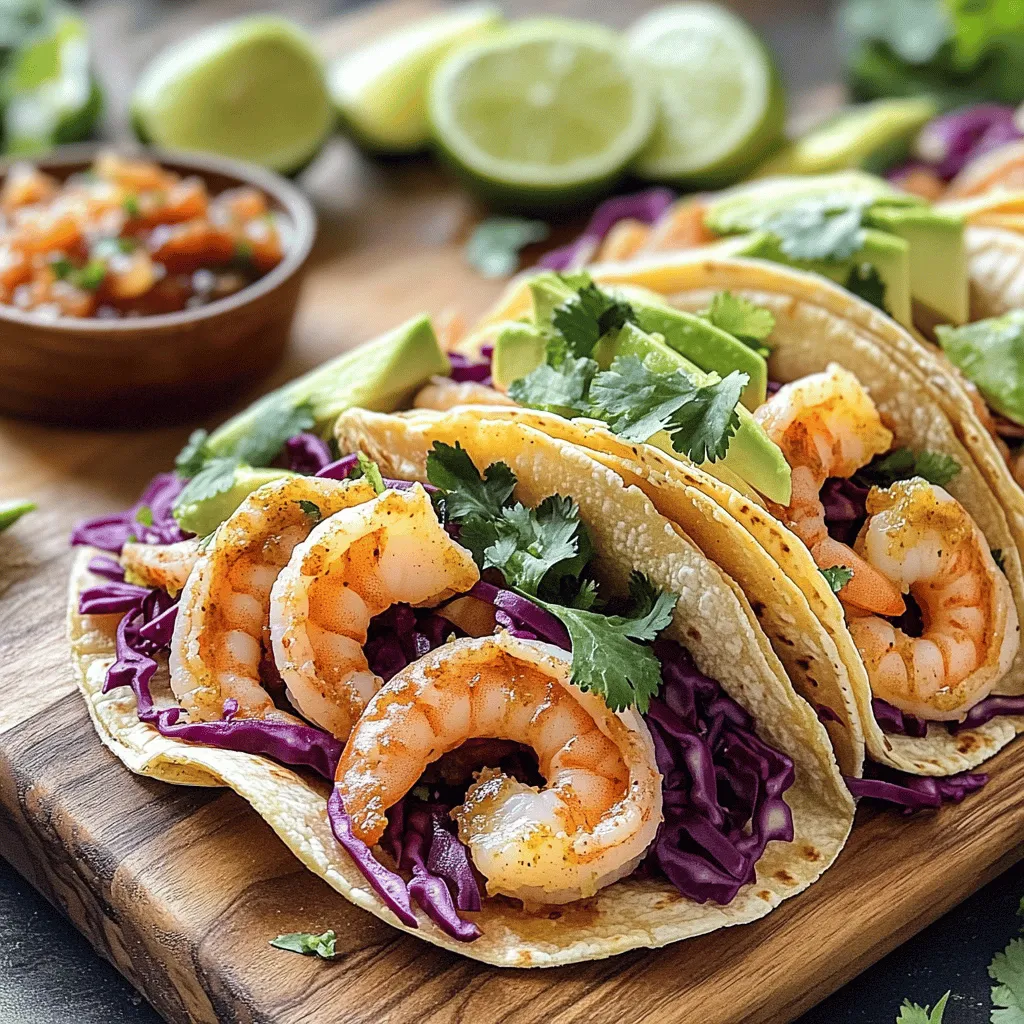
Zesty Cilantro Lime Shrimp Tacos Flavorful Delight
Are you ready to spice up your dinner with Zesty Cilantro Lime Shrimp Tacos? These tacos are bursting with fresh flavors and are super easy
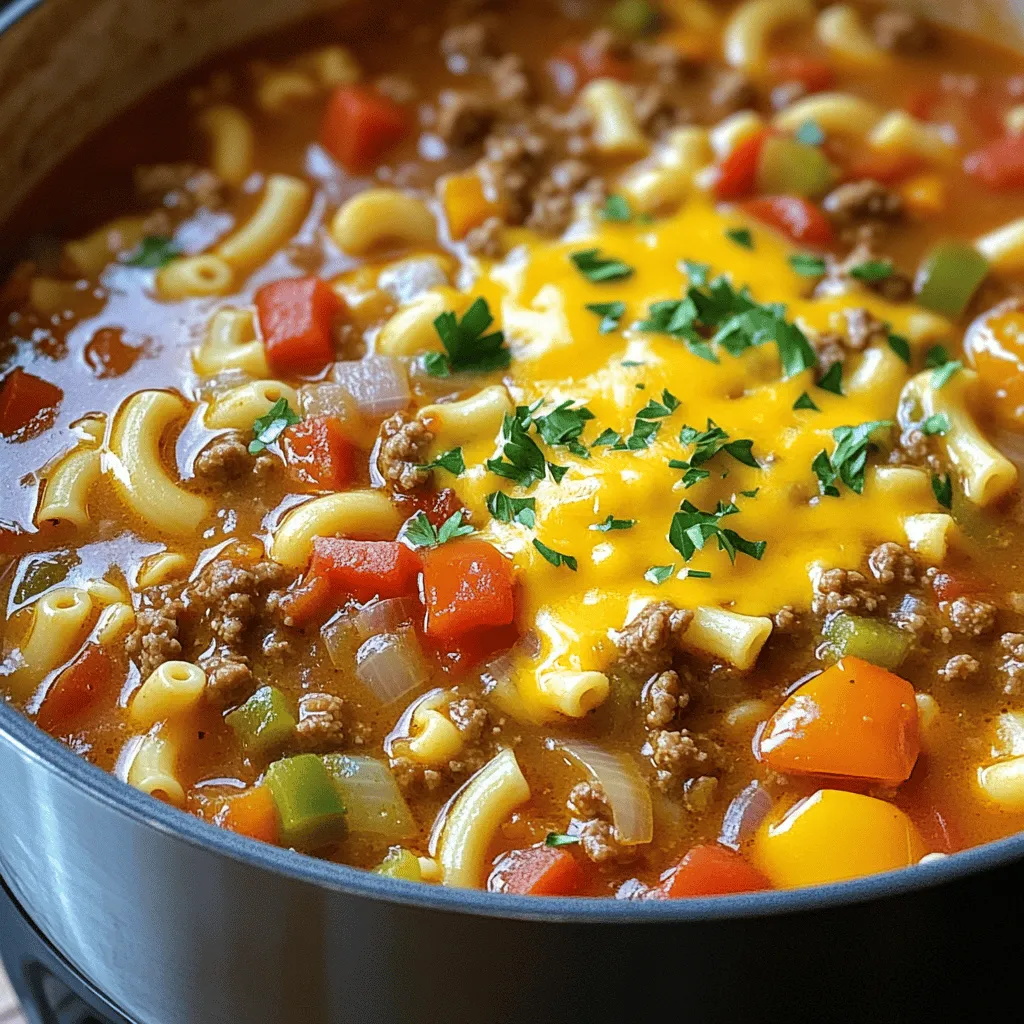
Easy Grandma’s Goulash Comforting and Simple Dish
Looking for a dish that warms the heart? Easy Grandma’s Goulash is your answer. This simple, comforting recipe brings family together at the dinner table