Dinner
![To make your shrimp and avocado bowls with mango salsa, you need fresh ingredients. Here’s a detailed list: - 1 pound shrimp, peeled and deveined - 2 ripe avocados, diced - 1 cup cooked quinoa - 1 ripe mango, diced - 1/2 red onion, finely chopped - 1 red bell pepper, diced - 1 lime, juiced - 2 tablespoons olive oil - 1 tablespoon honey - 1 teaspoon cumin - Salt and pepper to taste - Fresh cilantro for garnish Each ingredient plays a key role in the dish. The shrimp gives a nice protein boost. Avocados add creaminess and healthy fats. Quinoa serves as a hearty base. Mango brings sweetness and a tropical flair. Red onion and bell pepper offer crunch and color. Lime juice brightens flavors, while honey balances sweetness with spice. Finally, cumin adds a warm depth, and cilantro finishes the dish with fresh notes. For the full recipe, check [Full Recipe]. Using fresh ingredients ensures great taste and health benefits. Enjoy the vibrant colors and flavors as you prepare this dish! First, we will marinate the shrimp. Place your shrimp in a medium bowl. Add olive oil, cumin, salt, and pepper. Mix well to coat each shrimp. Let them sit for about 15 minutes. This helps the shrimp absorb all the flavors. Next, toss the shrimp with the seasonings. You want each piece to be covered. This simple step makes a big difference in taste. Now, let’s make the mango salsa. In a separate bowl, combine diced mango, red onion, and red bell pepper. These colors will brighten your dish. Drizzle lime juice over the mixture. Add honey for sweetness. Mix gently so you don't mash the mango. Set the salsa aside. Allowing it to sit lets the flavors meld together. It’s time to cook the shrimp. Heat a non-stick skillet over medium heat. Once hot, add the marinated shrimp. Cook for 2-3 minutes on each side. You'll know it's done when the shrimp turn pink and opaque. Remove the shrimp from heat when they are ready. Now we assemble the bowls. Start with a scoop of cooked quinoa at the bottom. This will be your base. Next, add diced avocado on top of the quinoa. Then, layer the cooked shrimp over the avocado. Finally, generously spoon the mango salsa on top. This adds color and flavor. To finish, sprinkle fresh cilantro over each bowl. This adds a pop of green and fresh flavor. For serving, you can enjoy these bowls right away. They are perfect for lunch or dinner. You can also serve them with lime wedges for extra zest. Enjoy your tropical treat! To avoid overcooking shrimp, watch the color. Cook until they turn pink and opaque. This usually takes about 2-3 minutes on each side. If you leave them too long, they can get rubbery. Flavor enhancement is key. Marinate shrimp with olive oil, cumin, salt, and pepper. Let them soak for at least 15 minutes. The longer they sit, the more flavor they absorb. Choosing ripe mangoes is important. Look for mangoes that yield slightly to pressure. They should feel soft but not mushy. If you can’t find ripe mangoes, you can use peaches or pineapples instead. For variations, mix in diced jalapeños for heat or add chopped cilantro for freshness. You can also swap in red onion for green onions for a different taste. Cooking quinoa perfectly is simple. Rinse it well to remove bitterness. Use a 2:1 water-to-quinoa ratio when cooking. Bring it to a boil, then lower the heat and cover. Let it simmer for about 15 minutes. If you want alternative base options, try brown rice or cauliflower rice. Both work well and add unique flavors to the bowl. For the full recipe, check out the recipe section above. {{image_2}} You can switch shrimp for chicken. Cook the chicken the same way as shrimp. Just marinate it with olive oil, cumin, salt, and pepper. This gives a nice flavor. Chicken holds up well in this dish. If you are vegetarian, tofu is a great choice. Use firm tofu and press it to remove excess water. Cut it into cubes and marinate like the shrimp. Cook it until golden brown for a tasty option. Feel free to add greens to your bowl. Spinach or kale works well. They add color and nutrients. You can also use beans, like black or kidney beans. Beans boost protein and fiber, making the dish heartier. For more fruity flavors, try adding pineapple or papaya. These fruits pair nicely with the mango salsa. They add sweetness and brightness to your bowl. A lime vinaigrette is a great dressing choice. Mix lime juice, olive oil, and a bit of honey. This adds a zesty kick to your dish. If you like heat, try a spicy sauce. Sriracha mixed with lime juice creates a hot and tangy flavor. Drizzle it over your bowl for a fun twist. Try these variations to keep your shrimp and avocado bowls exciting. For the full recipe, check the earlier section. To keep your shrimp bowls fresh, store them in airtight containers. This helps prevent air from getting in and keeps flavors strong. I recommend placing the shrimp, avocado, and salsa in separate containers. This way, the avocado stays creamy and does not brown. You can refrigerate the leftovers for up to 2 days. If you notice any browning on the avocado, sprinkle it with lime juice to slow down the process. Can you freeze the assembled bowls? It’s best not to freeze the entire bowl. The avocado and salsa do not freeze well and can lose flavor and texture. Instead, you can freeze the cooked shrimp and quinoa separately. For freezing tips, place the shrimp in a freezer-safe bag, removing as much air as possible. For quinoa, let it cool before placing it in a container. It can last in the freezer for up to 3 months. When you're ready to enjoy, thaw them overnight in the fridge and reheat before serving. This way, you get the best taste and texture from your shrimp and avocado bowls. For the full recipe, check out the recipe section. Yes, you can make these bowls ahead of time. For meal prep, cook the shrimp and quinoa first. Then, store them in separate containers. This keeps each part fresh. I recommend making the mango salsa on the day you plan to eat. The flavors are best when fresh. For storage, use airtight containers. Keep the shrimp and quinoa in the fridge for up to three days. If you want to keep them longer, freeze the shrimp and quinoa. They can last up to three months in the freezer. Just remember to thaw them overnight in the fridge before use. If you don’t have quinoa, you have options. Try brown rice or farro for a hearty base. Both are good choices. You can also use cauliflower rice for a lighter option. It’s low in carbs and has a nice texture. Other base ideas include mixed greens or even whole-grain pasta. Each option brings a unique flavor and feel to your bowl. To ripen an avocado faster, place it in a paper bag. This traps the ethylene gas, which helps it ripen. You can also add a ripe banana or apple to the bag for extra speed. Check the avocado often. It should feel slightly soft when ripe. If you need it right away, you can use the oven. Wrap it in foil and heat it at 200°F for 10-15 minutes. Just know this method can change the taste and texture a bit. This blog post guides you through creating delicious shrimp and avocado bowls. You learned about the key ingredients, from shrimp to mango. I shared step-by-step instructions, showing how to prepare, cook, and assemble the bowls. You also discovered tips for perfecting your dish and variations to suit your taste. Finally, storing leftovers and meal prep tips help you enjoy these bowls longer. Explore these ideas, and let your creativity shine in the kitchen! Enjoy your cooking adventure!](https://tossedrecipes.com/wp-content/uploads/2025/05/49bf2574-5ce5-4353-8224-604ff519c90e.webp)
Savory Shrimp and Avocado Bowls with Mango Salsa
Get ready to dive into a delicious meal with my Savory Shrimp and Avocado Bowls with Mango Salsa! This dish is a vibrant blend of
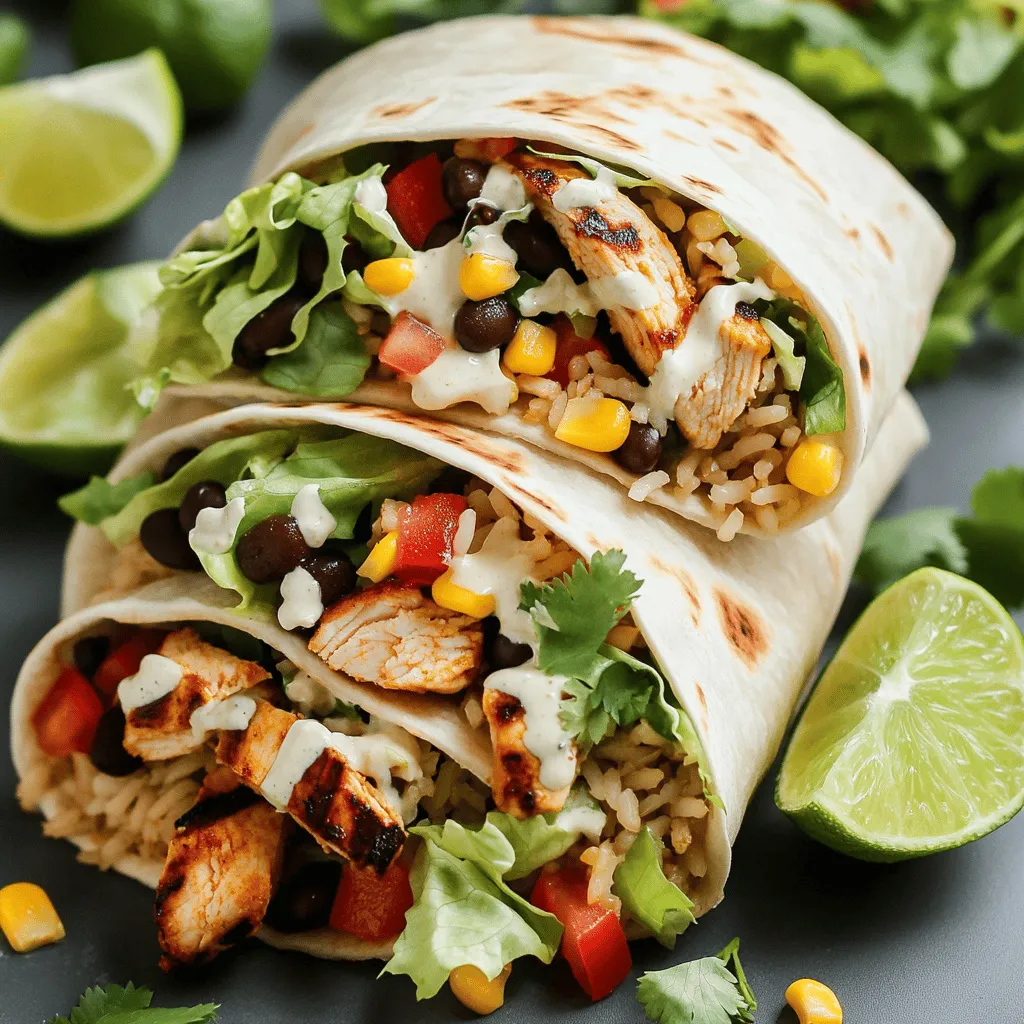
Easy Chipotle Ranch Grilled Chicken Burrito Delight
Looking for a tasty meal that’s quick and easy? You’re in the right place! My Easy Chipotle Ranch Grilled Chicken Burrito Delight is packed with
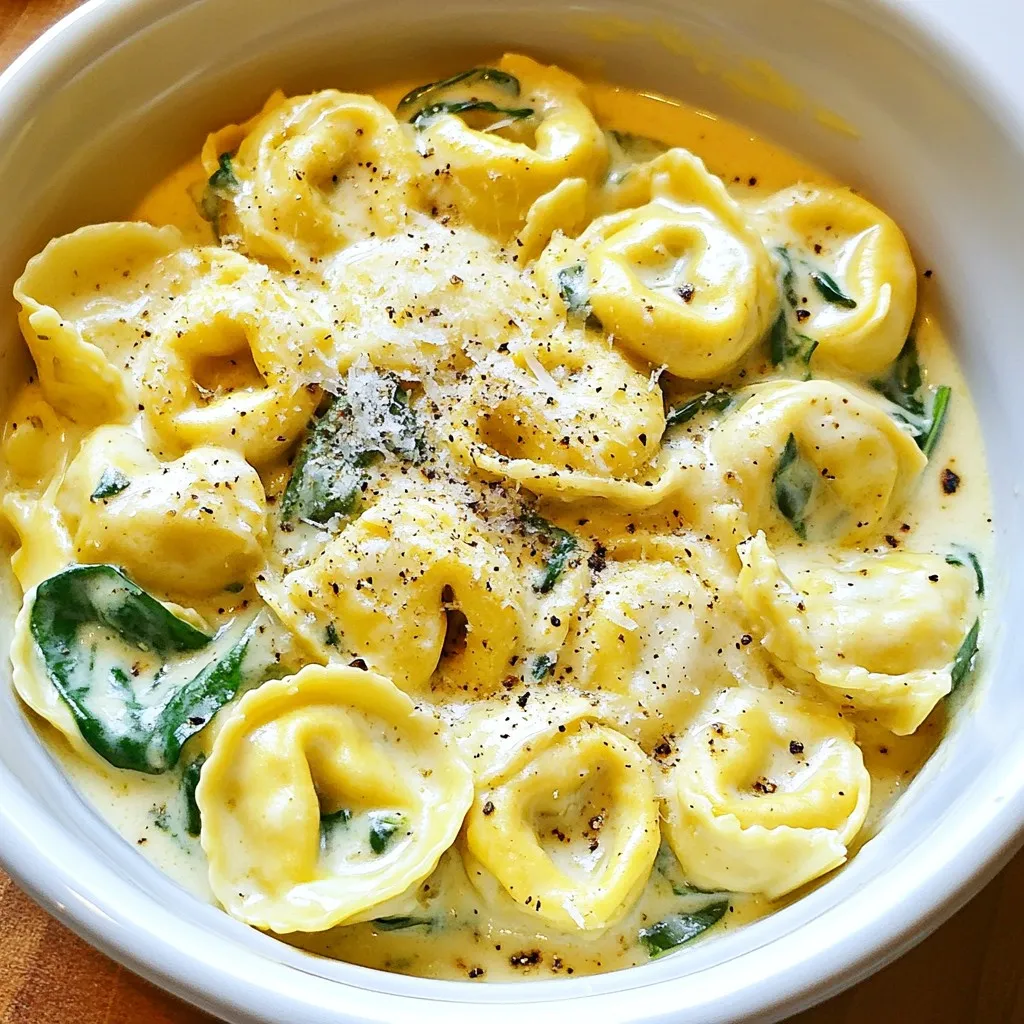
One-Pot Spinach Artichoke Tortellini Creamy Dish
Are you ready to whip up a delicious meal in no time? This One-Pot Spinach Artichoke Tortellini is creamy, rich, and oh-so-simple! With just a
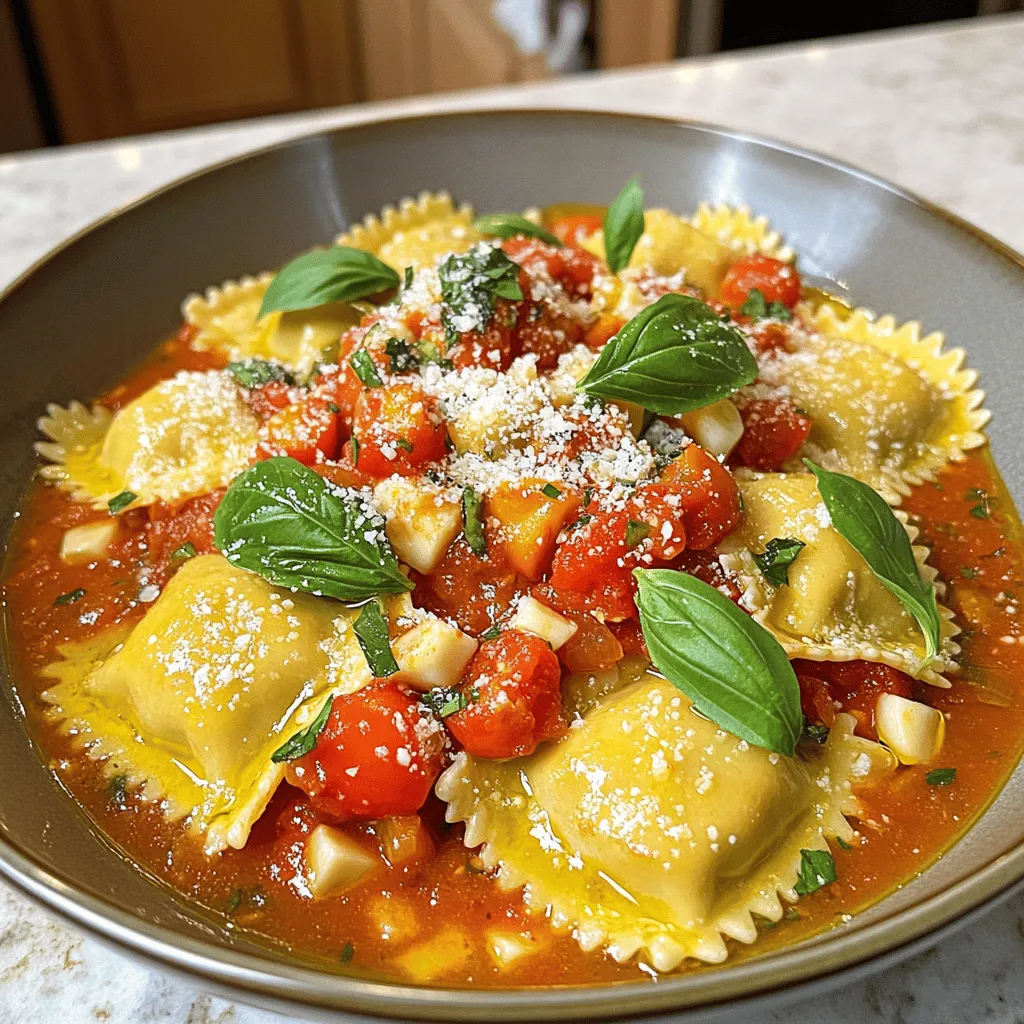
Delicious Ravioli with Fresh Tomatoes Easy Recipe
Craving a simple yet delicious dish? You’ll love this easy recipe for ravioli with fresh tomatoes! With just a few ingredients like ripe tomatoes, garlic,

The Best Easy Ricotta Stuffed Shells Tasty Recipe
Are you ready to impress your family with a delicious dish? Let me show you how to make the best easy ricotta stuffed shells. This
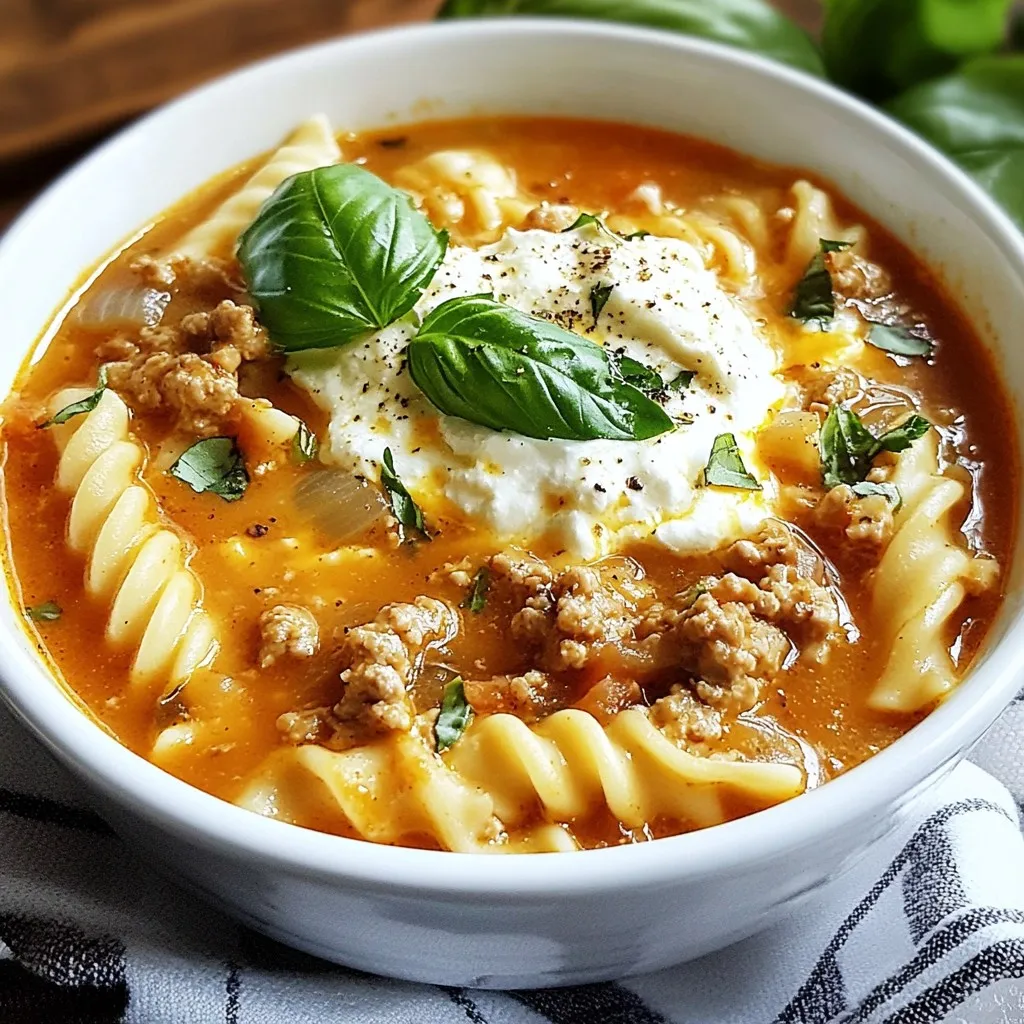
Lasagna Soup Comforting and Hearty Recipe Guide
If you love lasagna but want a cozier twist, you’re in the right place! This Lasagna Soup recipe is packed with rich flavors and hearty
![For the base of this tasty sandwich, you need: - 1 ciabatta roll, sliced in half - 4 slices of fresh mozzarella cheese - 4 slices of ripe tomato - 1/4 cup fresh basil leaves - 2 tablespoons pesto sauce - 1 tablespoon balsamic glaze - 1 tablespoon olive oil - Salt and pepper to taste - 1 teaspoon Italian seasoning These ingredients bring the true Italian flavor to your plate. The ciabatta roll gives a nice crust, while the mozzarella adds creaminess. Fresh tomatoes and basil keep it bright and fresh. You can add your twist to this sandwich. Here are some fun ideas: - Sliced pepperoni or salami for a meaty touch - Roasted red peppers for extra sweetness - Avocado slices for creaminess - Spinach or arugula for a peppery kick Feel free to mix and match these extras. They can change the taste and texture, making it your own. While ciabatta is perfect, you have other options. Here are some great choices: - Focaccia: Soft and fluffy, with a nice flavor. - Sourdough: Tangy taste and a great crust. - Whole wheat: Healthier option with a nutty flavor. Each bread type adds a unique touch. Choose what you love, and enjoy your toasted Italian sandwich even more! For the full recipe, check out the details above. Start with fresh ingredients. Gather everything before you cook. You need: - 1 ciabatta roll, sliced in half - 4 slices of fresh mozzarella cheese - 4 slices of ripe tomato - 1/4 cup fresh basil leaves - 2 tablespoons pesto sauce - 1 tablespoon balsamic glaze - 1 tablespoon olive oil - Salt and pepper to taste - 1 teaspoon Italian seasoning This way, you work fast and stay organized. Wash your basil leaves under cold water. Dry them gently with a paper towel. Slice the tomatoes thinly. This helps them fit well in your sandwich. Take the ciabatta roll. Spread pesto sauce on both cut sides. This adds great flavor. Next, place the mozzarella slices on the bottom half. Then, add the tomato slices on top. Now, sprinkle fresh basil leaves over the tomatoes. Season with salt, pepper, and Italian seasoning. Drizzle balsamic glaze over the basil. This adds a sweet touch. Finally, place the top half of the ciabatta roll on the sandwich. Brush the outside of the sandwich with olive oil. This helps it get crispy. Preheat your panini press or grill pan on medium heat. Place the sandwich inside. If you use a grill pan, press down with a heavy skillet. This gives you a nice toast. Grill for about 4-5 minutes. Look for melted cheese and golden-brown bread. Remove it from heat and let it sit for a minute. Then, slice the sandwich in half. Enjoy the layers of flavor! For more details, check the Full Recipe. To get the best texture for your toasted Italian sandwich, focus on the bread. A ciabatta roll works great because it has a nice crust. When you grill it, the outside gets crisp while the inside stays soft. Brush the outside with olive oil. This step helps it toast well and adds flavor. Grill it until golden brown and the cheese melts. That takes about 4-5 minutes. You need a few tools to make this sandwich. A panini press is ideal for even grilling. If you don’t have one, a grill pan works too. Use a heavy skillet to press the sandwich down. This helps it toast evenly. A sharp knife is also key for slicing the sandwich after grilling. For the best flavor, serve your toasted Italian sandwich with a small side salad. Use mixed greens, olive oil, and balsamic vinegar for a nice balance. You can add more basil leaves on top of the sandwich for a fresh look. Pair it with a light soup for a cozy meal. Enjoy every bite! For the complete recipe, check out the [Full Recipe]. {{image_2}} If you want a veggie twist, try these ideas. You can swap the mozzarella for a thick slice of eggplant. Roasted red peppers also add great flavor. Fresh spinach instead of basil gives a nice crunch. You can even layer on some avocado for creaminess. These swaps keep the dish tasty and light. For meat lovers, there are many great options. Thin slices of prosciutto bring a salty bite. Salami or pepperoni adds a spicy kick. You could also try grilled chicken or turkey. Just make sure to balance the flavors with the cheese and veggies. This will make your sandwich hearty and satisfying. Sauces can change the whole taste of your sandwich. Instead of pesto, try sun-dried tomato spread for a tangy touch. A drizzle of garlic aioli can add a creamy richness. You might even consider a spicy sriracha mayo for heat. These fun sauces give your toasted Italian sandwich a creative flair. For the full recipe, check out the details above! To keep your toasted Italian sandwich fresh, wrap it tightly. Use plastic wrap or foil. Store it in the fridge if you have leftovers. This helps keep the bread from getting soggy. Try to eat your sandwich within two days for the best taste. If you wait too long, the flavors may fade. When you want to eat your sandwich again, reheat it right. Use a panini press or a skillet. This will help make the bread crispy again. If you use a microwave, the bread may get soft. Heat it on low for a few minutes. Check the cheese to see if it melts. A good melt means a tasty sandwich. You can freeze your toasted Italian sandwich for later. First, wrap it well in foil or freezer bags. This keeps out air and protects it from freezer burn. Label it with the date, so you know when you made it. When you want to eat it, thaw it in the fridge overnight. Then, reheat it using the tips above. Enjoy your sandwich anytime! You can use many types of bread. Good options include focaccia, baguette, or sourdough. Each brings a unique taste and texture. Focaccia has a soft, fluffy feel. A baguette adds a nice crunch. Sourdough gives a tangy flavor. Choose what you like best! Yes, you can! Make the sandwich and wrap it well. Keep it in the fridge for up to a day. When you are ready, grill it fresh. This keeps the bread crispy and the cheese melty. Avoid assembling with wet ingredients until grilling to prevent sogginess. You can easily make a gluten-free sandwich. Use gluten-free bread from your local store. There are many tasty options now. Just check for your favorite brand. The filling stays the same. Enjoy all the great flavors without gluten! For the full recipe, check the detailed steps provided earlier. In this blog post, we explored how to create a delicious toasted Italian sandwich. We covered essential and optional ingredients, the best bread types, and step-by-step instructions for perfect grilling. Tips and tricks helped you achieve the best texture and flavor. We also discussed fun variations, how to store leftovers, and answered common questions. Enjoy making this tasty treat your way. With these tips, you can impress your friends and family with your sandwich skills. Happy cooking!](https://tossedrecipes.com/wp-content/uploads/2025/05/e187efee-0fbe-4e31-97c4-a075be6fd239.webp)
Toasted Italian Sandwich Flavorful and Simple Recipe
Are you craving a quick meal that’s full of flavor? The Toasted Italian Sandwich is your answer! In this post, I’ll share a simple recipe
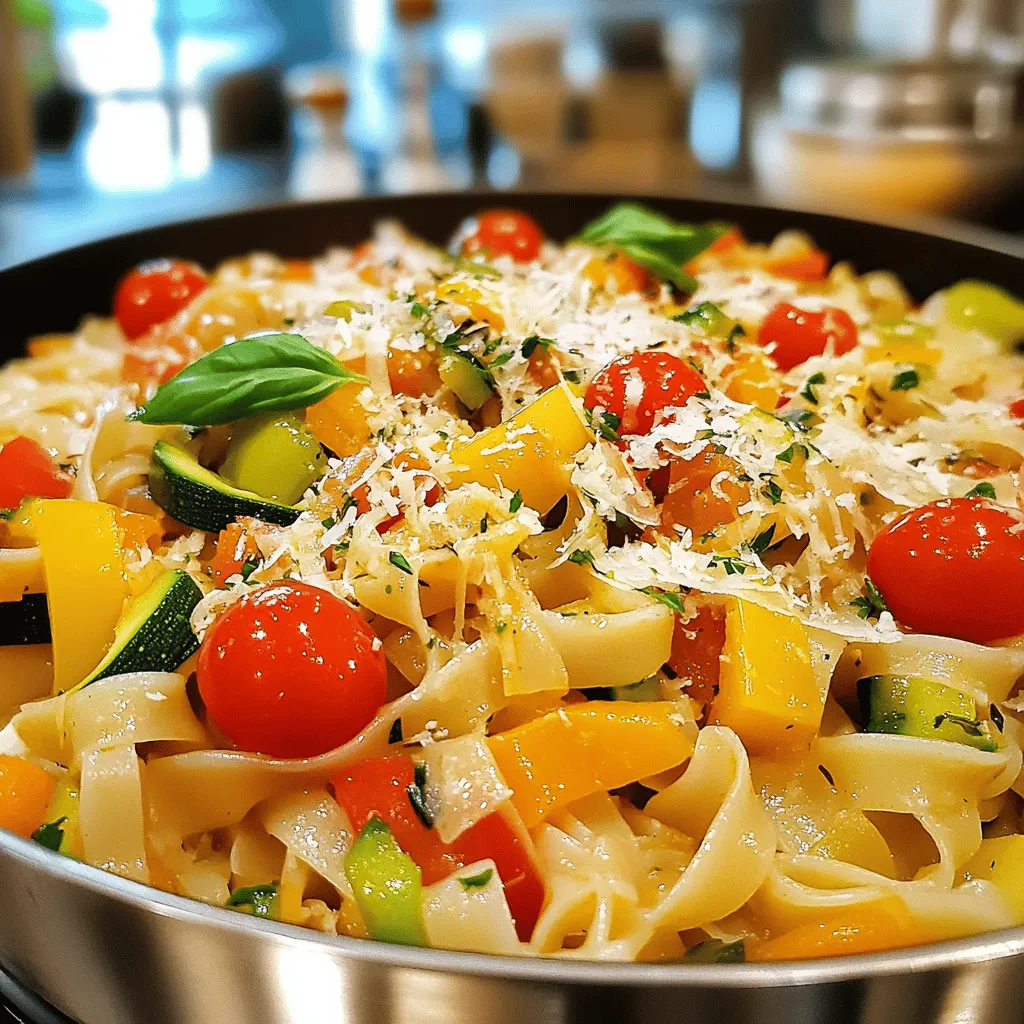
Italian Drunken Noodles Savory and Flavorful Delight
If you’re craving a dish that’s both savory and bursting with flavor, Italian Drunken Noodles is your answer! This recipe brings together delightful ingredients and
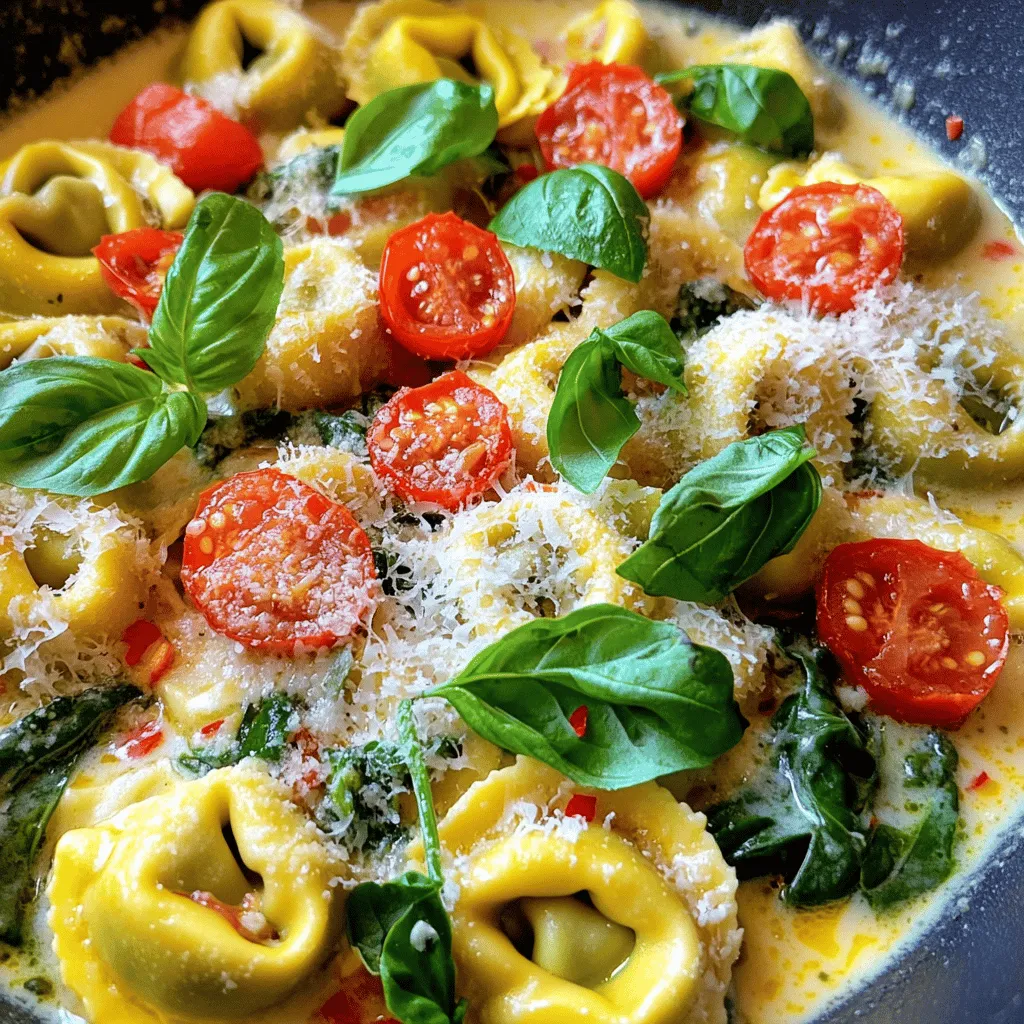
Marry Me Tortellini Irresistible Creamy Delight
If you’re searching for a dish that will win hearts and taste buds, you’ve found it! Marry Me Tortellini is a creamy delight that combines
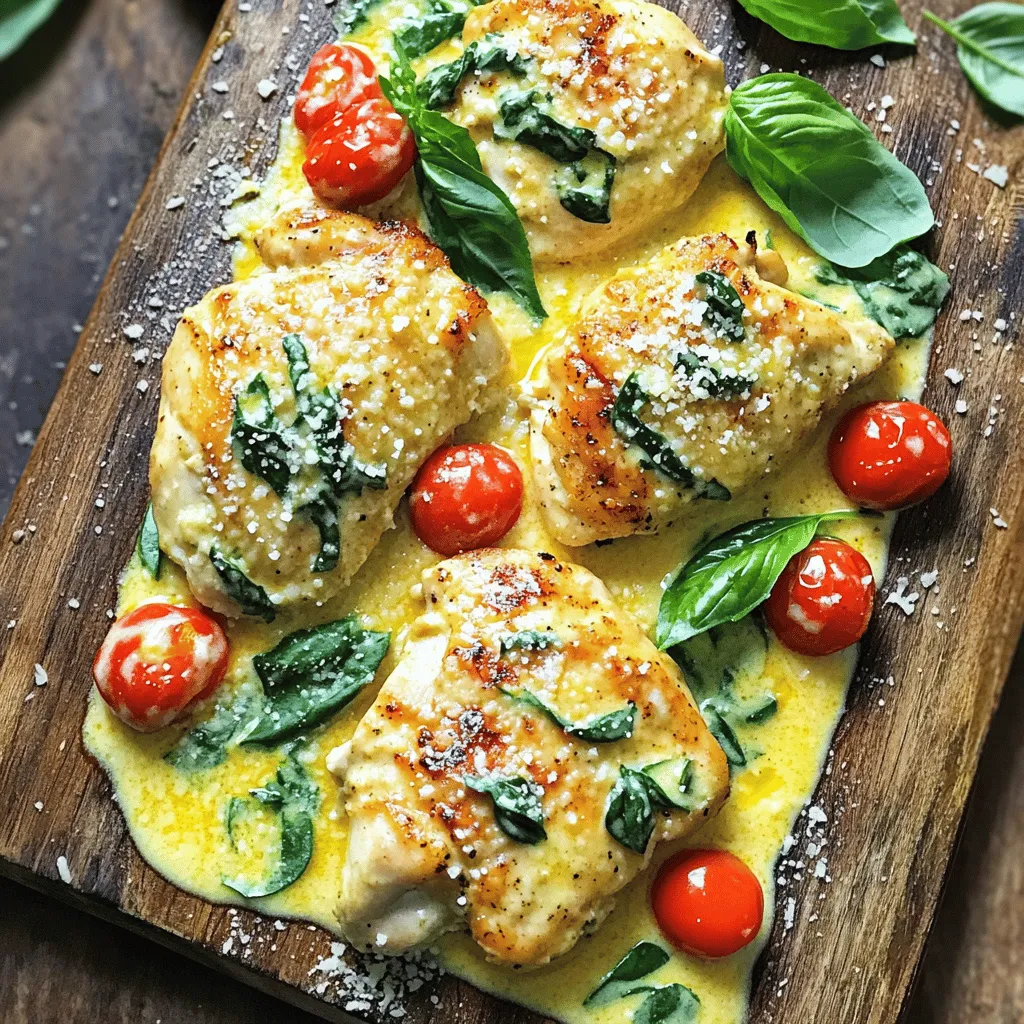
Creamy Garlic Tuscan Chicken Flavorful and Simple Dish
Ready to elevate your dinner game with a dish that’s both rich and simple? In this blog, I’ll guide you through making Creamy Garlic Tuscan