Dinner
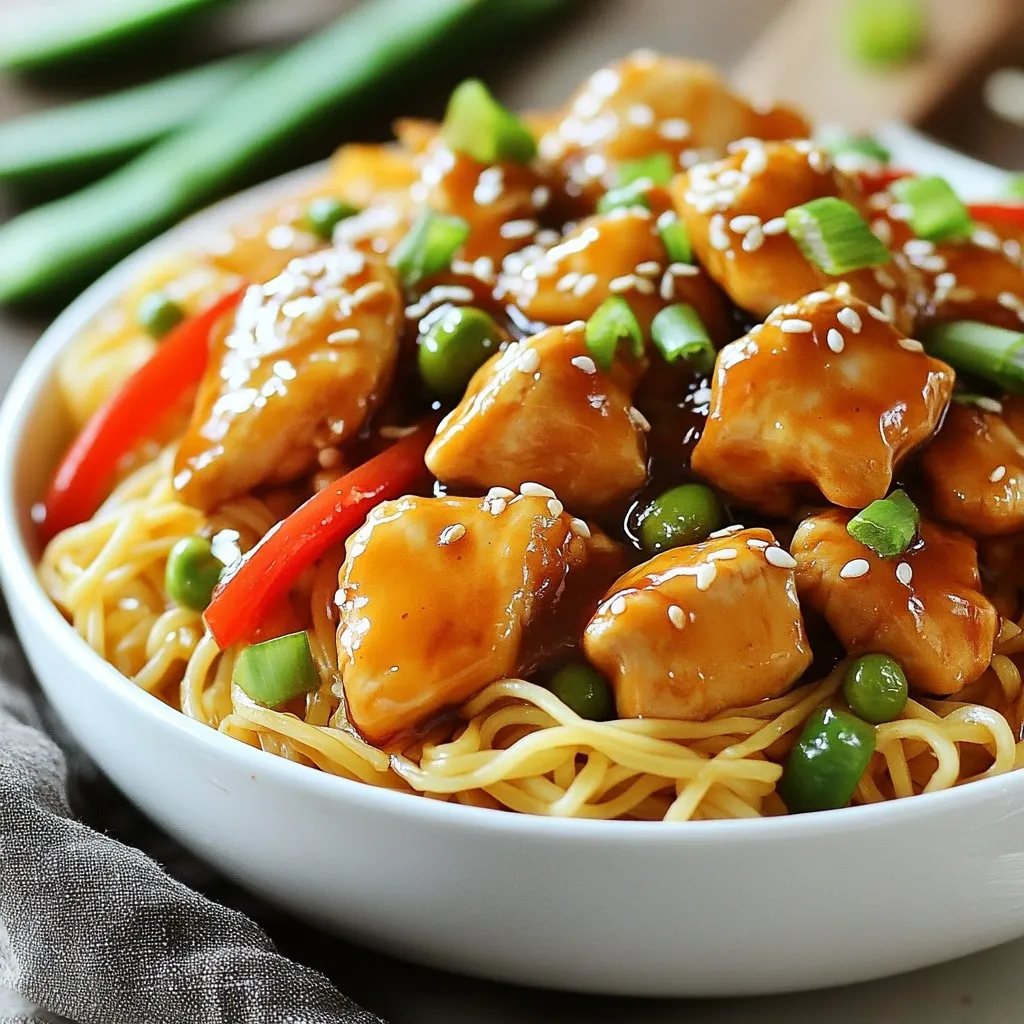
Savory Sticky Garlic Chicken Noodles Delight
Are you ready to enjoy a delightful meal that’s both simple and bursting with flavor? Join me as we dive into the world of Sticky
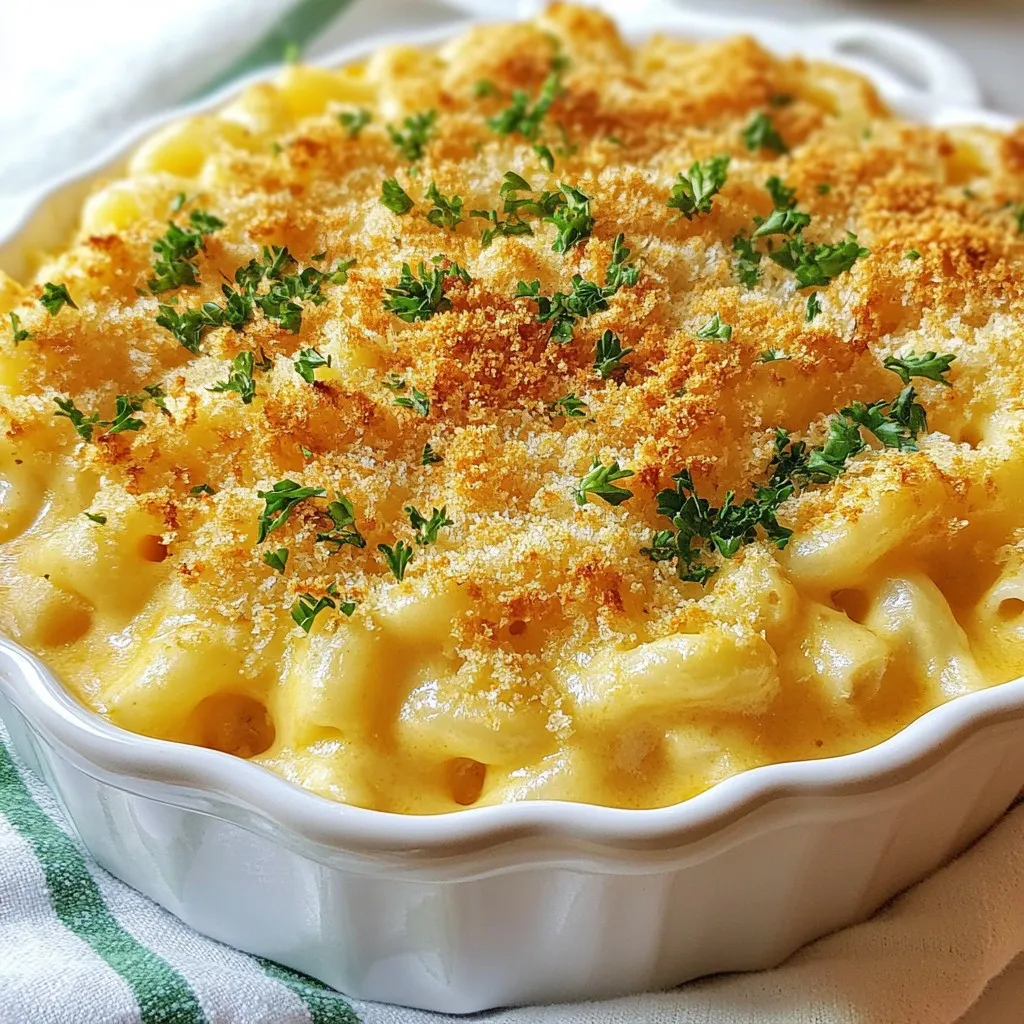
Ultra Creamy Baked Mac and Cheese Blissful Dish
Welcome to Ultra Creamy Baked Mac and Cheese Blissful Dish! If you crave rich, cheesy goodness that warms your soul, you’re in the right place.
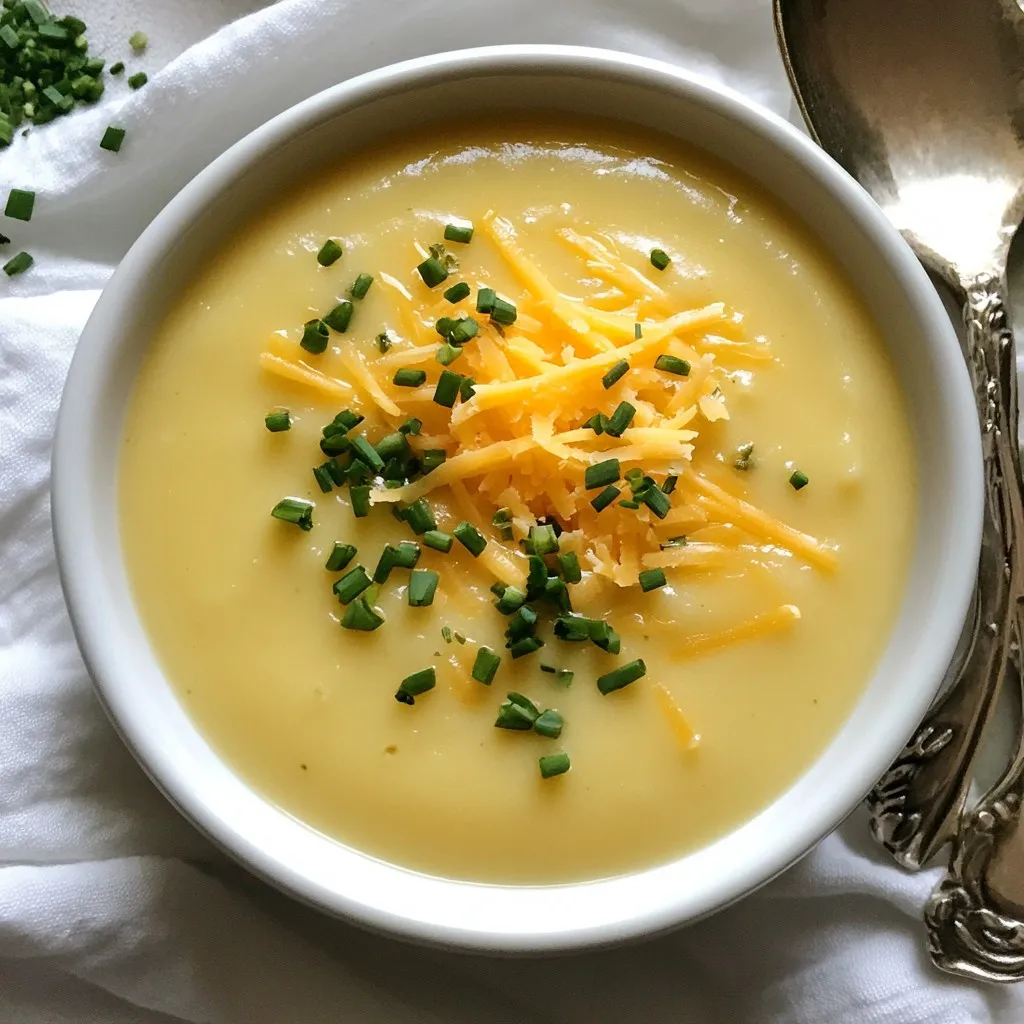
Cheddar Garlic Herb Potato Soup Comforting and Creamy
When the chill sets in, nothing warms you up like a bowl of Cheddar Garlic Herb Potato Soup. This creamy delight combines the rich flavors
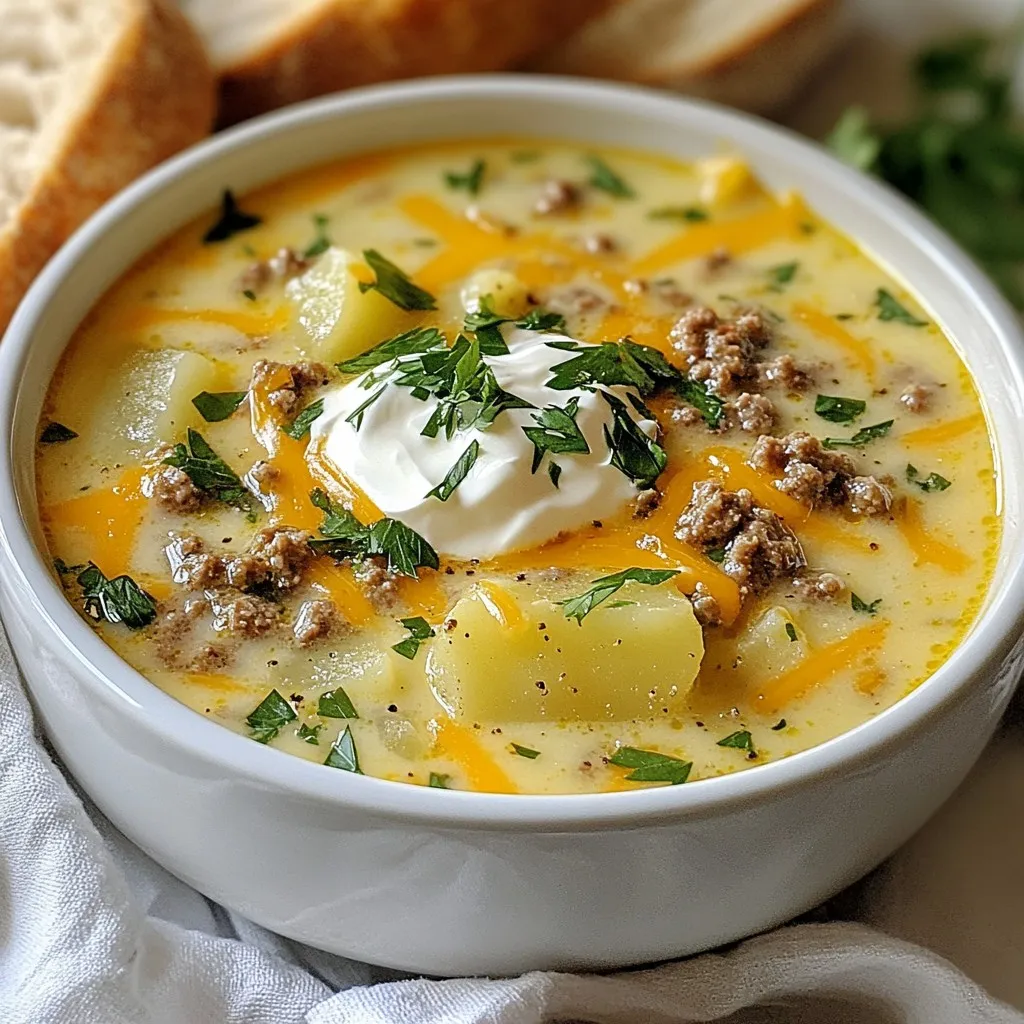
Cheeseburger Soup Tasty and Hearty Comfort Meal
Are you craving a warm, cheesy delight? Look no further than cheeseburger soup! This dish brings the classic flavors of a cheeseburger into a creamy,
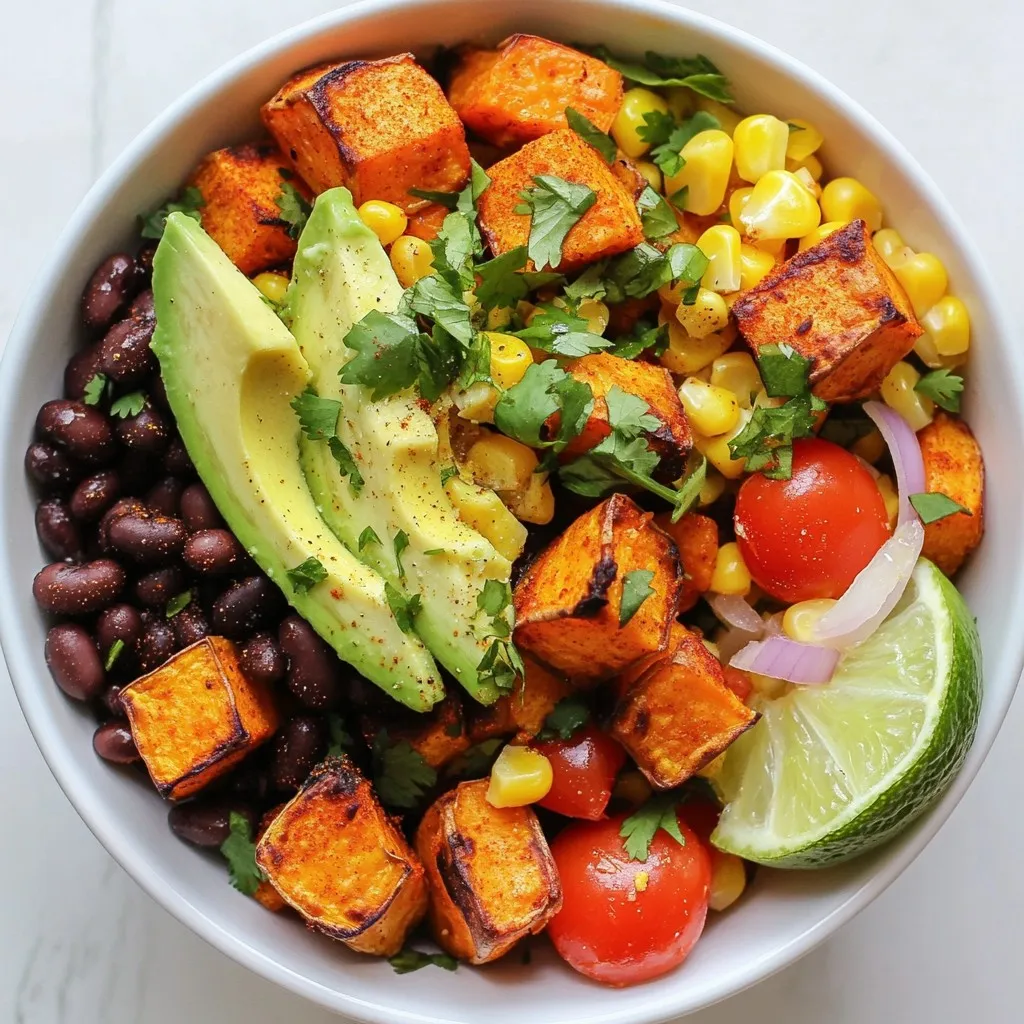
Savory Sweet Potato Taco Bowls Delightful and Easy
Looking for a fun and tasty meal? Sweet Potato Taco Bowls are here to save the day! These bowls mix sweet, savory, and spicy in
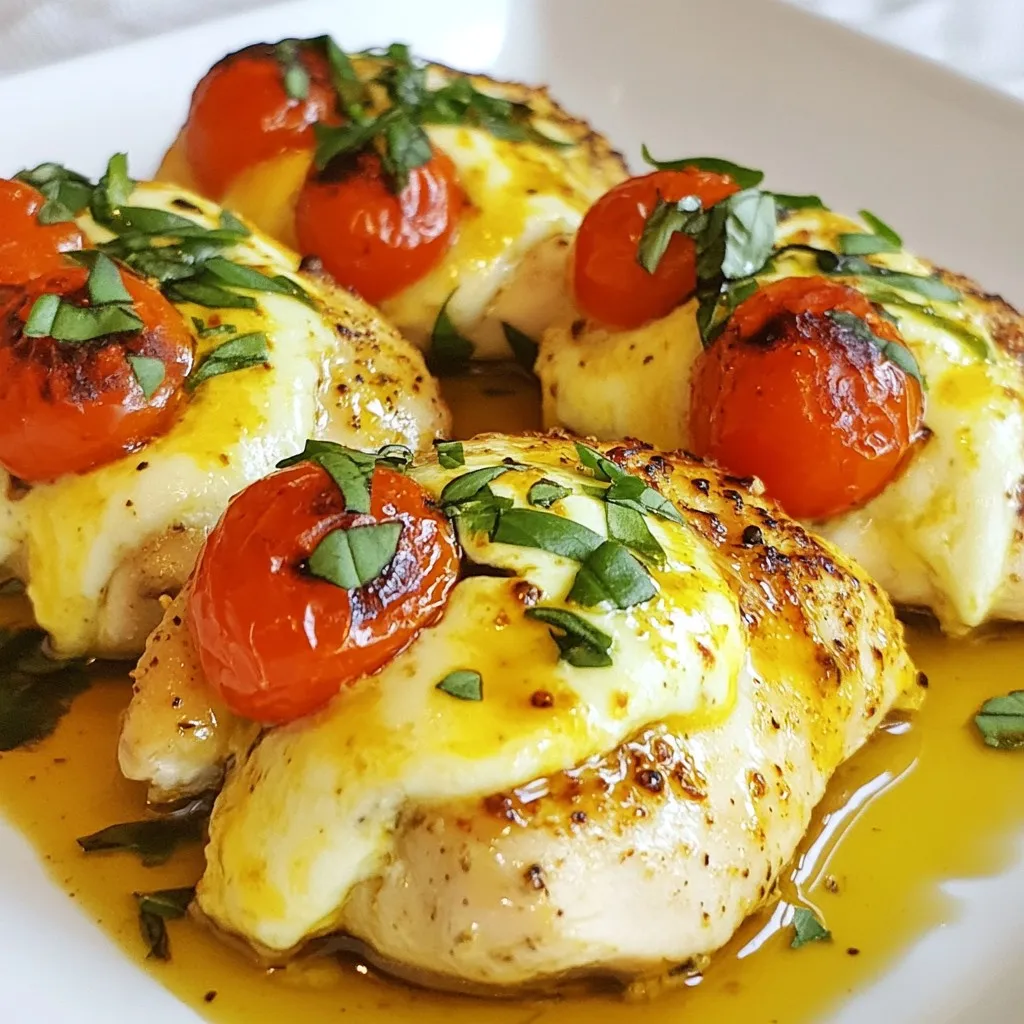
Caprese Stuffed Chicken Breast Savory Dinner Delight
Looking for a quick and tasty dinner idea? You’ve found it! This Caprese Stuffed Chicken Breast recipe brings cozy Italian flavors to your table in

Lemon Herb Chicken and Rice Flavorful Easy Recipe
Are you ready to transform your dinner routine? My Lemon Herb Chicken and Rice is a simple, flavorful dish that brings zest to your table.
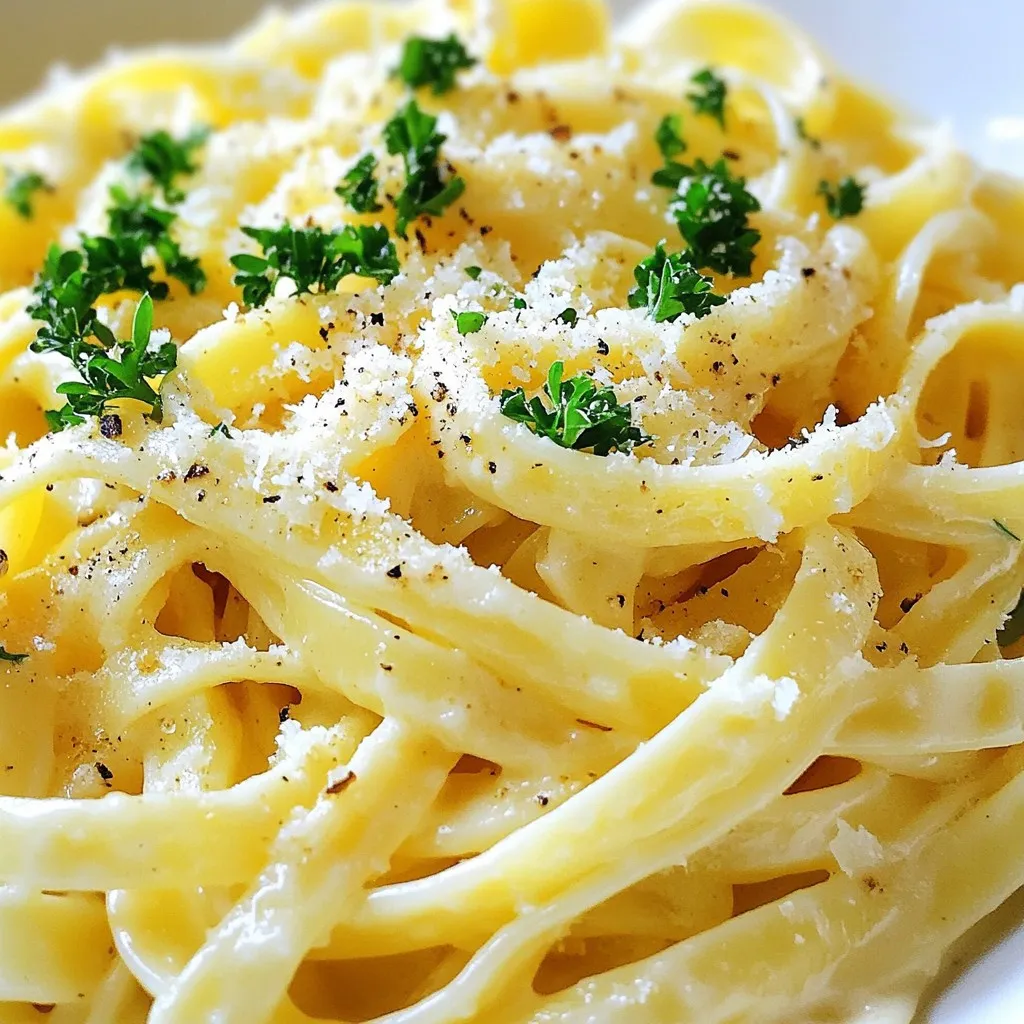
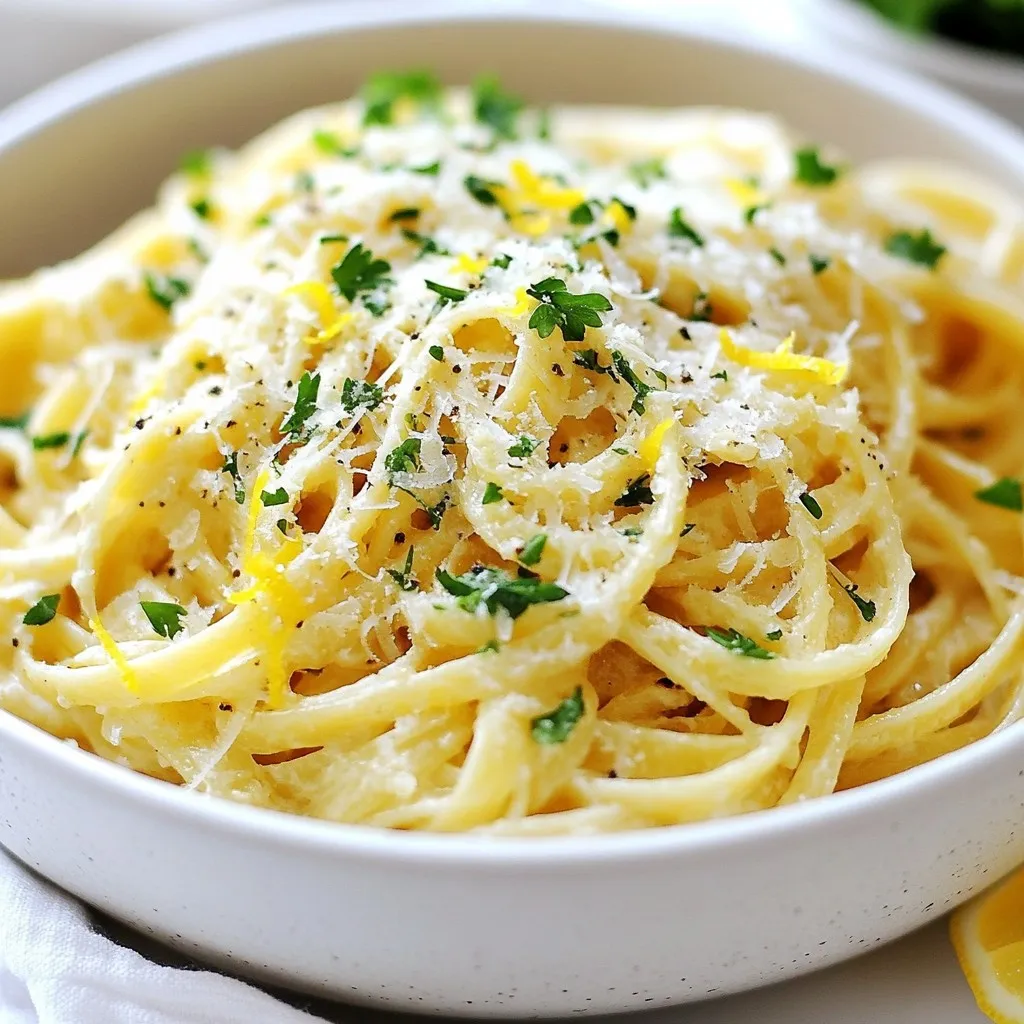
Garlic Parmesan Pasta Rich and Creamy Dish
Are you ready to whip up a dish that’s rich, creamy, and oh-so-delicious? Garlic Parmesan Pasta is the answer to your weeknight dinner dilemmas. With
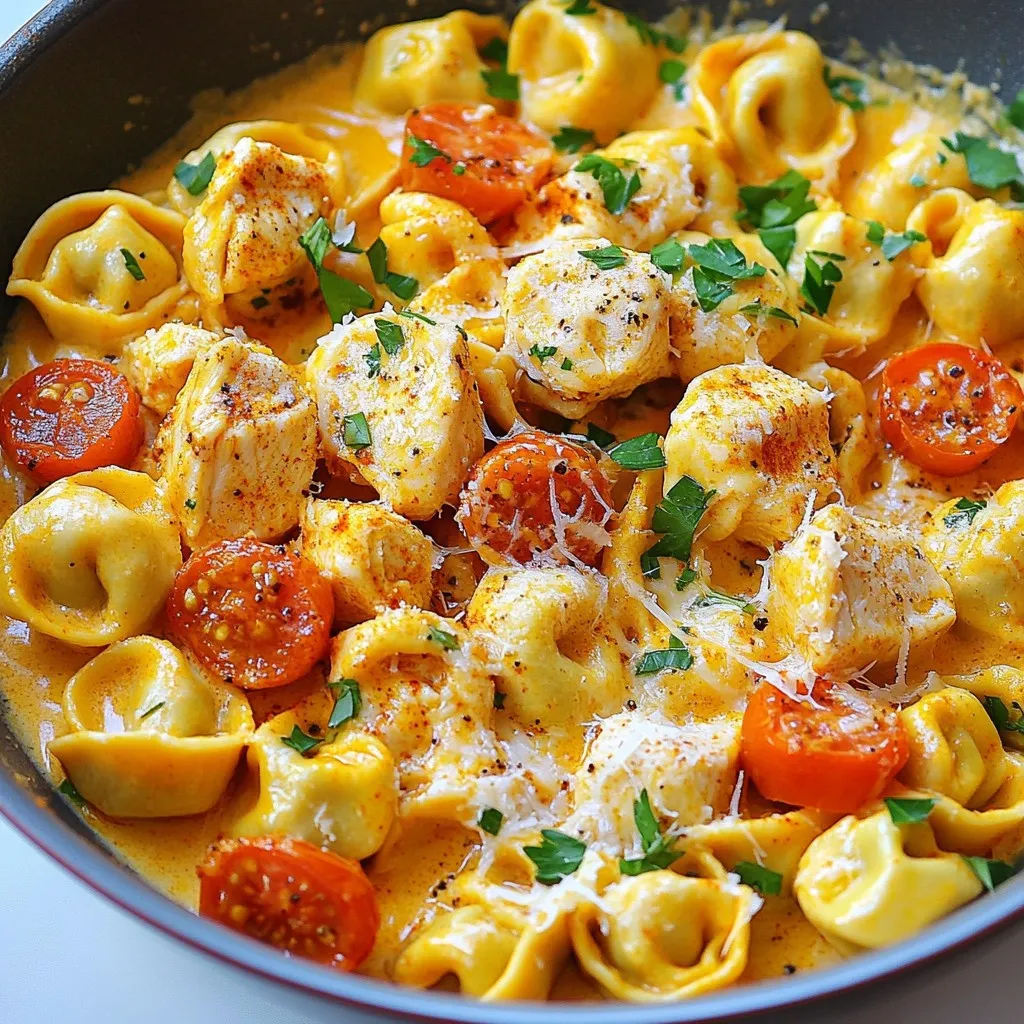
Cowboy Butter Chicken Tortellini Flavor Boost Meal
Are you ready to take your meal game to the next level? This Cowboy Butter Chicken Tortellini is rich, creamy, and packed with flavor! With
One-Pan Butter Parmesan Pasta Simple and Savory Dish
Do you crave a quick and tasty meal? Try my One-Pan Butter Parmesan Pasta! This simple dish packs rich flavor into just one pan. With