Dinner
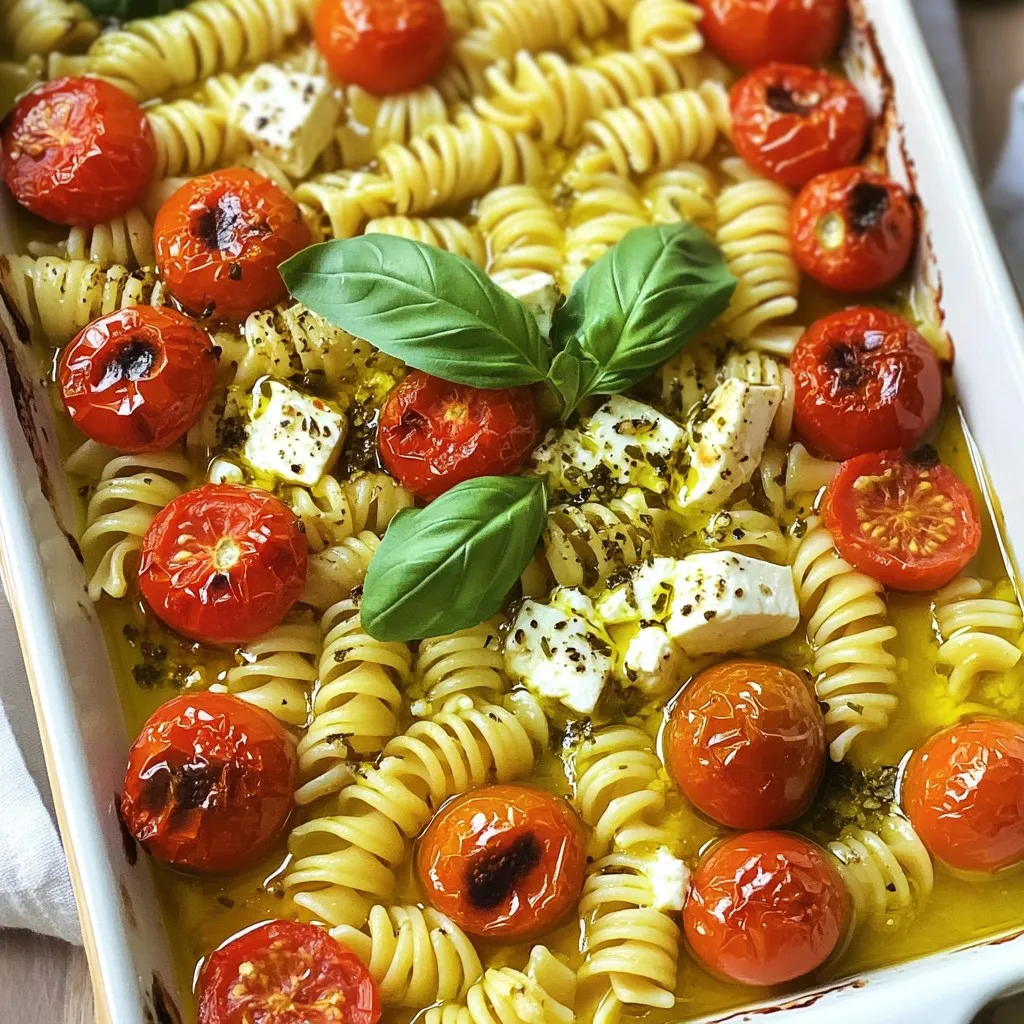
Baked Feta Tomato Pasta Easy and Flavorful Recipe
Looking for a quick, tasty meal? Try my Baked Feta Tomato Pasta! This dish mixes creamy feta, sweet tomatoes, and pasta for a burst of
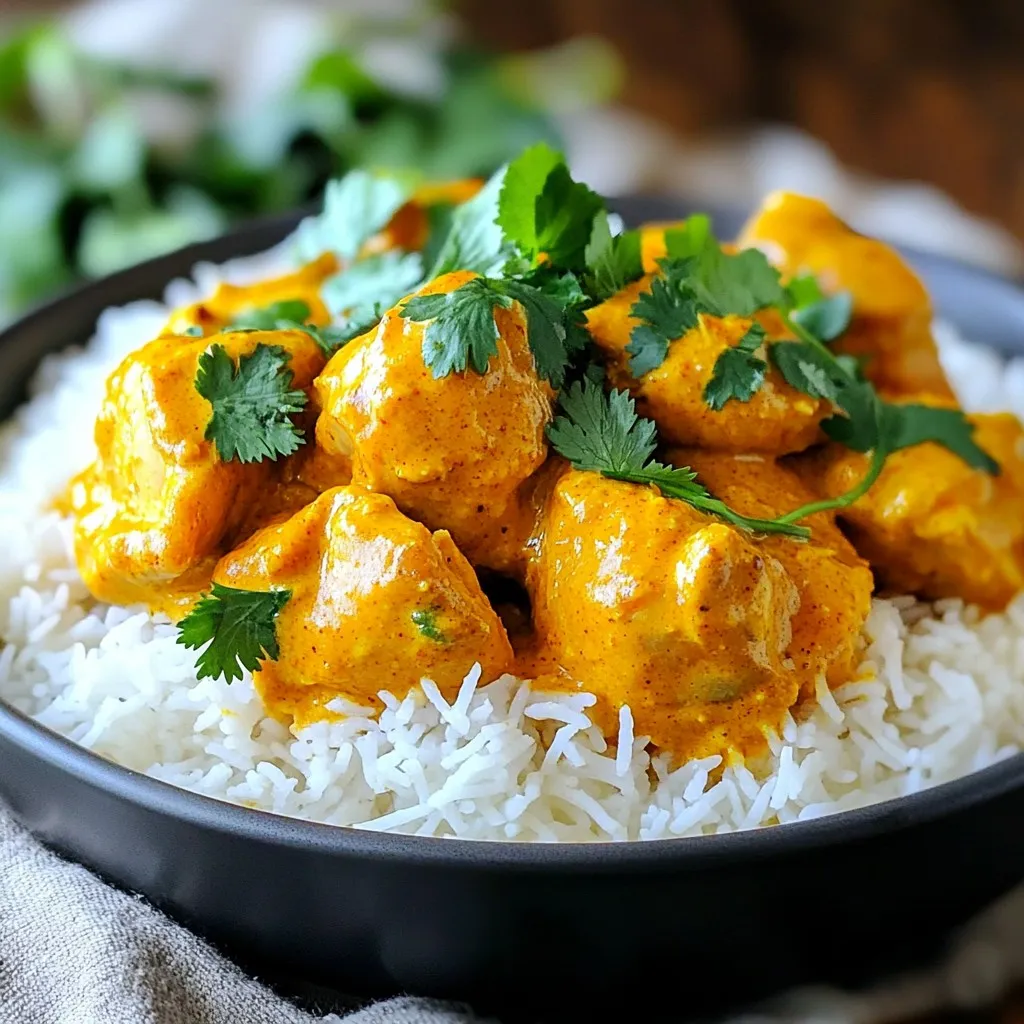
Instant Pot Butter Chicken Flavorful and Comforting Dish
If you’re searching for a comforting and flavorful dish, look no further than Instant Pot Butter Chicken. This simple recipe blends tender chicken with rich
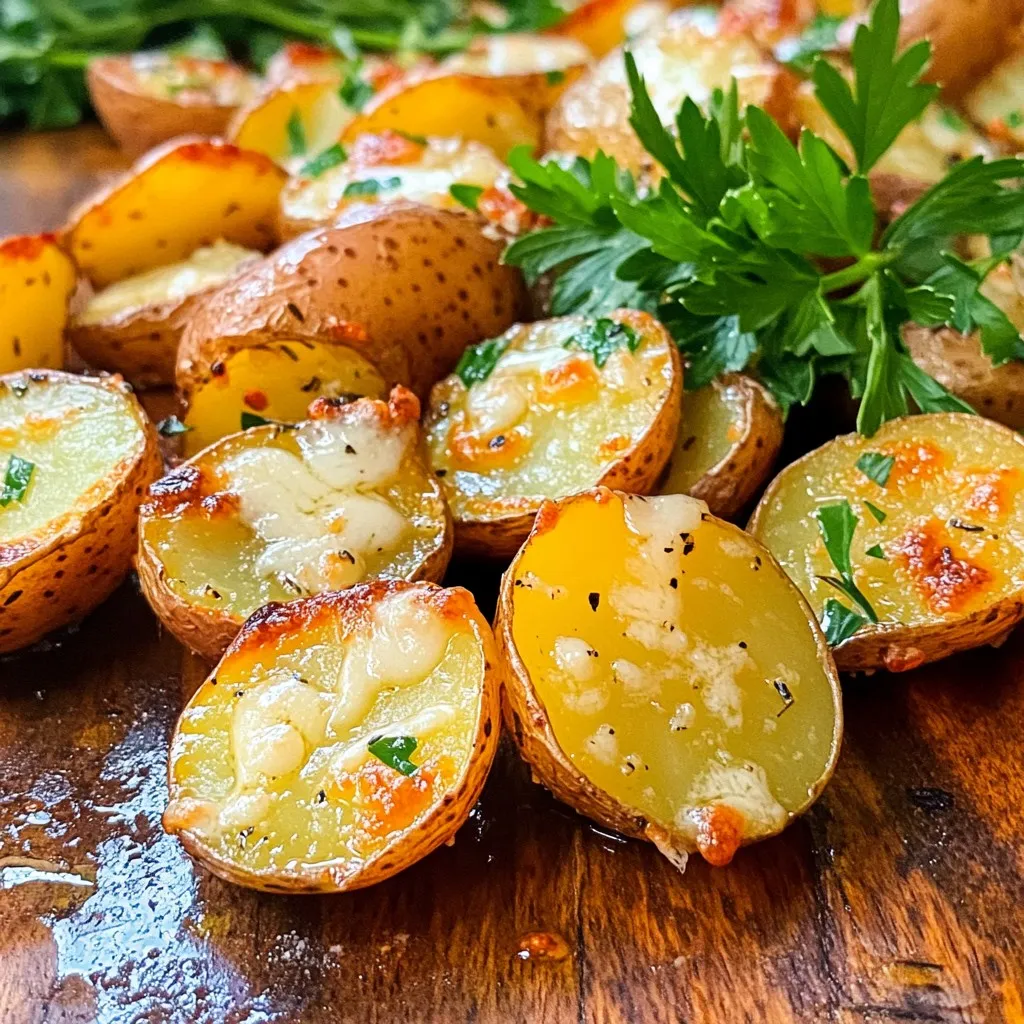
Garlic Parmesan Roasted Red Potatoes Irresistible Dish
Are you ready to elevate your potato game? Garlic Parmesan Roasted Red Potatoes are the perfect, easy side dish! With crispy edges, savory garlic, and

One-Pot Greek Lemon Chicken Soup Flavorful Delight
Craving a warm, comforting dish? Let me introduce you to my One-Pot Greek Lemon Chicken Soup, a simple yet flavorful delight. With fresh veggies, tender
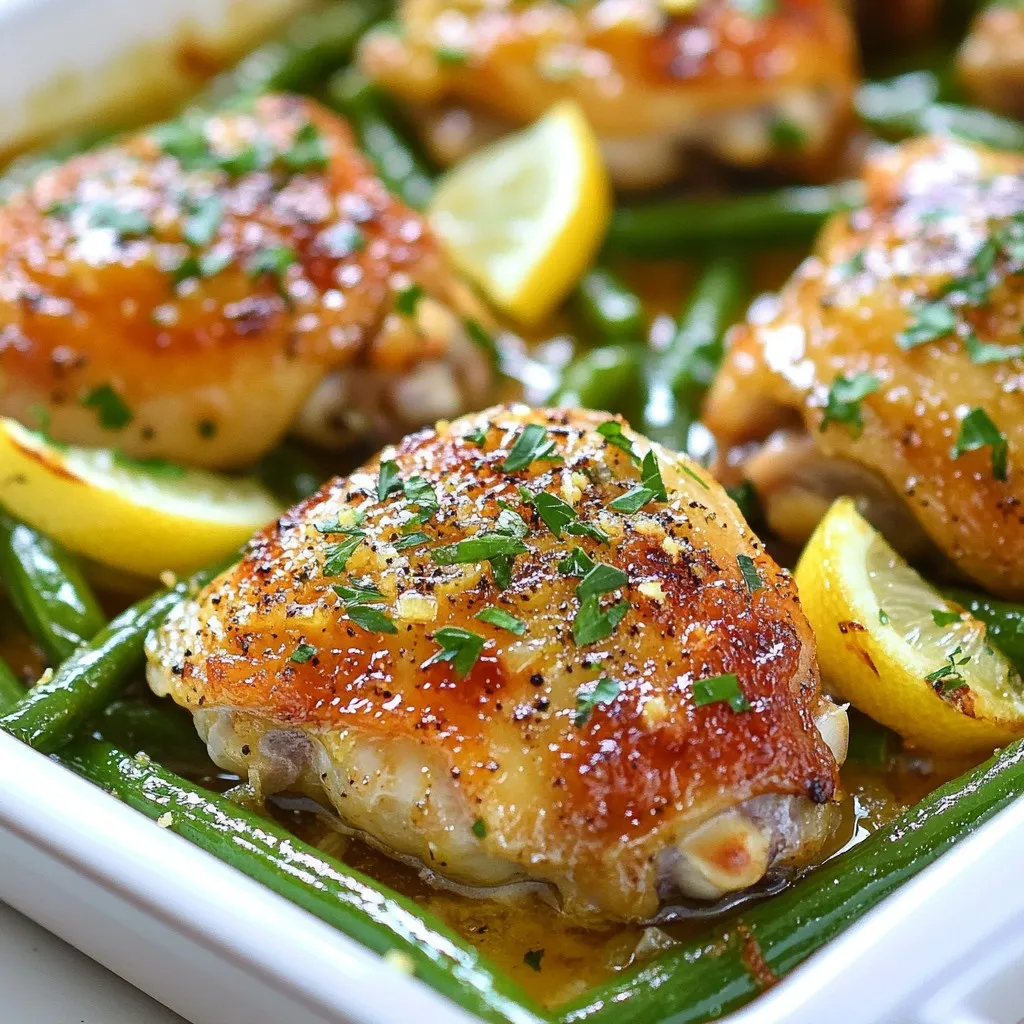
Lemon Garlic Chicken Thighs & Green Beans Delight
Looking for a simple yet delightful dinner? You’re in the right place! In this blog, I’ll show you how to make Lemon Garlic Chicken Thighs
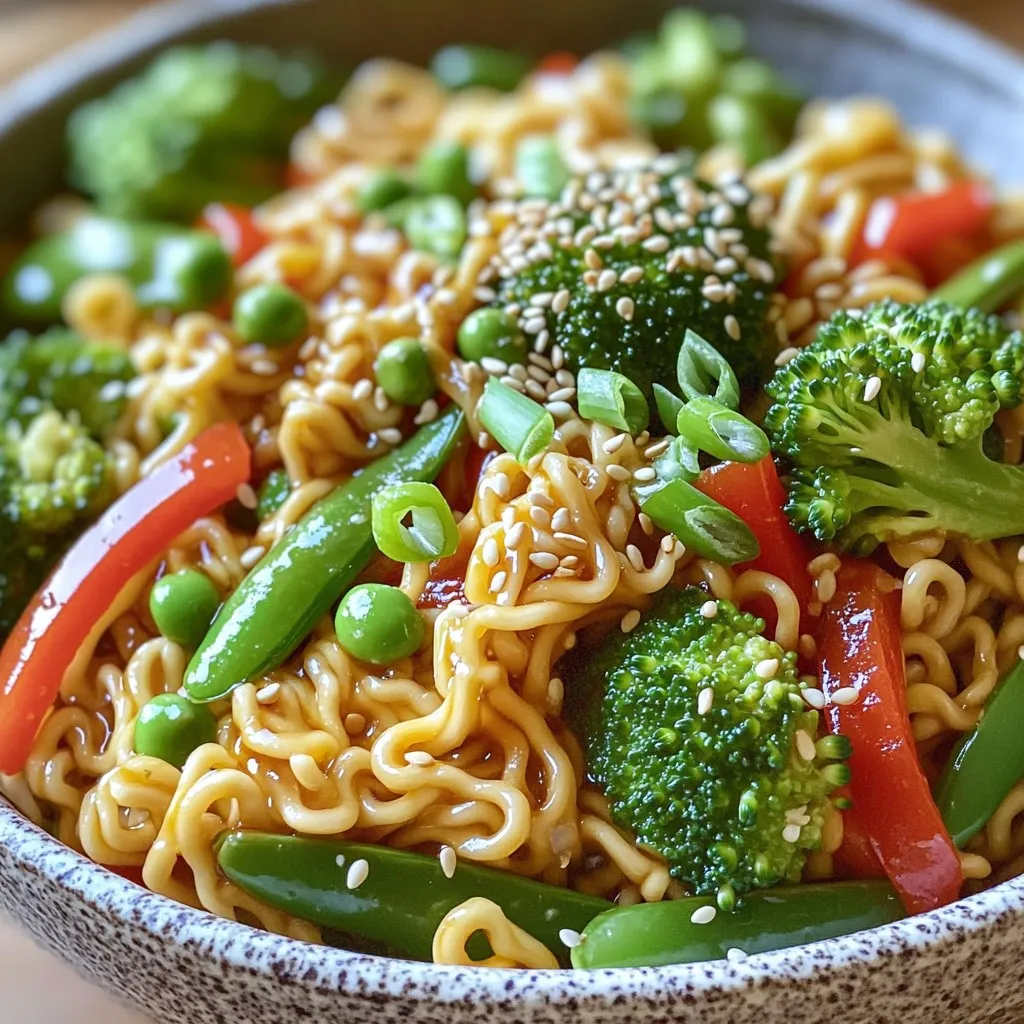
Spicy Garlic Ramen Noodle Stir Fry Quick and Simple Meal
Craving a quick meal that packs a punch? Look no further! This Spicy Garlic Ramen Noodle Stir Fry is your answer. It combines rich flavors
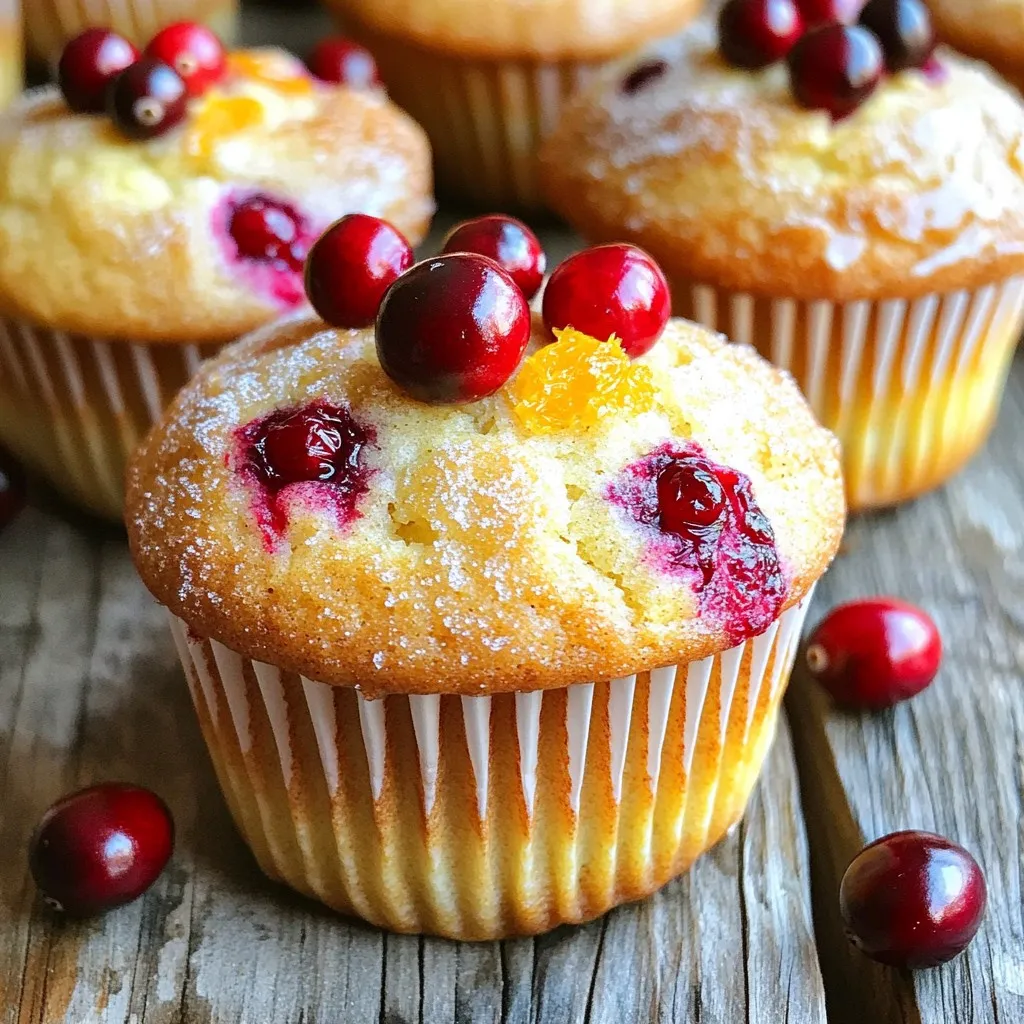
Spiced Cranberry Orange Muffins Easy and Delicious Recipe
Are you ready for a tasty treat that’s simple to make? These spiced cranberry orange muffins blend tangy cranberries and bright orange zest for a
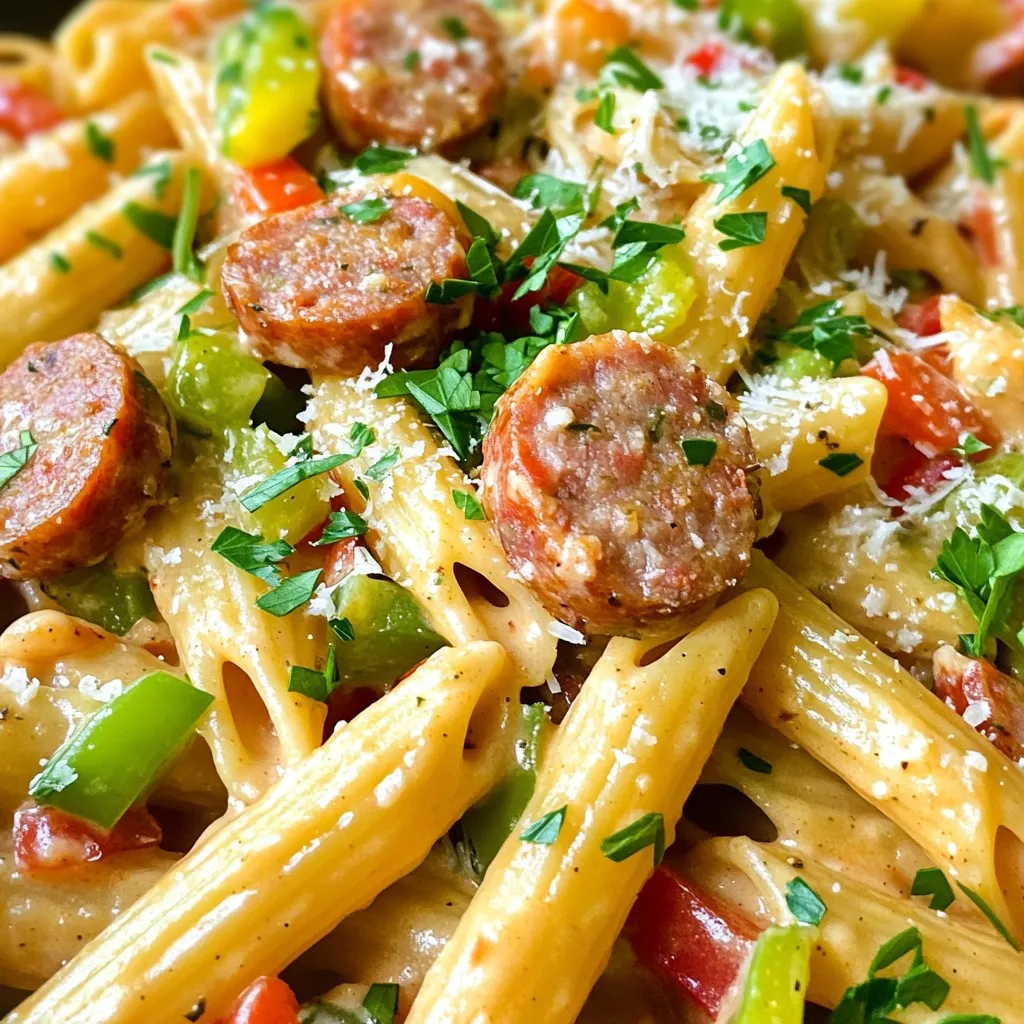
One-Pot Creamy Cajun Sausage Pasta Quick and Easy Meal
Looking for a quick, tasty meal? You’ve found it! My One-Pot Creamy Cajun Sausage Pasta is perfect for busy nights. This dish packs bold flavors
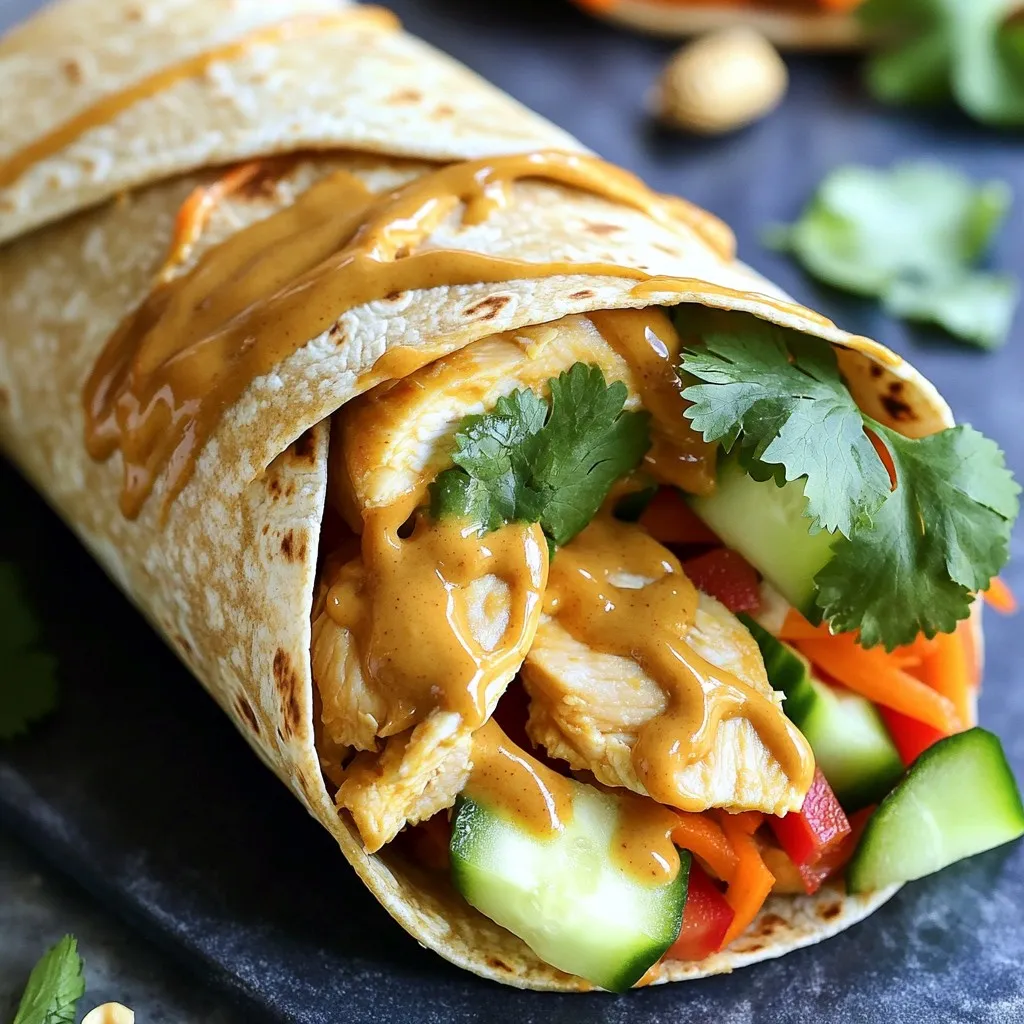
Minute Thai Peanut Chicken Wraps Easy and Flavorful Dish
Get ready to spice up your meals with my Minute Thai Peanut Chicken Wraps! This dish bursts with flavor and comes together in no time.
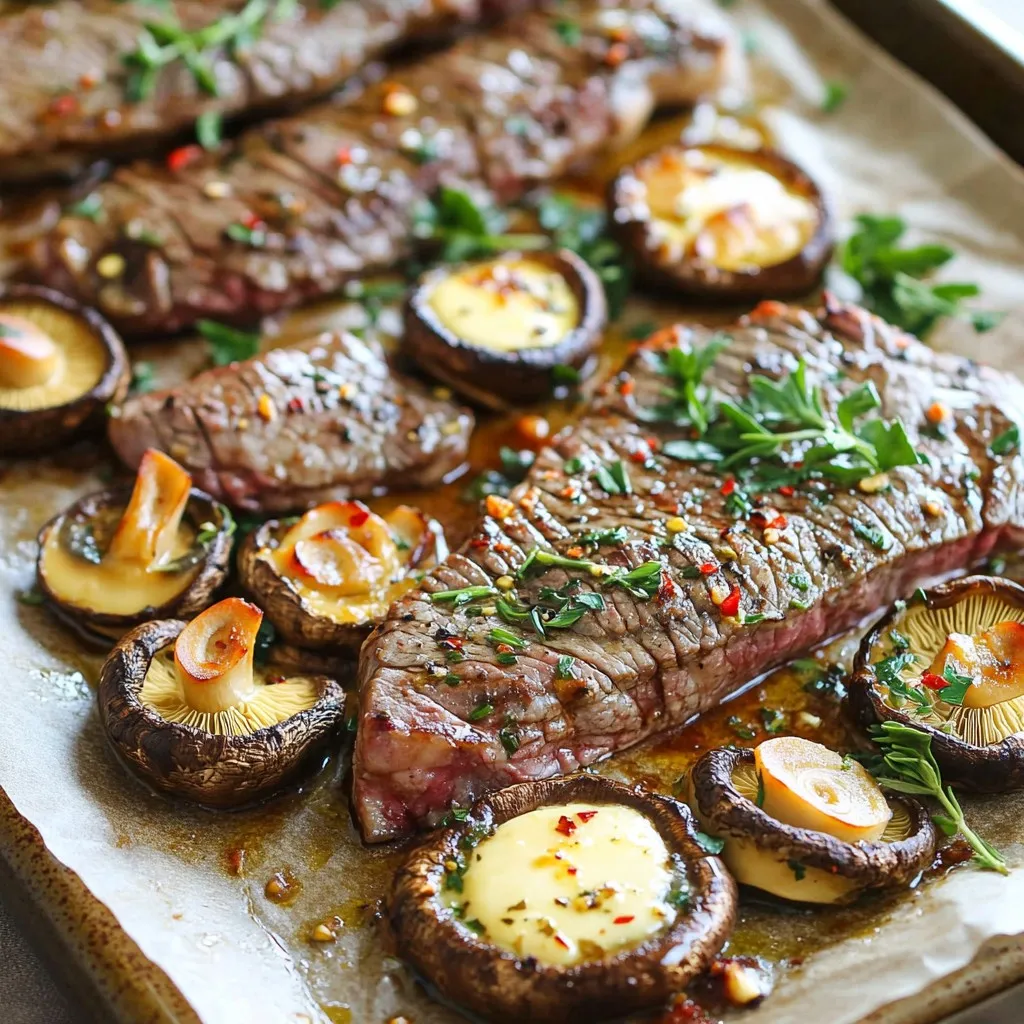
Savor Sheet Pan Garlic Butter Steak and Mushrooms
Ready to treat your taste buds? My Sheet Pan Garlic Butter Steak and Mushrooms recipe brings rich flavors and easy prep right to your home.