Dinner
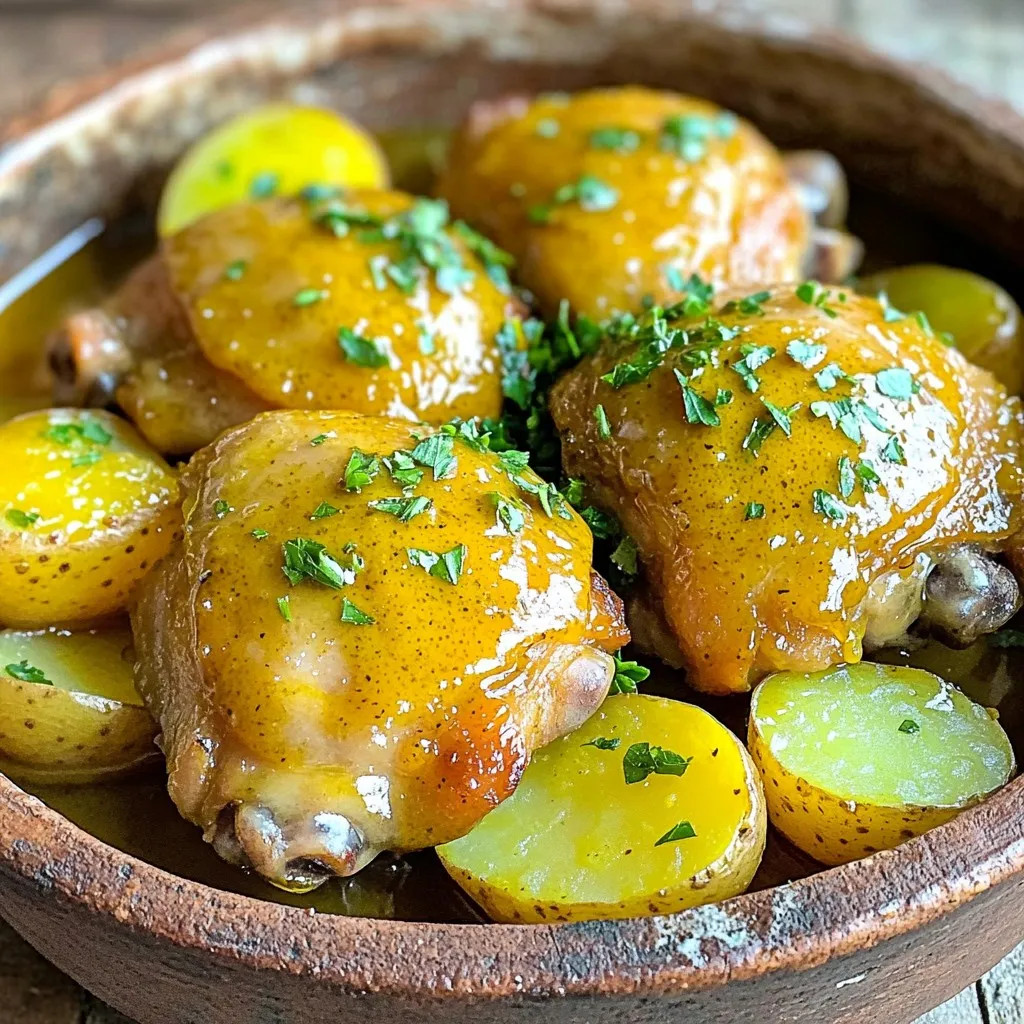
Slow Cooker Honey Mustard Chicken and Potatoes Delight
Welcome to my kitchen! Today, I’m sharing a tasty recipe for Slow Cooker Honey Mustard Chicken and Potatoes. This dish blends juicy chicken thighs, sweet
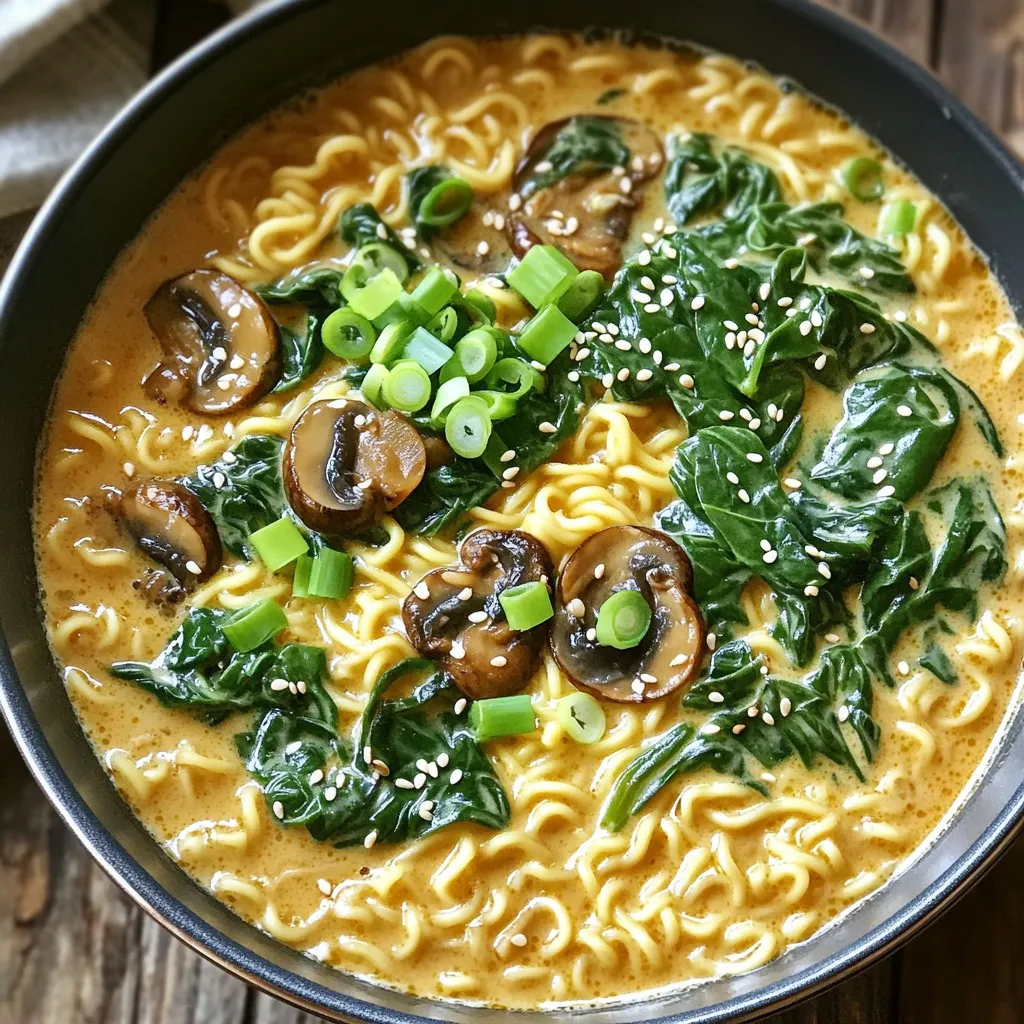
One Pot Creamy Spinach Mushroom Ramen Delight
Are you craving a warm, hearty meal that’s easy to make? Look no further! This One Pot Creamy Spinach Mushroom Ramen Delight is a game-changer.
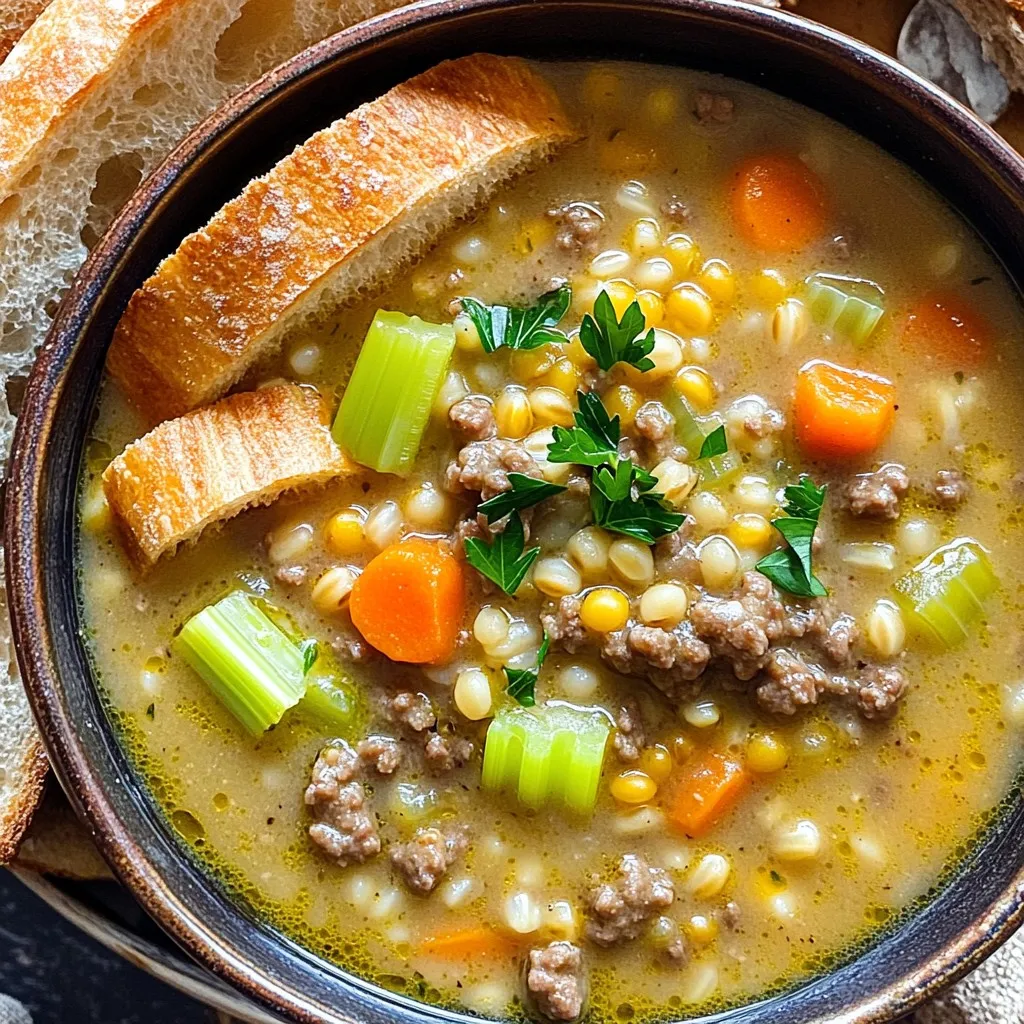
Creamy Beef & Barley Slow Cooker Soup Delight
Warm up your evenings with my Creamy Beef & Barley Slow Cooker Soup Delight. This hearty soup is packed with flavor, loaded with tender beef,
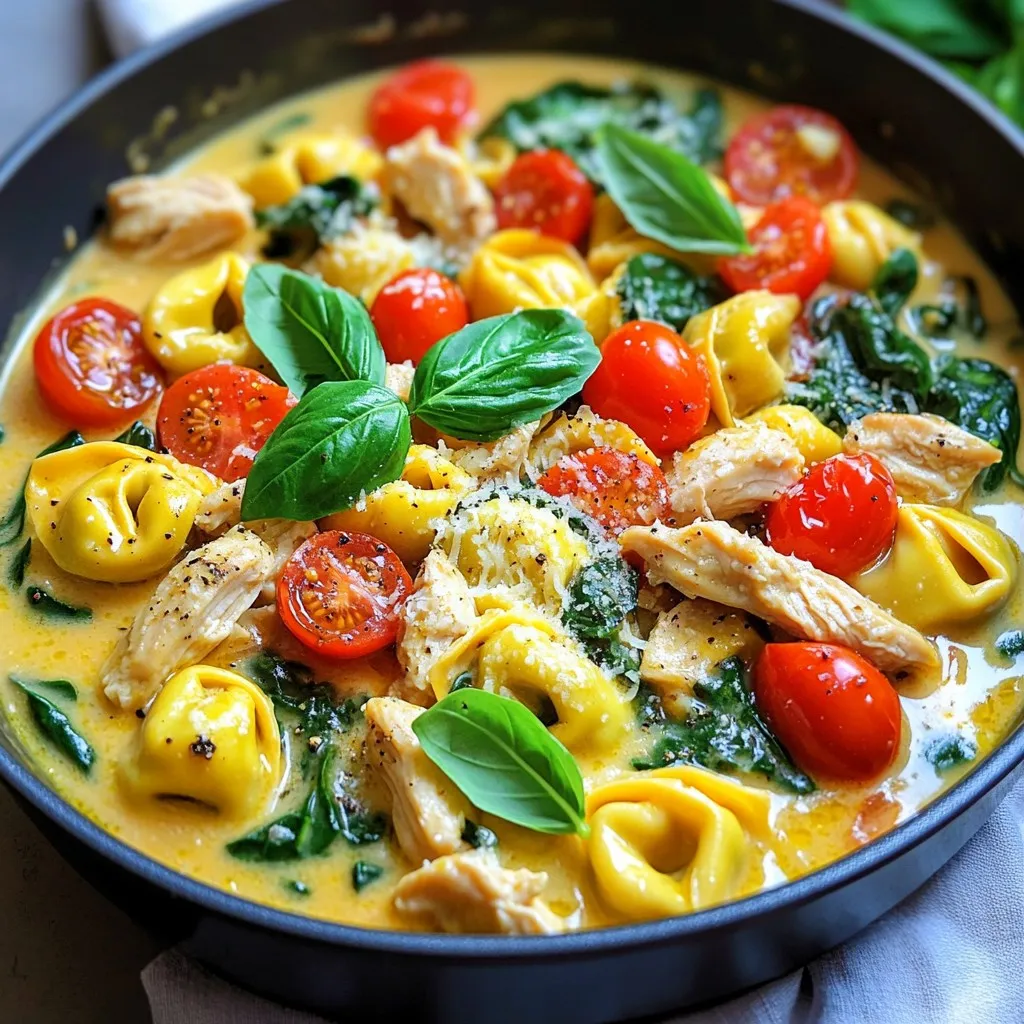
Tuscan Chicken Tortellini Skillet Easy Weeknight Meal
Looking for an easy weeknight meal that bursts with flavor? This Tuscan Chicken Tortellini Skillet checks all the boxes! In just one pot, you’ll combine
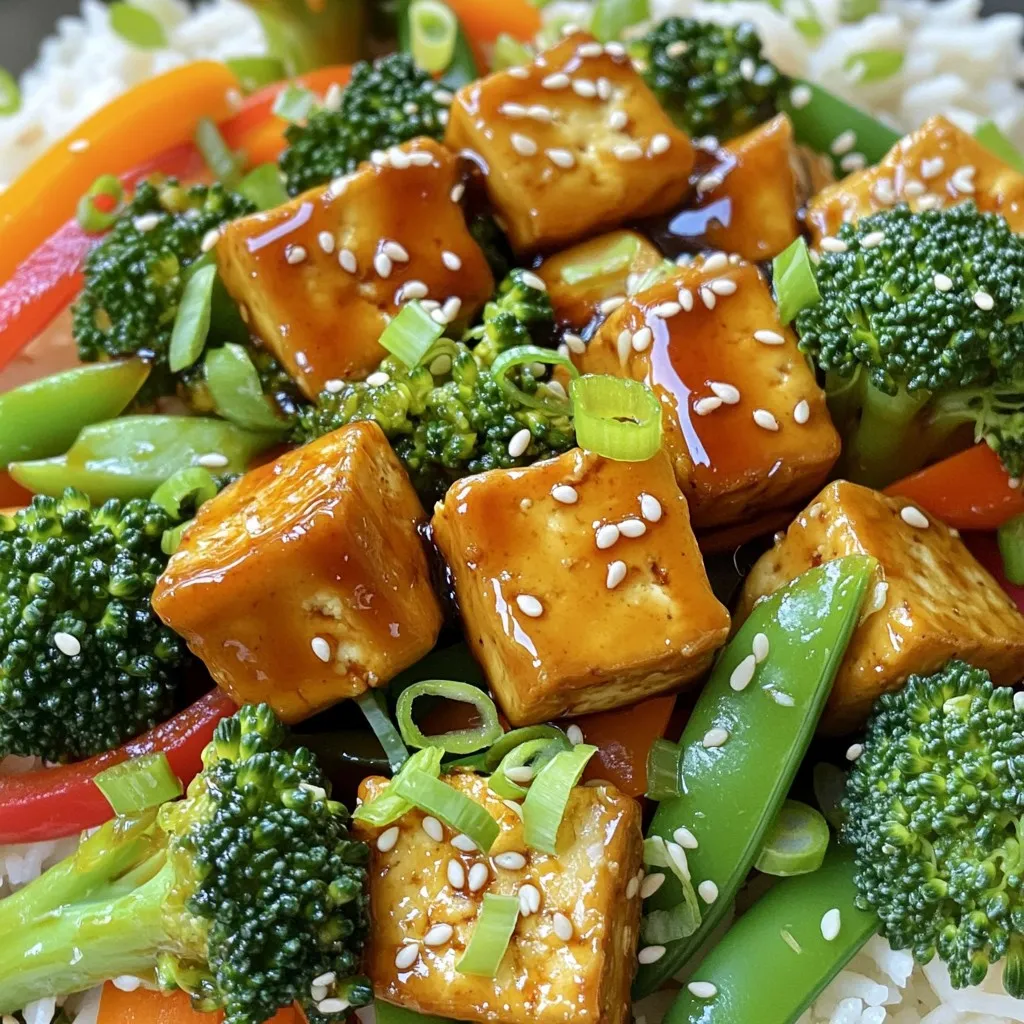
Teriyaki Tofu Stir Fry Flavorful Takeout Alternative
Feeling tired of takeout? I’ve got a fantastic solution for you: Teriyaki Tofu Stir Fry! This dish packs all the bold flavors you love from
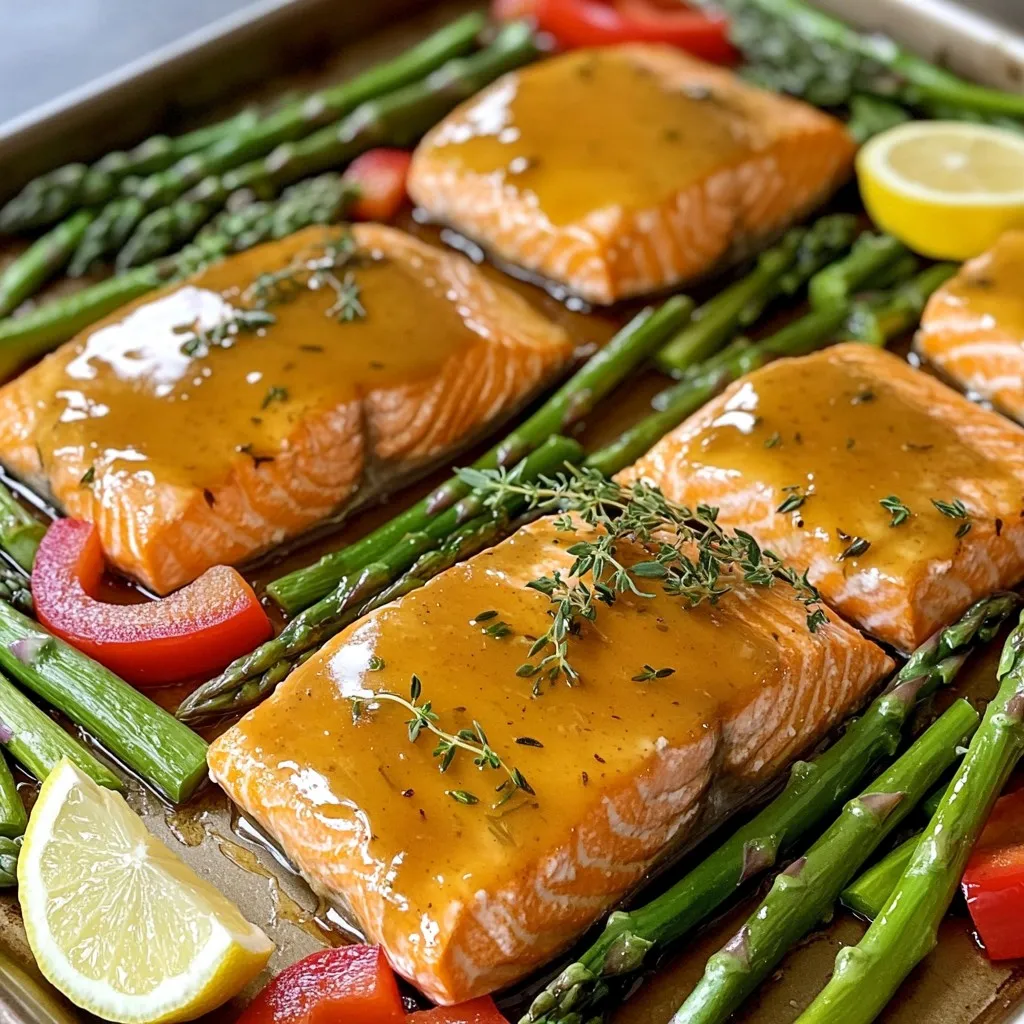
Maple Dijon Sheet Pan Salmon Flavorful and Easy Meal
Looking for a quick and tasty meal? Try my Maple Dijon Sheet Pan Salmon! This dish is packed with flavor and is super easy to
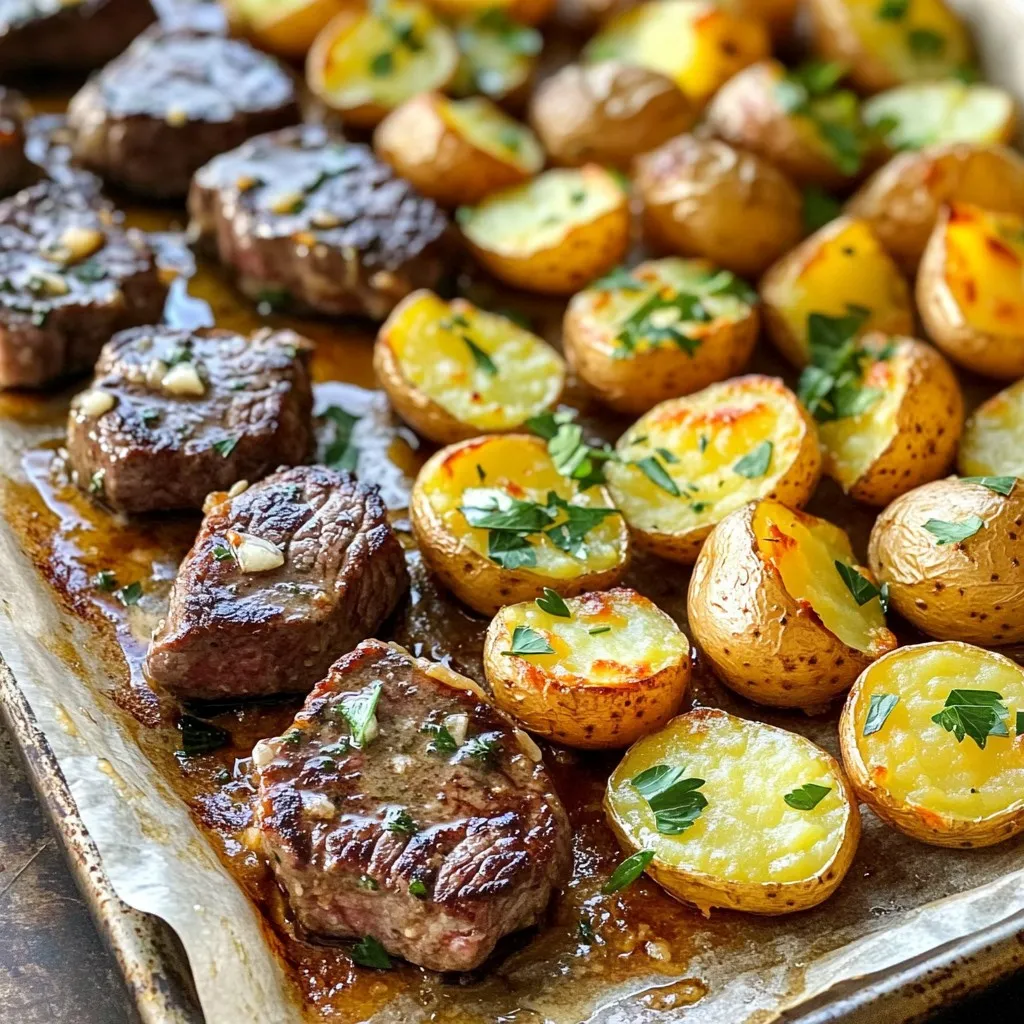
Sheet Pan Garlic Butter Steak Bites & Potatoes Recipe
Are you ready to elevate your dinner game? This Sheet Pan Garlic Butter Steak Bites & Potatoes recipe is a game changer! In just one
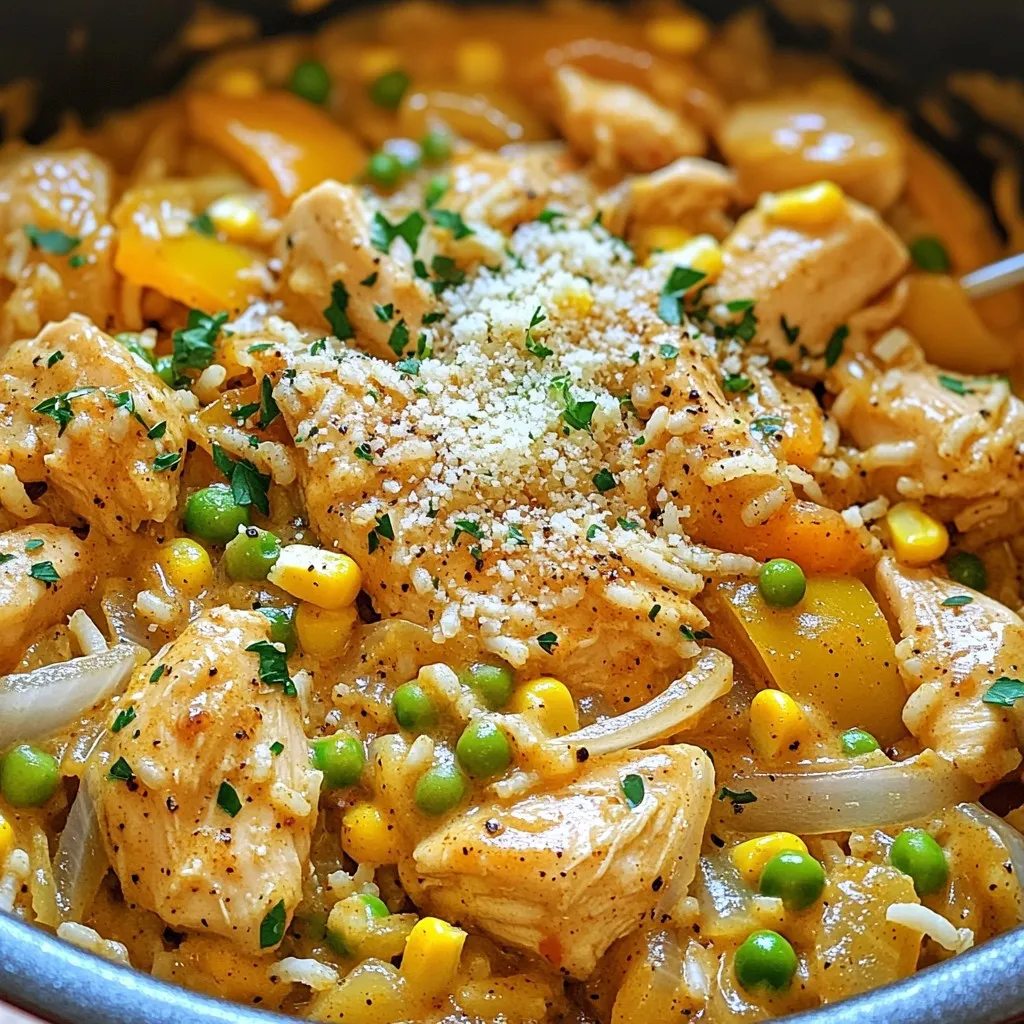
One-Pot Creamy Cajun Chicken and Rice Delight
Welcome to my kitchen! Today, I’m excited to share my one-pot creamy Cajun chicken and rice delight. This dish is packed with bold flavors and

Creamy Sun-Dried Tomato Chicken Pasta Delight
Are you craving a comforting meal that bursts with flavor? Look no further! In this blog, I’ll guide you through making Creamy Sun-Dried Tomato Chicken
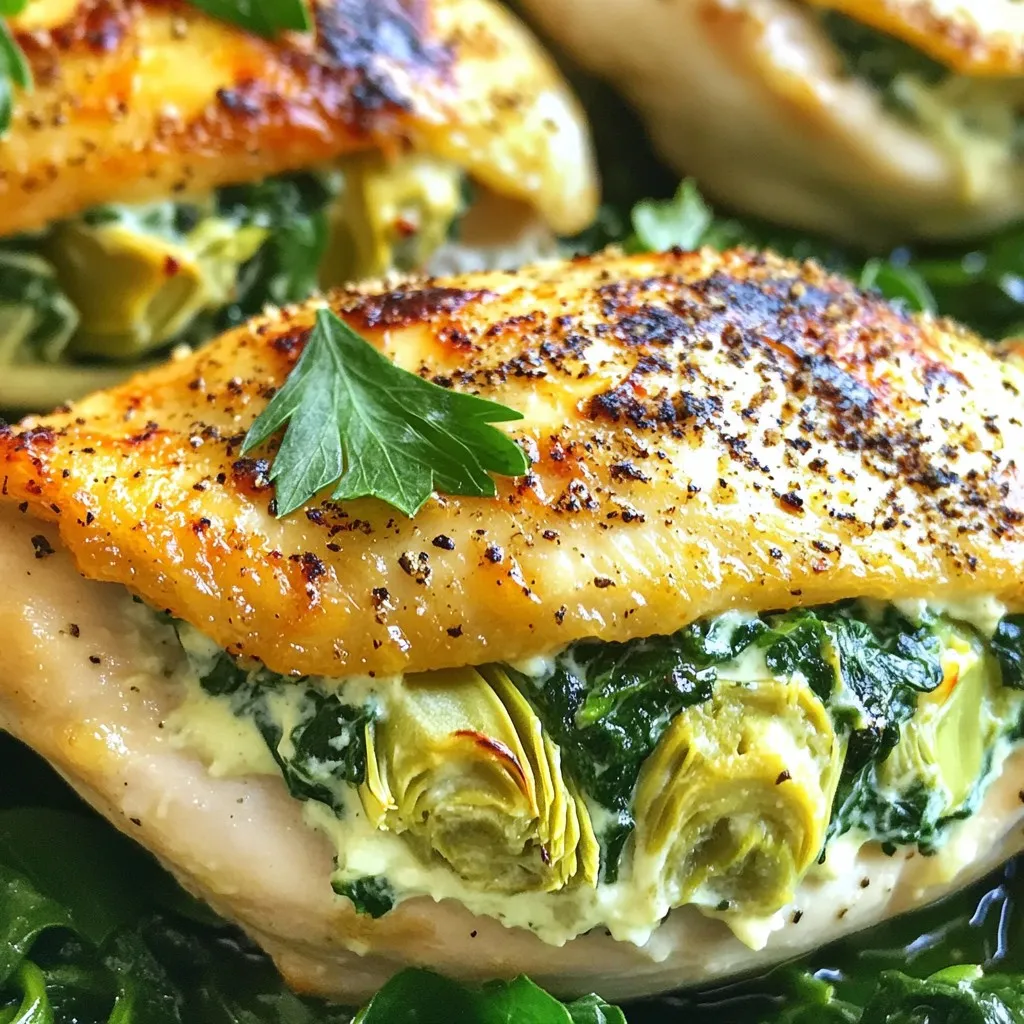
Spinach Artichoke Stuffed Chicken Breasts Easy Recipe
Are you ready to impress your family with a tasty dinner? Spinach Artichoke Stuffed Chicken Breasts are easy to make and packed with flavor. In