Dinner

Creamy Sun-Dried Tomato Gnocchi One Pot Delight
Get ready to dive into a creamy, dreamy dish: Creamy Sun-Dried Tomato Gnocchi! This one-pot delight is not just easy to make but bursting with
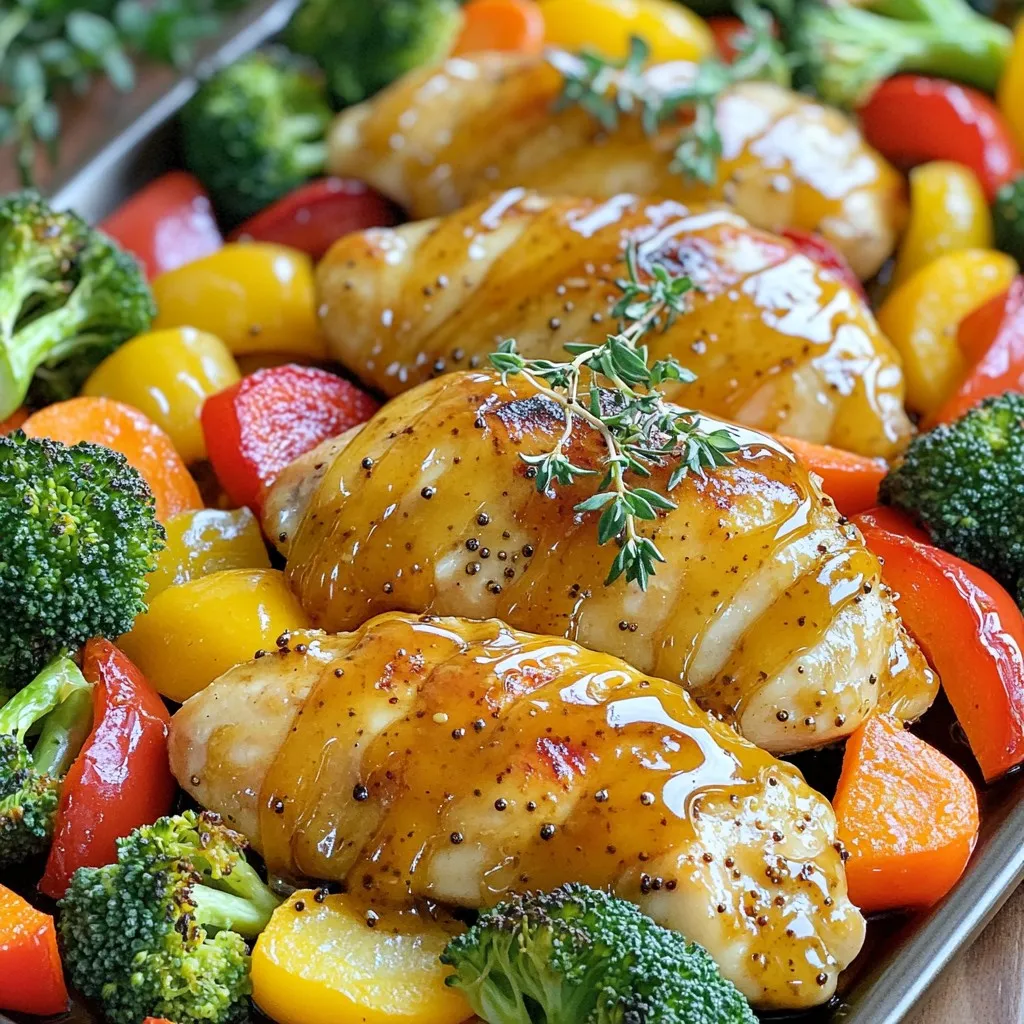
Sheet-Pan Honey Mustard Chicken & Veggies Delight
Are you ready for a tasty dinner that’s easy to make? My Sheet-Pan Honey Mustard Chicken & Veggies Delight combines juicy chicken with colorful veggies.
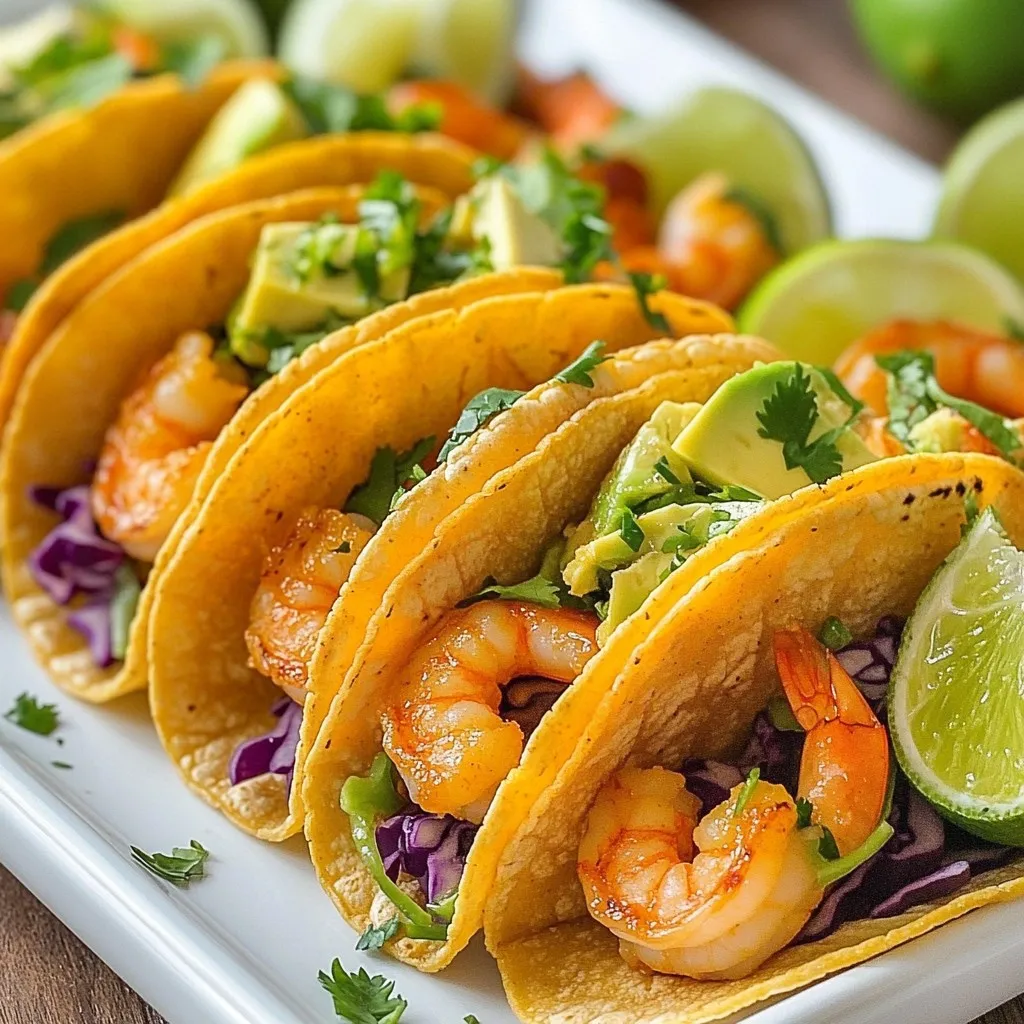
Easy Shrimp Tacos Flavorful and Simple Recipe Guide
Are you ready to dive into a tasty meal that’s both easy to make and packed with flavor? In this guide, I’ll show you how
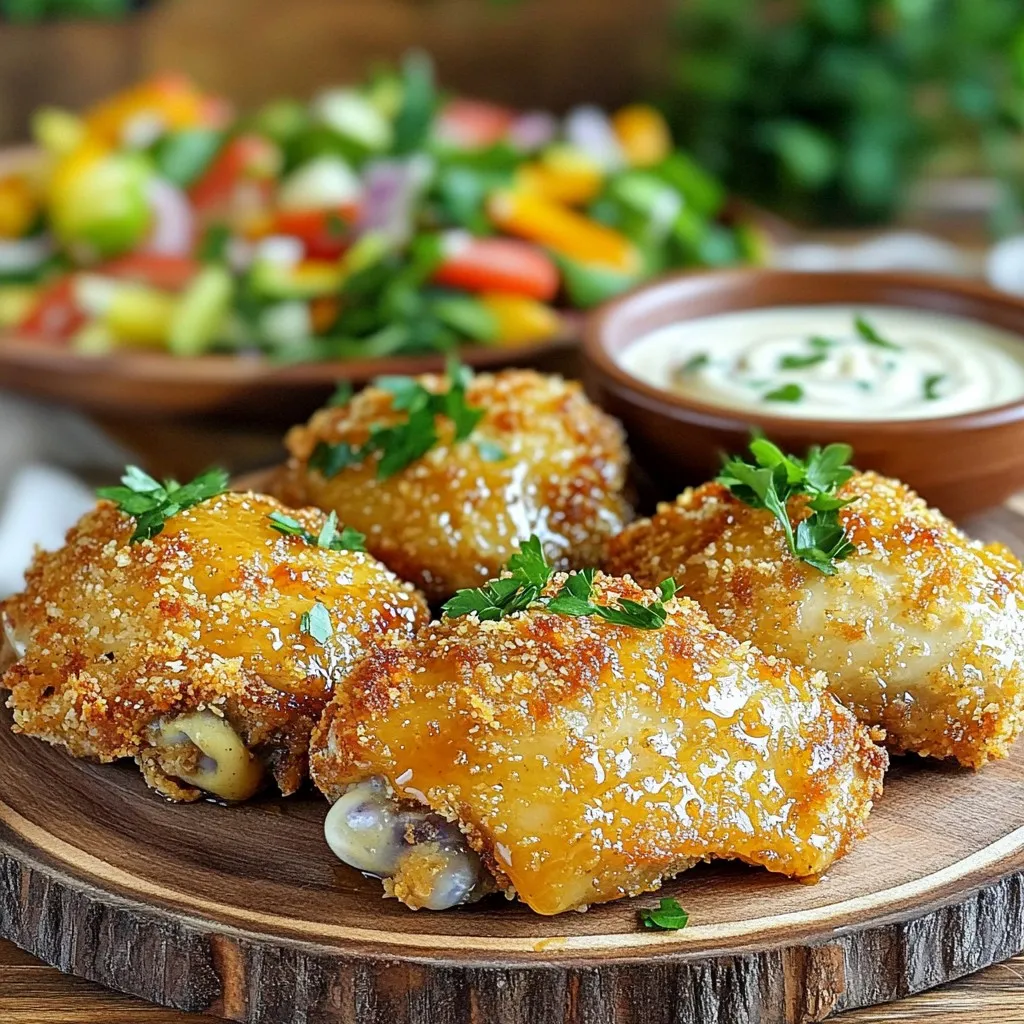
Crispy Honey Mustard Chicken in the Air Fryer Recipe
Looking for a quick dinner that packs a flavor punch? You’ll love this Crispy Honey Mustard Chicken made in the air fryer! With just a
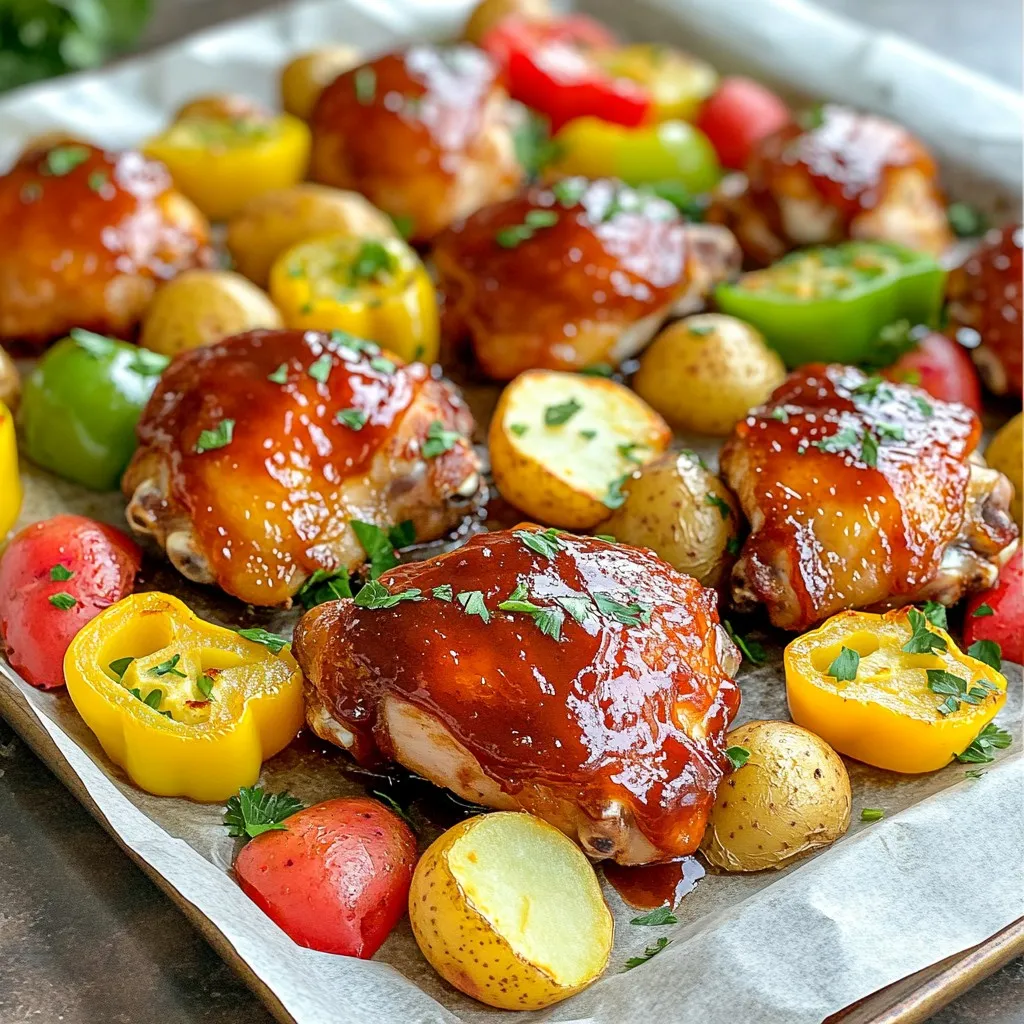
Sweet and Smoky BBQ Sheet Pan Chicken Delight
Are you ready to elevate your dinner game? My Sweet and Smoky BBQ Sheet Pan Chicken is packed with flavor and super easy to make.
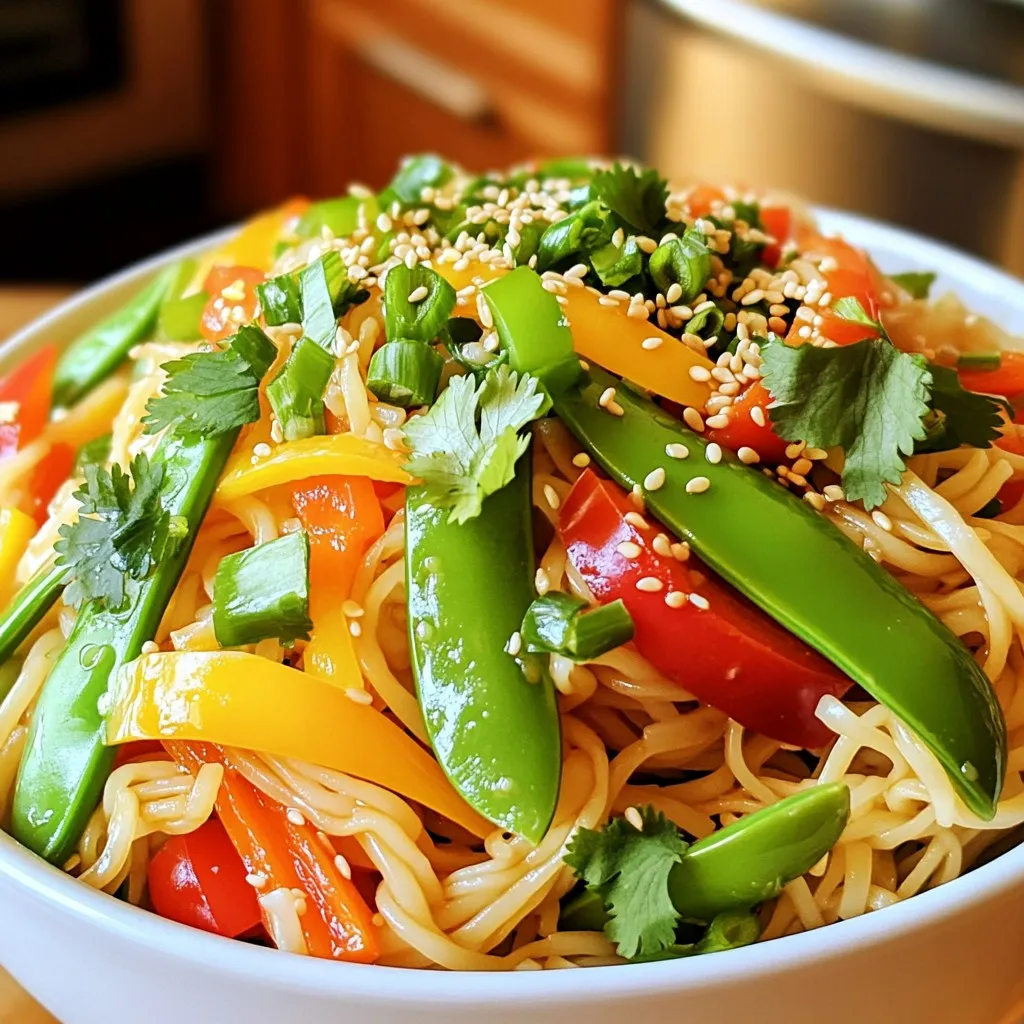
Sesame Chili Crisp Noodle Bowls Quick and Easy Meal
If you’re looking for a quick and tasty meal, try these Sesame Chili Crisp Noodle Bowls! You can whip this up in just 15 minutes,
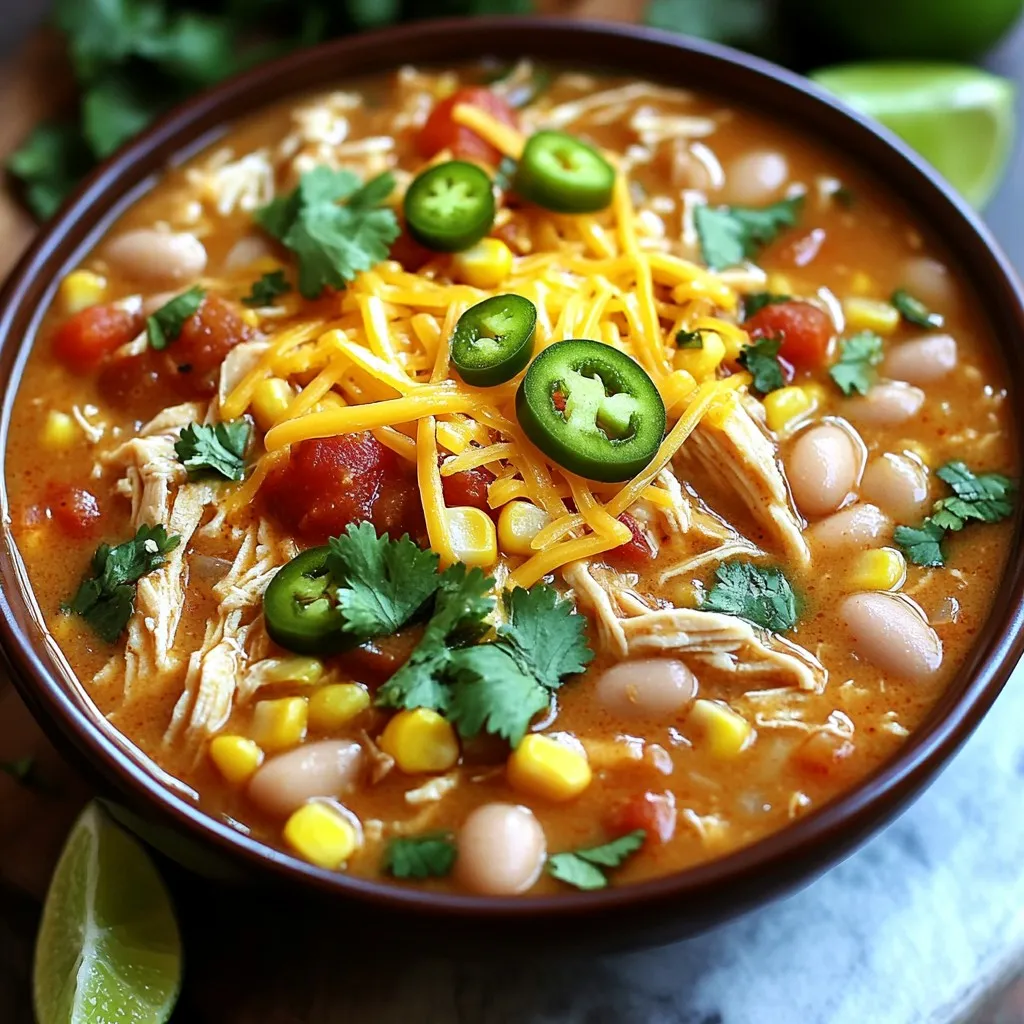
Creamy White Bean Chicken Chili Simple Slow Cooker Dish
Are you ready to warm up your day with a bowl of creamy white bean chicken chili? This easy slow cooker dish packs in flavor
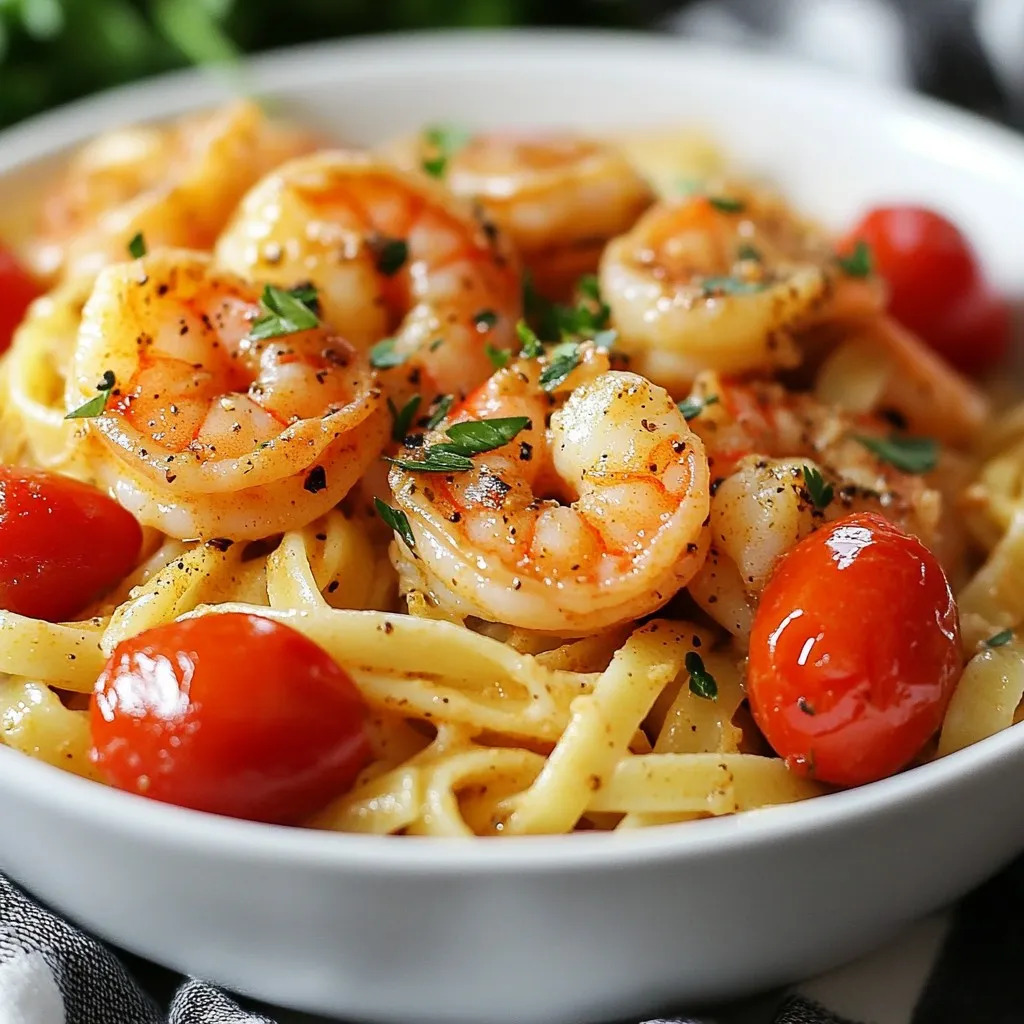
Minute Cajun Shrimp Pasta Quick and Tasty Recipe
Are you craving a quick and tasty meal that packs a punch? Look no further than my Minute Cajun Shrimp Pasta! This dish combines succulent
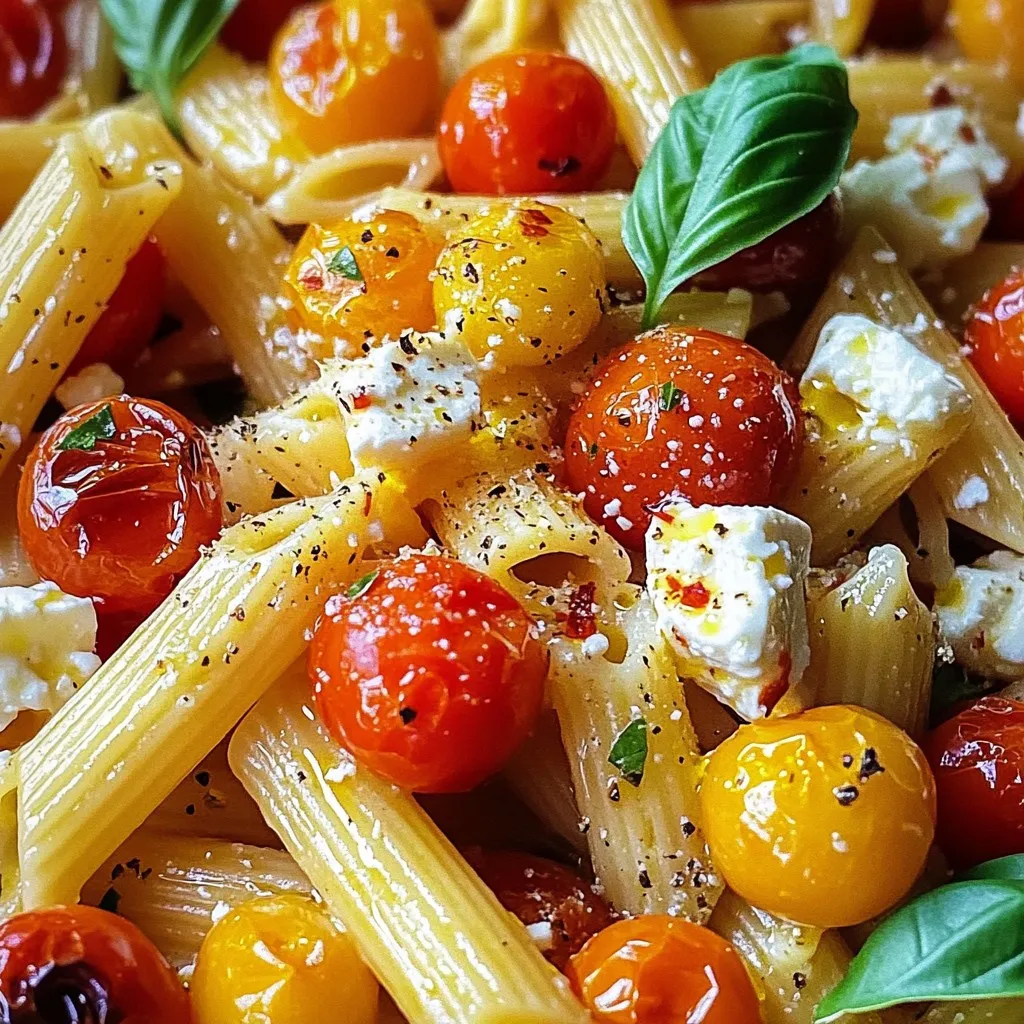
TikTok Feta Roasted Tomato Pasta Flavor Burst Dish
Are you ready for a flavor explosion? This TikTok Feta Roasted Tomato Pasta is the perfect dish! With creamy feta and sweet roasted tomatoes, this

Creamy Lemon Chicken and Rice Simple One Pot Recipe
Looking for a simple yet delicious dinner idea? This Creamy Lemon Chicken and Rice recipe is your answer! It’s an easy one-pot meal bursting with