Dinner
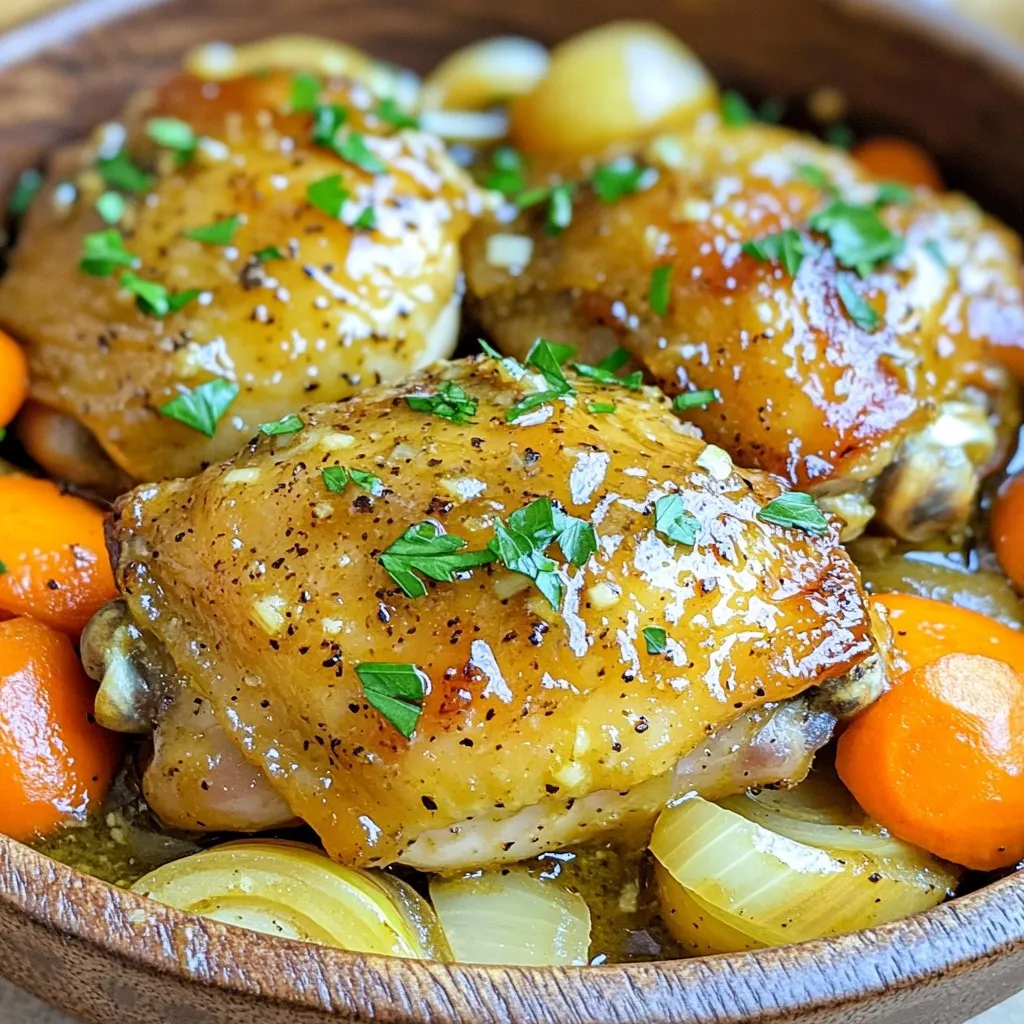
Slow Cooker Maple Dijon Chicken and Carrots Delight
Welcome to my kitchen! Today, I’m excited to share my recipe for Slow Cooker Maple Dijon Chicken and Carrots Delight. This dish combines tender chicken
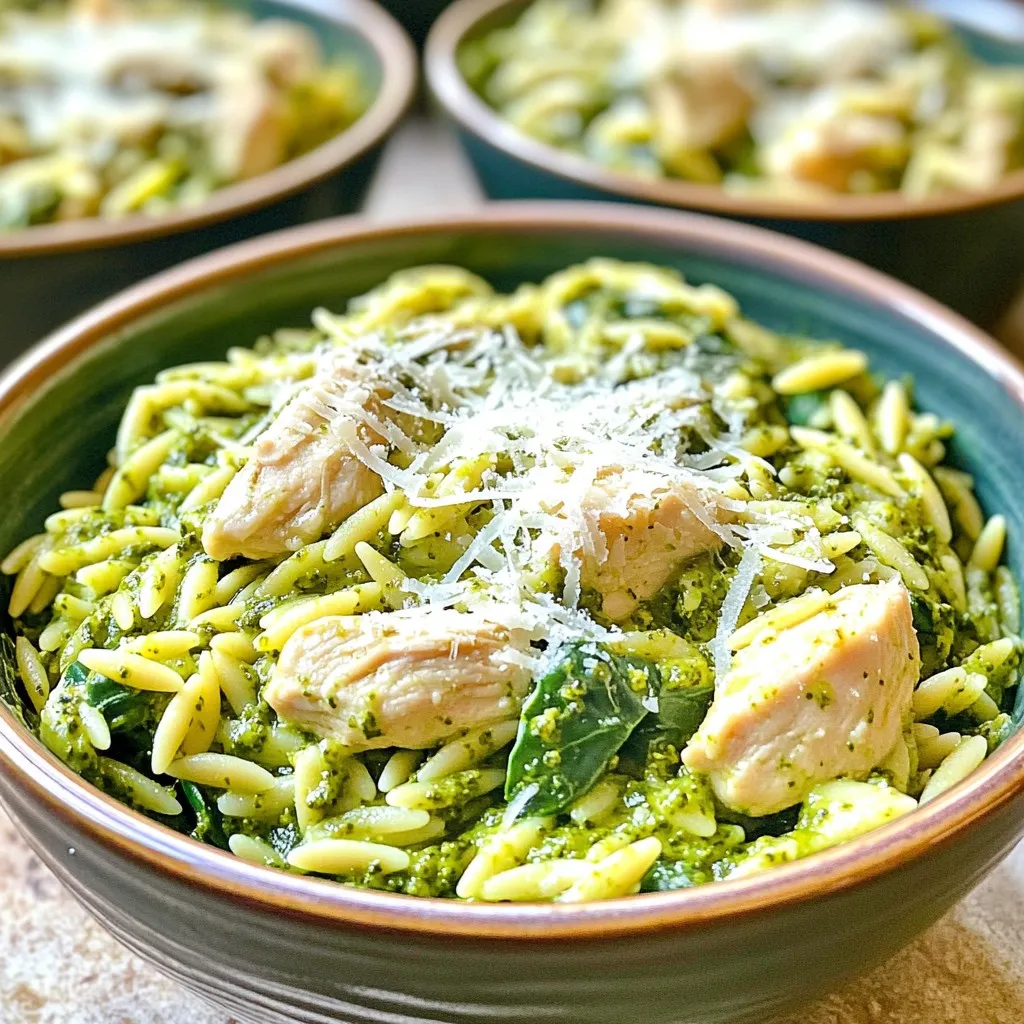
One-Pan Creamy Pesto Chicken Orzo Delightful Meal
Looking for a quick, tasty meal that makes cleanup easy? You’ve found it! My One-Pan Creamy Pesto Chicken Orzo combines tender chicken, rich pesto, and
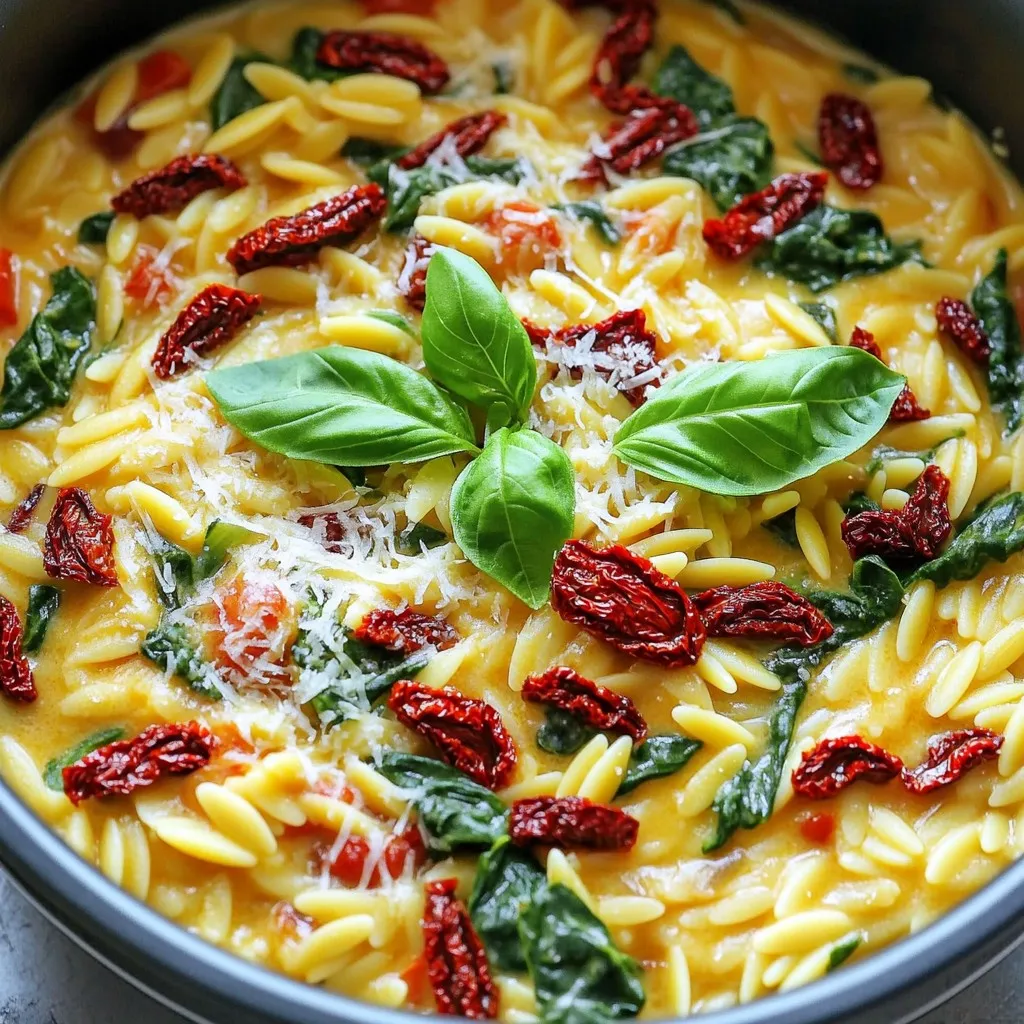
Creamy One-Pot Sun-Dried Tomato Orzo Delight
Welcome to your next favorite dish: Creamy One-Pot Sun-Dried Tomato Orzo Delight! If you’re looking for a quick, yummy meal that hugs you from the
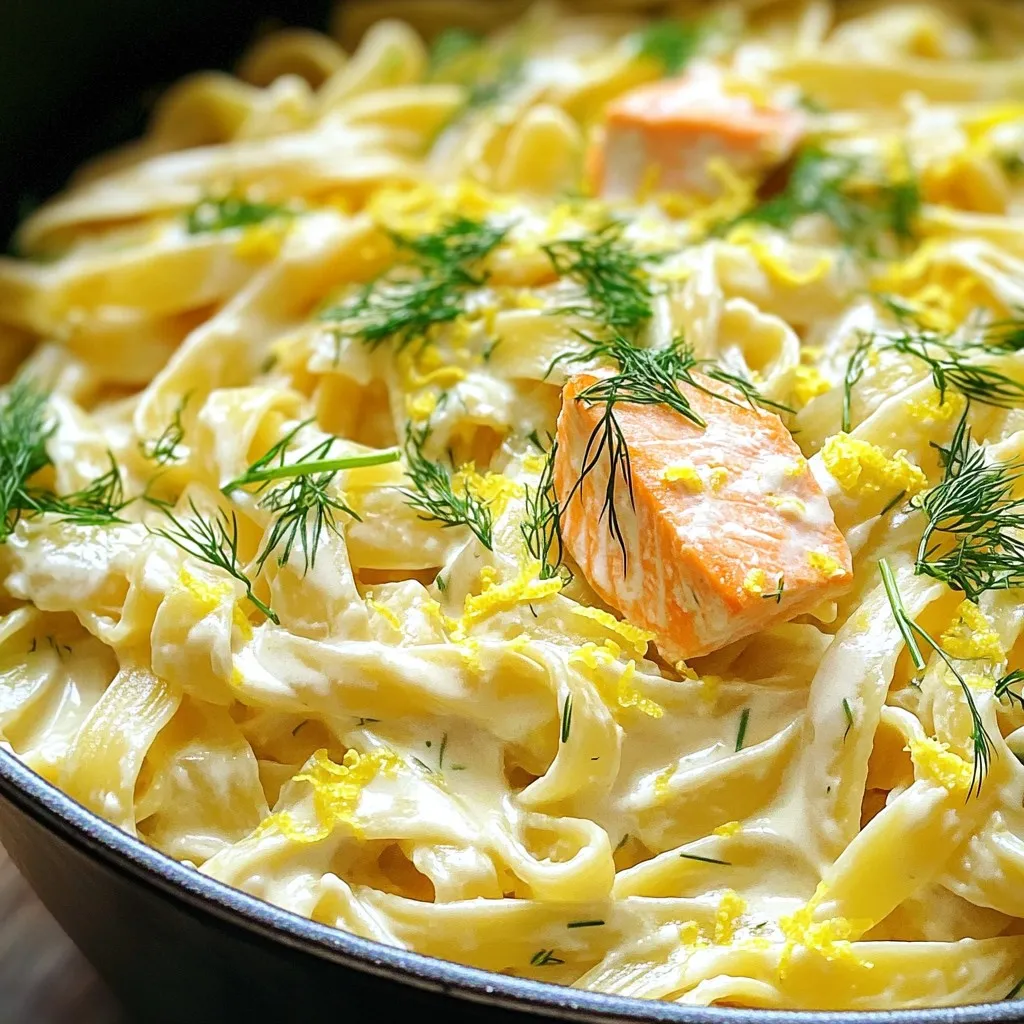
One Pot Creamy Lemon Dill Salmon Pasta Delight
If you crave a meal that’s quick, easy, and bursting with flavor, you’ll love this One Pot Creamy Lemon Dill Salmon Pasta Delight. Picture creamy
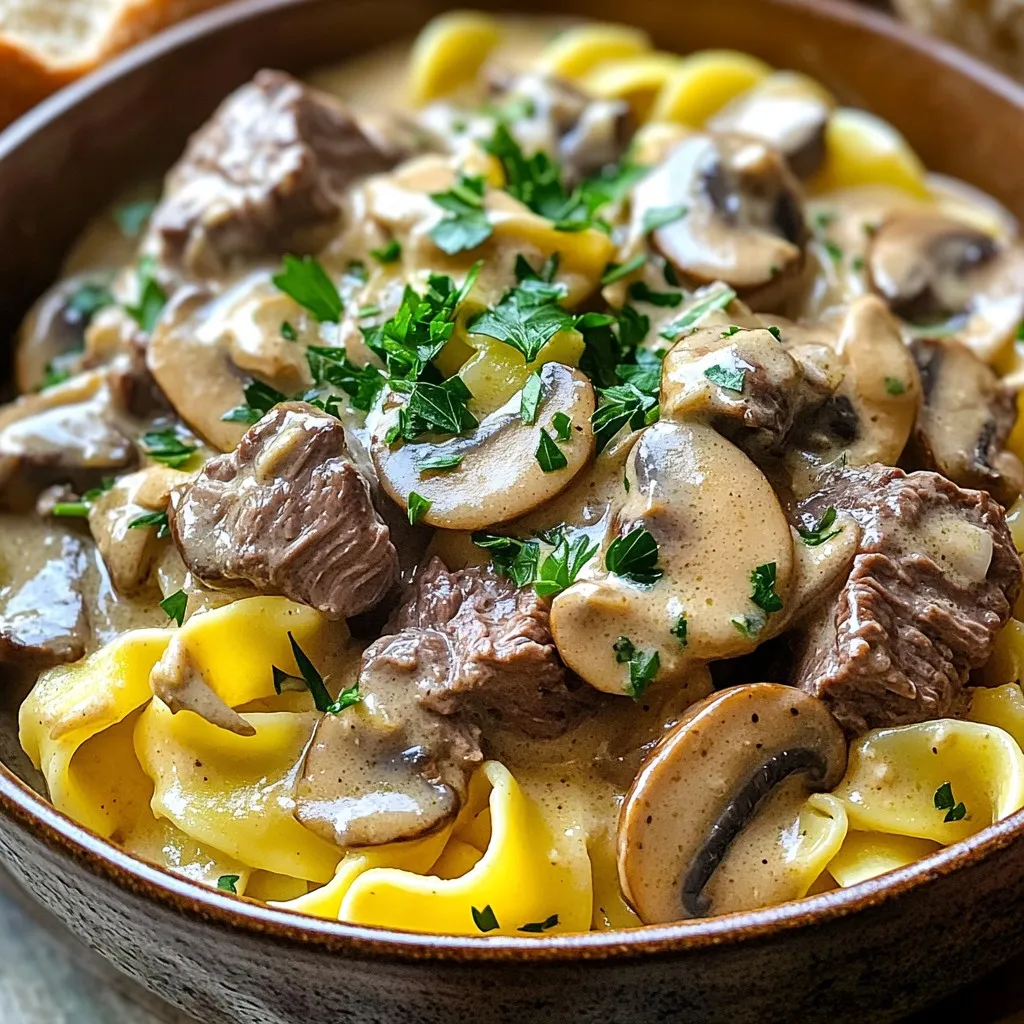
Slow Cooker Beef Stroganoff with Egg Noodles Delight
Welcome to “Slow Cooker Beef Stroganoff with Egg Noodles Delight.” If you want a warm, comforting meal that thrill your taste buds, you’re in the
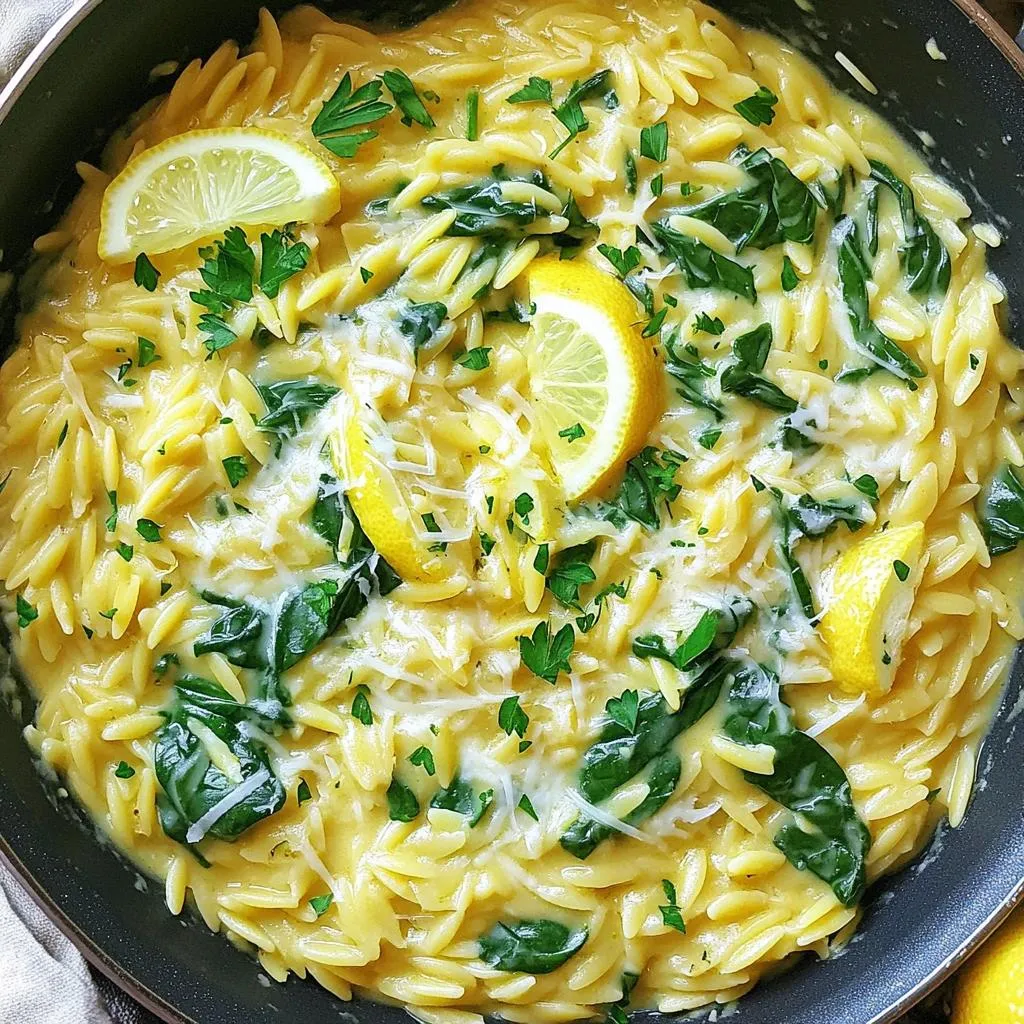
One-Pan Creamy Lemon Parmesan Orzo Delightful Recipe
Looking for a quick, tasty dinner? Try my One-Pan Creamy Lemon Parmesan Orzo. This dish is creamy, zesty, and easy to make. You only need
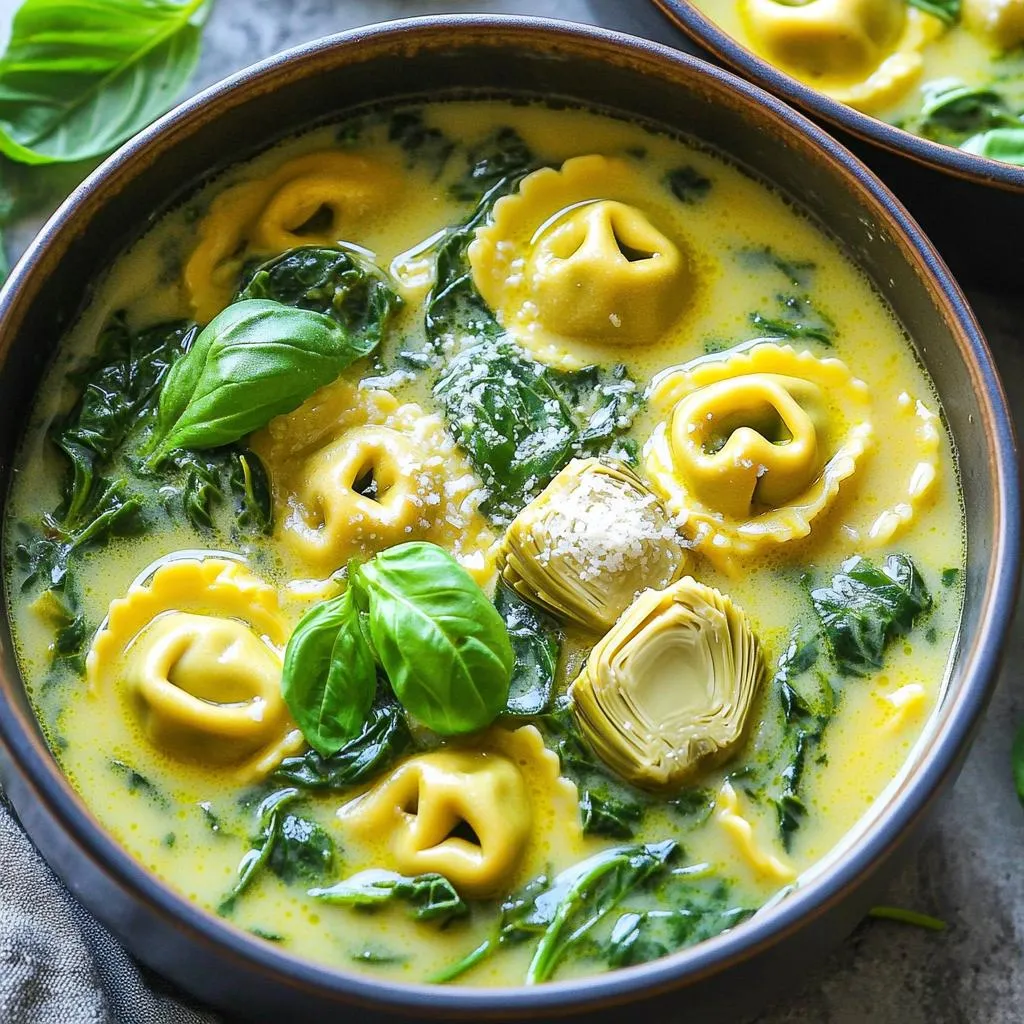
One-Pot Spinach Artichoke Tortellini Delightful Meal
Looking for a quick, tasty meal? You’ve found it! My One-Pot Spinach Artichoke Tortellini combines fresh flavors and creamy goodness without the mess of many
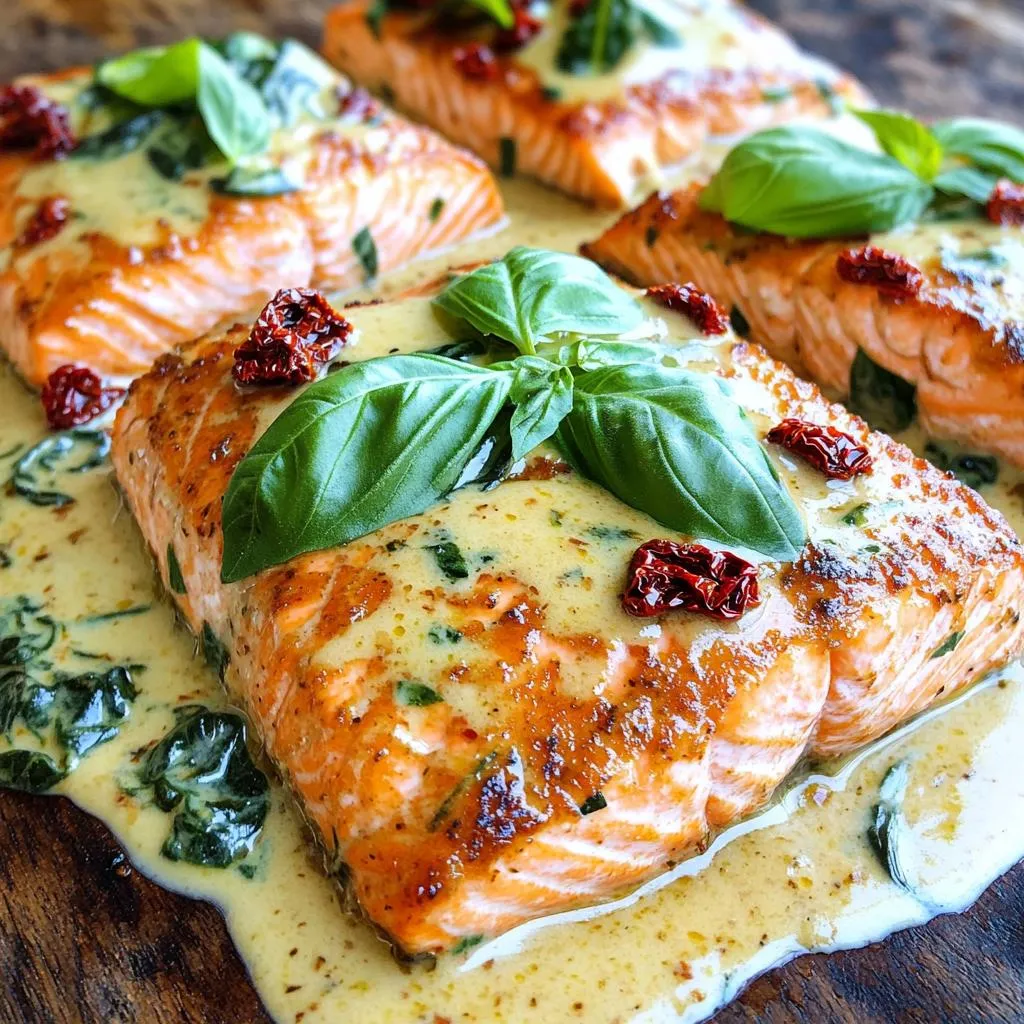
Creamy Tuscan Sun-Dried Tomato Salmon Flavorful Dish
Are you ready to impress your taste buds? This Creamy Tuscan Sun-Dried Tomato Salmon is a quick, flavorful dish that elevates any dinner. Loaded with
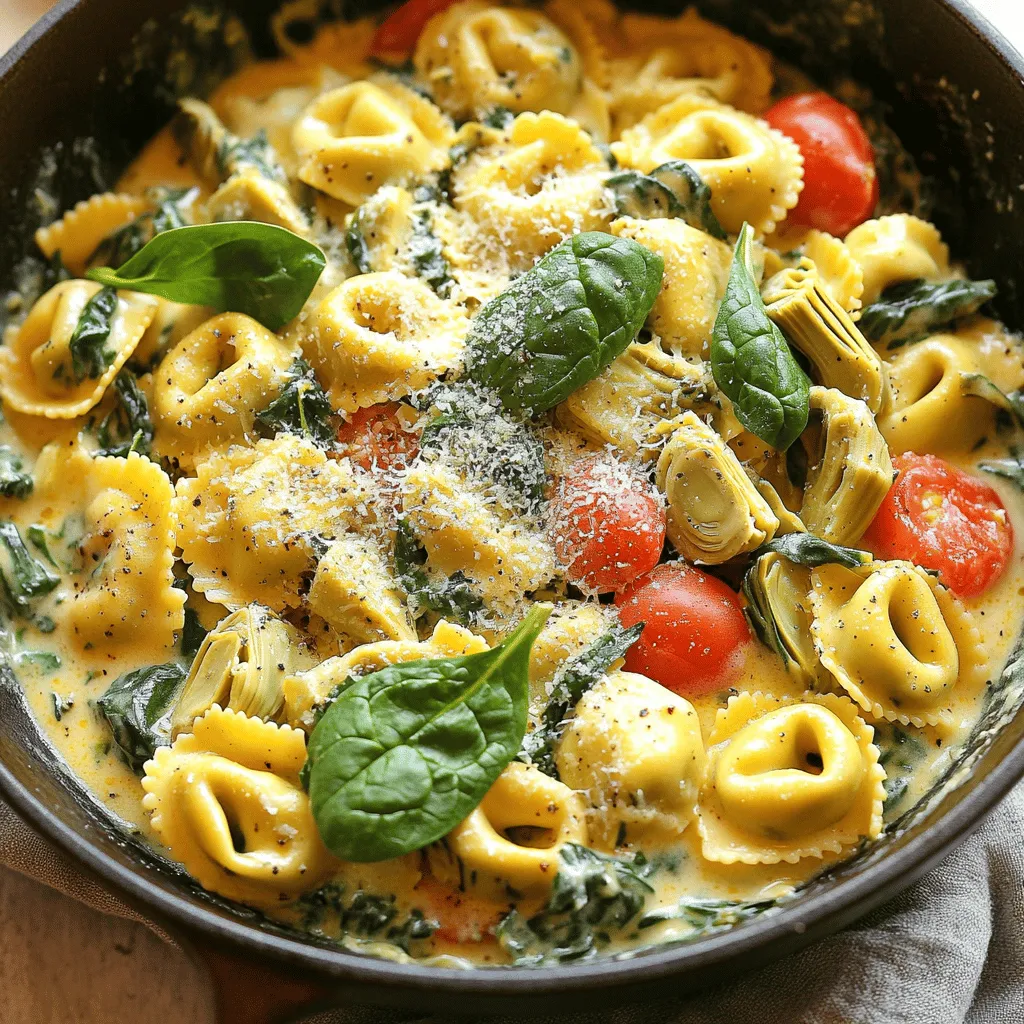
One-Pot Spinach Artichoke Tortellini Skillet Delight
Welcome to your new favorite recipe: One-Pot Spinach Artichoke Tortellini Skillet Delight! If you love quick and tasty meals, this dish is for you. You’ll
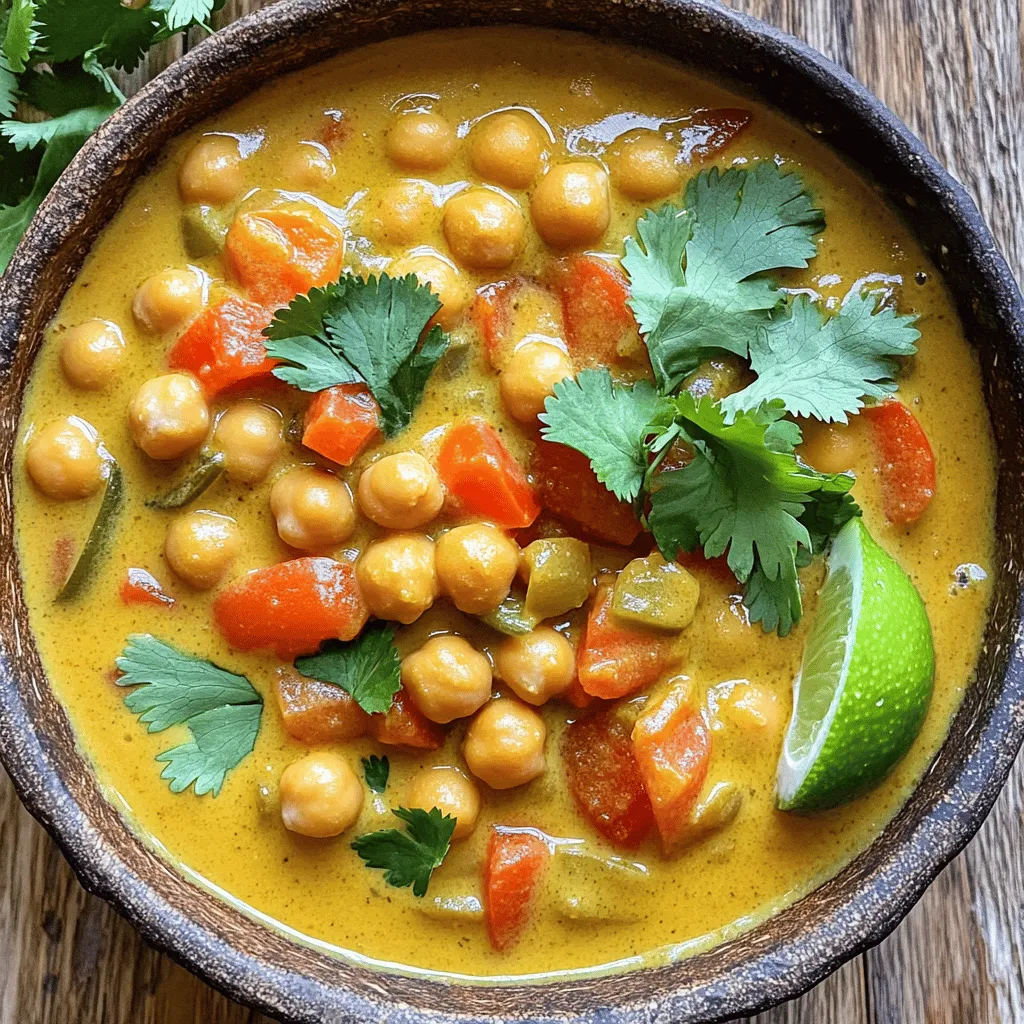
Slow Cooker Coconut Curry Chickpea Stew Delight
If you love bold flavors and easy meals, you’ll adore this Slow Cooker Coconut Curry Chickpea Stew! This hearty dish combines creamy coconut milk, tender