Salads

Deviled Egg Macaroni Salad Tasty and Easy Recipe
Get ready for a delicious twist on a classic favorite! Deviled egg macaroni salad combines the creamy richness of deviled eggs with the comforting appeal
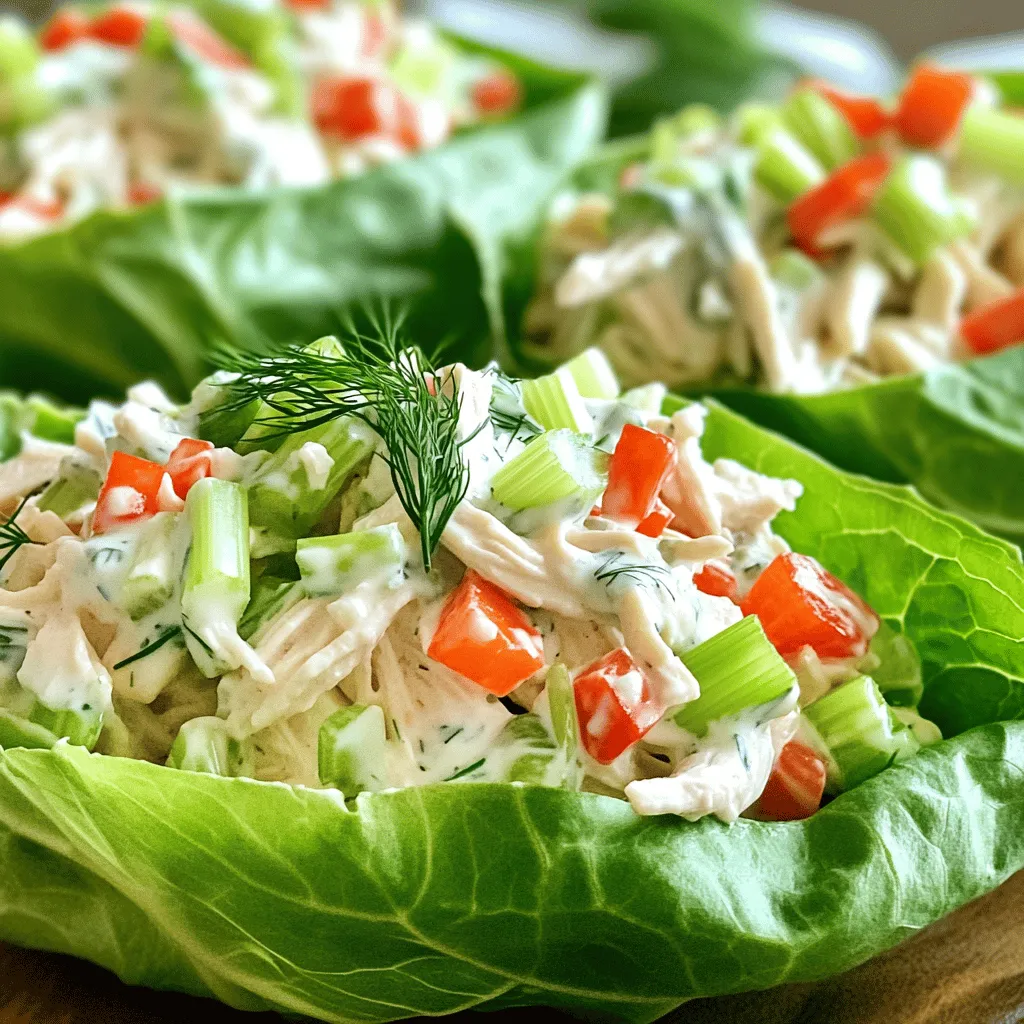
Greek Yogurt Ranch Chicken Salad Lettuce Boats Recipe
Looking for a fresh and tasty meal that’s easy to make? You’re in the right place! My Greek Yogurt Ranch Chicken Salad Lettuce Boats are
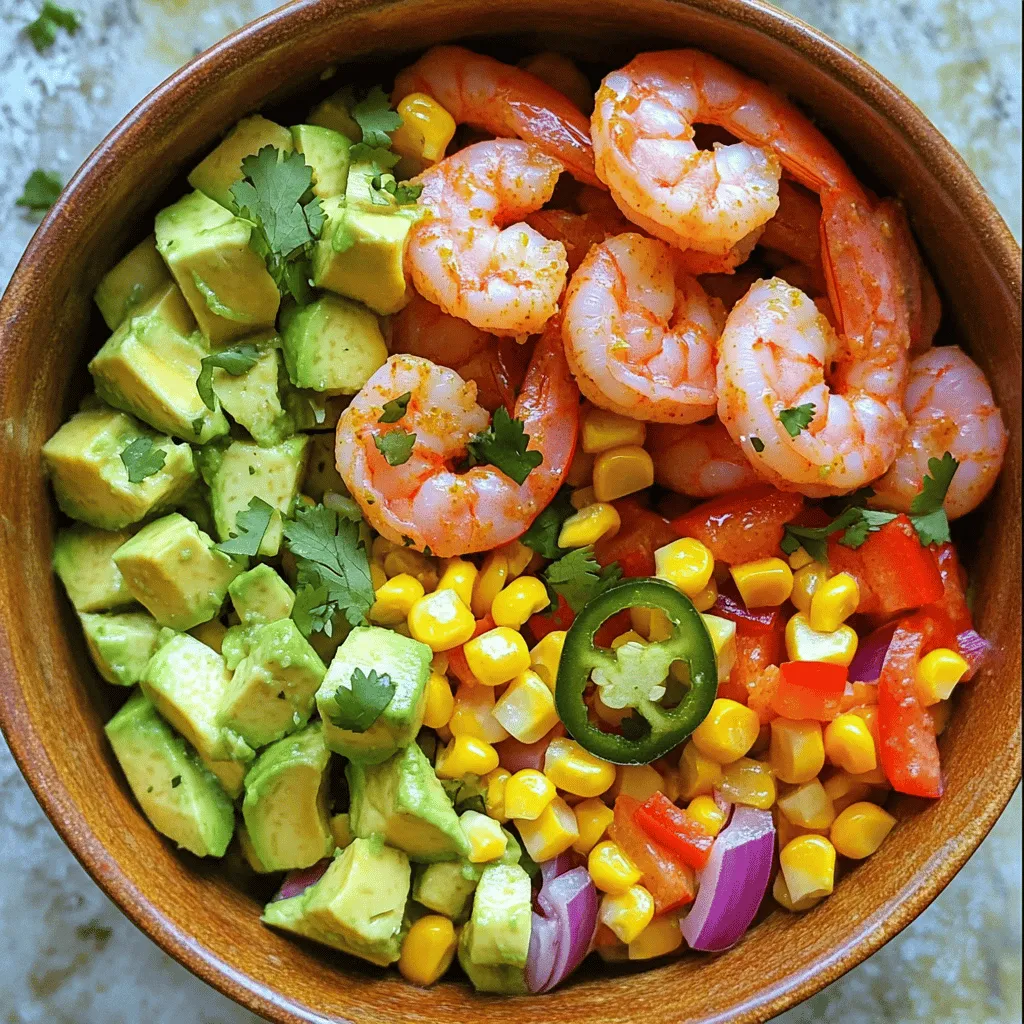
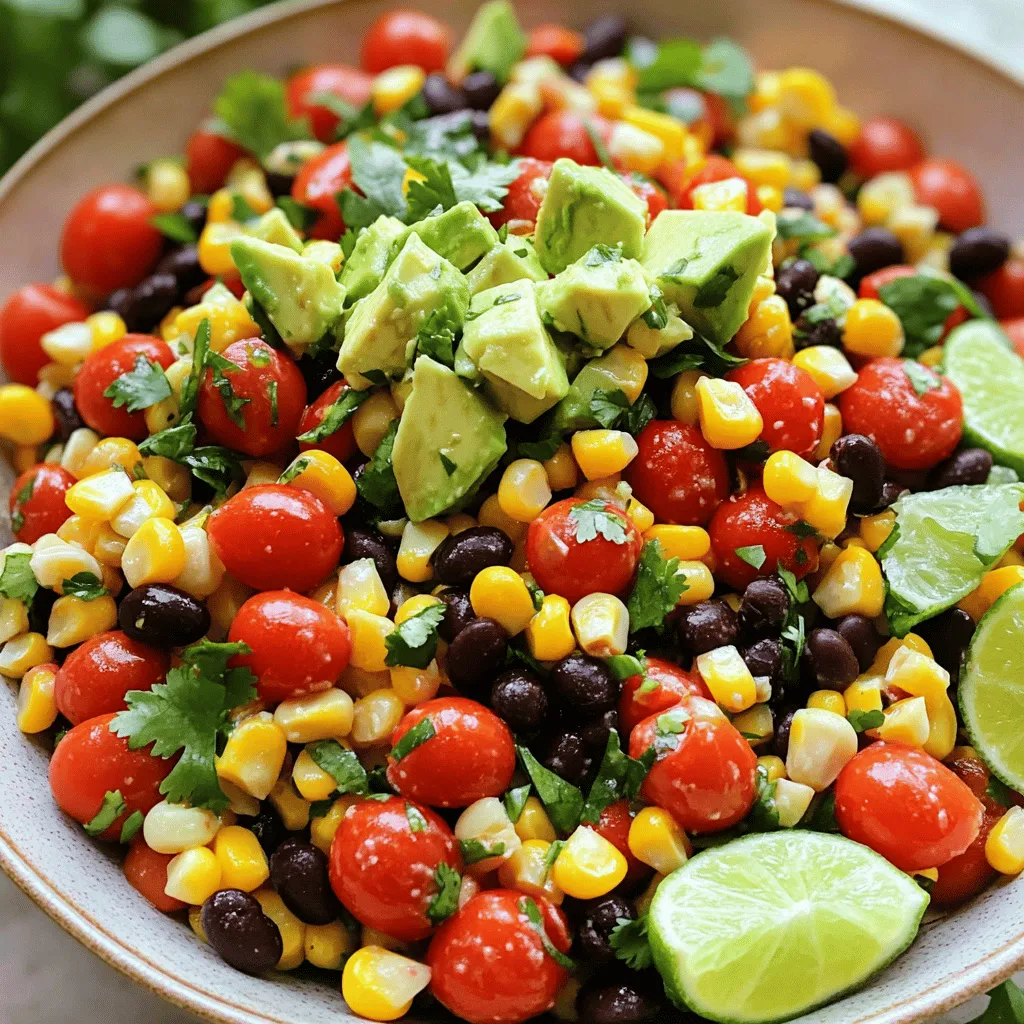
Chili Lime Shrimp & Corn Avocado Salad Refreshing Dish
Looking for a bright and tasty dish? My Chili Lime Shrimp & Corn Avocado Salad is just the thing! Packed with fresh ingredients and a
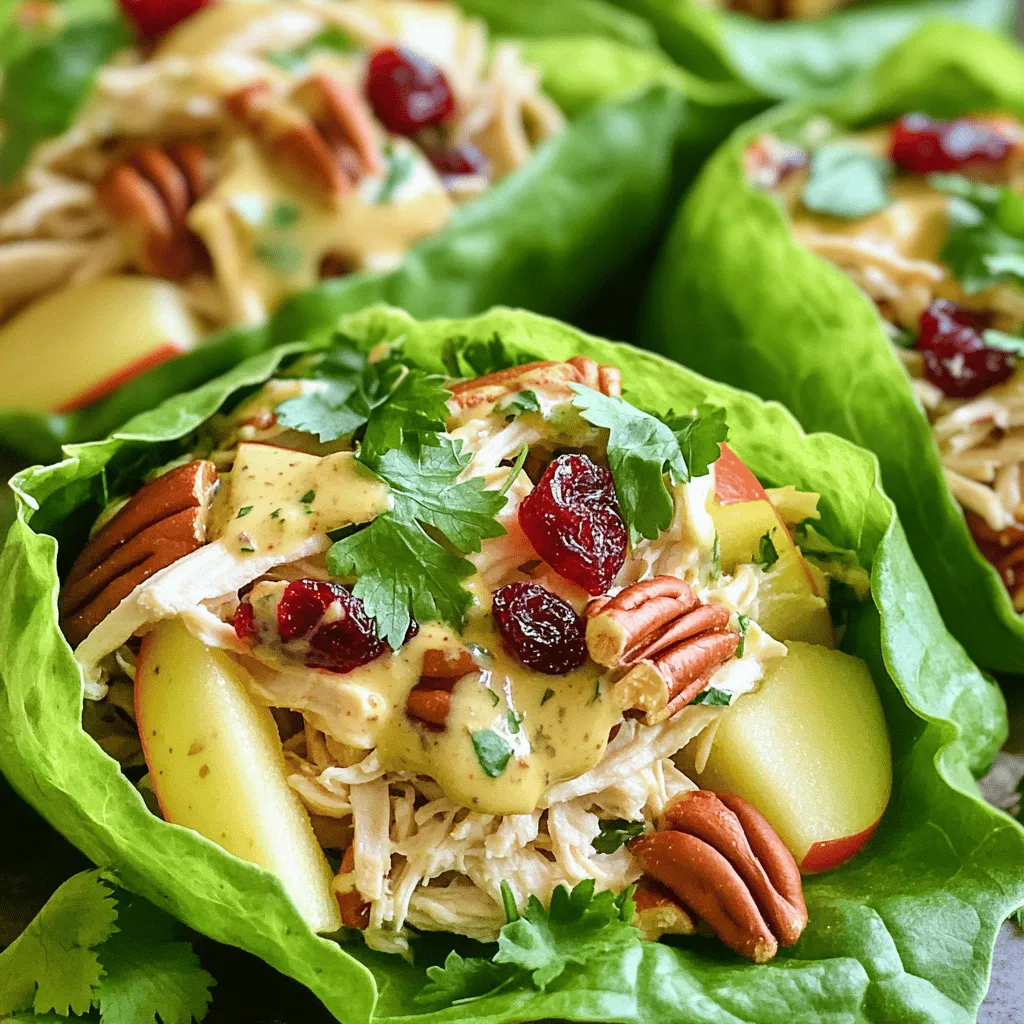
Cranberry Pecan Chicken Salad Wraps Fresh and Simple
Looking for a quick and healthy meal? Try my Cranberry Pecan Chicken Salad Wraps! With juicy chicken, sweet cranberries, and crunchy pecans, these wraps bring
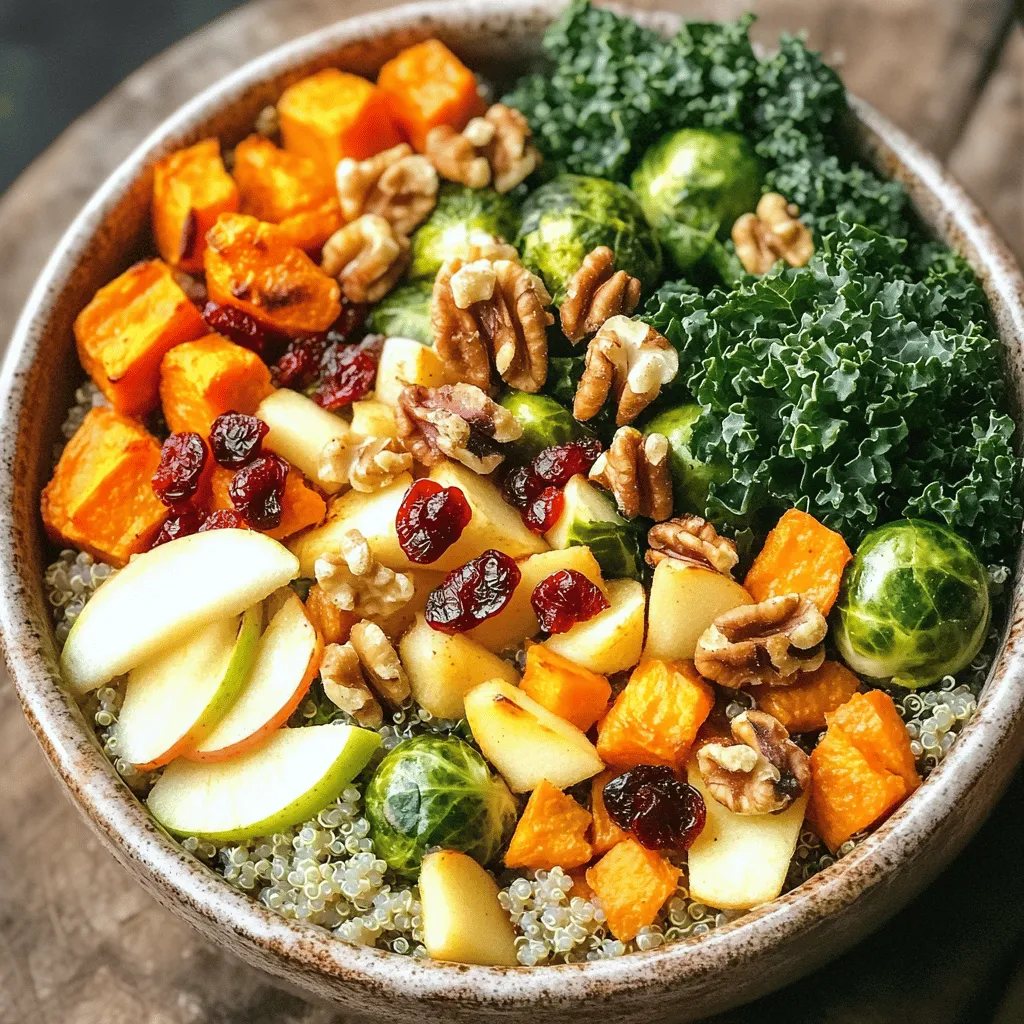
Autumn Harvest Buddha Bowl Flavorful and Nutritious Dish
Are you ready for a dish that captures autumn’s best flavors? The Autumn Harvest Buddha Bowl brims with warm, tasty ingredients like sweet potatoes, quinoa,

Greek Yogurt Chicken Salad Simple and Tasty Recipe
Looking for a delicious and easy meal? Try my Greek Yogurt Chicken Salad! This simple recipe blends shredded chicken with creamy Greek yogurt and crunchy
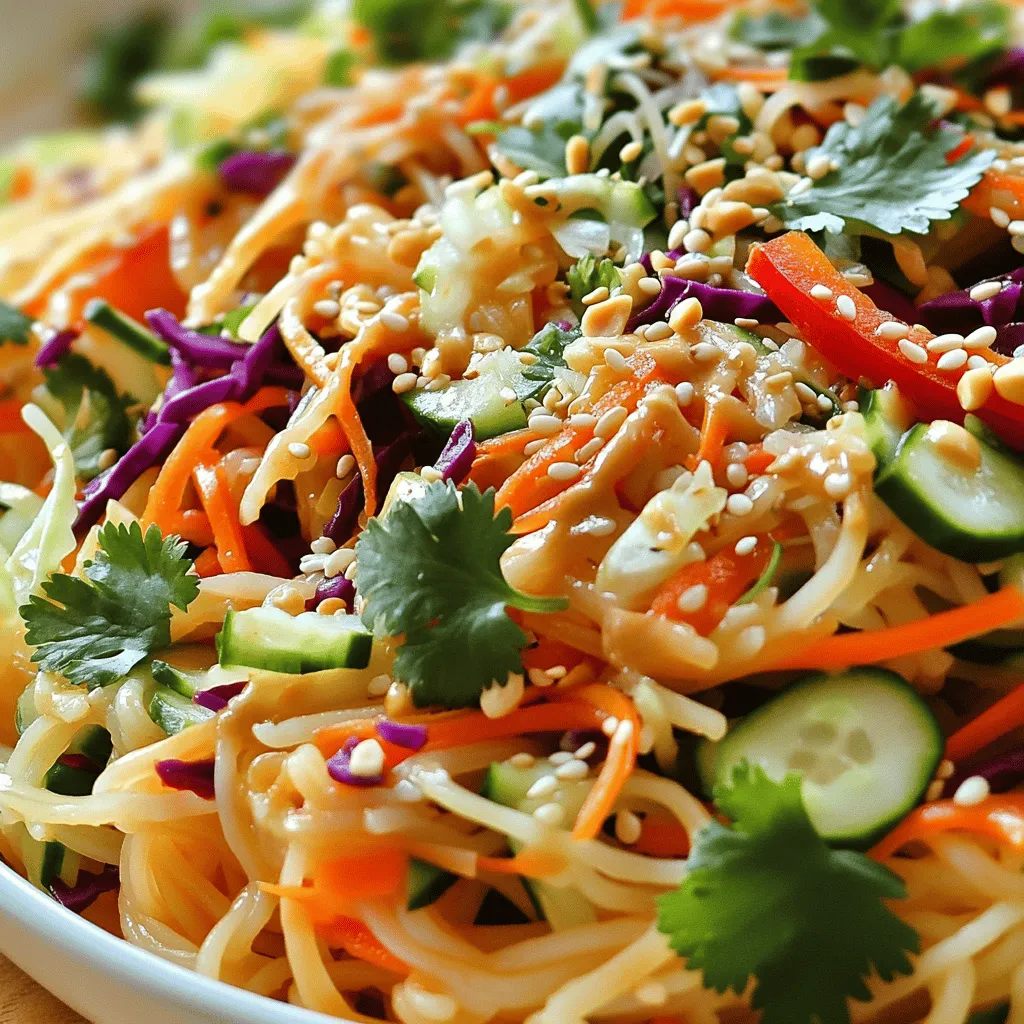
Spicy Thai Peanut Noodle Salad Fresh and Flavorful Dish
Dive into a world of flavor with my Spicy Thai Peanut Noodle Salad! This dish is fresh, vibrant, and easy to make. Packed with rice
Crack Corn Salad Flavorful and Easy to Make
Crack Corn Salad is a fun and tasty dish that you can whip up in no time. With fresh corn and simple ingredients, it’s full
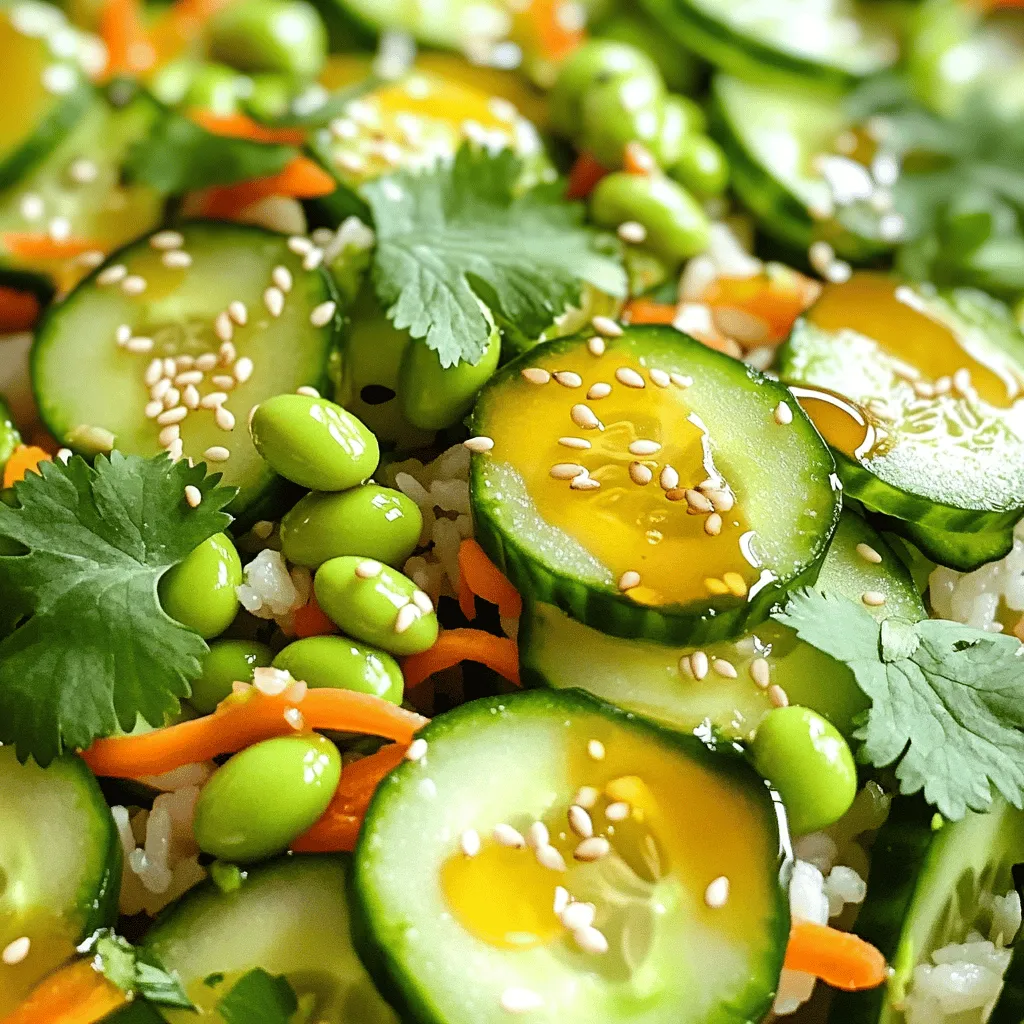
Sushi Cucumber Salad Fresh and Tasty Dish Recipe
If you crave a fresh, vibrant dish that’s quick to make, look no further! This Sushi Cucumber Salad packs a punch with crisp cucumbers, savory
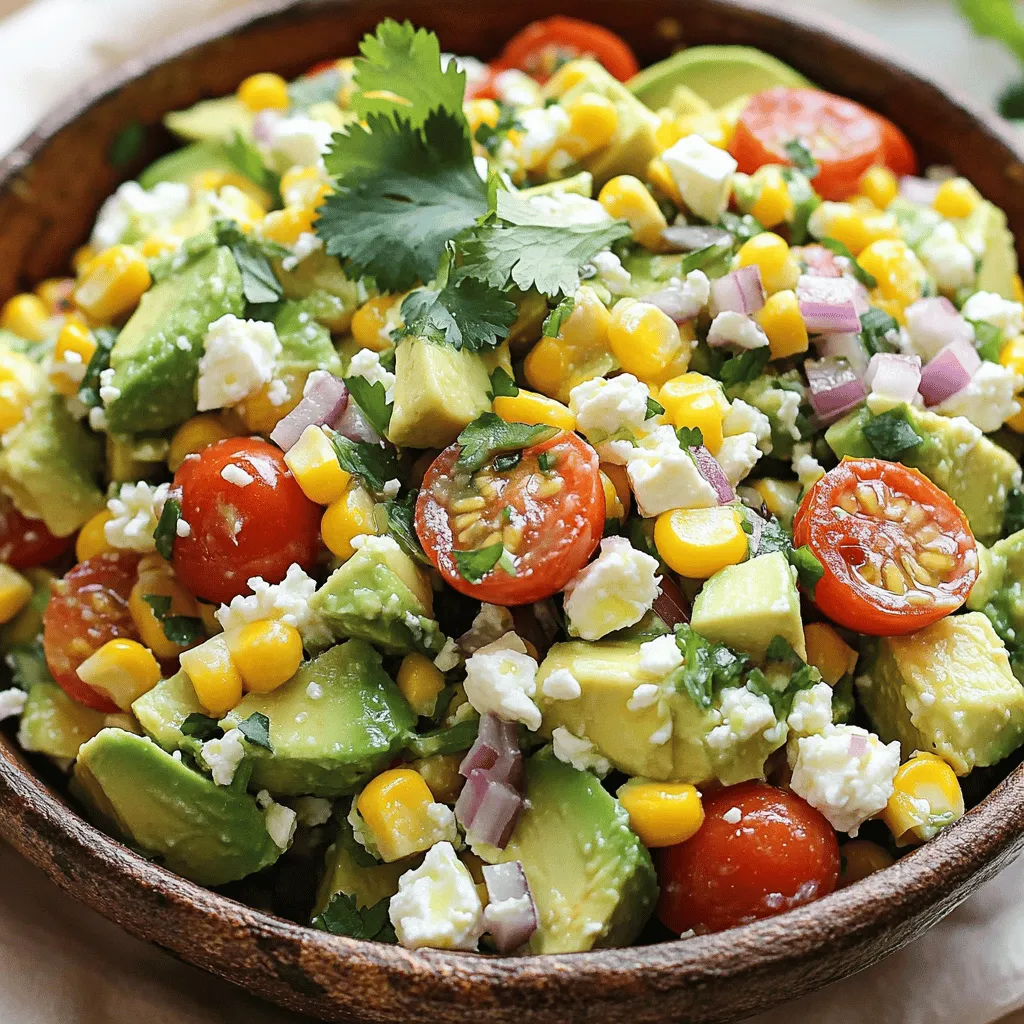
Avocado Feta Corn Salad Fresh and Flavorful Dish
Looking for a fresh and tasty dish? This Avocado Feta Corn Salad is perfect! It’s easy to make and packed with flavor. You might have