Salads
SEO Title Error: Connection error.
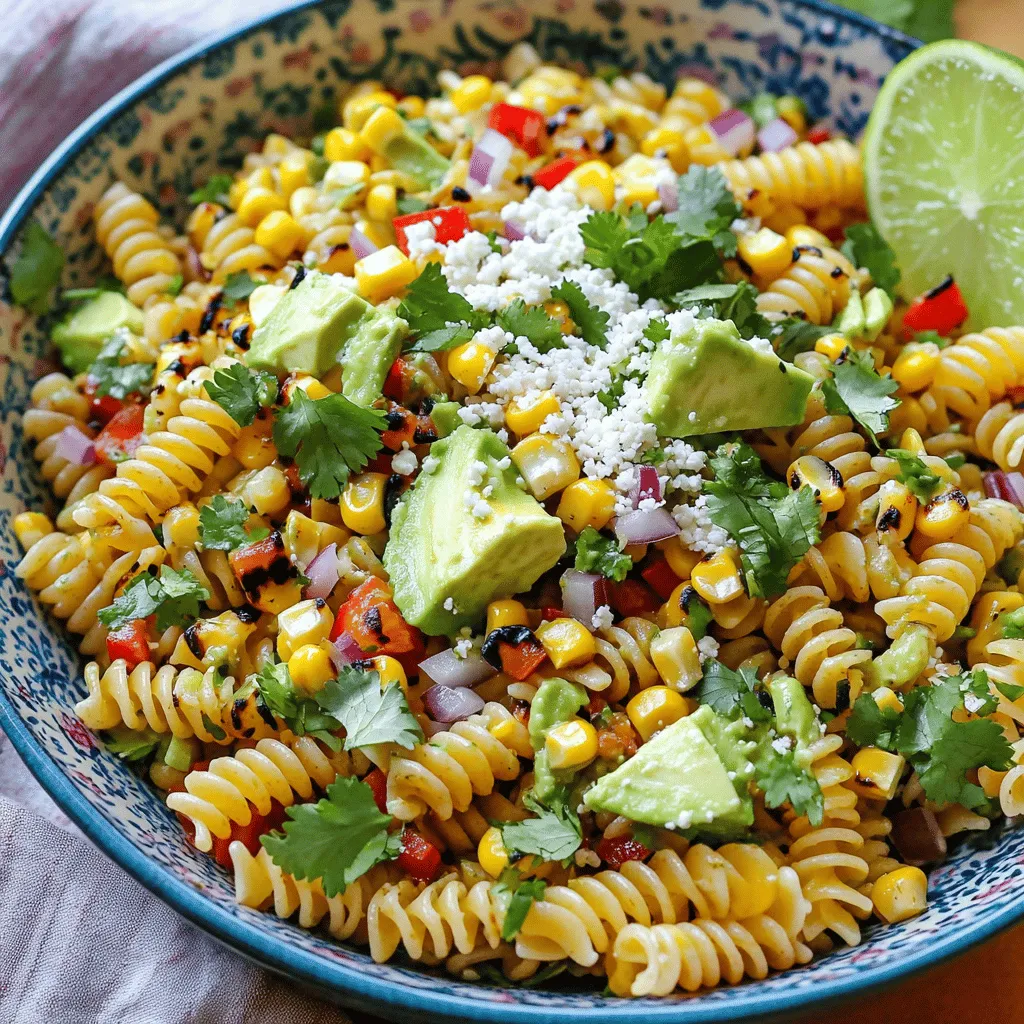
Intro Error: Connection error. Mexican Street Corn Pasta Salad What is Mexican street corn pasta salad? It is a fun dish that mixes pasta and
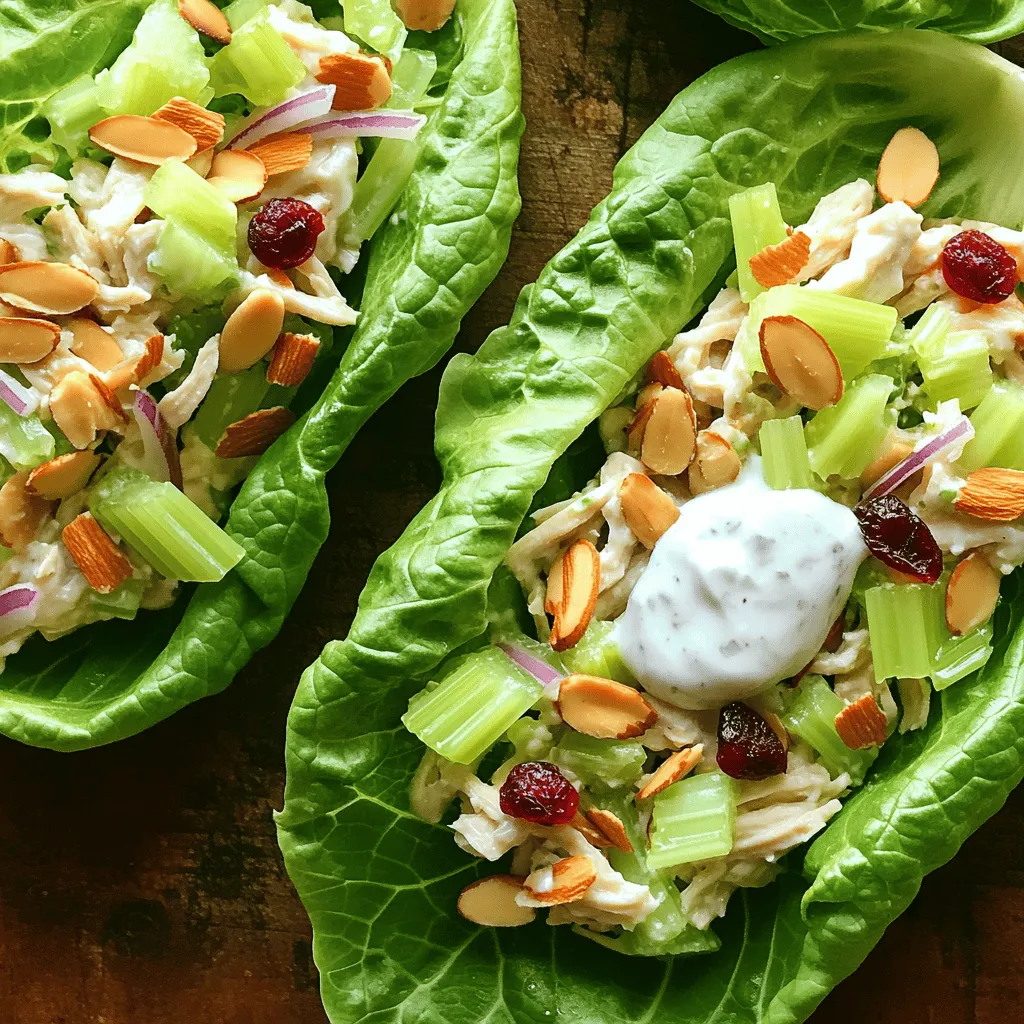
Greek Yogurt Chicken Salad Lettuce Wraps Fresh Delight
Craving a fresh and tasty meal? Look no further than Greek Yogurt Chicken Salad Lettuce Wraps! This simple dish is perfect for lunch or dinner,
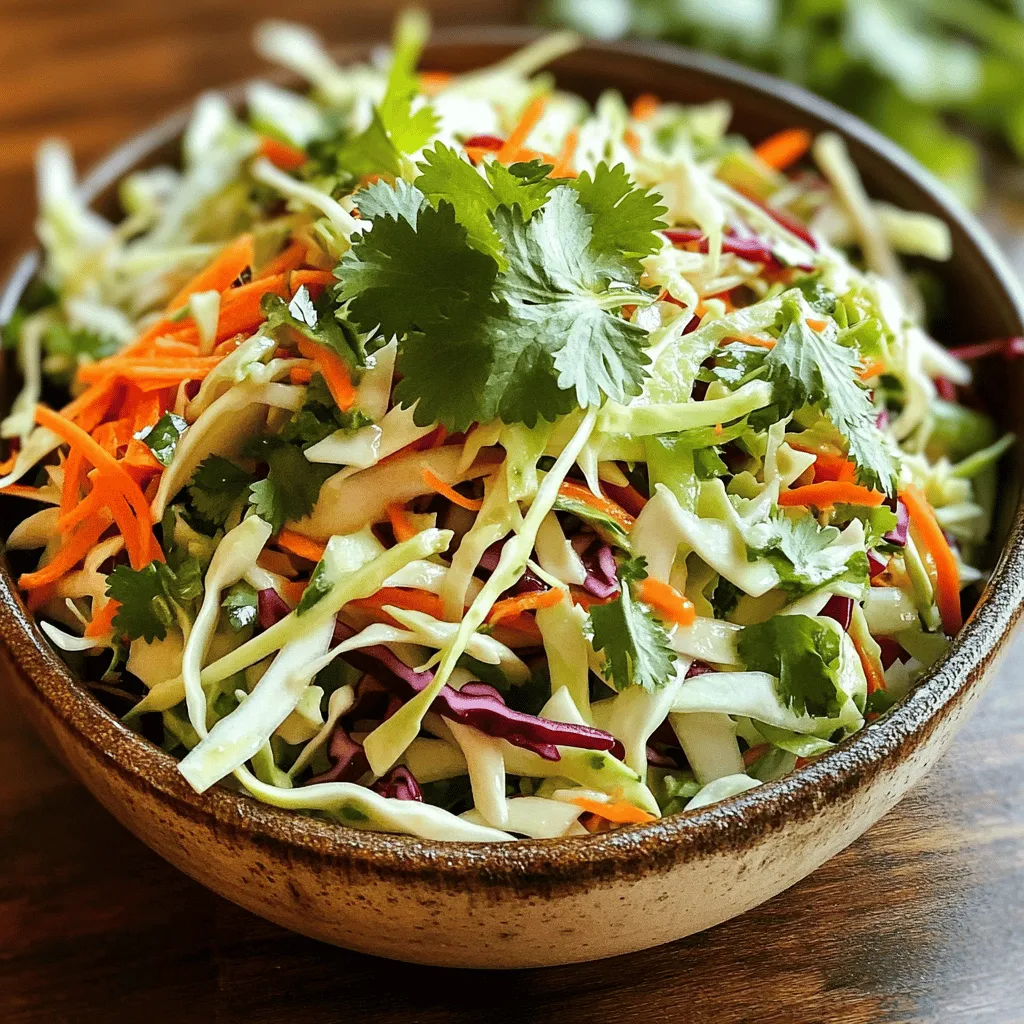
Cilantro Lime Slaw Crisp and Flavorful Delight
If you’re looking for a crisp and flavorful side dish, you’ve hit the jackpot! My Cilantro Lime Slaw packs a punch with vibrant veggies and
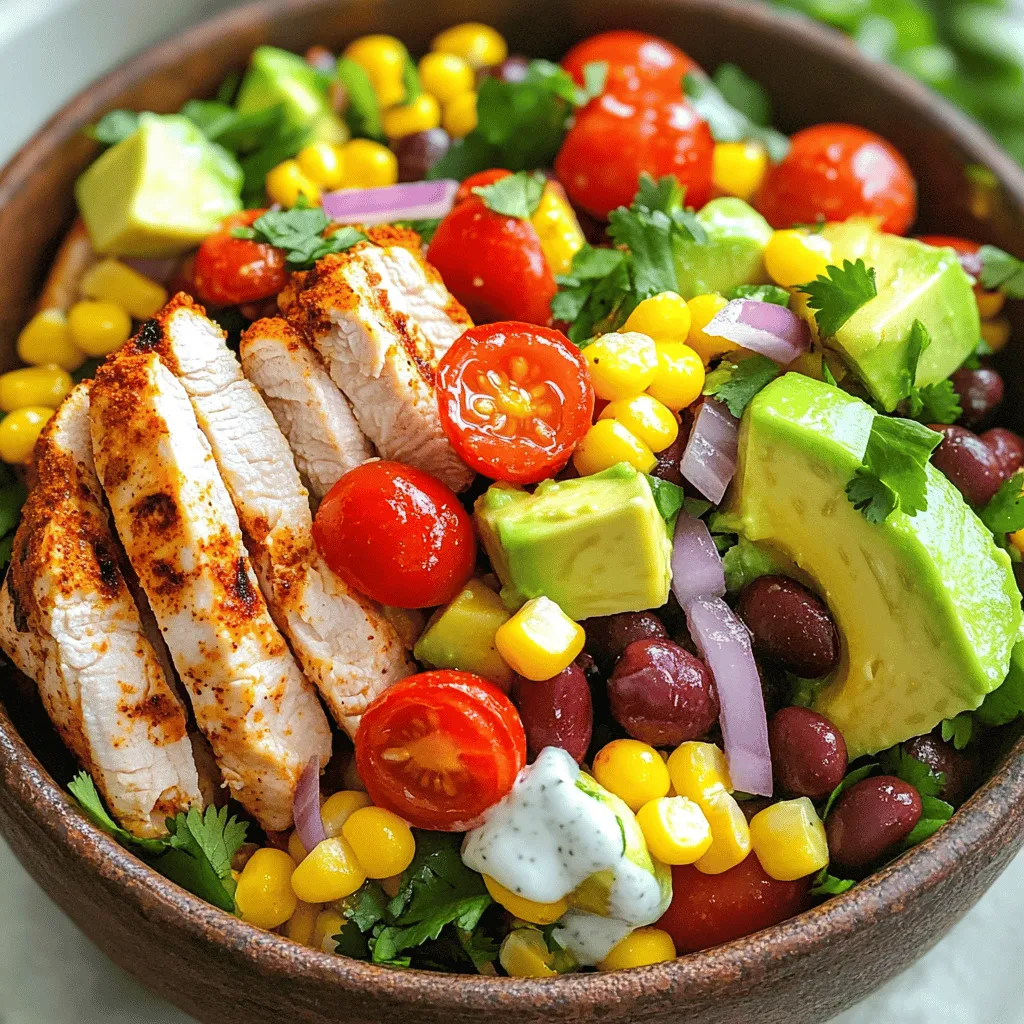
Tex-Mex Chopped Chicken Salad Flavorful and Fresh Dish
Are you ready to spice up your meal routine? This Tex-Mex Chopped Chicken Salad combines juicy grilled chicken, fresh veggies, and zesty seasonings into one
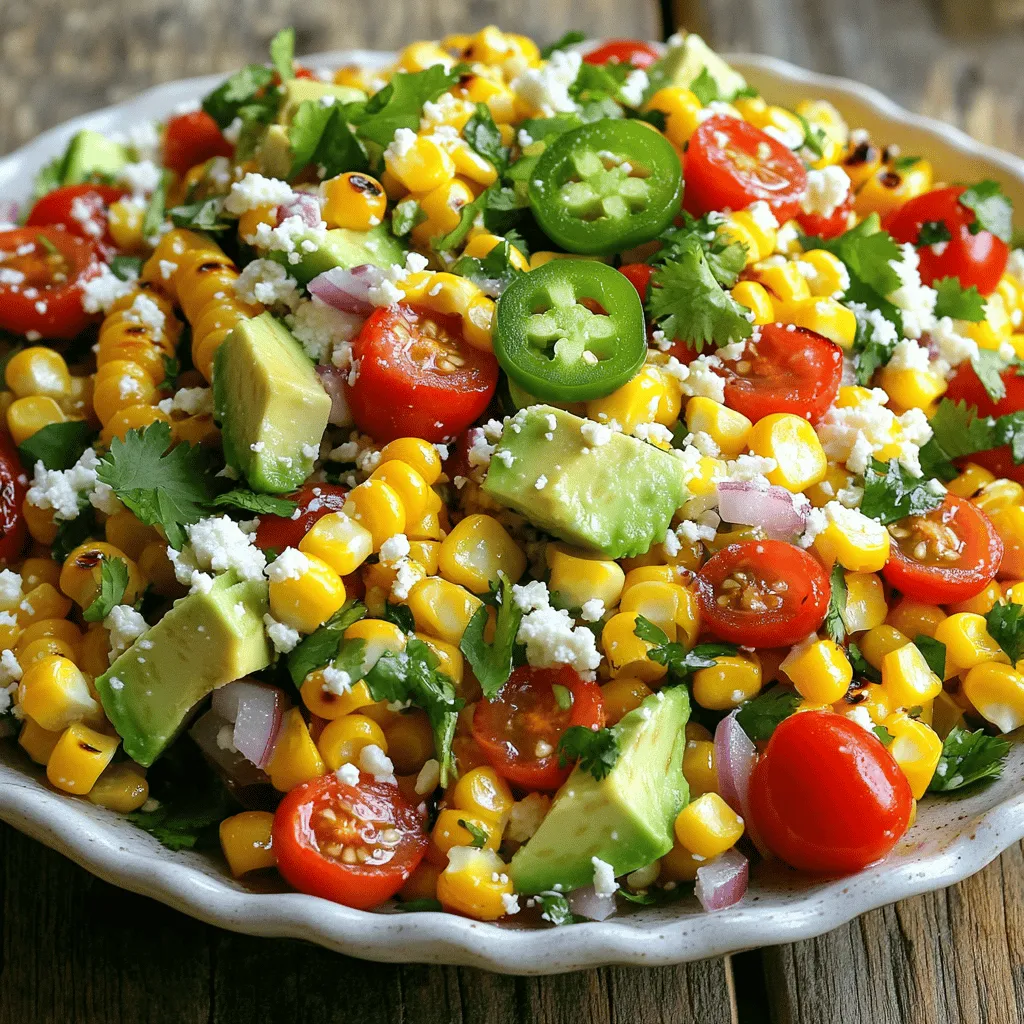
Mexican Corn Salad Delightful and Fresh Recipe
Are you ready to elevate your next meal with a burst of flavor? This Mexican Corn Salad is not just a dish; it’s a celebration
Creamy Balsamic Vinaigrette Easy and Flavorful Recipe
Looking for a way to elevate your salads and dishes? My Creamy Balsamic Vinaigrette recipe is your answer! You can whip this up in minutes
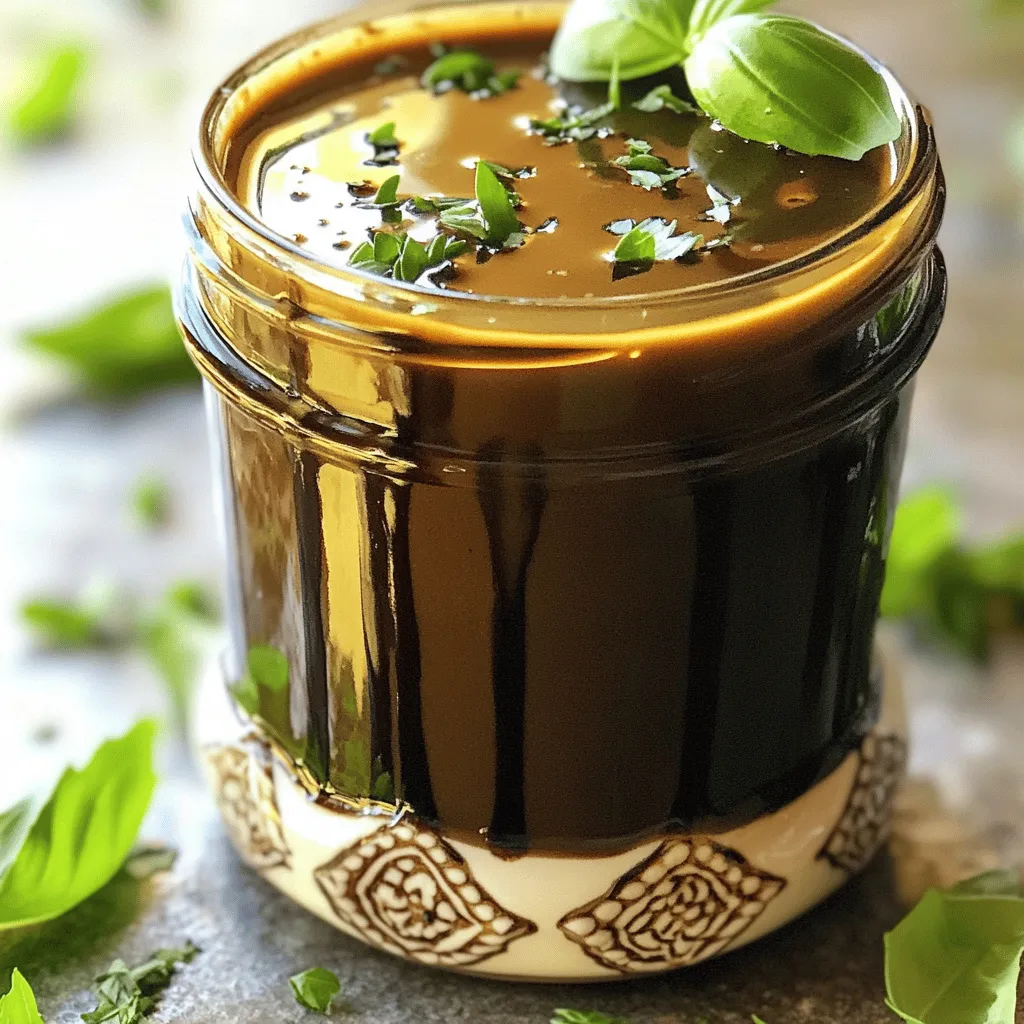
![- Strawberries: Look for bright red, firm strawberries. Wash them gently and remove the green tops. Slice them for the dressing. Fresh strawberries give the best flavor. You can also use ripe berries for extra sweetness. - Greek yogurt: Use plain Greek yogurt for a creamy texture. It adds protein and tang. If you want a lighter option, you can replace it with low-fat yogurt or dairy-free yogurt. Both work well and keep the dressing creamy. - Honey: Honey adds natural sweetness. If you prefer other options, try maple syrup or agave nectar. These will change the flavor but still taste good. Adjust to your liking. - Apple cider vinegar: This vinegar brings a tangy flavor. It helps balance the sweetness of the strawberries. If you need a substitute, white vinegar or lemon juice can work too. Both provide a nice acidic kick. - Poppy seeds: These tiny seeds add crunch and a nutty flavor. Poppy seeds are also rich in nutrients like fiber and calcium. They enhance the dressing's texture and look. - Olive oil: Use high-quality extra virgin olive oil for the best taste. It adds richness to the dressing. If you want a different flavor, you can try avocado oil or sunflower oil. Each oil brings a unique taste to your dressing. For the complete recipe, check out the [Full Recipe]. To start making strawberry poppyseed salad dressing, you need to blend the base ingredients first. - Blending the base ingredients: Add 1 cup of fresh strawberries, 1/4 cup of Greek yogurt, 2 tablespoons of honey, and 2 tablespoons of apple cider vinegar to your blender. Toss in 1 tablespoon of poppy seeds, 1/4 teaspoon of salt, and 1/4 teaspoon of black pepper. Blend on high until everything is smooth and creamy. Scrape down the sides if needed. - Achieving the right texture: The goal is a silky and creamy texture. If it’s too thick, blend in a little water or more yogurt. If it’s too thin, add more strawberries or yogurt to thicken it up. Next, we emulsify the dressing to make it creamy and smooth. - Techniques for smooth dressing: While the blender runs, slowly drizzle in 1/2 cup of extra virgin olive oil. This helps to combine the ingredients well. Blend until fully mixed and creamy. - Adjusting acidity and sweetness: After blending, taste your dressing. If it’s not sweet enough, add a little more honey. If it’s too sweet, a splash more apple cider vinegar can balance it out. Chilling is key for great flavor. - Importance of chilling: Refrigerate your dressing for at least 30 minutes. This allows all the flavors to meld together. - How long to refrigerate before serving: You can chill it longer if you want. Just keep it in an airtight container. This dressing tastes best when served cold. Once you follow these steps, your strawberry poppyseed salad dressing will be ready to elevate your salads! For a detailed overview, check out the Full Recipe. To balance flavors, you want sweet and tangy to work together. The honey adds sweetness, while the apple cider vinegar brings tang. Taste as you mix to get it just right. If it's too sweet, add more vinegar. If it’s too tangy, add honey. If your dressing is too thick, add a splash of water or more olive oil. For a thinner consistency, blend longer. If it's too thin, blend in more Greek yogurt to thicken it up. This dressing shines on salads, especially with mixed greens and fruits. Pair it with nuts, cheese, or grilled chicken to enhance flavors. You can also use it as a dip for fresh veggies. It works great on grain bowls or drizzled over roasted veggies. Serve your dressing in a pretty bottle or jar. Add a ribbon for flair. When you pour it over a salad, it looks stunning with vibrant colors. Store it in decorative containers to make it a standout item in your fridge. For a fun twist, label your jars with the date or special notes about the dressing. Check out the Full Recipe for the perfect dressing to try today! {{image_2}} You can add herbs for extra flavor in strawberry poppyseed dressing. Fresh basil or mint adds a nice twist. Start with a small amount and blend it in. Taste as you go to find the right balance. You can also experiment with citrus flavors. Try adding lime or orange juice. This will brighten the dressing and make it more refreshing. To make the dressing vegan, substitute Greek yogurt with a plant-based yogurt. You can also use maple syrup instead of honey. This keeps the sweetness while staying true to vegan diets. For low-calorie options, reduce the olive oil. You can use less or replace it with vegetable broth. This change cuts calories without losing too much flavor. Using seasonal fruits can change the flavors of your dressing. In summer, try adding peaches or raspberries. In fall, you might use apples or pears. Each fruit brings its unique taste and makes the dressing special. You can also tailor the dressing for holiday parties. During winter, add cranberries for a festive touch. This adds color and a tart flavor perfect for holiday meals. For the full recipe, check out the Strawberry Poppyseed Bliss Dressing. To keep your Strawberry Poppyseed Salad Dressing fresh, use glass jars or BPA-free containers. Glass keeps flavors intact and doesn't absorb odors. Always label your jar with the date you made it. This step helps you track freshness. This dressing can last about one week in the fridge. Store it in the coldest part, usually at the back. Look for signs like separation, off smell, or mold. If you notice any, it’s best to toss it. You can freeze this dressing, but it may change texture. Pour the dressing into ice cube trays for easy use later. To thaw, place cubes in the fridge overnight. Stir well before using to regain the creamy texture. How can I make it less sweet? You can reduce sweetness by cutting back on honey. Try adding more vinegar to balance the taste. You can also mix in a bit of plain Greek yogurt for a creamy, less sweet flavor. Can I use frozen strawberries instead of fresh? Yes, you can use frozen strawberries. Just thaw them first and drain any excess liquid. This will help keep your dressing from being too watery. Is it safe to eat if left out for a while? I recommend not leaving it out for more than two hours. The yogurt can spoil if not kept cool. Always store any leftovers in the fridge. Best brands for pre-made strawberry poppyseed dressing Some popular brands include Annie's, Ken's, and Kraft. They offer tasty options and are easy to find. Check the salad dressing aisle at your local grocery store. Where to find it in stores Look for strawberry poppyseed dressing in the salad dressing section. Some stores may place it near fresh produce. If you can't find it, ask a store employee for help. Calorie count per serving This dressing has about 80 calories per two-tablespoon serving. This can vary based on the brand or ingredients used. Any potential allergens to be aware of This dressing contains dairy from Greek yogurt and may have honey. Check labels for allergens. If you're allergic to nuts, watch for any added nuts in store-bought options. This blog post covered making a tasty strawberry poppyseed dressing. We looked at fresh and pantry ingredients, plus step-by-step instructions. I shared tips to improve your dressing, ways to serve it, and how to store it safely. Remember to balance your flavors and try seasonal twists. Enjoy your dressing on salads, or even as a dip. With these ideas, you’ll create something delicious that everyone will love. Get started today and elevate your meals!](https://tossedrecipes.com/wp-content/uploads/2025/07/67508efc-6c11-4584-a455-3e55a68f8960.webp)
Strawberry Poppyseed Salad Dressing Simple and Fresh
Looking to add a burst of flavor to your salads? My Strawberry Poppyseed Salad Dressing is simple, fresh, and utterly delicious! With just a few

Healthy School Lunch Ideas That Kids Will Love
Are you tired of the same boring lunches? I’ve got you covered with healthy school lunch ideas that your kids will actually want to eat!
Spaghetti Lunchbox Idea for a Tasty Meal Prep
Looking for a fun and tasty meal prep idea? You’ll love this spaghetti lunchbox recipe! It’s simple and perfect for both kids and adults. I’ll
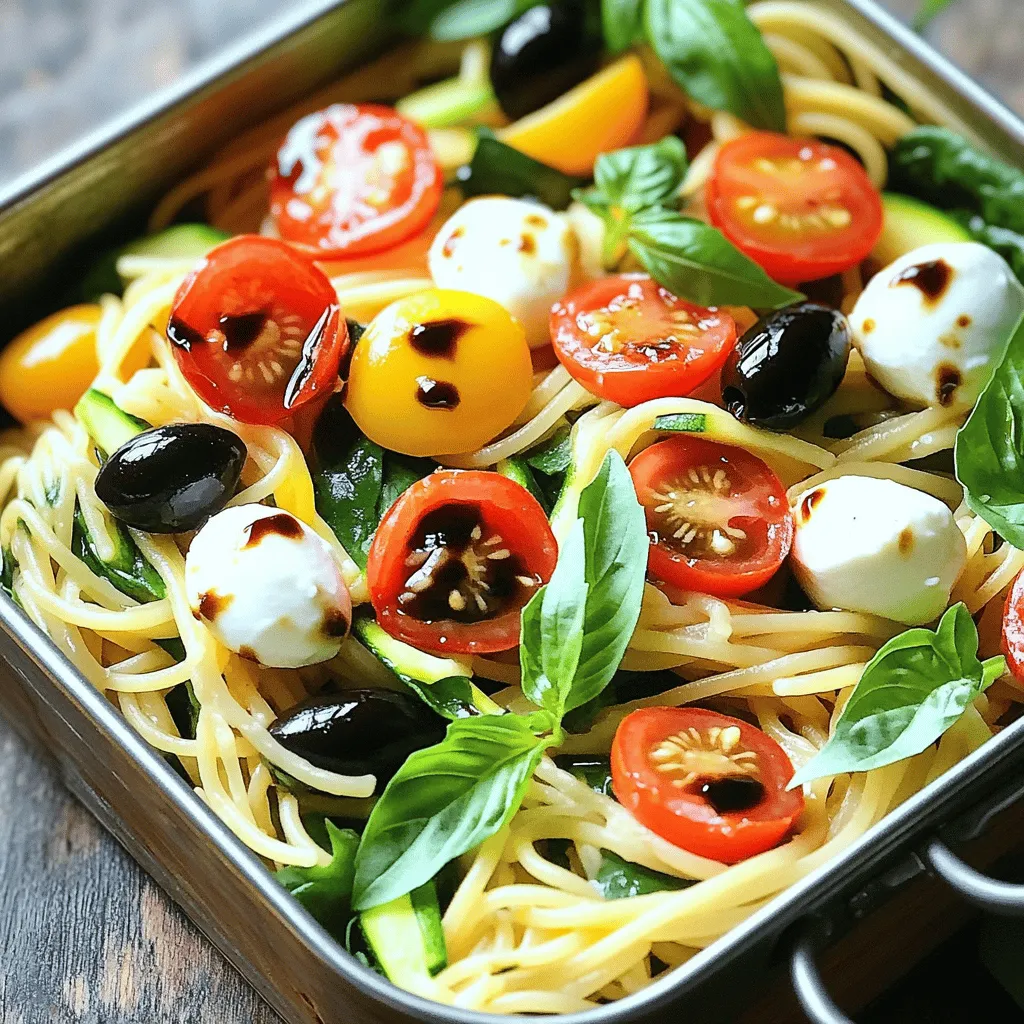
![- 2 cups rotini pasta - 1 cup cherry tomatoes, halved - 1 cup cucumber, diced - 1/2 cup carrots, grated - 1/2 cup bell peppers (red, yellow, green), diced - 1/4 cup black olives, sliced - 1/4 cup feta cheese, crumbled - 1/4 cup Italian dressing - 1 tablespoon olive oil - Salt and pepper to taste - Fresh parsley, chopped (for garnish) Kids' pasta salad is a fun dish you can make together. The first step is to gather your ingredients. I love using rotini pasta because it holds the flavors well. You can choose any colorful vegetables you have. Cherry tomatoes add brightness, while cucumbers give a nice crunch. Grated carrots bring sweetness, and diced bell peppers add more color. Adding feta cheese makes the salad creamy and tasty. If your kids like olives, add some sliced black olives for extra flavor. For the dressing, I recommend using Italian dressing. It’s tangy and pairs well with the veggies. A drizzle of olive oil adds a smooth touch. Make sure to have salt and pepper for seasoning. Fresh parsley gives a nice pop of green as a garnish. This mix of ingredients helps create a salad that is not only tasty but also visually appealing. For the full recipe, check out the details. Start by boiling 2 cups of rotini pasta. Follow the package instructions for cooking time. Make sure the pasta is al dente, which means it should be firm but cooked through. Once the pasta is done, drain it in a colander. Rinse the pasta under cold water to cool it off. This helps stop the cooking process and keeps the pasta fresh. Chop your colorful veggies while the pasta cooks. Use cherry tomatoes, cucumber, carrots, and bell peppers. Aim for small, bite-sized pieces. This makes them easy for kids to eat. Kids love bright colors, so mix red, yellow, and green bell peppers. Each veggie adds fun and flavor to the salad. In a large mixing bowl, combine the cooled pasta and chopped vegetables. Add sliced black olives and crumbled feta cheese for extra taste. In a separate small bowl, whisk together 1/4 cup of Italian dressing and 1 tablespoon of olive oil. Pour the dressing over the pasta and veggies. Gently toss everything together until coated. Taste the salad and add salt and pepper as needed. Chill the pasta salad for at least 30 minutes. This helps the flavors blend. Serve it in colorful bowls for a fun meal. Check the [Full Recipe] for more details! Involving kids in the kitchen makes cooking fun. Let them help wash the veggies. They can stir the pasta, too! Kids love to be part of the process. You can also ask them to pick out their favorite colors of vegetables. This adds a fun twist to the meal. To make the pasta salad look great, use lots of colors. Use bright cherry tomatoes, green cucumbers, and orange carrots. When kids see a rainbow on their plate, they get excited. You can even shape the vegetables into fun designs. This makes eating more enjoyable! Kids often prefer milder flavors. Start with less dressing, then let them taste it. If they want more flavor, you can add a bit more dressing. Keep the seasoning simple. You can use a pinch of salt or pepper, but avoid anything too spicy. Consider adding ingredients like sweet corn or peas. These are usually a hit with kids. You can also include small pieces of cooked chicken or turkey. These proteins make the salad more filling and tasty. Serving pasta salad in colorful bowls makes it more fun. Look for bowls in bright colors or fun shapes. This makes the meal look appealing. You can also serve the salad in cups for a snack. Garnishing adds a special touch. Try sprinkling fresh parsley on top. You can also use a few extra pieces of chopped veggies. This adds color and makes it look fancy. Kids love to eat what looks good! {{image_2}} You can switch up the pasta shape for fun. Try shapes like bows, shells, or spirals. Each one adds a new twist. You can also use whole wheat pasta for more fiber. Changing the cheese can add flavor too. Instead of feta, use mozzarella or cheddar. You can even try a dairy-free cheese. For dressing, experiment with ranch or a yogurt-based option. Each change can create a new taste adventure. Adding protein makes the salad hearty. You can mix in cooked chicken or turkey for a filling meal. Beans like chickpeas or black beans work great too. They add texture and protein. For kids who prefer meatless options, try tofu or veggie sausage. These proteins are fun and tasty, making the salad more balanced. Themed pasta salads are great for parties or holidays. For Halloween, add black olives and orange bell peppers. For Christmas, use red tomatoes and green spinach. In spring, try fresh peas and asparagus for a bright look. Each season brings special veggies. These salads can reflect the time of year and make meals more festive. To keep your kids' pasta salad fresh, store it in a sealed container. Make sure the container is airtight to prevent moisture loss. Place it in the refrigerator right after serving. Pasta salad typically lasts up to three days in the fridge. If you notice any change in smell or color, it’s best to toss it out. You can freeze pasta salad, but it may change the texture. To freeze, use a freezer-safe container and leave some space at the top. This allows for expansion. When you want to eat it, move it to the fridge to thaw overnight. Avoid refreezing after thawing, as it can spoil the taste and texture. For best results, serve leftovers cold. If you prefer it warm, heat it gently in a pan over low heat. Add a splash of olive oil to maintain moisture. Avoid using a microwave as it can make the pasta mushy. Always check the taste and texture before serving. For kids, I recommend rotini or farfalle pasta. These shapes are fun and easy to eat. Their twists and bows catch the dressing and flavors well. Kids enjoy these shapes because they look playful on the plate. Plus, they hold onto the veggies and dressing, making every bite tasty. Yes, you can! Making pasta salad ahead of time is a great idea. I suggest preparing it a few hours before serving. This allows the flavors to blend nicely. Just keep it in the fridge. If you make it the night before, it will still taste fresh. Just give it a good stir before serving! Sneaking in veggies can be simple. Try grating or finely chopping them. Carrots, zucchini, or spinach can blend in well. You can also use small amounts of pureed veggies in the dressing. Mixing in colorful veggies like bell peppers can make it look fun. Kids love bright colors, which can distract them from what’s in there! While Italian dressing is tasty, there are other options. Try ranch, honey mustard, or a light vinaigrette. Kids often enjoy sweeter dressings. You can also mix plain yogurt with herbs for a creamy twist. Just like the main dish, dressings can be fun to explore! This pasta salad combines rotini, colorful veggies, and tasty dressings. You can easily make it a fun meal with your kids. Engage them in prepping and mixing ingredients. Try new pasta shapes or swap in different cheeses. Don't forget about storage! Keep leftovers for later or freeze them for a quick meal. With these tips, your pasta salad will keep kids excited at mealtime. This simple dish can adapt for any occasion while still being healthy and fun. Enjoy creating a dish that your family will love!](https://tossedrecipes.com/wp-content/uploads/2025/07/839e9238-fc1e-43c4-9c49-c012885c1719.webp)
Kids’ Pasta Salad Fun and Flavorful Meal Idea
Looking for a fun and tasty meal that kids will actually eat? I’ve got the perfect recipe for you! This Kids’ Pasta Salad mixes colorful