Salads
![To make a great Chicken Caesar Pasta Salad, you need simple and fresh ingredients. Here’s what you’ll need: - 2 cups rotini pasta - 1 cup cooked chicken breast, diced - 1 cup romaine lettuce, chopped - ½ cup cherry tomatoes, halved - ¼ cup grated Parmesan cheese - ½ cup Caesar dressing (store-bought or homemade) - 1 tablespoon olive oil - 1 teaspoon garlic powder - Salt and pepper, to taste - Croutons, for garnish These ingredients come together to create a dish full of flavor and texture. When selecting your ingredients, freshness is key. Here are some tips: - Pasta: Choose rotini for a fun shape that holds dressing well. - Chicken: Use cooked chicken. Grilling adds a nice flavor. - Lettuce: Look for crisp, bright green romaine. Avoid wilted leaves. - Tomatoes: Pick firm cherry tomatoes that are vibrant in color. - Cheese: Freshly grated Parmesan melts better and tastes richer. Fresh ingredients make your salad taste amazing. Always check for quality. If you can't find certain ingredients, feel free to swap them out. Here are some ideas: - Pasta: Any short pasta works well, like fusilli or penne. - Chicken: Substitute with turkey or even canned chicken for ease. - Lettuce: Spinach or mixed greens can replace romaine. - Tomatoes: Use diced bell peppers for a crunchy bite. - Dressing: Try ranch or Greek yogurt dressing for a twist. These substitutions can change the flavor and feel of your dish while keeping it delicious. For the full recipe, check out the details above. First, boil a large pot of salted water. Once the water is boiling, add the rotini pasta. Cook it according to the package instructions until it is al dente. This usually takes about 8 to 10 minutes. After cooking, drain the pasta in a colander. Rinse it under cold water to stop the cooking process and cool it down. This step is key to keeping your pasta firm and fresh. If you don’t have pre-cooked chicken, you can easily cook it. Grill or sauté the chicken breast until it is fully cooked. Season it with olive oil, garlic powder, salt, and pepper for great flavor. Once cooked, let it cool before cutting it into bite-sized pieces. This will make mixing the salad easier and keep everything light. In a large mixing bowl, combine the cooled rotini pasta, diced chicken, chopped romaine lettuce, halved cherry tomatoes, and grated Parmesan cheese. Give it a good stir to mix all the ingredients well. Then, pour the Caesar dressing over the top. Toss everything gently to make sure each piece is coated with the dressing. This will bring all the flavors together in a delicious way. Before serving, taste the salad to check the seasoning. You can add more salt, pepper, or dressing if needed. Just before serving, sprinkle croutons on top. This keeps them crunchy and adds a nice texture. Now, your Chicken Caesar Pasta Salad is ready to enjoy! For the full recipe, click [Full Recipe]. To get the best flavor in your Chicken Caesar Pasta Salad, use fresh ingredients. Fresh romaine lettuce and ripe cherry tomatoes make a big difference. I recommend using high-quality Caesar dressing for a richer taste. If you have time, you can make homemade dressing for an extra kick. A touch of garlic powder adds depth. You can also sprinkle some lemon juice for brightness. Taste as you go to balance the flavors. To keep your salad fresh, store ingredients separately until serving. Keep the pasta and chicken in one container. Store the greens and tomatoes in another. This way, the dressing won’t wilt the lettuce. If using croutons, add them just before serving. This keeps them crunchy and fun to eat. If you have leftovers, cover the salad tightly and eat within two days for best quality. If you want to make more or less salad, adjust the ingredients easily. For each extra serving, add one more cup of rotini and ¼ cup of chicken. Keep the other ingredients in proportion. If you are serving a crowd, you can double the recipe. Just make sure you have a big bowl to mix everything. For small gatherings, halve the recipe but keep the same flavors for the best taste. For the full recipe, check out the Chicken Caesar Pasta Salad! {{image_2}} You can easily make a vegetarian version of Chicken Caesar Pasta Salad. Replace the chicken with chickpeas or grilled tofu. Both add protein and texture. Use a creamy dressing made from cashews or a store-bought vegan Caesar dressing. This keeps the flavors bold and fresh. Add more veggies, like bell peppers or cucumbers, for crunch and color. To make this salad gluten-free, choose gluten-free pasta like quinoa or brown rice pasta. Ensure your Caesar dressing is gluten-free to avoid any hidden gluten. This way, everyone can enjoy this dish without worry. The flavors remain delicious, and the texture stays inviting. You can customize your salad with extra ingredients. Try adding slices of avocado for creaminess. You can also toss in olives for a briny kick. Nuts or seeds, like pine nuts or sunflower seeds, can add crunch. Experiment with different cheeses, like feta or blue cheese, for a new twist. Enjoy creating your perfect Chicken Caesar Pasta Salad! For the full recipe, check out the detailed steps above. To keep your Chicken Caesar Pasta Salad fresh, store it in an airtight container. This helps prevent air from drying it out. Make sure the salad is cool before sealing it. If you have leftover dressing, store it separately to avoid sogginess. When stored properly in the fridge, Chicken Caesar Pasta Salad can last up to three days. After that, the quality may decline. Always check for freshness before eating. If it looks or smells off, it's best to discard it. If you want to reheat your Chicken Caesar Pasta Salad, do it gently. Place it in the microwave for about 30 seconds. Stir it well, then heat for another 30 seconds if needed. Be careful not to overheat, as it can make the pasta mushy. If you prefer it cold, enjoy it straight from the fridge. For a fresh taste, add more dressing before serving. Yes, you can make Chicken Caesar Pasta Salad ahead of time. This dish tastes great after chilling in the fridge. I recommend making it a few hours before serving. This helps the flavors mix well. Just keep the croutons separate until you are ready to eat. They stay crunchy that way! The best dressing for Chicken Caesar Pasta Salad is Caesar dressing. You can use store-bought or homemade. I often make my own dressing for extra flavor. Just blend garlic, lemon juice, anchovies, and Parmesan cheese. A good dressing makes the salad creamy and rich. To make a lighter version, use whole wheat pasta. You can also swap regular dressing for a light or yogurt-based version. Use less cheese or toss in more veggies like cucumbers or bell peppers. These changes keep the salad tasty while cutting calories. To add extra protein, try adding chickpeas or black beans. You can also mix in some diced hard-boiled eggs. These options boost nutrition and make the salad more filling. If you like seafood, shrimp or crab meat works well too! For the complete details on how to prepare this dish, check out the Full Recipe. This blog post covered how to make Chicken Caesar Pasta Salad. We looked at key ingredients, cooking steps, and tips for flavor. You learned about keeping ingredients fresh and how to store leftovers. We also explored variations to fit different diets and preferences. In the end, this salad is easy to customize and prepare. With these instructions, you can enjoy a tasty dish any time. Get creative and make it your own!](https://tossedrecipes.com/wp-content/uploads/2025/07/9a18e803-6a5d-4eb8-836f-c66e71e8ff9e.webp)
Savory Chicken Caesar Pasta Salad Easy and Fresh Dish
Looking for a quick and tasty meal? My Savory Chicken Caesar Pasta Salad is easy and fresh! This dish combines juicy chicken, crisp romaine, and
. Store your homemade balsamic vinaigrette in a clean, airtight jar. A glass jar works best. Keep it in the fridge to maintain freshness. Always shake well before using. This helps mix the oil and vinegar, as they tend to separate. Homemade balsamic vinaigrette lasts about one week in the fridge. After that, check its smell and color. If it smells off or has changed color, it's time to toss it. You can reuse old jars from sauces or preserves. Just make sure they are clean and dry. This is a great way to reduce waste. Many glass jars are recyclable, too. Check local guidelines for recycling to keep our planet clean. For the full recipe, visit the [Full Recipe]. Yes, you can make this vinaigrette without Dijon mustard. If you skip it, the taste may change a bit. You can add a little extra honey for sweetness. You can also use other mustard types, if you like. Yellow mustard or whole grain mustard can work too! Homemade balsamic vinaigrette lasts about one week in the fridge. Keep it in a sealed jar or bottle. Over time, the flavors will meld and become more intense. Just shake it well before using! You can use this vinaigrette on many dishes. It works great as a marinade for chicken or veggies. Drizzle it over grilled fish or roasted vegetables for extra flavor. You can also use it as a dipping sauce for fresh bread or veggies. The possibilities are endless! Check out the Full Recipe for more ideas. In this blog post, we explored every aspect of making delicious vinaigrette. We reviewed key ingredients, measurements, and quality tips. Then, we walked through simple steps for preparation and served up helpful techniques for a smooth mix. I shared common mistakes to avoid and many ways to boost flavor. We also discussed tasty variations, storage tips, and answered common questions. Now, you can make your vinaigrette with confidence and creativity. Enjoy experimenting with flavors and share your tasty results!](https://tossedrecipes.com/wp-content/uploads/2025/07/a9fe7bb7-0ea3-4d38-b8ca-b5cb547d7aa7.webp)
Homemade Balsamic Vinaigrette Fresh and Simple Recipe
Are you tired of store-bought dressings that lack flavor? Making your own Homemade Balsamic Vinaigrette is simple and fun! With just a few fresh ingredients,
Chick-fil-A Cobb Salad Flavorful and Nutritious Recipe
Are you craving a fresh, tasty meal that also keeps you feeling great? The Chick-fil-A Cobb Salad strikes the perfect balance between flavor and nutrition.
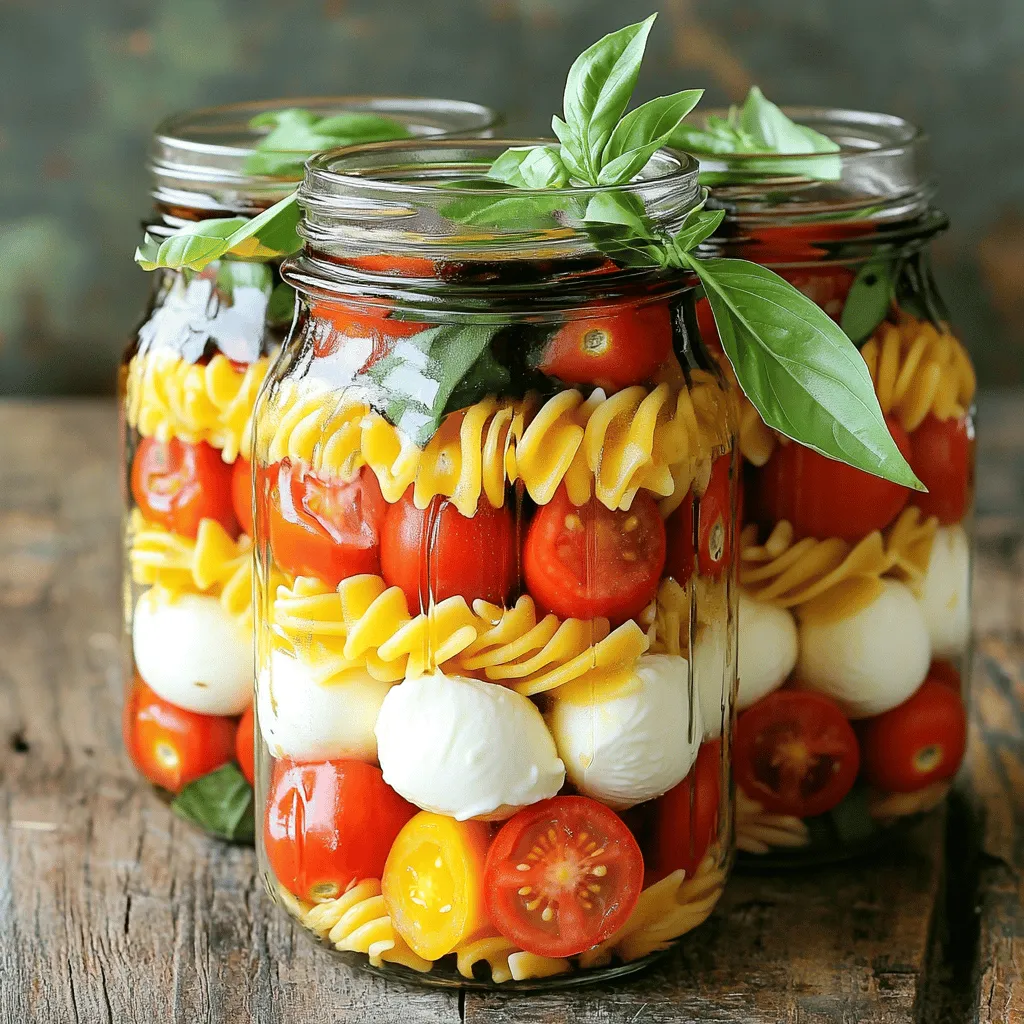
Mason Jar Caprese Pasta Salad Fresh and Flavorful Dish
Looking for a quick and tasty meal? My Mason Jar Caprese Pasta Salad is fresh, easy, and bursting with flavor. It’s perfect for lunch, dinner,
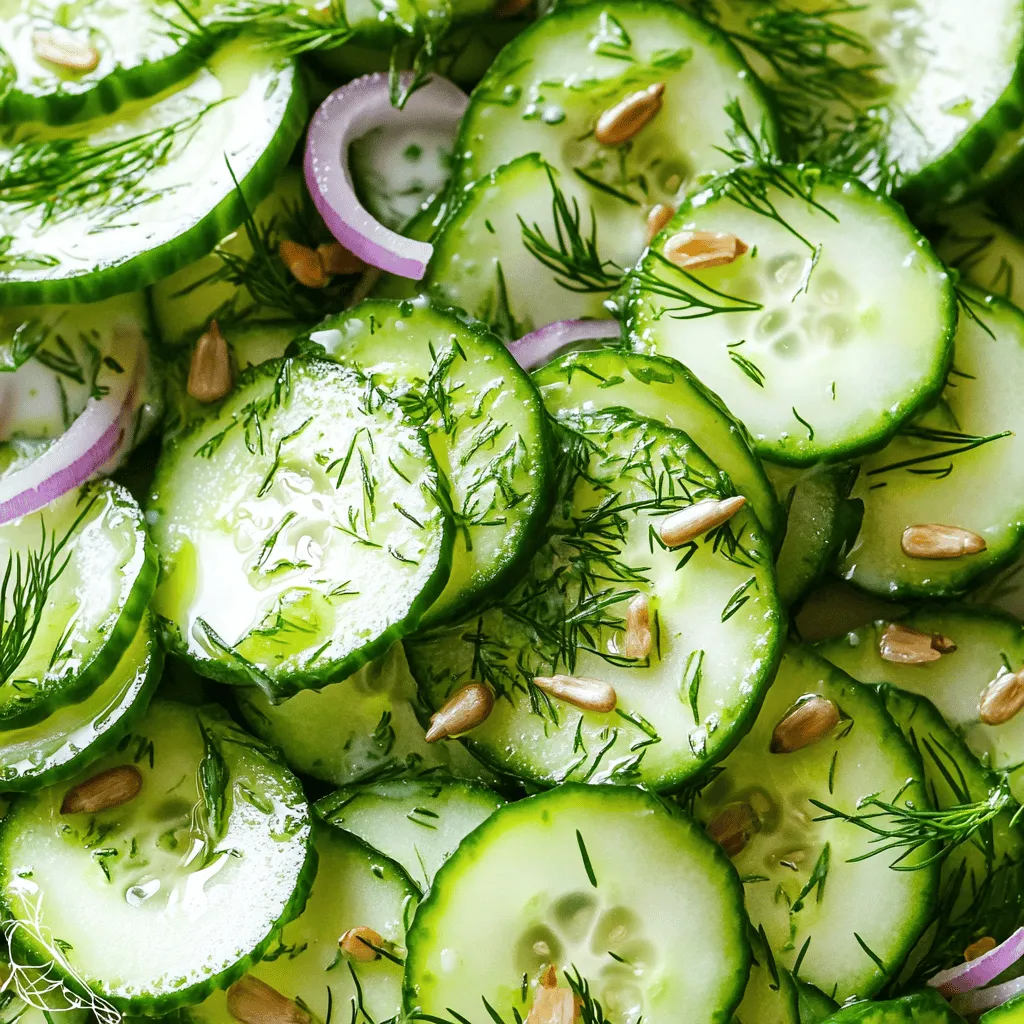
German Cucumber Salad Refreshing and Simple Recipe
Are you ready to enjoy a crisp, refreshing dish? German Cucumber Salad is easy to make and perfect for any meal. With just a few
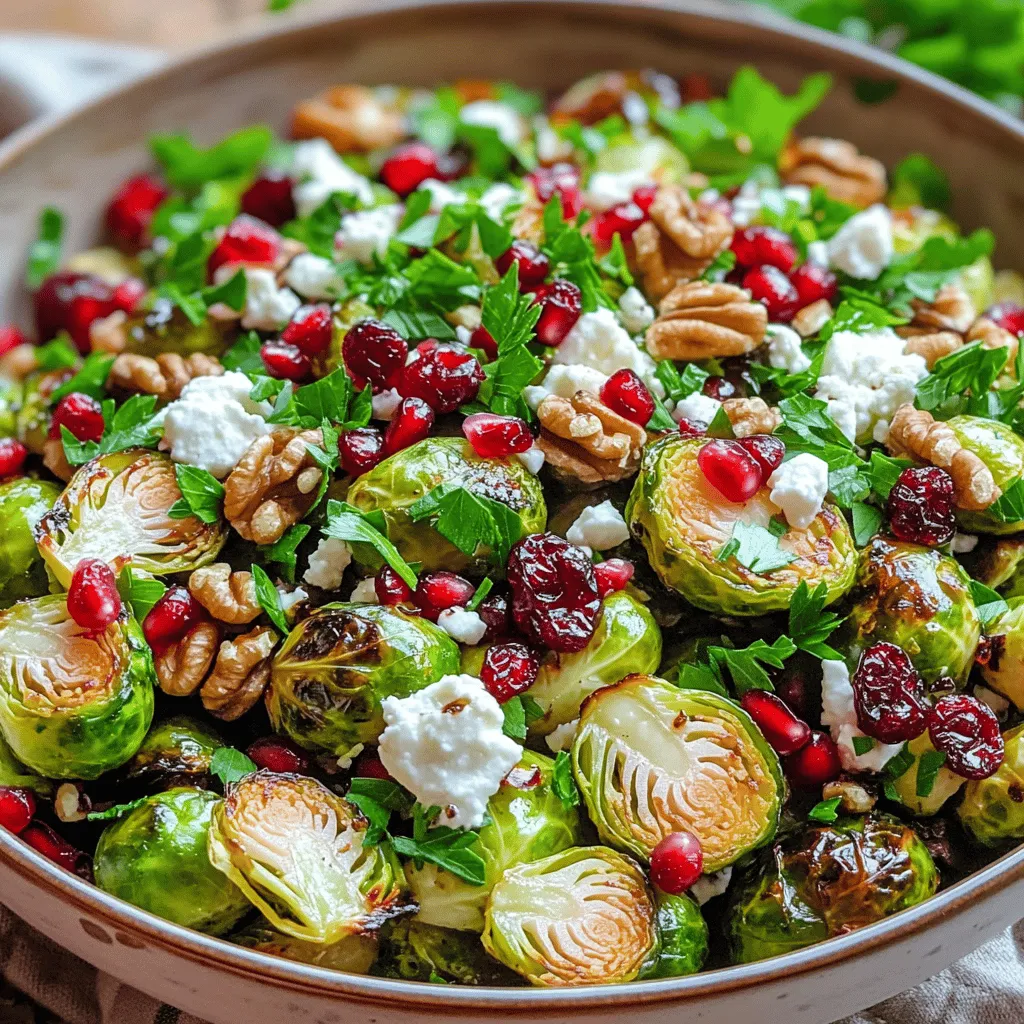
Balsamic Brussels Sprout Salad Fresh and Flavorful Delight
Are you ready to enjoy a fresh and colorful salad that packs a flavorful punch? This Balsamic Brussels Sprout Salad combines roasted Brussels sprouts with
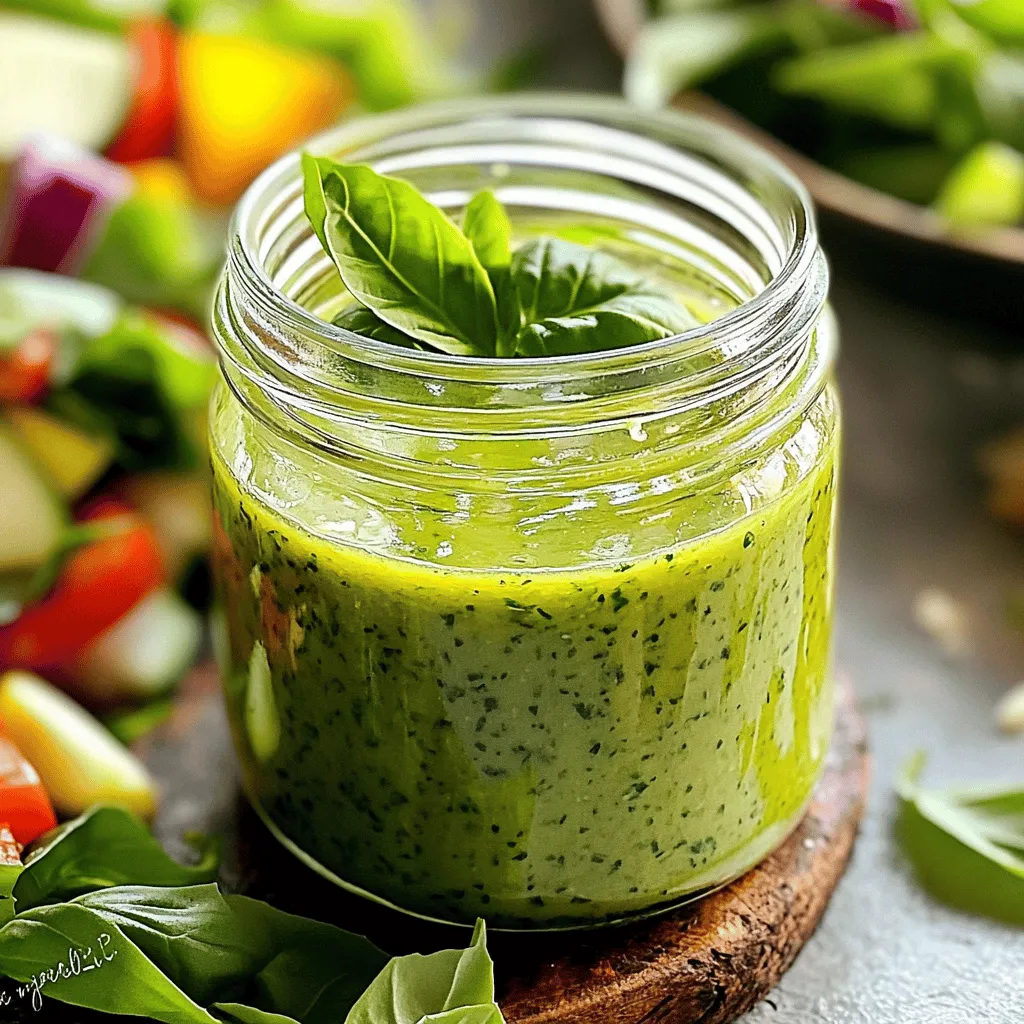
Basil Vinaigrette Recipe Perfect for Any Salad
Want to elevate your salad game? This Basil Vinaigrette Recipe is your secret weapon! With just a few fresh ingredients, you can create a bright,
![- 2 cups green cabbage, finely shredded - 1 cup red cabbage, finely shredded - 1 cup carrots, julienned - 1 bell pepper (red or yellow), thinly sliced - 1 cup snow peas, trimmed and halved - 1/4 cup green onions, sliced - 1/4 cup fresh cilantro, chopped - 1/4 cup sesame seeds, toasted - 3 tablespoons rice vinegar - 2 tablespoons soy sauce (or tamari for gluten-free) - 1 tablespoon honey or maple syrup - 1 tablespoon sesame oil - 1 clove garlic, minced - 1 teaspoon freshly grated ginger - Pepper to taste Crunchy Asian slaw is colorful and full of life. You need fresh veggies for this dish. The green and red cabbage add crunch and a touch of sweetness. Carrots bring in a nice orange color and sweetness. Bell pepper adds a mild, sweet flavor, while snow peas give it a delightful snap. For the dressing, rice vinegar adds tang. Soy sauce or tamari gives it saltiness. Honey or maple syrup balances the flavors. Sesame oil adds a nutty taste. Garlic and ginger spice it up just right. Don’t forget a sprinkle of pepper to finish! This slaw is perfect for any meal. You can serve it as a side or even top a taco or sandwich with it. The recipe is easy, quick, and makes a great addition to any table. For the complete process, check the Full Recipe. Making Crunchy Asian Slaw is easy and fun. You will prep the veggies, mix the dressing, and combine everything in a bowl. Finally, you may chill it for extra flavor. To start, you need to finely shred the cabbage. Take the green cabbage and cut it into quarters. Remove the core. Then, slice it thinly. Repeat with the red cabbage. Next, julienne the carrots. Cut the carrots into long strips. Use a sharp knife for best results. Add the shredded cabbage and julienned carrots into a large bowl. Now, grab a small bowl. In this bowl, whisk the dressing ingredients together. Combine the rice vinegar, soy sauce, honey or maple syrup, sesame oil, minced garlic, and grated ginger. Add a pinch of pepper. Whisk until it is smooth and well mixed. Pour the dressing over the slaw mixture. Toss it well to coat the cabbage and carrots evenly. Make sure every piece is covered in that tasty dressing. Just before serving, add the toasted sesame seeds and chopped cilantro. Give it a gentle toss to mix in the toppings. Chilling your slaw can make it even better. If you have time, cover the bowl and put it in the fridge for 15 to 20 minutes. This helps the flavors blend nicely. Enjoy your Crunchy Asian Slaw fresh and vibrant! For the complete details, check the Full Recipe. To keep your slaw crunchy, start with fresh veggies. Use a sharp knife to finely shred the cabbage. This helps release moisture. After cutting, soak the cabbage in cold water for 10 minutes. This extra step makes it extra crisp. Rinse and dry it well before mixing. Also, add the dressing just before serving. This prevents the veggies from wilting. To adjust sweetness, add more honey or maple syrup. If you want more acidity, increase the rice vinegar. For saltiness, you can add a pinch of soy sauce. Taste as you go. This way, you get the perfect balance. You might also add lime juice for a fresh twist. Remember, everyone's taste is different, so trust your palate. Use this slaw as a side dish with grilled meats. It pairs great with chicken, fish, or pork. You can also serve it in tacos for a crunchy filling. Another idea is to add it to sandwiches for extra crunch. This slaw is versatile. You can easily mix it into grain bowls for a fresh bite. Explore these ideas to make the most out of your Crunchy Asian Slaw. For the full recipe, check out the earlier section. {{image_2}} You can switch up the veggies in your Crunchy Asian Slaw. Try using kale instead of cabbage for a hearty twist. Radishes add a nice crunch and peppery flavor. You can also use broccoli slaw or shredded Brussels sprouts for a unique taste. Feel free to mix and match your favorite vegetables. Just keep the colors bright for a more appealing dish. Adding protein makes your slaw more filling. Grilled chicken is a great choice, giving it a smoky flavor. Shrimp adds a touch of sweetness and works well with the dressing. If you prefer plant-based options, try adding tofu or chickpeas. Both options will boost nutrition and make the slaw more satisfying. Just toss them in just before serving for the best texture. You can customize the dressing to suit your taste. For a creamier slaw, mix in some plain yogurt or a little mayo. If you love heat, add some chili paste or sriracha for a spicy kick. You can also drizzle in some lime juice for a tangy twist. Experiment with different flavors until you find your perfect blend. Check the Full Recipe for the original dressing you can adjust. To keep your leftover Crunchy Asian Slaw fresh, store it in an airtight container. Make sure to remove as much air as you can. This helps keep the veggies crisp. If you used a dressing, try to store it separately. This way, the slaw stays crunchy for longer. You can mix it just before eating. In the fridge, your slaw stays fresh for about 3 to 5 days. The key is to check for any signs of wilting or spoilage. If the veggies look limp or smell off, it’s time to toss them out. Always trust your senses! You can freeze Crunchy Asian Slaw, but be aware of texture changes. When you thaw it, the veggies may become soft. To freeze, use a freezer-safe bag or container. Remove as much air as possible. It will keep for about 2 to 3 months. When ready to use, thaw it in the fridge overnight. You may want to add a fresh dressing for the best taste. Crunchy Asian Slaw is a colorful mix of fresh veggies. It often includes green and red cabbage, carrots, and bell peppers. The dish has roots in Asian cuisine, where it pairs well with many meals. Its bright flavors come from a tangy dressing made with rice vinegar and soy sauce. This slaw is not just a side; it's a vibrant addition to any table. Yes, you can make this slaw ahead of time! Prepare it up to a day in advance. Just store it in the fridge in a sealed container. However, wait to add the dressing until just before serving. This keeps the veggies crisp and fresh. If you want extra flavor, let it chill for 15-20 minutes after mixing. To make this slaw gluten-free, simply use tamari instead of regular soy sauce. Tamari is a gluten-free option that offers the same great taste. All other ingredients in this recipe are naturally gluten-free, so you can enjoy it without worry. Making this slaw vegan is easy! Swap honey for maple syrup in the dressing. This simple change keeps the sweet taste while making it plant-based. All the vegetables in the slaw are already vegan-friendly, so you can enjoy this dish guilt-free. For more flavor, add extra herbs like mint or basil. For the complete recipe, check out the [Full Recipe]. In this post, we covered how to make Crunchy Asian Slaw, from selecting fresh veggies to mixing a tasty dressing. You learned how to keep your slaw crispy and balanced in flavor while exploring storage tips and variations. This slaw not only brightens up your plate but can be tailored to your preferences. Enjoy experimenting with different ingredients and flavors. With this guide, you're ready to create your own vibrant slaw dish that everyone will love.](https://tossedrecipes.com/wp-content/uploads/2025/07/9b0a961d-91b1-47de-90c0-c17744aeb536.webp)
Crunchy Asian Slaw Fresh and Flavorful Side Dish
I love fresh, vibrant flavors, and Crunchy Asian Slaw delivers just that! This quick and easy side dish brightens up any meal. You get a
![- Roasted Beets - Fresh Arugula - Goat Cheese - Walnuts - Pomegranate Seeds To create this vibrant salad, you need some fresh and colorful ingredients. Start with roasted beets. They add a sweet and earthy flavor that shines. Fresh arugula gives a peppery taste and a nice crunch. Goat cheese brings creaminess, balancing the salad. Walnuts add a nutty crunch, making each bite delightful. Finally, pomegranate seeds pop with sweetness and color, making the dish truly special. - Balsamic Vinegar - Olive Oil - Honey - Salt and Pepper A great salad needs a tasty dressing. For this one, mix balsamic vinegar and olive oil. This blend gives a sweet and tangy flavor. Adding honey enhances the sweetness. Don't forget salt and pepper; they bring out all the flavors. This simple dressing ties all ingredients together, making each bite burst with taste. For the full recipe, check the detailed steps you need to follow. Roasting Technique To start, preheat your oven to 400°F (200°C). This high heat helps the beets become tender and sweet. Wrap each beet in aluminum foil. This keeps the moisture in and helps them cook evenly. Place the wrapped beets on a baking sheet and roast for 45 to 60 minutes. You will know they're done when a knife goes in easily. Cooling and Dicing Once the beets are soft, take them out and let them cool. It is important to let them cool so you don’t burn your hands. After they cool, peel off the skins. They should slip off easily. Then, cut the beets into bite-sized cubes. Set them aside while you prepare the rest of the salad. Whisking Ingredients Together In a small bowl, add 2 tablespoons of balsamic vinegar, 2 tablespoons of olive oil, and 1 teaspoon of honey. Season with salt and pepper. Using a whisk, mix the ingredients until they blend well. The dressing should be smooth and slightly thick. Adjusting Seasoning Taste the dressing after mixing. This is the time to adjust the flavors. If you want it sweeter, add a bit more honey. For more acidity, add a little more vinegar. Keep tasting until you find the perfect balance. Mixing Beets and Arugula In a large mixing bowl, place your roasted, diced beets and 4 cups of fresh arugula. The peppery flavor of the arugula pairs well with the sweetness of the beets. This is where the fun begins! Tossing with Dressing Drizzle the dressing over the beets and arugula. Now, gently toss everything together. Be careful not to mash the beets. You want to coat all the greens and beets with the dressing evenly. Incorporating Cheese and Nuts Next, sprinkle 1/2 cup of crumbled goat cheese and 1/4 cup of toasted walnuts over the salad. If you like a bit of crunch, add those nuts! The cheese adds creaminess, making each bite delightful. Serving Suggestions Transfer the salad to a serving platter or individual bowls. For a pretty look, drizzle any leftover dressing on top. Add a sprinkle of 1/4 cup of pomegranate seeds for a burst of color and flavor. This vibrant beet and arugula salad will be a hit at any meal. For the full recipe, check the earlier section. When choosing beets, look for ones that feel firm and heavy. Fresh beets should have smooth skin without any cuts or blemishes. Their tops should be green and crisp, showing they are fresh. I recommend using red beets for their sweet flavor, but golden and striped varieties also work well. Each type adds a unique taste to the salad. For a beautiful plate, layer the ingredients in a clear bowl. This way, the vibrant colors show off the dish's appeal. Consider garnishing with extra pomegranate seeds and whole walnuts for a striking look. This salad pairs nicely with grilled chicken or fish, making it a great side for a light meal. You can also serve it alongside whole-grain bread for a fulfilling lunch. One common mistake is overcooking the beets. This can make them mushy and dull in flavor. Aim for tender but firm beets. Another issue is improper dressing ratios. Too much dressing can overwhelm the salad. Stick to the recipe for balance. Adjust the dressing to your taste, but remember that less can be more with this dish. {{image_2}} You can change the cheese in your beet salad to suit your taste. - Feta Cheese: This cheese adds a salty and tangy flavor. It crumbles easily and pairs well with beets and arugula. You can use about 1/2 cup of crumbled feta in your salad for a fresh twist. - Blue Cheese: If you like bold flavors, try blue cheese. It has a strong taste that balances the sweetness of the beets. Crumbling about 1/2 cup of blue cheese into the salad adds creaminess and depth. Adding more toppings can make your salad even better. - Avocado: Sliced avocado brings a creamy texture. It adds healthy fats that make the salad more filling. Just one medium avocado, sliced, can transform your dish. - Cucumber Slices: Cucumber adds a crunchy bite. It keeps the salad fresh and light. Thinly slice one medium cucumber and toss it in for extra flavor and texture. The dressing can change the whole vibe of your salad. - Lemon Vinaigrette: This dressing is bright and tangy. You can mix lemon juice, olive oil, salt, and pepper for a quick option. It pairs well with the sweetness of the beets. - Yogurt-based Dressings: A yogurt dressing is creamy and tangy. Mix plain yogurt with herbs and a bit of lemon juice. This dressing brings a unique twist that complements the salad well. Feel free to explore these variations. Each change can make your beet salad new and exciting. For the complete recipe, check out the [Full Recipe]. To keep your beet salad fresh, store leftovers properly. Place the salad in an airtight container. This helps prevent moisture and keeps it tasty. If you have dressing left, store it separately. The dressing can make greens soggy. For refrigeration, set your fridge to 40°F (4°C) or lower. This helps slow down spoilage. Try to eat leftovers within three days for the best flavor and texture. You might wonder if you can reheat beet salad. While I recommend serving it cold, you can warm it slightly. If you want to reheat, use the microwave. Place your salad on a microwave-safe plate. Heat it for about 15-30 seconds. Keep an eye on it to avoid cooking the greens. Beet salad stays fresh for about three days in the fridge. After that, the flavors may fade. Check for signs of spoilage before eating. If the salad looks wilted or smells off, it’s best to toss it. Fresh arugula should be vibrant green, and beets should look bright and firm. Enjoy your vibrant beet salad while it’s at its best! Yes, you can make this salad ahead of time. To keep it fresh, store the beets and arugula separately. This way, the greens stay crisp. You can prepare the dressing in advance too. Just whisk it and keep it in the fridge. When you're ready to eat, combine everything. Toss in the cheese and nuts last for the best taste. Beet salad is very healthy. Beets are rich in fiber, vitamins, and minerals. They help lower blood pressure and boost stamina. Arugula adds more nutrients. It is full of vitamin K and antioxidants. Together, they make a great dish for your health. Enjoy this salad to get a burst of energy. You can use canned beets, but fresh beets taste better. Canned beets are softer and less sweet. If you use them, rinse and drain well. This will remove extra salt and flavor. Fresh roasted beets add a nice texture and taste that canned cannot match. Beet salad goes well with many dishes. Try it with grilled chicken or fish for protein. It also pairs nicely with a hearty soup. For drinks, a light white wine or sparkling water works well. The bright flavors in the salad balance rich meals nicely. Enjoy exploring different pairings with your beet salad. This blog post covered a fresh beet salad recipe featuring roasted beets, arugula, and goat cheese. We explored how to prepare the beets, make a simple dressing, and add extra toppings. You also learned tips for selecting the best ingredients and how to store leftovers. In summary, this salad is tasty and easy to prepare. Whether you enjoy it as a main dish or as a side, it's sure to impress. Keep experimenting with different ingredients to make it your own!](https://tossedrecipes.com/wp-content/uploads/2025/07/8dccccd9-a217-48ad-9d95-d8df9aa3b5b0.webp)
Beet Salad with Arugula Fresh and Flavorful Dish
Looking for a fresh and flavorful dish to brighten your table? This Beet Salad with Arugula is just what you need! The earthy sweetness of
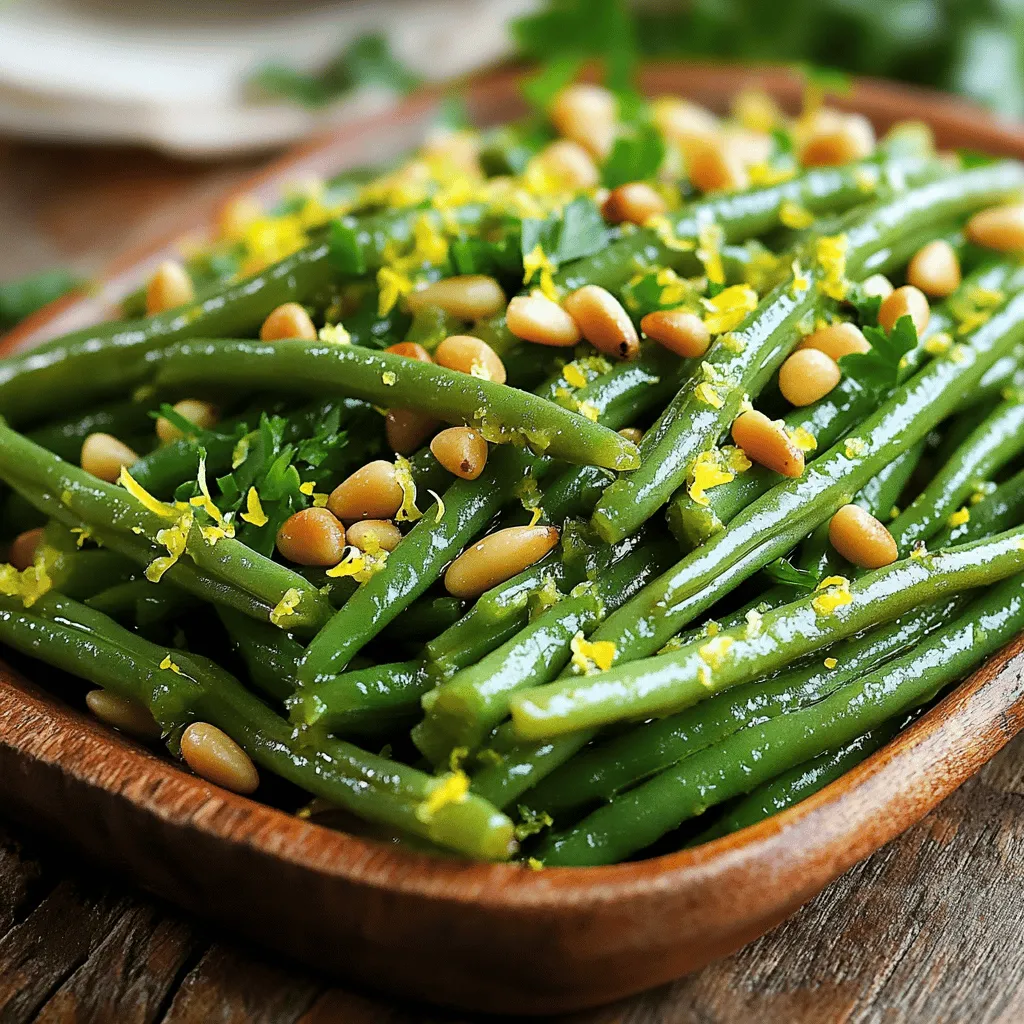
Green Beans with Lemon and Pine Nuts Fresh Flavor Boost
Looking to add a burst of flavor to your meals? Try my Green Beans with Lemon and Pine Nuts! This dish brings out the best