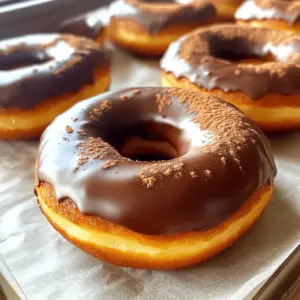
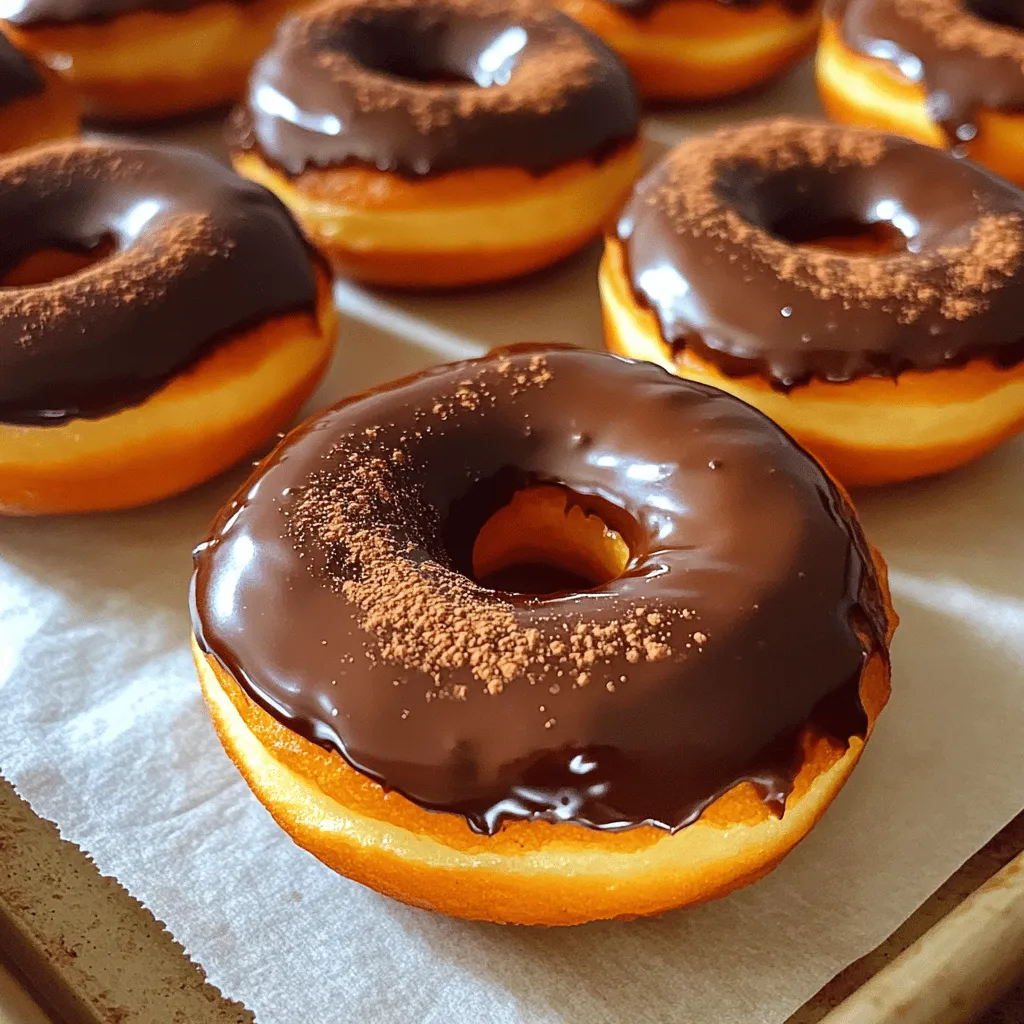
Are you ready to treat yourself? These Chocolate Dipped Pumpkin Spice Donuts are the perfect blend of cozy fall flavors and rich chocolate. With a soft, spiced dough and a glossy chocolate topping, these donuts will make your taste buds dance. Follow this simple guide, and soon, you’ll enjoy homemade donuts that taste like a hug in every bite. Let’s dive into the sweet details!
Ingredients
Dry Ingredients
– 1 cup all-purpose flour
– 1/2 cup granulated sugar
– 1/2 cup brown sugar, packed
– 1 teaspoon baking powder
– 1/2 teaspoon baking soda
– 1/2 teaspoon salt
– 2 teaspoons pumpkin pie spice
– 1/4 cup unsweetened cocoa powder
For the dry mix, we start with all-purpose flour. This forms the base of our donuts. Next, we add granulated sugar and brown sugar. The brown sugar adds a rich, caramel flavor. Baking powder and baking soda help our donuts rise and stay fluffy. A pinch of salt balances the sweetness. Pumpkin pie spice gives that warm, fall flavor, while unsweetened cocoa powder adds depth.
Wet Ingredients
– 1/2 cup canned pumpkin puree
– 1/4 cup vegetable oil
– 2 large eggs
– 1 teaspoon vanilla extract
Now, let’s look at the wet ingredients. Canned pumpkin puree brings moisture and flavor. It’s also packed with nutrients. Vegetable oil keeps our donuts tender. Two large eggs act as a binder and add richness. Lastly, vanilla extract brings a warm aroma that enhances the overall taste.
Chocolate Topping
– 1 cup semi-sweet chocolate chips
– 1 tablespoon coconut oil (for melting)
For the chocolate topping, we use semi-sweet chocolate chips. They melt beautifully and add sweetness. Coconut oil helps the chocolate melt smoothly. It also creates a nice sheen on the donuts. This topping is the perfect finish to our pumpkin spice donuts!
Step-by-Step Instructions
Preparation
1. First, preheat your oven to 350°F (175°C). This step is key for even baking.
2. Next, grease your donut pan with non-stick spray. This helps keep donuts from sticking.
3. In a large bowl, mix the dry ingredients. Combine:
– 1 cup all-purpose flour
– 1/2 cup granulated sugar
– 1/2 cup brown sugar, packed
– 1 teaspoon baking powder
– 1/2 teaspoon baking soda
– 1/2 teaspoon salt
– 2 teaspoons pumpkin pie spice
– 1/4 cup unsweetened cocoa powder
4. Whisk these dry ingredients well until they are fully combined. This ensures every bite has flavor.
Combining Ingredients
5. Now, prepare the wet mixture in another bowl. Mix together:
– 1/2 cup canned pumpkin puree
– 1/4 cup vegetable oil
– 2 large eggs
– 1 teaspoon vanilla extract
6. Stir until the wet ingredients are smooth.
7. Pour the wet mixture into the dry ingredients. Gently fold the two together. It’s fine if a few lumps remain. Overmixing will make the donuts tough.
Baking and Cooling
8. Carefully spoon the batter into the donut pan. Fill each mold about two-thirds full.
9. Bake them in the preheated oven for 12-15 minutes. Check doneness with a toothpick. It should come out clean when done.
10. After baking, let the donuts cool in the pan for about 5 minutes. Then, transfer them to a wire rack. This allows them to cool completely.
Chocolate Dipping Process
11. While the donuts cool, start the chocolate dip. In a microwave-safe bowl, combine:
– 1 cup semi-sweet chocolate chips
– 1 tablespoon coconut oil
12. Microwave in 30-second intervals, stirring in between. Keep melting until the chocolate is smooth.
13. Once the donuts are cool, dip the top of each donut into the melted chocolate. Let any excess chocolate drip off.
14. Place the dipped donuts on a parchment-lined tray. For extra flair, sprinkle some pumpkin pie spice or sea salt on top.
15. Allow the chocolate to set at room temperature for about 20 minutes before you enjoy these treats.
Tips & Tricks
Achieving the Perfect Donut
To get the best donuts, avoid overmixing the batter. Mix until just combined. A few lumps are okay. They help keep your donuts light and fluffy. Also, pay close attention to your baking time. Bake for 12 to 15 minutes. Use a toothpick to check for doneness. If it comes out clean, your donuts are ready.
Chocolate Dipping Tips
Melting chocolate can be tricky. Use a microwave-safe bowl for the chocolate chips and coconut oil. Microwave in 30-second intervals. Stir between each interval for even melting. When the chocolate is smooth, it’s ready for dipping. For an even layer, dip the top of each donut quickly. Let excess chocolate drip off before placing them on a tray.
Flavor Enhancements
To make your donuts even better, add spices or toppings. Consider a sprinkle of cinnamon or nutmeg for extra warmth. You might also try toppings like crushed nuts or sprinkles. These add crunch and color. Pair your donuts with flavors like caramel or maple syrup for a delightful twist.
Variations
Different Glazes and Toppings
You can switch up the chocolate type for your donuts. Dark chocolate adds a rich taste. White chocolate gives a sweet and creamy finish. Try adding sprinkles for color and crunch. Chopped nuts like pecans or walnuts offer a nice texture. You can mix and match these options for fun!
Gluten-Free or Vegan Options
Want to make these donuts gluten-free? Use a gluten-free flour blend instead of all-purpose flour. Make sure it has a good balance of starch and protein. For a vegan version, swap eggs for flax eggs. Combine one tablespoon of ground flaxseed with three tablespoons of water. Let it sit until it thickens. Use almond milk or coconut milk instead of dairy.
Seasonal Variations
You can change the spices to match the season. In winter, try adding nutmeg or ginger for warmth. In spring, consider adding lemon zest for a fresh twist. You can also mix in fruits like blueberries or cherries for extra flavor. Adding nuts like pecans or almonds can enhance the taste and crunch, making your donuts a delightful treat year-round!
Storage Info
Best Practices for Storing Donuts
To keep your donuts fresh, store them in an airtight container. This keeps moisture out. You want to avoid them getting stale. Place a piece of parchment paper between layers if needed. This helps prevent sticking.
The best storage time for these donuts is about 3 days at room temperature. If you want them longer, consider freezing.
Freezing Donuts
Freezing is a great way to enjoy these treats later. First, let the donuts cool completely. Then, wrap each donut in plastic wrap. This keeps them from getting freezer burn. Place the wrapped donuts in a zip-top bag and seal it tight.
To thaw, take the donuts out and leave them at room temperature. This usually takes about 1 hour. If you want to reheat them, warm them in the oven at 350°F for about 5 minutes. This brings back their soft texture. Enjoy your tasty pumpkin spice donuts anytime!
FAQs
What is the best way to keep donuts fresh?
To keep your donuts fresh, store them in an airtight container. This helps lock in moisture and keeps them soft. You can also use parchment paper between layers. This prevents them from sticking together. If you want them to last longer, you can refrigerate them. But be aware that cold can change their texture. Enjoy them within a few days for the best taste!
Can I make these donuts ahead of time?
Yes, you can make these donuts ahead of time! I suggest making them a day or two in advance. Just let them cool completely before storing. Place them in an airtight container at room temperature. If you want to keep them longer, you can freeze them. Just remember to thaw them before dipping in chocolate.
How do I know when my donuts are done baking?
To know if your donuts are done, use a toothpick. Insert it into the center of a donut. If it comes out clean, they are ready! You can also look for a slight golden color on the edges. The donuts should feel springy to the touch. If they are too soft or wet, give them a few more minutes.
In this blog post, we explored how to create delicious chocolate pumpkin donuts. We covered each step, from mixing dry and wet ingredients to baking and adding a tasty chocolate dip. Remember to follow tips for perfect texture and flavor. You can also try different toppings or variations to suit your taste. These donuts are easy to store and even freeze for later. Enjoy baking these treats, and share them with friends and family for a cozy dessert experience!