
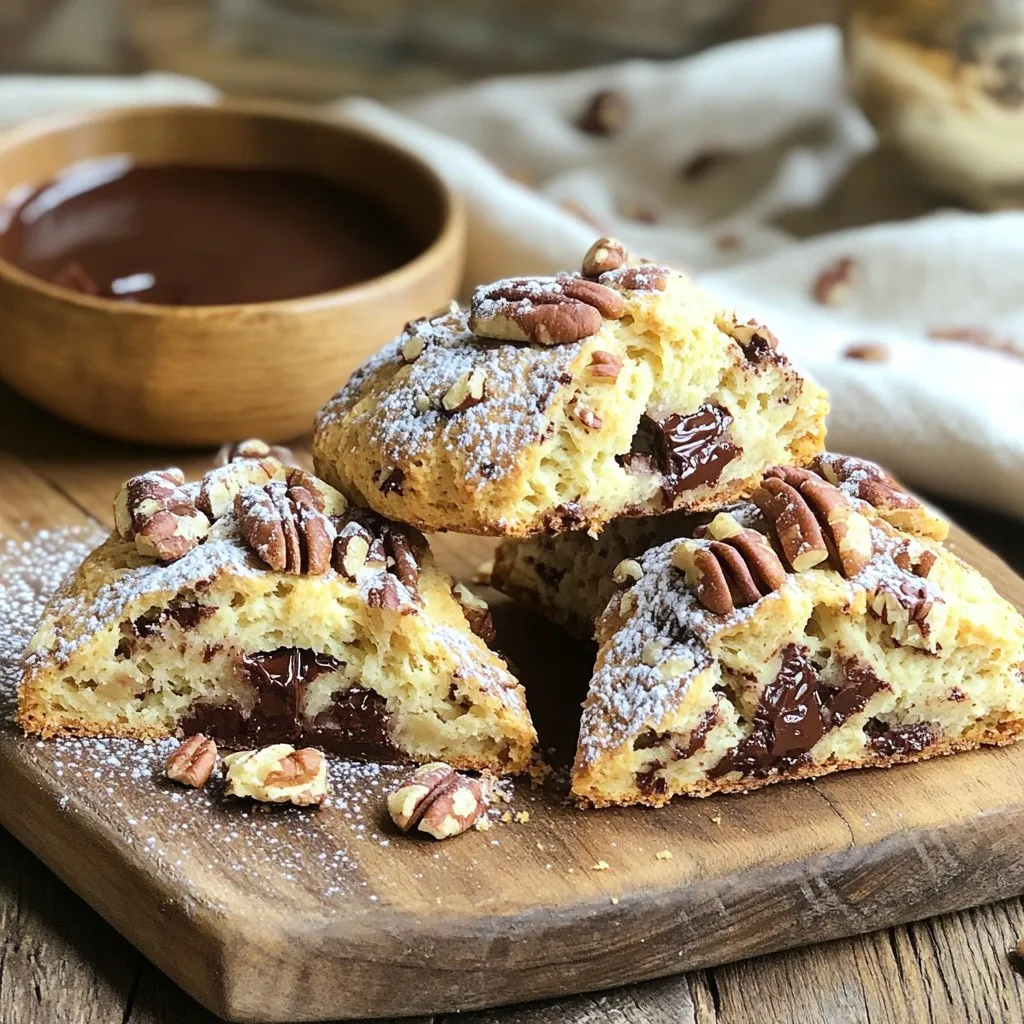
Are you ready to indulge in a sweet treat that’s both rich and nutty? Chocolate Pecan Scones are the perfect blend of flavors that will brighten any morning or afternoon! In this post, I’ll share an easy recipe, tips for perfect scones, and even tasty variations. Whether you’re a baking newbie or a seasoned pro, these delightful scones will become your new favorite. Let’s dive into the details and bake something amazing!
Ingredients
List of Ingredients
– 2 cups all-purpose flour
– 1/3 cup granulated sugar
– 1 tablespoon baking powder
– 1/2 teaspoon salt
– 1/2 cup cold unsalted butter, cubed
– 1/2 cup chopped pecans
– 1/2 cup chocolate chips (semi-sweet or dark)
– 3/4 cup heavy cream
– 1 teaspoon vanilla extract
– 1 large egg, beaten (for egg wash)
Key Ingredient Notes
Each ingredient plays a key role in making these scones. The flour gives structure. Sugar adds sweetness and helps with browning. Baking powder makes the scones rise. The salt enhances all the flavors. Cold butter creates a flaky texture. Chopped pecans add crunch and flavor. Chocolate chips bring rich sweetness, and cream keeps the dough moist. Vanilla extract adds depth to the taste.
Substitutions for Chocolate and Nuts
You can easily swap out ingredients based on your taste. If you want a different nut, try walnuts or almonds. For chocolate, use milk chocolate for a sweeter taste or white chocolate for a creamy touch. If you need a nut-free option, simply skip the pecans. The scones will still be delicious without them.
Step-by-Step Instructions
Preparation Steps
1. Preheat your oven to 400°F (200°C). Line a baking sheet with parchment paper.
2. In a large bowl, whisk together 2 cups of all-purpose flour, 1/3 cup of sugar, 1 tablespoon of baking powder, and 1/2 teaspoon of salt. Mix well.
3. Add 1/2 cup of cold, cubed unsalted butter. Use your fingers or a pastry cutter to blend the butter into the flour until it looks like coarse crumbs.
4. Stir in 1/2 cup of chopped pecans and 1/2 cup of chocolate chips. Make sure they’re evenly mixed in.
5. In a separate bowl, combine 3/4 cup of heavy cream with 1 teaspoon of vanilla extract. Pour this into the dry mix. Stir gently until it’s just combined. The dough should feel slightly sticky.
Baking Instructions
6. Turn the dough onto a floured surface. Pat it into a circle about 1-inch thick. Cut the circle into 8 equal wedges.
7. Place the scone wedges on the prepared baking sheet with space between them. Brush the tops with a beaten egg for a nice golden finish.
8. Bake for 15-20 minutes. They should be lightly browned, and a toothpick should come out clean when inserted in the center.
9. Let the scones cool slightly on a wire rack before serving.
Tips for Perfect Scones
– Use cold butter for flaky scones.
– Don’t overmix the dough; it should be slightly sticky.
– Brush the tops of the scones for a beautiful finish.
– Serve warm with powdered sugar or chocolate sauce for a treat.
Tips & Tricks
How to Achieve the Best Texture
To get the best texture in your scones, keep your butter cold. Use cubed butter straight from the fridge. When you mix it with the flour, stop when it looks like coarse crumbs. This will keep your scones flaky. Also, don’t overmix the dough. Mix until just combined. A slightly sticky dough is perfect for scones.
Common Mistakes to Avoid
One mistake is using warm butter. It can make your scones dense. Another mistake is overworking the dough. If you mix too much, your scones will be tough. Lastly, remember to space the scones on the baking sheet. They need room to rise and bake evenly.
Serving Suggestions
Serve your scones warm for the best taste. A dusting of powdered sugar adds a nice touch. You can also pair them with whipped cream or chocolate sauce. These options enhance the rich flavors of chocolate and pecans. Enjoy them with a cup of coffee or tea for a perfect treat!
Variations
Other Flavor Combinations
You can change the flavors of your scones easily. Try adding orange zest for a fresh twist. A sprinkle of cinnamon can make them warm and cozy. You could also use different chocolate, like white chocolate or milk chocolate. Each option gives you a unique taste.
Gluten-Free Adjustments
Want to make gluten-free scones? Use a gluten-free flour blend instead of all-purpose flour. Check that your baking powder is gluten-free as well. You might need to add a bit more cream to keep the dough moist. This way, everyone can enjoy these tasty treats.
Using Different Nuts or Chips
Feel free to swap out the pecans for walnuts or almonds. Both nuts add a nice crunch and flavor. You can also mix in dried fruits like cranberries or cherries. For the chocolate chips, try butterscotch or peanut butter chips for something different. There are many ways to make these scones your own!
Storage Info
Best Practices for Storing Scones
To keep your Chocolate Pecan Scones fresh, store them in an airtight container. This helps to trap moisture and flavors. Line the container with parchment paper to absorb any excess moisture. You can keep them at room temperature for up to two days. If you want them to last longer, consider refrigeration.
How to Freeze Chocolate Pecan Scones
Freezing scones is a great way to enjoy them later. First, let the scones cool completely. Wrap each scone in plastic wrap and place them in a freezer bag. Remove as much air as you can to prevent freezer burn. Label the bag with the date. These scones can stay fresh in the freezer for up to three months.
Reheating Tips
When you’re ready to enjoy your scones, preheat your oven to 350°F (175°C). Unwrap the scones and place them on a baking sheet. Heat them for about 10-15 minutes. This warms them through and restores their crisp crust. You can also microwave individual scones for about 15-20 seconds, but they might lose some crunch. Enjoy your warm, tasty scones!
FAQs
Can I use whole wheat flour?
Yes, you can use whole wheat flour. It adds a nutty taste. It also makes the scones a bit denser. I suggest mixing half whole wheat and half all-purpose flour. This mix keeps the scones light and fluffy while adding flavor.
How long do leftovers last?
Leftovers can last for up to three days. Store them in an airtight container at room temperature. If you want them to last longer, you can freeze them. They will keep well in the freezer for up to three months.
Can I make the dough ahead of time?
Yes, you can make the dough ahead of time. Wrap it tightly in plastic wrap and refrigerate it. Use the dough within two days for the best results. When you’re ready to bake, just cut and shape the scones. Then, bake them as usual for fresh treats.
In this post, I covered how to make delicious scones, focusing on ingredients, steps, and tips. I shared ingredient notes and gave easy substitutions. You learned preparation, baking instructions, and the best tips for texture. Plus, I included variations and ways to store scones.
Remember, baking is fun and meant to be shared. Enjoy experimenting with flavors and textures. Follow the tips, avoid common mistakes, and savor every bite!
