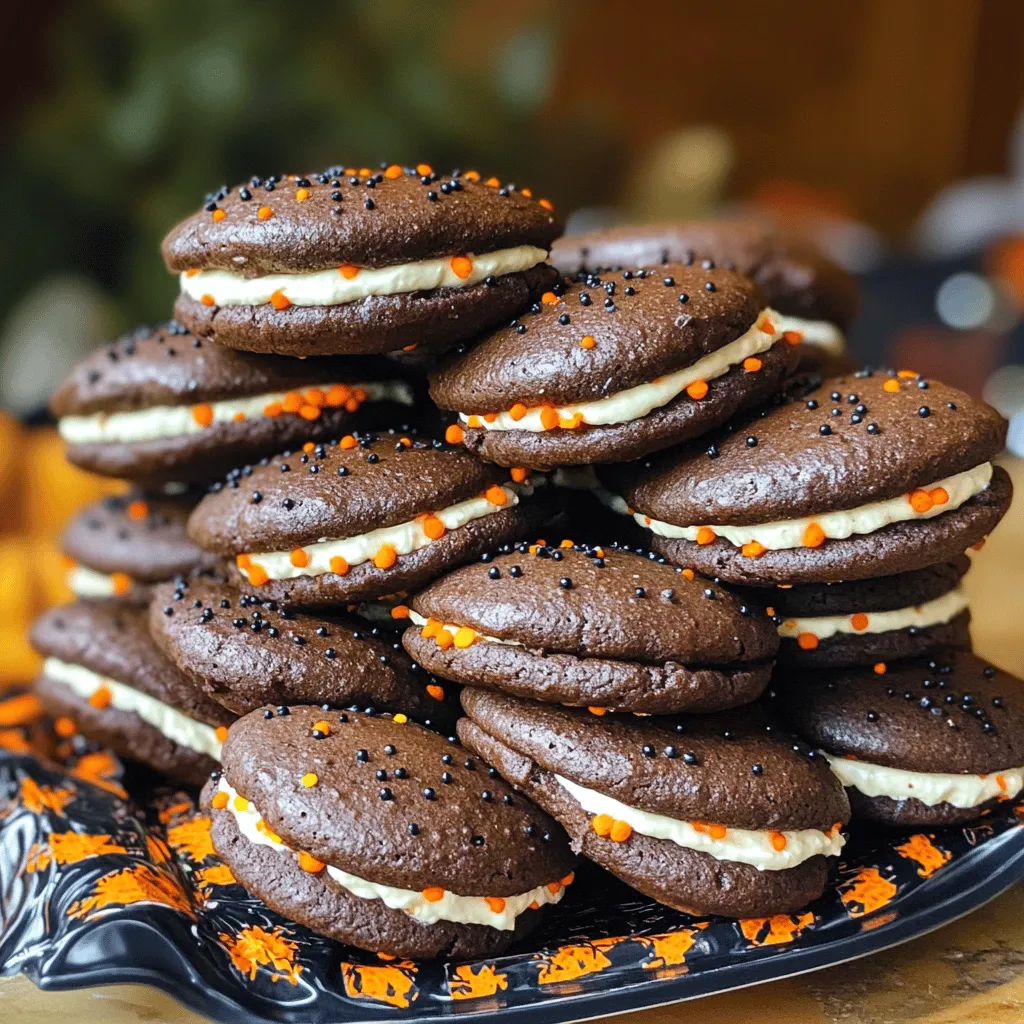
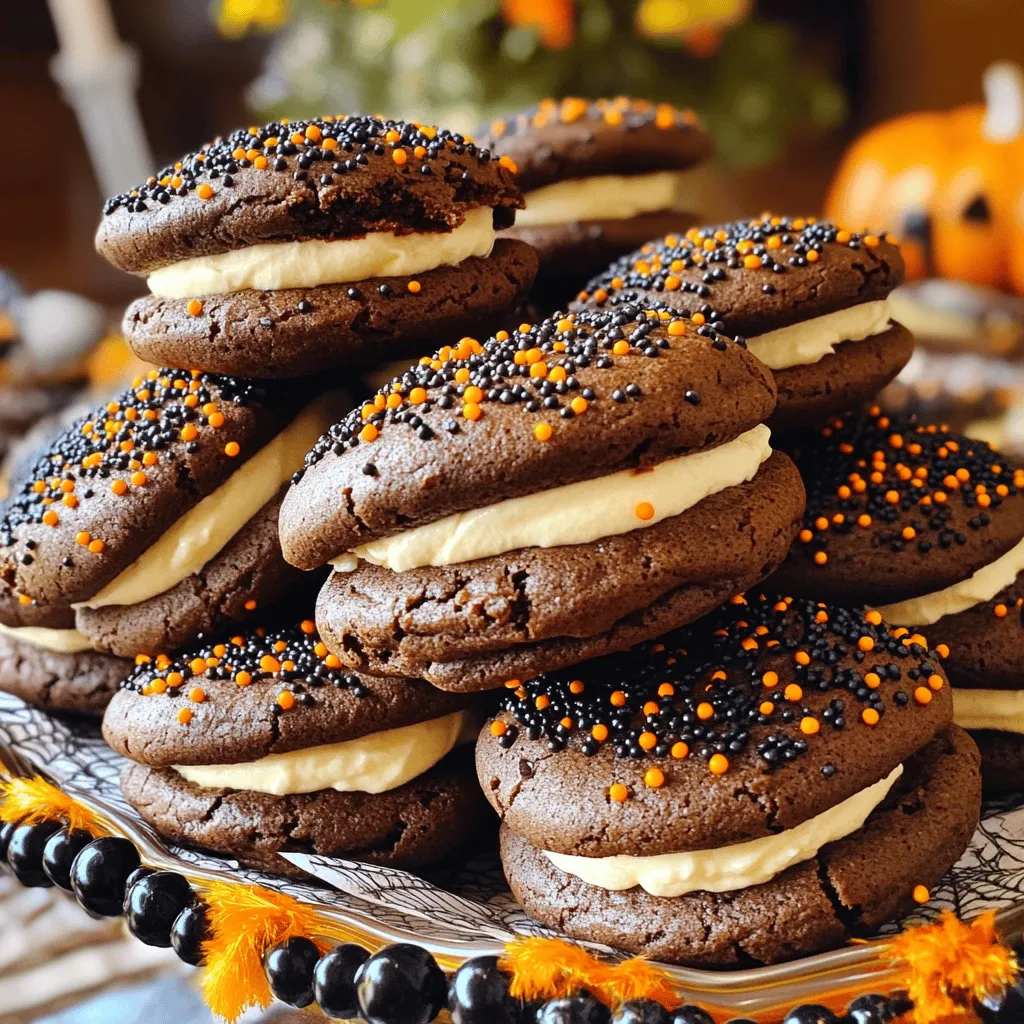
Get ready for a spooky treat that everyone will love—Halloween Whoopie Pies! These soft, cake-like cookies filled with cream cheese make a perfect festive dessert. Whether you’re hosting a party or just want to enjoy Halloween vibes, you’ll impress guests with their rich chocolate flavor. In this guide, I’ll walk you through simple steps, tips, and even fun variations. Let’s dive in and whip up some delightful seasonal goodies!
Ingredients
Detailed Ingredient List
– 1 ½ cups all-purpose flour
– ½ cup cocoa powder
– 1 teaspoon baking soda
– ½ teaspoon baking powder
– ½ teaspoon salt
– ½ cup unsalted butter, softened
– 1 cup brown sugar, packed
– 1 large egg
– 1 teaspoon vanilla extract
– ½ cup buttermilk (or milk with a splash of vinegar)
– 1 cup powdered sugar
– ½ cup cream cheese, softened
– 2 tablespoons butter, softened
– 1 teaspoon vanilla extract (for filling)
– 1 cup orange and black sprinkles (for decoration)
Ingredient Substitutes
If you have allergies, you can use gluten-free flour instead of regular flour. For a vegan option, try using plant-based butter and a flax egg. You can make your own buttermilk by mixing milk with a splash of vinegar.
For a fun twist, consider adding seasonal ingredients. Try pumpkin puree instead of some of the butter for a fall flavor. You can also mix in spices like cinnamon or nutmeg for extra warmth.
Making these swaps will keep your Halloween whoopie pies tasty and festive, no matter your dietary needs!
Step-by-Step Instructions
Preparation Steps
1. First, preheat your oven to 350°F (175°C). This will help the whoopie pies bake evenly.
2. Line two baking sheets with parchment paper. This keeps the pies from sticking.
3. In a bowl, whisk together these dry ingredients:
– 1 ½ cups all-purpose flour
– ½ cup cocoa powder
– 1 teaspoon baking soda
– ½ teaspoon baking powder
– ½ teaspoon salt
4. Set the dry mix aside. In a large bowl, beat together:
– ½ cup unsalted butter, softened
– 1 cup brown sugar, packed
This should be light and fluffy.
5. Now, add 1 large egg and 1 teaspoon vanilla extract to your butter mixture. Mix until smooth.
6. Gradually mix in the dry ingredients and ½ cup buttermilk. Start and end with the dry mix. Combine until just mixed.
Baking the Whoopie Pies
1. Using a tablespoon or cookie scoop, drop the batter onto the prepared baking sheets. Space them well.
2. Bake for 10-12 minutes. Use a toothpick to check if they’re done. If it comes out clean, they are ready.
3. Let them cool on the sheets for 5 minutes. Then, transfer them to a wire rack to cool fully. This helps them firm up.
Filling and Assembling
1. While your cookies cool, prepare the filling. In a bowl, beat together:
– ½ cup cream cheese, softened
– 2 tablespoons butter, softened
– 1 cup powdered sugar
– 1 teaspoon vanilla extract
Mix until it’s smooth and creamy.
2. Once the cookies are cool, take one cookie and spread a generous amount of filling on its flat side.
3. Top it with another cookie to make a sandwich.
4. Roll the edges in these fun decorations:
– 1 cup orange and black sprinkles
This adds a festive touch to your Halloween whoopie pies.
For the complete recipe, check the Full Recipe section.
Tips & Tricks
Baking Tips
To make perfect Halloween whoopie pies, pay attention to texture. You want them soft and cake-like. Here are some tips:
– Use fresh ingredients. Old baking soda or baking powder can ruin your pies.
– Mix well but don’t overmix. Combine wet and dry ingredients just until you see no flour.
– Check your oven temperature. An oven thermometer ensures accurate heat levels.
Avoid common mistakes during baking:
– Don’t overcrowd the baking sheets. Leave space for spreading.
– Cool before filling. If you fill them warm, the cream can melt.
Decoration Tips
Get creative when decorating whoopie pies for Halloween! Here are some fun ideas:
– Use themed sprinkles. Orange and black sprinkles are perfect for this time of year.
– Try adding edible eyes. They create a spooky, fun look.
– Pipe filling in fun shapes. Swirls or ghosts add flair to your pies.
For toppings, think about:
– Candy corn or mini chocolate bars. These can add texture and flavor.
– Colored frosting. Use green or purple for a witchy vibe.
These tips will make your whoopie pies festive and fun! Check out the Full Recipe for step-by-step instructions.
Variations
When it comes to Halloween whoopie pies, the fun doesn’t stop at just one flavor. You can create many seasonal variations to make your pies stand out!
Seasonal Variations
Pumpkin Whoopie Pies
For a fall twist, try pumpkin whoopie pies. Simply replace some cocoa powder with pumpkin puree. Use about 1 cup of pumpkin. Add warm spices like cinnamon and nutmeg. These spices give a cozy flavor perfect for Halloween.
Candy Corn Filling
A candy corn filling adds a festive touch. Mix cream cheese with melted candy corn for a sweet, creamy filling. This adds a pop of color and fun. Your whoopie pies will look so cheerful and bright!
Flavor Alternatives
Using Different Types of Extracts or Flavors
You can swap vanilla extract for almond extract. Almond gives a nice nutty flavor. Or, try peppermint extract for a cool twist. Just remember, a little goes a long way!
Incorporating Different Types of Chocolate or Fillings
For chocolate lovers, add dark or white chocolate chips to the batter. This gives a rich taste and extra texture. You can also fill your whoopie pies with flavored frosting or whipped cream. Think about using peanut butter or caramel for a sweet surprise.
These variations keep your Halloween whoopie pies exciting and tasty. Don’t hesitate to mix and match flavors! You can make the perfect treat for your Halloween gathering. For the full recipe, check out the details above.
Storage Info
Storage Guidelines
To keep your Halloween whoopie pies fresh, store them in an airtight container. This helps prevent them from drying out. Place parchment paper between layers to avoid sticking. Keep them in a cool, dry place. If you live in a warm area, the fridge may be best. They can stay fresh for about three days this way.
Freezing Instructions
You can freeze whoopie pies for longer storage. Wrap each pie tightly in plastic wrap, then place them in a freezer-safe bag. This helps prevent freezer burn. Whoopie pies can be frozen for up to three months. To thaw, take them out and let them sit at room temperature for about an hour. Enjoy them later as a sweet treat! For the Full Recipe, check back to see how to create these delightful pies.
FAQs
How do I make whoopie pies from scratch?
To make whoopie pies from scratch, first gather your ingredients. You will mix dry and wet ingredients separately. Then, combine them to create a smooth batter. Drop spoonfuls of the batter onto baking sheets. Bake until they are soft and cooked through. Once cooled, make the filling and assemble your pies. You can find the full recipe in this article.
How long do Halloween whoopie pies last?
Halloween whoopie pies can last about 3-5 days at room temperature. Store them in an airtight container to keep them fresh. If you want them to last longer, you can refrigerate them. Just make sure to let them sit at room temperature for a bit before serving.
Can I customize whoopie pie flavors or fillings?
Yes, you can easily customize whoopie pies! Try adding different extracts, like peppermint or almond, to the batter. You can also change the filling. Use flavored cream cheese, or even whipped cream. For a fun twist, add candy or chocolate chips to the filling. Your options are endless!
What is the best way to serve whoopie pies at a party?
To serve whoopie pies at a party, arrange them on a spooky-themed platter. Use Halloween decorations like cobwebs or small pumpkins around them. This makes your display festive and fun. You can also stack the whoopie pies for a taller, eye-catching look.
You learned how to make delicious Halloween whoopie pies using simple, fun steps. We recapped the key ingredients and tips for baking. From customizing flavors to storing them, you now have all the tools to create your perfect treat. Remember, making these pies can be a blast for any festive occasion. Enjoy the process and share your tasty creations with others. Happy baking!
