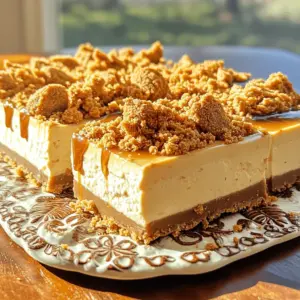
Ready to indulge in a sweet treat that requires no baking? These No-Bake Biscoff Cheesecake Bars are easy to make and delicious, perfect for any occasion. Whether you’re a seasoned chef or a beginner, this simple delight will impress your friends and family. Get ready to learn how to create this creamy, dreamy dessert with just a few ingredients. Let’s dive into the sweet world of Biscoff cheesecake together!
Ingredients
List of Required Ingredients
To make No-Bake Biscoff Cheesecake Bars, you will need the following:
– 200g Biscoff cookies (plus extra for garnish)
– 100g unsalted butter, melted
– 400g cream cheese, softened
– 200ml heavy cream
– 100g powdered sugar
– 150g Biscoff spread
– 1 teaspoon vanilla extract
– A pinch of sea salt
These ingredients create a rich, creamy dessert with that delightful Biscoff flavor.
Ingredient Substitutions
If you cannot find some of these ingredients, here are a few swaps:
– Biscoff cookies: Use graham crackers or digestive biscuits for the crust.
– Unsalted butter: You can substitute with coconut oil for a dairy-free option.
– Cream cheese: Try using mascarpone cheese for a different texture.
– Heavy cream: Whipped coconut cream can work if you’re avoiding dairy.
– Powdered sugar: You can blend granulated sugar until fine if you’re in a pinch.
– Biscoff spread: Nut butters like almond or cashew can be a nice change.
These swaps can help you modify the recipe based on what you have on hand.
Tips for Selecting Quality Ingredients
Choosing the best ingredients makes a big difference in flavor. Here are some tips:
– Biscoff cookies: Look for fresh cookies with no cracks. Check the packaging date.
– Cream cheese: Go for full-fat cream cheese for a rich taste and smooth texture.
– Heavy cream: Choose heavy cream with at least 36% fat for the best whip.
– Biscoff spread: Pick a spread that is creamy and smooth, without added fillers.
Quality ingredients will make your cheesecake bars taste even better.
Step-by-Step Instructions
Preparation of the Cookie Base
To start, get your Biscoff cookies ready. You need 200 grams of them. Place the cookies in a food processor. Crush them into fine crumbs. This step is key to a great base.
Next, melt 100 grams of unsalted butter. Pour the melted butter into the cookie crumbs. Mix them well until they are combined.
Now, grab a lined 9×9-inch baking pan. Press the cookie mixture firmly into the bottom of the pan. Use the back of a measuring cup for this. Make sure it’s even. Place the pan in the fridge to set while you make the filling.
Creating the Biscoff Cheesecake Filling
For the filling, take 400 grams of softened cream cheese. In a large mixing bowl, beat it with an electric mixer. Mix until it’s smooth and creamy.
Gradually add 100 grams of powdered sugar and 1 teaspoon of vanilla extract. Keep mixing until it’s well blended.
Now, it’s time for the star ingredient: 150 grams of Biscoff spread. Gently fold it into the cream cheese mixture. Be careful not to overwork it.
In another bowl, whip 200 milliliters of heavy cream until stiff peaks form. This will make your filling light and fluffy. Gently fold this whipped cream into the Biscoff mixture.
Assembling and Chilling the Bars
Once your filling is ready, pour it over the chilled crust. Spread it into an even layer. Use a spatula to smooth the top.
Cover the pan with plastic wrap. Place it in the fridge for at least 4 hours. For best results, chill overnight.
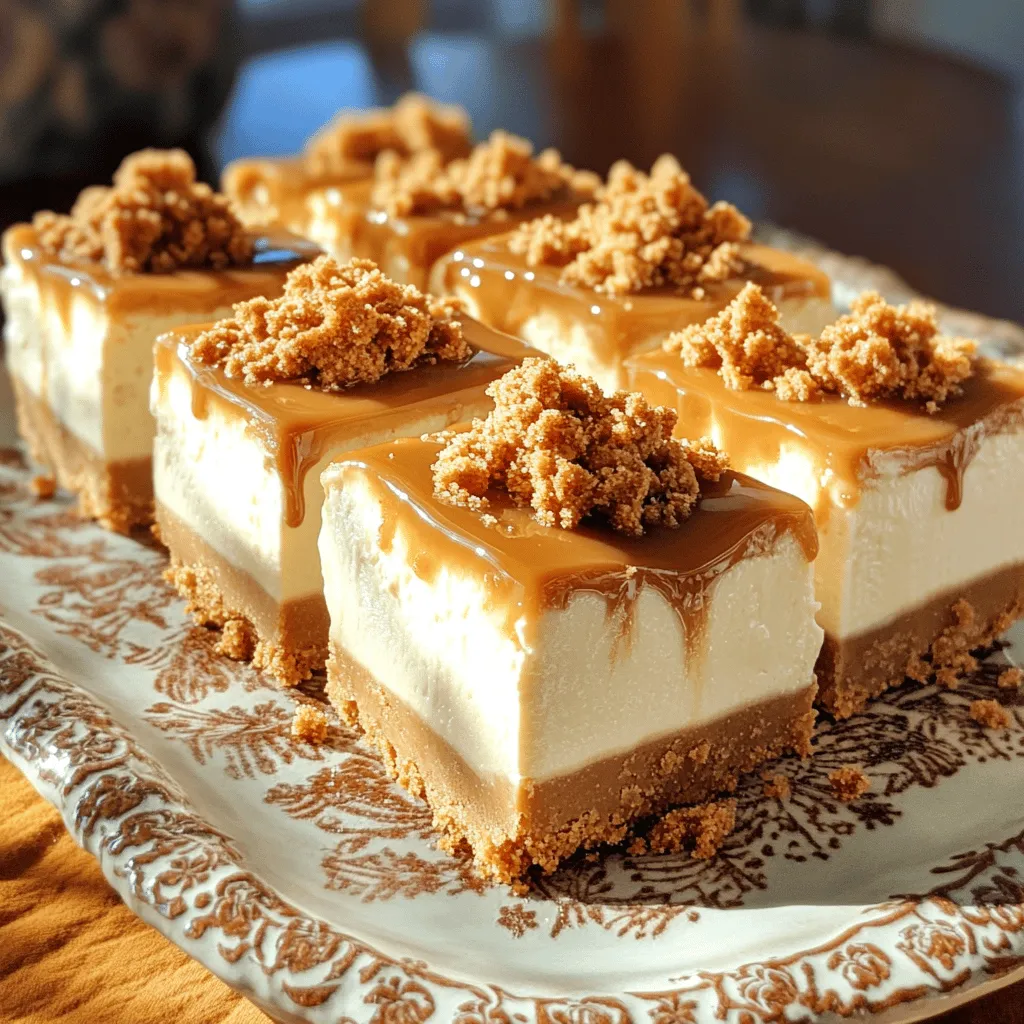
When the cheesecake is set, use a sharp knife to cut it into bars. For a fun garnish, crumble extra Biscoff cookies on top. Enjoy your no-bake Biscoff cheesecake bars!
Tips & Tricks
Ensuring a Smooth Cheesecake Texture
To make your cheesecake smooth, use softened cream cheese. Cold cream cheese can cause lumps. I recommend beating it well in a bowl first. This helps it blend smoothly with the sugar and Biscoff spread. When adding the whipped cream, fold gently. This keeps the mixture light and fluffy. If you overmix, your cheesecake can lose its nice texture.
Presentation Tips for Serving
Serve these bars on a pretty platter. It enhances the dessert’s appeal. For a nice touch, sprinkle crumbled Biscoff cookies on top. You can also drizzle melted Biscoff spread over the bars. This adds flavor and looks great. Use a sharp knife to cut the bars neatly. Clean the knife between cuts for perfect edges.
Common Mistakes to Avoid
One common mistake is not chilling long enough. The cheesecake needs at least 4 hours to set firm. Overnight chill is best for great texture. Another mistake is overmixing the filling. This can make it dense instead of airy. Also, be careful with the crust. Press it firmly but not too hard. A loose crust may crumble when cutting.
Variations
Alternative Flavors and Add-ins
You can easily switch up the flavor of these cheesecake bars. Try using different cookie bases. Oreos, graham crackers, or even chocolate chip cookies work great. For the filling, you can mix in peanut butter or Nutella for a rich twist. You might also add chopped nuts or chocolate chips for texture. These options let you create unique treats that everyone will love.
Dietary Adaptations (Gluten-Free, Vegan, etc.)
To make these bars gluten-free, simply use gluten-free cookies for the crust. Many brands offer gluten-free options that taste great. For a vegan version, swap cream cheese with a plant-based alternative. Use coconut cream instead of heavy cream and maple syrup instead of powdered sugar. These changes keep the flavors rich while meeting dietary needs.
Seasonal Twists for Special Occasions
You can adapt these cheesecake bars to fit any season. In the fall, add pumpkin puree and spices for a cozy vibe. For winter holidays, consider mixing in peppermint extract or crushed candy canes. In the summer, fresh berries or lemon zest can brighten up the flavor. These seasonal twists make the bars feel fresh and exciting all year round.
Storage Info
Best Practices for Storing Cheesecake Bars
Store your no-bake Biscoff cheesecake bars in an airtight container. This keeps them fresh and prevents them from drying out. I suggest lining the container with parchment paper for easy removal. If you stack the bars, separate them with wax paper to avoid sticking. Always keep them in the fridge.
How Long Do They Last?
These cheesecake bars stay fresh for up to five days in the fridge. After that, they may lose their flavor and texture. If you want to keep them longer, freezing is the best option. Just remember, the longer they sit, the less tasty they may become.
Freezing Guidelines
To freeze your cheesecake bars, cut them into individual portions first. Wrap each bar tightly in plastic wrap, then place them in a freezer bag. This helps avoid freezer burn. You can store them in the freezer for up to three months. When you’re ready to enjoy, just thaw them in the fridge overnight. They’ll taste fresh and delicious!
FAQs
Can I make this recipe ahead of time?
Yes, you can make these cheesecake bars ahead. They taste even better after chilling. I recommend making them a day before serving. Just store them in the fridge. Cover them well with plastic wrap. This keeps them fresh and tasty.
How do I tell when the cheesecake is set?
You can tell the cheesecake is set when it feels firm to the touch. After chilling for at least four hours, check the edges first. They should hold their shape. The center may be slightly soft but will firm up as it cools. A good tip is to use a sharp knife to cut into the bars. If it holds together well, it’s ready!
What are some serving suggestions for these bars?
These cheesecake bars shine when served with a few simple touches. Sprinkle extra crumbled Biscoff cookies on top for crunch. You can also drizzle melted Biscoff spread over the bars for extra flavor. Serve them on a pretty platter to impress guests. Add fresh berries as a colorful side. Enjoy your delicious creation!
You’ve learned how to make delicious cheesecake bars with simple steps. We covered the key ingredients and their swaps while focusing on quality. You also saw how to prepare the base and the creamy filling. Plus, we shared tips for a smooth texture and how to avoid common mistakes.
Remember, you can customize these bars for any diet or occasion. Store them well, and they’ll last. I hope you feel ready to create your own yummy cheesecake bars. Enjoy sharing them with friends and family!