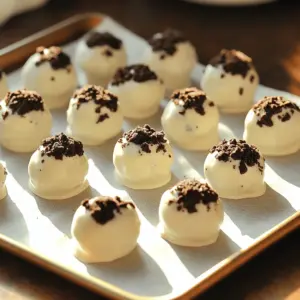
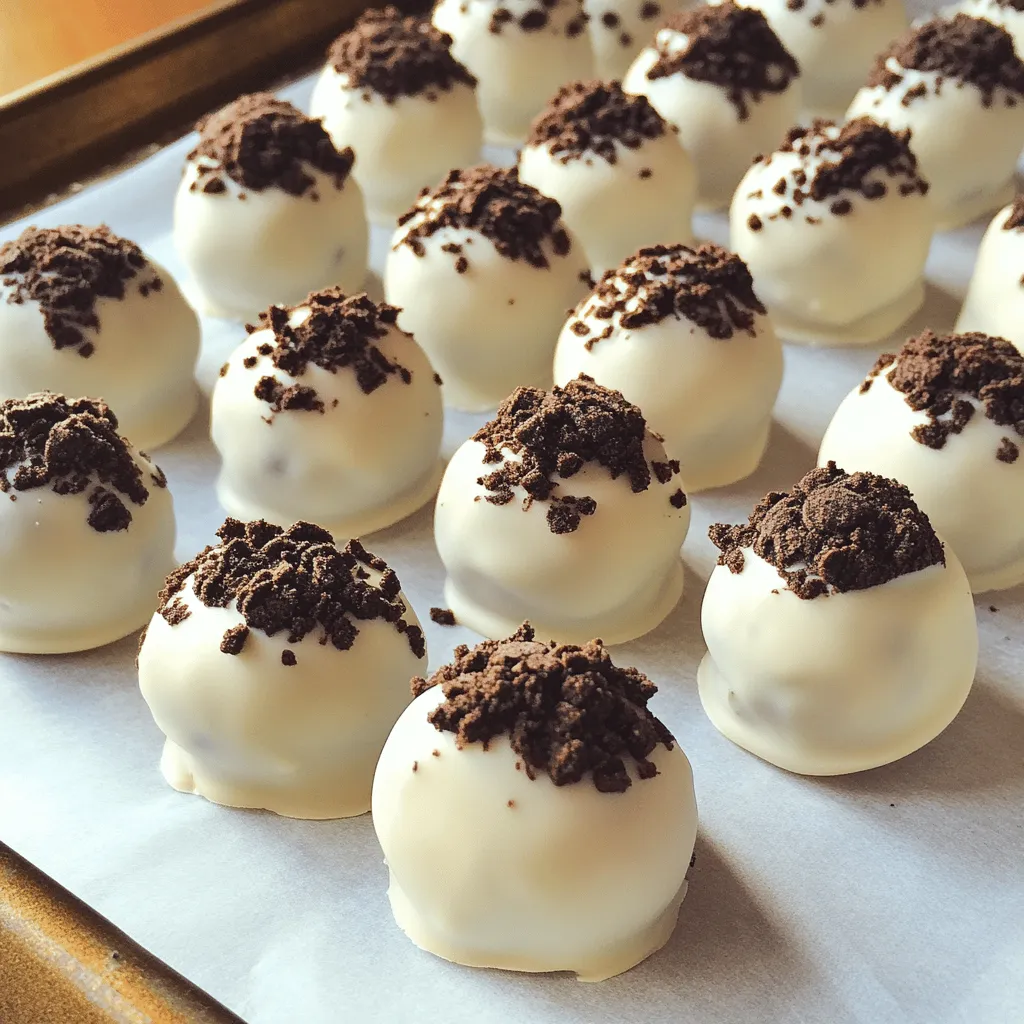
Craving a sweet treat that’s both easy and satisfying? You’re in the right place! These No Bake Oreo Truffles combine just four simple ingredients—Oreo cookies, cream cheese, white chocolate, and a hint of coconut oil. In no time, you’ll whip up decadent bites that impress everyone. Let’s dive into this fun recipe and transform your Oreo stash into a mouthwatering dessert!
Ingredients
Main Ingredients
– 36 Oreo cookies
– 8 oz cream cheese, softened
– 1 cup white chocolate chips
– 1 tablespoon coconut oil (optional for smoothness)
– 1/4 cup crushed Oreo cookies (for topping)
Equipment Needed
– Food processor or rolling pin
– Large mixing bowl
– Baking sheet
– Parchment paper
– Microwave-safe bowl
For this recipe, you need a few simple ingredients. The star is, of course, the Oreo cookies. They give a rich, chocolatey flavor that everyone loves. We mix them with cream cheese for a creamy texture. White chocolate chips add sweetness and a nice coating. If you want the chocolate to be extra smooth, use coconut oil. Finally, crushed Oreo cookies make a great topping to add crunch.
Also, gather your kitchen tools. You can use a food processor to crush the cookies. A rolling pin and a plastic bag work too. You will need a large mixing bowl to combine everything. A baking sheet lined with parchment paper helps for easy cleanup. Finally, have a microwave-safe bowl ready for melting the chocolate. With these ingredients and tools, you can make these truffles in no time.
Step-by-Step Instructions
How to Crush the Oreos
To crush the Oreos, I use a food processor. This tool makes fine crumbs quickly. Just pulse the cookies until they look like sand. If you don’t have a food processor, no worries! Place the Oreos in a plastic bag. Use a rolling pin to crush them. This method takes a bit longer but works just as well.
Mixing the Ingredients
Next, I mix the crushed Oreos with softened cream cheese. I use a large bowl for this step. Make sure the cream cheese is soft. This helps the mix come together. I either use a spatula or my hands to combine the two. I mix until I have a thick, cohesive dough. It should feel smooth and easy to work with.
Shaping and Chilling
Now, it’s time to shape the truffles. I scoop out small pieces of dough. Then, I roll them into bite-sized balls, about one inch wide. I place each truffle on a baking sheet lined with parchment paper. Once all the truffles are shaped, I chill them in the fridge for about 30 minutes. Chilling firms them up and makes coating easier.
Melting and Coating
While the truffles chill, I melt white chocolate chips. I also add coconut oil for smoothness, but it’s optional. I use a microwave-safe bowl. I heat the chocolate in 30-second intervals, stirring in between. Once it is smooth, I dip each truffle into the melted chocolate. I make sure to coat them evenly. After dipping, I lift them out with a fork and let the excess chocolate drip off.
Adding Finishing Touches
While the chocolate is still wet, I sprinkle crushed Oreo cookies on top of each truffle. This adds a nice touch and looks great! Finally, I place the coated truffles back on the parchment-lined sheet. I let them cool at room temperature or refrigerate them until the chocolate sets. Once set, these truffles are ready to enjoy.
Tips & Tricks
Ensuring Smooth Chocolate Coating
Using coconut oil helps make the chocolate smooth. It adds a nice sheen too. If you skip it, the chocolate may clump. When melting chocolate, use the microwave in short bursts. Heat it for 30 seconds, then stir. Repeat until it’s fully melted and smooth.
Achieving the Perfect Texture
Make sure your cream cheese is soft. This helps it mix well with the Oreos. If the cream cheese is cold, it won’t blend smoothly. Store your truffles in the fridge. If they feel too soft, chill them longer. If they are too hard, let them sit at room temperature.
Serving Suggestions
For presentation, place truffles in decorative liners. This adds flair and makes them easy to grab. Pair them with milk, coffee, or even a dessert wine. Each option brings out the sweet Oreo flavor. You can also serve them with fresh berries for a nice contrast.
Variations
Different Chocolate Coatings
You can switch up the chocolate coating for your truffles. Dark chocolate is a great choice. It adds a rich flavor and a slight bitterness. To use dark chocolate, melt it just like the white chocolate.
Milk chocolate is another option. It gives a creamy and sweet taste. Dip the truffles in melted milk chocolate for a classic touch. Both options work well and taste amazing!
Flavor Additions
Want to get creative? Try mint chocolate chip Oreo truffles. Just add a few drops of mint extract when mixing the cream cheese. This gives your truffles a fresh twist.
You can also use flavored cream cheese, like peanut butter. It adds a new layer of flavor. This simple change makes the truffles even more fun and delicious!
Incorporating Different Toppings
Toppings can make your truffles pop! Use colorful sprinkles for a festive look. They add a fun crunch. Chopped nuts also work well. They give a nice texture contrast.
You can drizzle melted chocolate on top for extra flair. Use colored chocolate to match any theme or party. These little touches can elevate your truffles to a whole new level!
Storage Info
Best Storage Practices
To keep your No Bake Oreo Truffles fresh, you can refrigerate or freeze them. Refrigeration is best for short-term storage. Use an airtight container to prevent the truffles from drying out. If you want to save them for longer, freezing is a great option. Use a freezer-safe container or a zip-top bag. Make sure to remove as much air as possible.
Shelf Life
In the fridge, these truffles last about one week. Keep an eye out for any signs of spoilage. If you see a change in color or smell, it’s best to discard them. If stored in the freezer, they can last up to three months.
Thawing Frozen Truffles
When you’re ready to enjoy frozen truffles, thaw them safely. The best method is to move them to the fridge overnight. This keeps the texture smooth. Avoid thawing them at room temperature, as this may make them too soft. When thawed, they should still taste delicious and maintain their original texture.
FAQs
Can I use regular cream cheese?
Yes, you can use regular cream cheese. It adds creaminess and flavor. If you want a lighter option, try using low-fat cream cheese. You can also use mascarpone for a richer taste.
How long do No Bake Oreo Truffles take to set?
The truffles need about 30 minutes to chill. This helps them firm up before coating. After coating them in chocolate, let them sit until the chocolate hardens. This can take another 30 minutes at room temperature or quicker in the fridge.
Can I make these truffles ahead of time?
Absolutely! You can make these truffles a day or two in advance. Just store them in an airtight container in the fridge. They stay fresh and tasty, making them perfect for parties or gifts.
What if I don’t have a food processor?
No problem! You can crush the cookies by placing them in a plastic bag. Use a rolling pin to crush them into fine crumbs. This method works well and is easy to do.
You can make delicious Oreo truffles with just a few simple steps. We covered the main ingredients, equipment, and detailed instructions to create these tasty treats. Remember to chill them for the best texture. Use our tips for smooth chocolate and unique flavor ideas to impress your friends. With the right storage, your truffles will stay fresh and tasty. Try varying the chocolate and toppings to keep things interesting. Enjoy making and sharing these fun desserts!